The thought of an interview can be nerve-wracking, but the right preparation can make all the difference. Explore this comprehensive guide to Air Brake Inspection interview questions and gain the confidence you need to showcase your abilities and secure the role.
Questions Asked in Air Brake Inspection Interview
Q 1. Describe the function of an air brake system.
An air brake system’s primary function is to safely slow down and stop heavy vehicles like trucks and buses. Unlike hydraulic brakes that rely on liquid pressure, air brakes use compressed air to activate brake mechanisms on each wheel. This system is crucial for safety, especially given the increased stopping distances required for heavier vehicles.
Think of it like this: Imagine trying to stop a fully loaded semi-truck using only the driver’s foot and standard car brakes – it wouldn’t be safe or effective. Air brakes provide the necessary power and redundancy to safely bring these heavy vehicles to a halt.
Q 2. Explain the difference between a spring brake and a diaphragm brake.
Both spring brakes and diaphragm brakes are crucial components within an air brake system, but they function differently. A spring brake is a fail-safe mechanism. It uses powerful springs to automatically engage the brakes if the air pressure in the system drops below a certain level. This ensures the vehicle stops even in case of air system failure. Think of them as the backup safety net.
A diaphragm brake, on the other hand, is directly controlled by air pressure. When air pressure is applied, it forces a diaphragm to push against a brake chamber, actuating the brakes. The release of air pressure allows the springs within the brake chamber to disengage the brakes. These are the brakes that we normally control when driving.
Q 3. What are the components of a typical air brake system?
A typical air brake system comprises several key components working in concert. These include:
- Air Compressor: Compresses atmospheric air to create the necessary pressure.
- Air Reservoirs: Store the compressed air.
- Air Lines: Distribute the compressed air throughout the system.
- Control Valves: Regulate the flow of air to the brakes.
- Brake Chambers: Convert air pressure into mechanical force to actuate the brakes.
- Brake Shoes/Pads: Friction surfaces that slow the wheels.
- Air Pressure Gauge: Indicates the system’s pressure level.
- Low Air Pressure Warning System: Alerts the driver to low air pressure.
- Safety Valves and Relays: Prevent over-pressurization and control air flow.
Each component plays a vital role in ensuring the reliable and safe operation of the braking system.
Q 4. How does an air compressor function?
An air compressor works much like a bicycle pump, but on a much larger scale. It draws in atmospheric air and compresses it to a significantly higher pressure. This is typically achieved using pistons or a rotary screw mechanism. The compressed air is then stored in the air reservoirs. Most compressors have an unloader valve that cycles on and off to maintain the desired air pressure. Once the desired pressure is reached, the compressor will shut off until the pressure drops sufficiently.
Imagine it like filling a water tank – the compressor is the pump, constantly working (when needed) to keep the tank (reservoirs) full to a specified level.
Q 5. How do you check air pressure in an air brake system?
Air pressure in an air brake system is checked using the air pressure gauge, usually located on the dashboard. This gauge displays the pressure in pounds per square inch (psi). A normal operating pressure is typically between 80-120 psi, but this can vary depending on the vehicle and specific system design. It’s crucial to check both the main tank pressure and, if applicable, the secondary tank pressure. Regular checks should be part of any pre-trip inspection.
Regular checks are not just important, they are absolutely crucial to ensuring that your system is functioning and safe to operate.
Q 6. What are the signs of a low air pressure warning?
A low air pressure warning usually manifests in several ways:
- Gauge Indication: The air pressure gauge will show a pressure level significantly below the normal operating range.
- Warning Lights: A red warning light will illuminate on the dashboard, usually accompanied by an audible alarm.
- Brake Application: In some cases, the spring brakes might automatically engage, partially or fully applying the brakes.
If you see or hear any of these signals, you must immediately address the situation, potentially pulling over and checking the air system and seeking professional repair if necessary. Ignoring a low air pressure warning can lead to dangerous brake failure.
Q 7. Describe the process for conducting a pre-trip air brake inspection.
A pre-trip air brake inspection is a critical safety procedure before operating any vehicle with air brakes. It involves a thorough check of all major components. Here’s a step-by-step process:
- Check Air Pressure: Verify sufficient pressure in the main and secondary air tanks.
- Inspect Air Lines and Connections: Look for any leaks, damage, or loose connections.
- Test Low Air Pressure Warning System: Ensure the warning light and alarm function correctly by gradually reducing the air pressure (following manufacturer guidelines).
- Inspect Brake Chambers: Check for leaks, cracks, or damage to the brake chambers and pushrods.
- Check Brake System Components: Inspect hoses, valves, and other components for wear and tear or damage.
- Manually Apply and Release the Brakes: Verify that the brakes engage and release smoothly.
- Check Wheel Alignment: Ensure that there is no excessive play or wobble in the wheels or tires.
- Inspect Air Compressor: Check the condition of the air compressor belts and for signs of leaks or damage.
Following this detailed procedure ensures the vehicle’s air brake system is safe and ready for operation. Skipping this inspection puts both the driver and others at risk.
Q 8. How do you inspect air brake lines and hoses for leaks?
Inspecting air brake lines and hoses for leaks is crucial for safety. We’re looking for any signs of escaping compressed air, which indicates a potential failure point. This inspection involves a visual check and a pressure test.
- Visual Inspection: Carefully examine all lines and hoses for cracks, kinks, chafing, rust, or any damage to the line’s protective covering. Pay close attention to connections and fittings for looseness or leaks. Look for signs of oil contamination, which can weaken the rubber material over time.
- Pressure Test (Leak Test): After a visual inspection, a pressure test provides confirmation. With the system pressurized, carefully listen for hissing sounds along the lines, indicating leakage. You can use soapy water to pinpoint leaks; the bubbles will show where air is escaping. For more thorough testing, specific leak detection equipment may be needed.
Example: Imagine a crack in a hose hidden under the chassis. A visual inspection from above might miss it, but during a pressure test, spraying soapy water will reveal a stream of bubbles at the crack’s location.
Q 9. What is the purpose of an air dryer?
An air dryer’s primary purpose is to remove moisture from the compressed air within the brake system. Moisture can cause corrosion, freezing in cold weather, and the formation of ice in the brake lines, rendering your brakes ineffective or even completely inoperable. Think of it as a dehumidifier for your vehicle’s braking system.
Air dryers typically use refrigeration or adsorption methods to remove water vapor from the compressed air. Regular maintenance, including filter and desiccant changes (for adsorption dryers), ensures efficient moisture removal. A faulty air dryer is a serious safety concern.
Q 10. How do you check the functionality of an emergency brake system?
Checking the emergency brake system involves verifying that it independently functions and can bring the vehicle to a safe stop even if the service brakes fail. There are several ways to test this, depending on the vehicle’s specific system.
- Spring Brake Application: Many vehicles have a spring-applied, air-released system. With the air pressure depleted (either through a controlled release or a simulated failure), the springs should automatically apply the brakes. You need to manually release the brakes after this controlled test.
- Emergency Brake Valve: Manually engaging the emergency brake valve should apply the brakes, irrespective of service brake pressure. This confirms the system’s ability to act independently.
- Parking Brake: For some vehicles, the parking brake might act as a secondary emergency braking system. Ensure its proper operation.
Safety Note: Always perform these checks in a safe, controlled environment, preferably with the vehicle secured and away from traffic.
Q 11. Explain the operation of a slack adjuster.
A slack adjuster automatically adjusts the braking force by maintaining a precise distance between the brake shoes and the brake drum or disc. This is especially crucial for vehicles with drum brakes. It compensates for wear in the brake lining material. As the brake shoes wear down, the slack adjuster automatically lengthens the push rod to maintain the correct braking force.
The adjuster has a ratchet mechanism that is typically turned by the rotation of the brake drum. The rotation causes the adjuster to lengthen the push rod, and once the correct amount of slack is removed, the adjuster stops moving.
Without proper slack adjuster function, the brakes become ineffective as the linings wear, resulting in increased stopping distance and potential accidents.
Q 12. What is the importance of maintaining proper air brake adjustment?
Maintaining proper air brake adjustment is paramount for safety and optimal braking performance. Incorrect adjustments lead to several critical problems:
- Uneven braking: One wheel may lock up before the others, leading to loss of control.
- Reduced braking efficiency: The braking system may not be able to stop the vehicle in time, extending the stopping distance significantly.
- Brake drag: Improper adjustment may cause brakes to drag, leading to reduced fuel efficiency and excessive wear on brake components.
- Premature wear: Components wear out much faster when subjected to uneven forces or excessive friction.
Regular inspections and adjustments, as recommended by the manufacturer, are essential for preventing these problems.
Q 13. What are the common causes of air brake system failures?
Air brake system failures can stem from various causes, broadly categorized as:
- Leaks: Leaks in hoses, lines, or fittings lead to pressure loss, reducing braking effectiveness. This is the most common cause.
- Low air pressure: Problems with the compressor, air dryer, or other components can cause inadequate air pressure build-up, preventing proper brake application.
- Malfunctioning components: Failures in the valves, relays, slack adjusters, or other parts can disrupt the system’s functionality.
- Corrosion: Rust or corrosion in lines and components weakens the system and can create leaks.
- Improper maintenance: Neglecting routine maintenance, such as regular inspections and component replacement, increases the risk of failure.
Careful diagnosis is essential to identify the root cause of any failure.
Q 14. How do you troubleshoot a loss of air pressure?
Troubleshooting a loss of air pressure is a systematic process involving several steps:
- Check the air pressure gauge: Note the pressure and how quickly it’s dropping.
- Listen for leaks: Use a soapy water solution to check for leaks along the air lines and components.
- Inspect the compressor: Verify that the compressor is running and building pressure. Check the compressor’s clutch engagement and listen for unusual noises.
- Check the air dryer: Ensure the air dryer is functioning correctly. Problems with desiccant, filters, or internal components may cause pressure issues.
- Examine safety valves: Verify safety valves aren’t stuck open, causing pressure loss.
- Inspect other components: Check valves, relay valves, and other components for any damage, leaks, or malfunction.
If the problem persists, seek the assistance of a qualified technician. Losing air pressure is a serious safety concern that requires immediate attention.
Q 15. Describe the procedure for bleeding air brake lines.
Bleeding air brake lines removes air and contaminants that can hinder proper brake function. Think of it like bleeding the brakes in a car, but with compressed air instead of hydraulic fluid. The process ensures a consistent and responsive braking system. Improper bleeding can lead to spongy brakes or complete brake failure.
The procedure typically involves:
- Locating the bleed valve: These are usually found on the wheel cylinders or calipers, and are often marked clearly.
- Preparing the system: Ensure the air compressor is running and the air tank is fully charged. Open the air supply valve completely.
- Connecting a bleed hose: This hose is attached to the bleed valve and will direct the air escaping from the system into a container to collect any moisture or contaminants.
- Opening the bleed valve: Slowly open the bleed valve, allowing air to escape. The rate of air release needs to be controlled to avoid excessive loss of pressure.
- Monitoring air pressure: Watch the air pressure gauge to prevent pressure from dropping too low.
- Closing the bleed valve: Once a steady stream of air free of contaminants is observed and the brake pedal (if applicable) feels firm, close the bleed valve.
- Repeating as necessary: Repeat the process at each valve on the air brake system, including those on trailers, until all air lines are free of contaminants and air pressure is maintained across the whole system.
Remember to always consult the vehicle’s specific service manual for detailed instructions and diagrams. Ignoring proper procedures can result in a significant safety hazard.
Career Expert Tips:
- Ace those interviews! Prepare effectively by reviewing the Top 50 Most Common Interview Questions on ResumeGemini.
- Navigate your job search with confidence! Explore a wide range of Career Tips on ResumeGemini. Learn about common challenges and recommendations to overcome them.
- Craft the perfect resume! Master the Art of Resume Writing with ResumeGemini’s guide. Showcase your unique qualifications and achievements effectively.
- Don’t miss out on holiday savings! Build your dream resume with ResumeGemini’s ATS optimized templates.
Q 16. What are the DOT regulations regarding air brake maintenance?
The Department of Transportation (DOT) has rigorous regulations concerning air brake maintenance, focusing on ensuring safe operation of commercial motor vehicles (CMVs). These regulations are outlined in the Federal Motor Carrier Safety Regulations (FMCSRs). Key aspects include:
- Regular inspections: CMVs must undergo frequent inspections, including thorough air brake system checks, to identify and address any potential issues before they escalate into safety hazards.
- Repair and maintenance records: Detailed records of all maintenance and repairs performed on the air brake system must be kept. This documentation is crucial for audits and demonstrates compliance with regulations.
- Driver responsibilities: Drivers are responsible for pre-trip and post-trip inspections of the air brake system, reporting any observed defects.
- Qualified technicians: Repairs and major maintenance must often be carried out by certified technicians to ensure compliance and maintain safety standards.
- Out-of-service criteria: Specific violations concerning air brakes result in vehicles being deemed ‘out-of-service,’ meaning they cannot operate until the problems are fixed.
Non-compliance can result in hefty fines and even suspension of operating authority. The DOT prioritizes the safety of the public and other road users, making adherence to these regulations paramount.
Q 17. Explain the safety procedures to follow when working with air brakes.
Working with air brakes demands strict adherence to safety procedures to prevent injury and accidents. Compressed air carries significant potential energy, and improper handling can cause serious harm.
- Personal Protective Equipment (PPE): Always wear safety glasses or goggles to protect your eyes from flying debris or escaping air. Hearing protection might also be necessary to dampen the noise generated by the air pressure escaping during some procedures.
- Proper ventilation: Ensure adequate ventilation when working with compressed air systems to prevent the buildup of potentially harmful dust or particles released during bleed processes or when inspecting components.
- Secure components: Before beginning any work, secure any loose components. Loose components, especially in the compressed air system, pose a significant risk of being propelled at high speed by the pressure in the lines.
- Pressure relief: Always release pressure from the system before disconnecting or working on any air lines or components. This will prevent any sudden and dangerous release of air.
- Proper tools: Use the correct tools and equipment for the task, avoiding makeshift solutions that could compromise safety.
- Awareness of surroundings: Maintain awareness of your surroundings to avoid striking any other objects or accidentally damaging any system components.
Following these procedures is not just a matter of compliance but a critical step in ensuring personal and public safety.
Q 18. How do you identify and interpret fault codes in an air brake system?
Modern air brake systems often incorporate electronic control units (ECUs) that store diagnostic trouble codes (DTCs). These codes provide valuable clues to diagnosing problems within the system. Fault codes can be retrieved through specialized diagnostic tools that connect to the ECU’s data port.
Interpreting these codes requires a good understanding of the air brake system’s components and their functionalities. Each code usually corresponds to a specific sensor, actuator, or subsystem malfunction. For example, a code indicating a low air pressure sensor failure might manifest as a warning light on the dashboard. Another code might signal a leak in a specific section of the brake lines, while some codes can point to more serious, electrical issues that require immediate professional attention.
Diagnostic manuals or software can help interpret the codes, providing potential causes and troubleshooting steps. Often, the codes will need to be analyzed in conjunction with physical checks of the air brake system to pinpoint the exact problem.
Q 19. What tools and equipment are used for air brake inspection and repair?
A variety of tools and equipment are necessary for effective air brake inspection and repair. These include:
- Air pressure gauges: These are fundamental for checking air tank pressure and monitoring pressure during bleeding and testing.
- Bleeder valves and hoses: Essential for removing air and contaminants from brake lines.
- Wrenches and sockets: For removing and installing components like brake lines, calipers, and wheel cylinders.
- Leak detectors: Used to locate air leaks, often using soapy water to detect escaping bubbles.
- Air compressor: Needed to charge the air tanks and test the system.
- Diagnostic tools: Specialized tools for reading and interpreting fault codes from the ECU.
- Torque wrench: Critical for tightening bolts and nuts to the correct specifications to prevent damage.
- Safety glasses and gloves: To protect against injury.
The specific tools required will vary depending on the type of vehicle and the nature of the repair or inspection. Having a well-equipped toolbox can significantly reduce downtime and ensure the job gets done correctly and safely.
Q 20. How do you inspect air brake chambers and diaphragms?
Inspecting air brake chambers and diaphragms is crucial for maintaining safe braking performance. These components are responsible for converting air pressure into mechanical force to actuate the brakes.
The inspection process typically involves:
- Visual inspection: Check for any visible damage, such as cracks, tears, or leaks in the diaphragm or chamber. Look for signs of wear, corrosion, or contamination.
- Diaphragm integrity: Check the diaphragm for any holes or weakness. A punctured or damaged diaphragm will prevent proper brake function.
- Push rod movement: Check the smooth operation of the push rod, ensuring it moves freely within the chamber. A stuck or binding push rod can significantly impact braking performance.
- Air chamber leak test: Use soapy water to check for air leaks around the seals and connections. Small leaks often go unnoticed but can degrade braking performance over time and result in brake failure.
- Diaphragm seal check: Inspect the diaphragm seal for damage or deterioration. Cracks or gaps can compromise the seal’s integrity and lead to air leaks.
Any signs of damage or wear necessitate replacement to maintain safe and reliable braking action. Remember, faulty brake chambers and diaphragms are significant safety hazards.
Q 21. What are the safety hazards associated with air brake system malfunctions?
Malfunctions in the air brake system present a range of serious safety hazards. The severity of the consequences depends on the nature and extent of the malfunction. Examples include:
- Complete brake failure: This is the most severe consequence, resulting in an inability to stop the vehicle safely. This can lead to severe collisions and injuries or fatalities.
- Reduced braking power: Even a partial loss of braking power extends stopping distances significantly, increasing the risk of accidents.
- Brake lockup: This can result in loss of control of the vehicle, causing it to skid and potentially crash.
- Air leaks: Persistent air leaks deplete air pressure in the system, leading to a gradual reduction in braking efficiency. Slow or gradual brake failure is just as dangerous as sudden failure.
- Trailer brake issues: Malfunctioning trailer brakes can lead to jackknifing, loss of control, and potentially serious accidents.
Regular maintenance, proper inspection, and immediate attention to any warnings are absolutely essential for mitigating these risks and avoiding potentially devastating consequences.
Q 22. What is the process for replacing a damaged air brake hose?
Replacing a damaged air brake hose is a critical safety procedure requiring meticulous attention to detail. First, you must ensure the vehicle is properly secured and the air pressure is completely released from the system. Next, you need to identify the damaged hose and its corresponding connections. Using the correct size and type of replacement hose (matching the original specifications is crucial), carefully disconnect the damaged hose from its fittings. It’s important to use appropriate tools to avoid damaging the fittings. Once disconnected, carefully remove the old hose. Before installing the new hose, inspect the fittings for any damage or wear. If any damage is found, these must be replaced. Install the new hose, ensuring it’s properly seated and secured to the fittings. After installation, always double-check all connections for leaks by using soapy water. A leak will show up as bubbles. Finally, after ensuring no leaks are present, repressurize the air brake system and perform a thorough system test before operating the vehicle. Failure to follow these steps correctly can lead to brake failure and serious accidents.
Example: Imagine replacing a hose on a trailer. You’d need to chock the wheels, disconnect the trailer’s air lines, and then follow the steps above. Any shortcuts could result in a brake failure while towing.
Q 23. Explain the function of a relay valve in an air brake system.
A relay valve in an air brake system acts as a safety and control mechanism. Its primary function is to prevent the accidental application of the service brakes while the vehicle’s air supply is low. Think of it as a pressure-sensitive gatekeeper. If the air pressure in the main supply tank falls below a certain level (usually around 20 PSI), the relay valve prevents air from reaching the service brake chambers, thus preventing a brake failure. This ensures that even if there’s a leak, you still retain enough air pressure for emergency braking. It only allows air to flow to the brake system when the main tank pressure is sufficient. This prevents a sudden loss of braking power due to a leak in the air supply. Many relay valves also incorporate a feature that alerts the driver to low air pressure.
Q 24. How do you perform a bench test on an air brake component?
Bench testing an air brake component allows for a controlled environment assessment of its functionality. The process involves using specialized testing equipment to simulate real-world operating conditions. The specific procedure varies depending on the component. For example, to bench test a brake valve, you would connect it to an air pressure source that can precisely control pressure and flow rate. You’d then use gauges to measure the pressure and flow in different valve positions, comparing the readings to the manufacturer’s specifications. Any deviation would indicate a potential problem. For other components like an air compressor, a bench test would involve checking its output pressure and air delivery rate under different loads. The process typically involves using a pressure gauge, air flow meter and sometimes a multimeter. Always consult the manufacturer’s specifications and safety guidelines for the specific component being tested. Remember, safety is paramount during bench testing, ensuring proper use of PPE and a safe working environment.
Example: To test a pressure regulator, you might set the regulator to a specific output pressure and then gradually increase the input pressure. The output pressure should remain consistent at the set value. A malfunctioning regulator might fail to maintain the pressure, indicating a need for repair or replacement.
Q 25. What are the different types of air brake valves and their functions?
Air brake systems utilize various valves, each playing a specific role. Some common types include:
- Service Brake Valves: These control the air pressure to the brake chambers, applying and releasing the service brakes. They’re the most frequently used valves.
- Emergency Brake Valves: These directly apply the brakes in case of a system failure, ensuring safety. They’re spring-applied, air-released meaning they automatically engage the brakes if the air supply fails.
- Relay Valves (as described above): These protect against brake application when air pressure is low.
- Pressure Regulators: These maintain a constant air pressure within specific parts of the system.
- Quick Release Valves: These rapidly release air from the brake chambers for quick brake disengagement.
Each valve’s function is vital for ensuring the safety and efficiency of the air brake system. A malfunction in any of these valves can significantly impair braking performance.
Q 26. Describe the role of the governor in an air brake system.
The governor is a crucial component in an air brake system that controls the air compressor’s operation. It’s essentially a pressure-sensing device that maintains the proper air pressure within the main reservoir tank. When the tank pressure drops below a predetermined setpoint, the governor activates the air compressor to refill the tank. Once the desired pressure is reached, the governor automatically shuts off the compressor, preventing overfilling and potential damage. This ensures that sufficient air pressure is always available for braking, while simultaneously protecting the compressor from overheating and wear. Think of it like a thermostat for your home heating system, maintaining the optimal air pressure in the brake system.
Q 27. What are the common problems associated with air brake valves?
Common problems with air brake valves often stem from wear and tear, contamination, or improper maintenance. These can include:
- Leaks: Air leaks reduce braking efficiency and can cause a slow loss of air pressure.
- Sticking Valves: Valves that stick in the open or closed position can prevent proper brake application or release.
- Internal Damage: Wear and tear on internal seals or components can lead to malfunctions.
- Contamination: Dirt, moisture, or other contaminants can interfere with the valve’s operation.
Regular inspection, lubrication (where applicable), and timely replacement are key to preventing these issues and ensuring brake system reliability. Ignoring these problems can lead to dangerous situations.
Q 28. How do you test the functionality of an air brake warning system?
Testing the air brake warning system is essential to ensure that it alerts the driver to low air pressure or other system malfunctions. The process typically involves intentionally reducing the air pressure in the system and observing the response. This can often be done through a low pressure switch or other systems in place that trigger the warning. A correctly functioning system should activate audible and visual warnings (lights and gauges) when the pressure falls below a critical threshold. Furthermore, the test should include verifying that the warning system works across a range of pressure drops to ensure sensitivity and responsiveness. The specific details on how to perform this test vary by vehicle and system design. Always refer to the vehicle’s owner’s manual or consult a qualified mechanic to properly perform this test. A malfunctioning warning system could lead to a catastrophic brake failure without prior warning.
Key Topics to Learn for Air Brake Inspection Interview
- Air Brake System Components: Understanding the function and operation of all major components, including air compressors, reservoirs, valves (control, relay, protection), brake chambers, and lines.
- Leak Testing and Diagnosis: Mastering the techniques for identifying and locating air leaks using various methods, and troubleshooting common air brake system malfunctions.
- Brake Adjustment and System Performance: Knowing how to properly adjust brake components to ensure optimal performance and safety, and recognizing indicators of system failure or degradation.
- Safety Regulations and Compliance: Familiarity with relevant safety regulations and industry standards regarding air brake inspection and maintenance, including documentation procedures.
- Practical Application: Be prepared to discuss real-world scenarios, such as diagnosing a low air pressure condition, or explaining the steps involved in a complete air brake inspection on a specific vehicle type.
- Troubleshooting and Problem-Solving: Develop your ability to systematically diagnose problems using logical reasoning and diagnostic tools. Practice explaining your thought process when identifying and resolving malfunctions.
- Emergency Procedures: Understanding and explaining procedures for handling emergency situations related to air brake failures, and the importance of safety protocols.
- Air Brake System Types: Familiarize yourself with the differences between various air brake system configurations (e.g., single-axle, tandem-axle, ABS systems) and their specific inspection requirements.
Next Steps
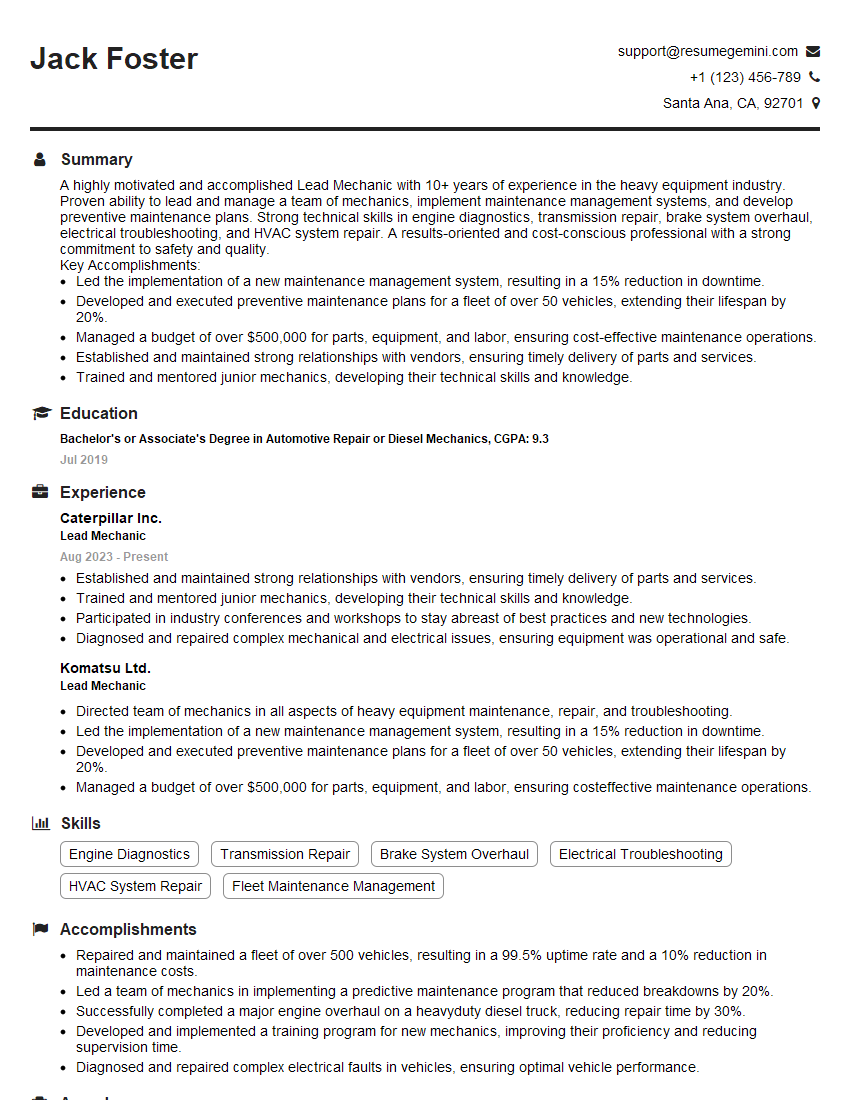
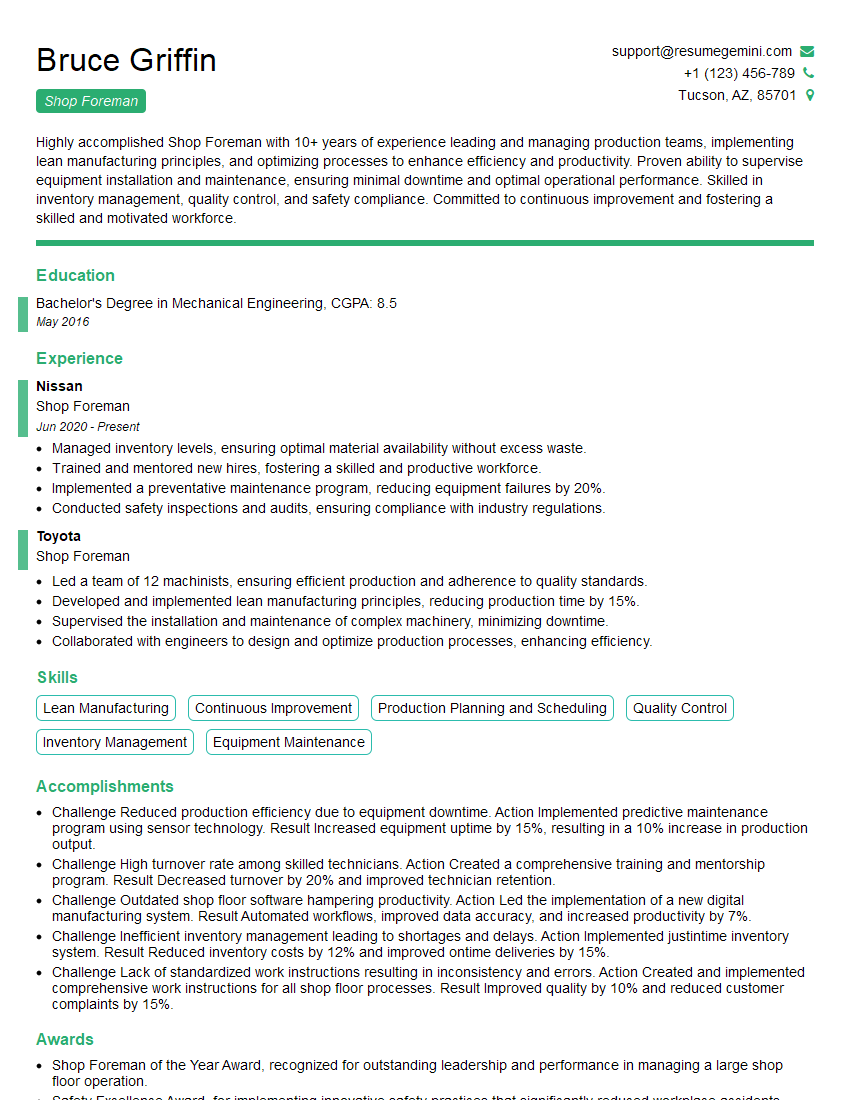
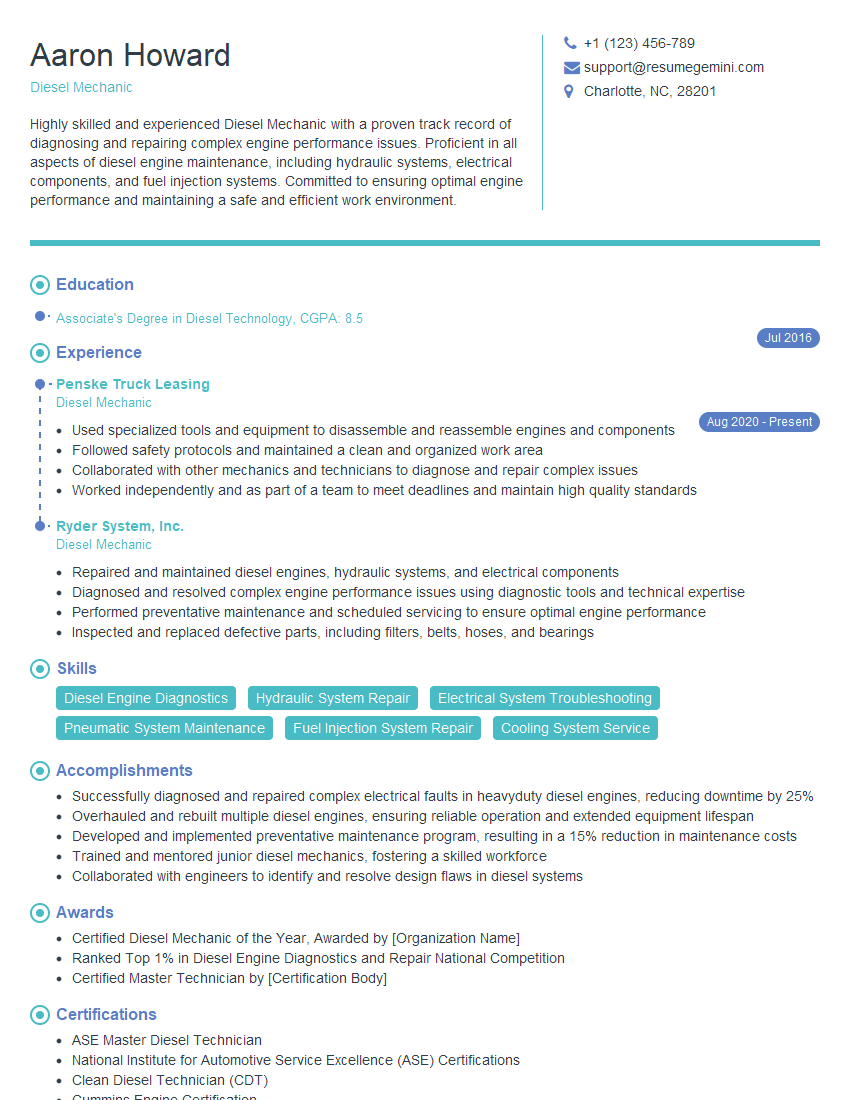
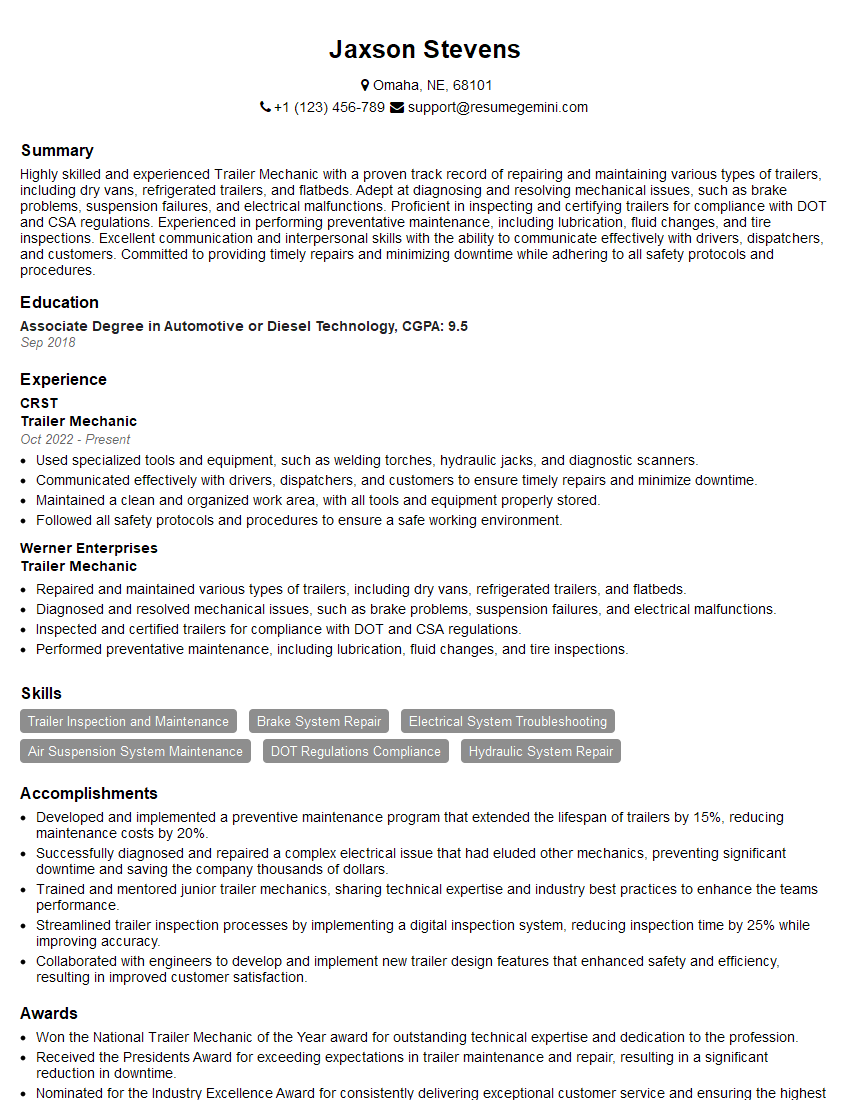
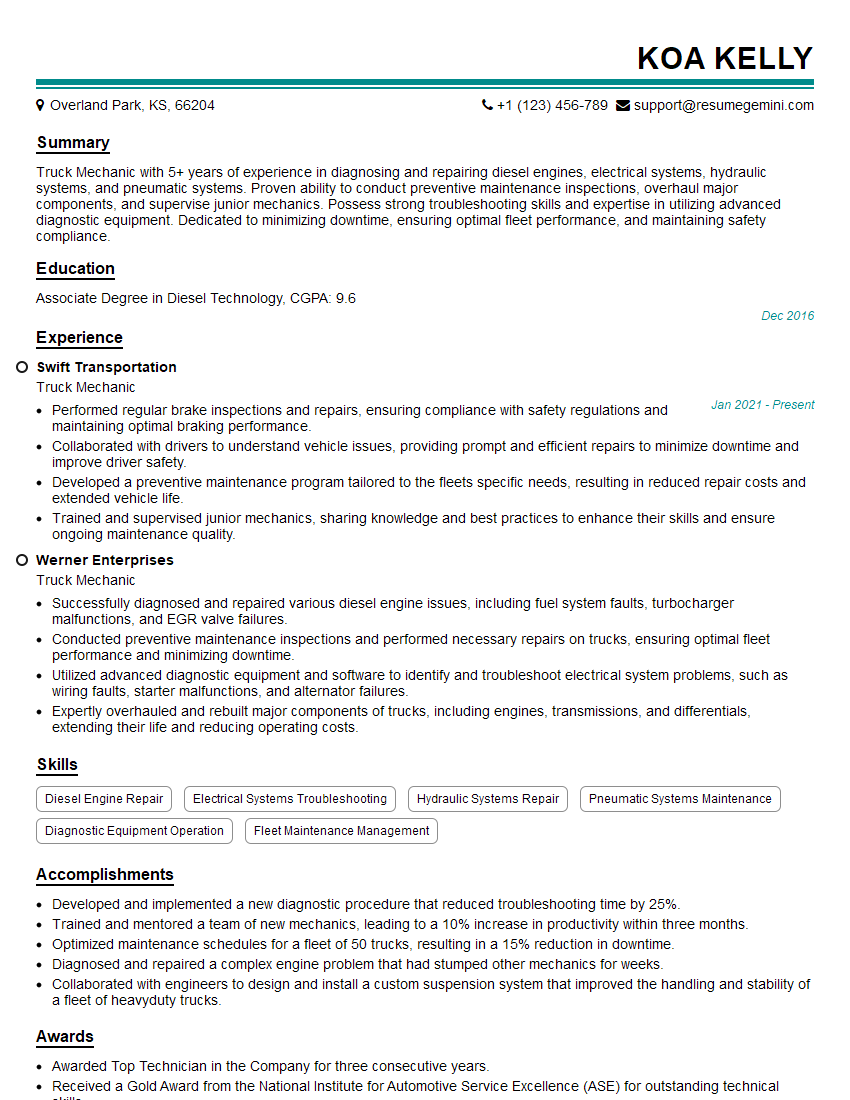
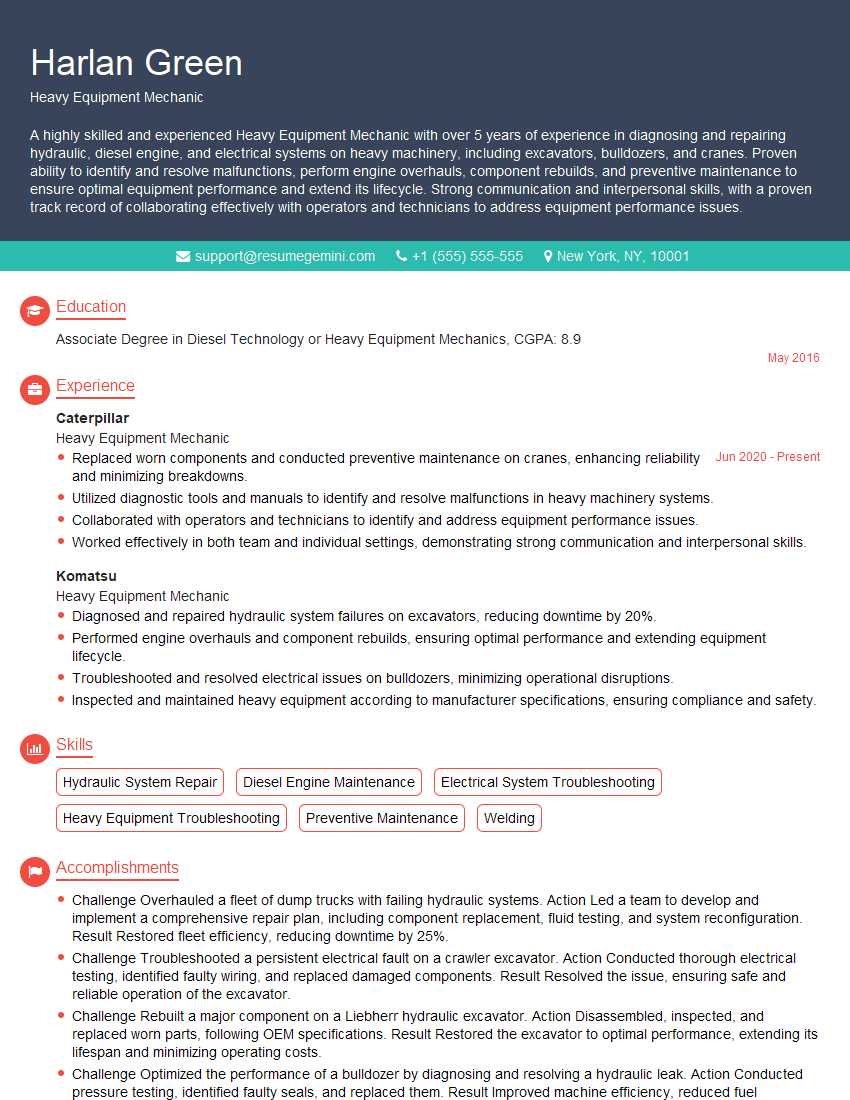
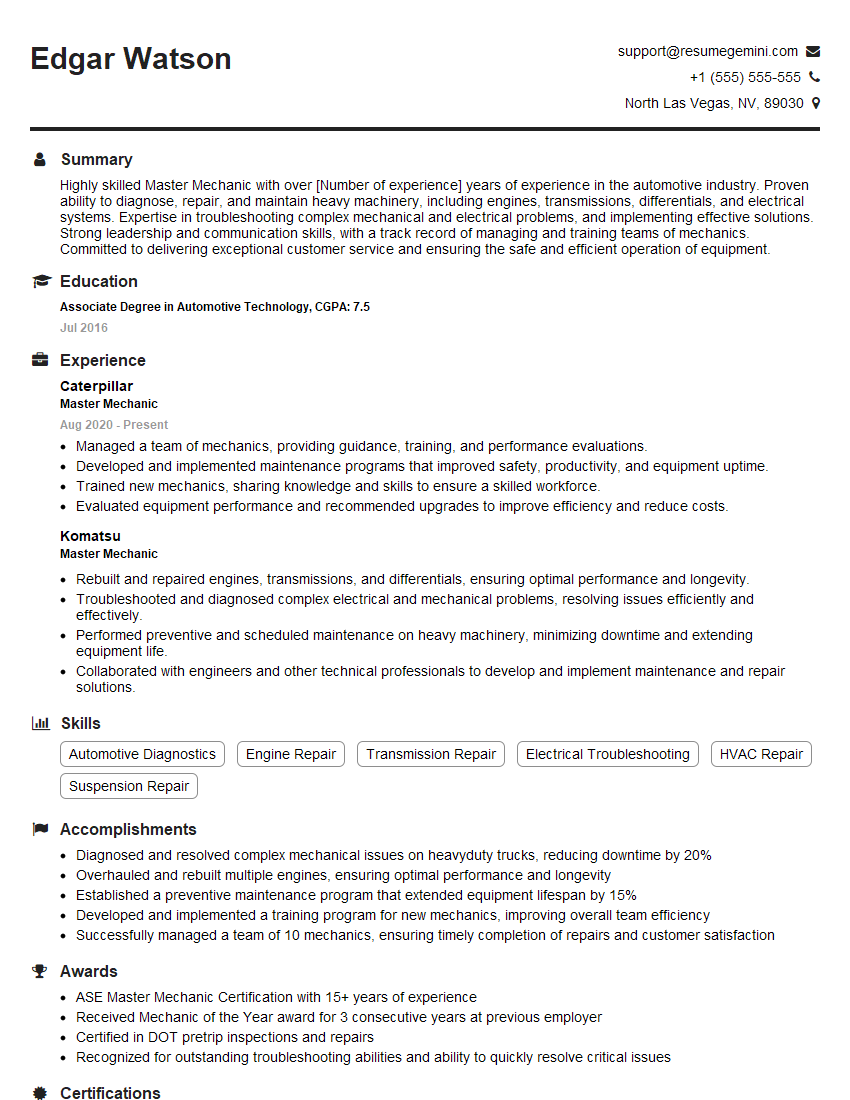
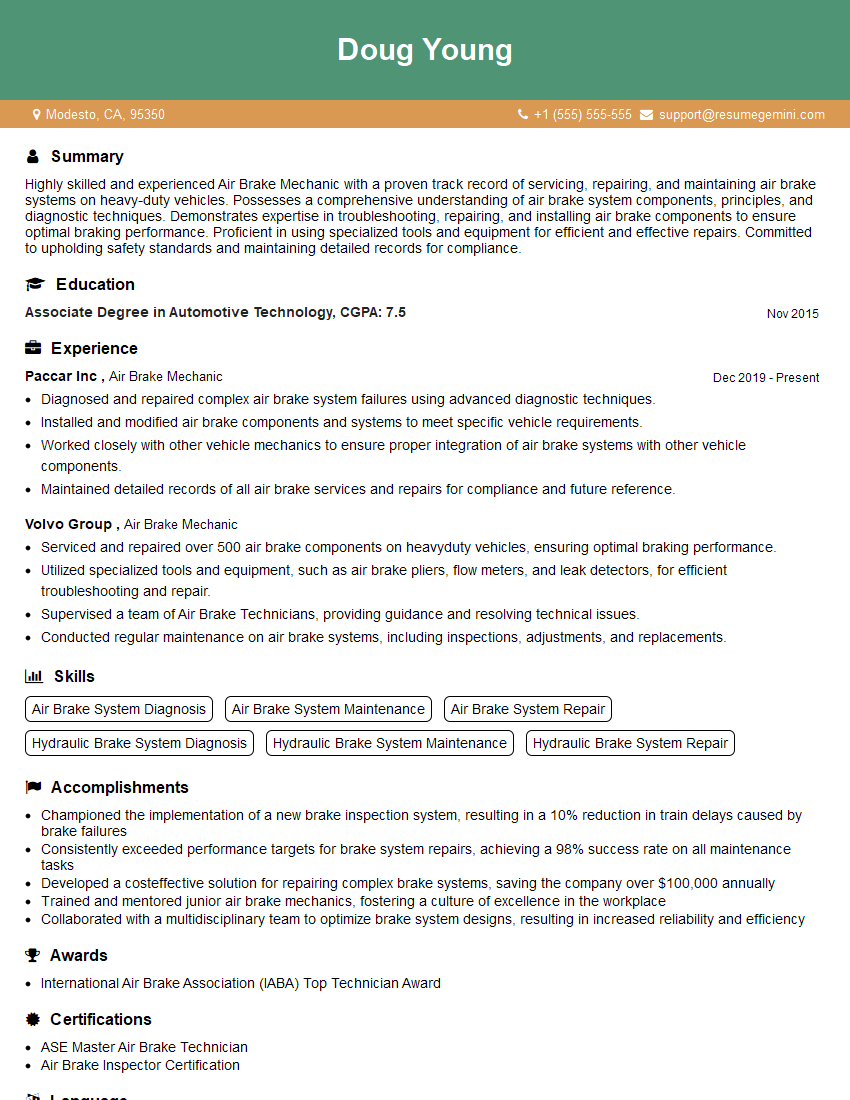
Mastering Air Brake Inspection opens doors to rewarding careers in transportation and maintenance, offering excellent job security and opportunities for professional growth. A strong resume is crucial for showcasing your skills and experience to potential employers. To significantly boost your job prospects, create an Applicant Tracking System (ATS)-friendly resume that highlights your expertise. ResumeGemini is a trusted resource that can help you build a professional and impactful resume tailored to the demands of the Air Brake Inspection field. Examples of resumes specifically designed for Air Brake Inspection professionals are available to guide you through the process.
Explore more articles
Users Rating of Our Blogs
Share Your Experience
We value your feedback! Please rate our content and share your thoughts (optional).
What Readers Say About Our Blog
Hi, I’m Jay, we have a few potential clients that are interested in your services, thought you might be a good fit. I’d love to talk about the details, when do you have time to talk?
Best,
Jay
Founder | CEO
