Interviews are more than just a Q&A session—they’re a chance to prove your worth. This blog dives into essential Basic Knowledge of Painting interview questions and expert tips to help you align your answers with what hiring managers are looking for. Start preparing to shine!
Questions Asked in Basic Knowledge of Painting Interview
Q 1. What are the different types of paint finishes?
Paint finishes significantly impact a project’s final look and durability. They determine the sheen and texture of the painted surface. Common types include:
- Matte/Flat: Minimal to no shine, excellent for hiding imperfections but more challenging to clean. Think of the walls in a quiet, cozy library.
- Eggshell: A slightly more durable and washable finish than matte, with a low sheen resembling an eggshell. It offers a good balance between hiding imperfections and cleanability – perfect for bedrooms or hallways.
- Satin: Offers a soft, subtle sheen with good durability and washability. It’s a popular choice for kitchens and bathrooms due to its easy cleaning properties.
- Semi-gloss: A more reflective finish than satin, offering excellent durability and washability. Often used in high-traffic areas or on trim work due to its ability to withstand frequent cleaning.
- Gloss: The highest sheen, most durable and washable finish. It’s ideal for doors, trim, and other areas requiring frequent cleaning and maximum protection. But it will highlight any surface imperfections.
Q 2. Explain the process of surface preparation before painting.
Proper surface preparation is crucial for a long-lasting, beautiful paint job. It ensures the paint adheres properly and prevents peeling or chipping. The process typically involves:
- Cleaning: Remove dirt, dust, cobwebs, grease, and any loose or flaking paint using appropriate cleaners and tools like brushes, scrapers, and pressure washers. Think of it as prepping your canvas before you start painting a masterpiece.
- Repairing: Fill any holes, cracks, or dents using spackle or wood filler, sanding smooth once dry. This step ensures a smooth, even surface for optimal paint adhesion.
- Priming (often necessary): Applying a primer seals the surface, improving paint adhesion, and can help cover stains or discoloration. Primer is like a base coat that preps the surface for the final artwork.
- Sanding: Lightly sand the surface between coats to create a smooth, even finish, removing any bumps or imperfections. This crucial step ensures a flawless result.
Q 3. What are the common tools and equipment used in painting?
The tools and equipment required depend on the project’s scale and complexity, but common items include:
- Paintbrushes: Various sizes and bristle types for different applications and finishes.
- Rollers and roller covers: For large surface areas, choose nap thickness based on surface texture.
- Paint trays: To hold and distribute paint efficiently.
- Drop cloths or masking tape: To protect surrounding areas from paint spills.
- Sandpaper and sanding block: For surface preparation and smoothing.
- Putty knives and scrapers: For removing old paint or filling imperfections.
- Paint can opener: For easy access to paint.
- Stir sticks: To mix the paint thoroughly.
Q 4. How do you choose the right paint for a specific surface?
Choosing the right paint depends on the surface’s material and the desired finish. For instance:
- Wood: Use oil-based or water-based paints specifically formulated for wood, considering factors like exterior exposure or interior use.
- Metal: Choose paints designed for metal surfaces, providing rust prevention and durability.
- Drywall: Water-based paints (latex) are generally best for interior drywall.
- Plaster: A paint that’s flexible enough to accommodate movement in the plaster.
- Concrete: Paints formulated to withstand moisture and wear are necessary.
Always check the paint manufacturer’s recommendations for compatibility and application.
Q 5. Describe the steps involved in applying a two-coat paint job.
A two-coat paint job ensures a smooth, even finish and optimal color coverage. The steps are:
- Surface Preparation: As previously described, clean, repair, prime, and sand the surface.
- First Coat Application: Apply a thin, even coat of paint, working in manageable sections. Use a brush or roller, ensuring complete coverage. Allow the first coat to dry completely according to the paint manufacturer’s instructions.
- Second Coat Application: Once the first coat is thoroughly dry, apply a second, even coat. The second coat will enhance the color depth and evenness of the finish.
- Cleanup: Clean brushes, rollers, and other equipment immediately after use with appropriate solvents.
Q 6. What are the safety precautions you take when using paint and solvents?
Safety is paramount when working with paint and solvents. Key precautions include:
- Ventilation: Work in a well-ventilated area or use respirators to avoid inhaling paint fumes. This helps prevent respiratory irritation.
- Eye Protection: Always wear safety glasses to protect your eyes from splashes.
- Gloves: Wear gloves to prevent skin irritation and protect your hands.
- Protective Clothing: Wear old clothes to protect yourself from spills and stains.
- Proper Disposal: Dispose of paint and solvents properly according to local regulations. Never pour paint down the drain.
- Fire Safety: Be aware of flammability hazards associated with certain solvents. Keep them away from open flames and sparks.
Q 7. How do you handle different paint textures, such as glossy or matte?
Handling different paint textures requires specific techniques:
- Glossy Finishes: Require careful application to avoid brush strokes. Multiple thin coats are better than one thick coat. A smooth surface preparation is essential to prevent highlighting imperfections.
- Matte Finishes: More forgiving of brush strokes, but multiple thin coats are still recommended for even coverage. A high-quality brush can help reduce visible brush marks.
Practice on a small, inconspicuous area before tackling the main project to get a feel for the texture and application technique.
Q 8. What are some common painting techniques?
There’s a wide variety of painting techniques, each offering unique effects and suited to different projects. Let’s explore some common ones:
- Brushwork Techniques: This encompasses many approaches, from the controlled strokes of a dry brush (creating a textured effect) to the smooth blending of wet-on-wet techniques (ideal for creating soft gradients). Think of the impasto style, where thick layers of paint are applied, revealing the brushstrokes, compared to a smooth, almost glass-like finish achieved through careful blending.
- Roller Techniques: Rollers are efficient for covering large surfaces quickly. The technique involves loading the roller evenly and applying even, overlapping strokes to avoid streaks. Different roller naps (the thickness of the fibers) provide different surface textures. A short nap is good for smooth surfaces, while a longer nap is ideal for textured surfaces.
- Sponging Techniques: Sponges create interesting textural effects. Dabbing, stippling, or dragging a sponge across the surface can generate unique patterns. This technique is often used to create faux finishes or add subtle textures to a wall.
- Spraying Techniques: Spray guns offer a fast, even coating, perfect for larger projects or applying specialized finishes. Control over the air pressure and distance from the surface influences the final result. However, proper preparation is crucial to avoid overspray.
- Stencilling Techniques: Stencilling allows for intricate designs and repeating patterns. This technique requires precision and can be used to create bold accents or delicate details.
The best technique depends on the project’s scale, desired finish, and the painter’s skill level. Experimenting with different methods is key to developing your unique style.
Q 9. How do you estimate the amount of paint needed for a project?
Estimating paint accurately is crucial to avoid running out mid-project or wasting money. Here’s a step-by-step approach:
- Measure the surface area: Carefully measure the length and width of each wall or surface to be painted. For complex shapes, break them down into smaller, manageable sections.
- Calculate the total area: Multiply the length and width of each section to find its area. Add the areas of all sections to get the total square footage.
- Consider surface type: Porous surfaces like plaster or unprimed wood will absorb more paint than smooth, sealed surfaces. This can affect the final amount needed.
- Check the paint can: The paint can usually indicates its coverage in square feet per gallon or litre. Divide the total square footage by the coverage rate to determine the number of gallons or litres required.
- Add extra: Always add an extra 10-20% to account for waste, uneven application, or unexpected issues. It’s better to have a little extra than to run short.
For example, if you have 200 square feet to paint, and the paint covers 300 square feet per gallon, you’ll need about 0.67 gallons. Rounding up and adding the extra 10%, you’d purchase approximately 0.8 gallons or a full gallon to be safe.
Q 10. Explain the difference between water-based and oil-based paints.
Water-based and oil-based paints differ significantly in their composition, properties, and application:
- Water-based paints (also known as latex paints): These paints use water as their solvent, making them easy to clean up with soap and water. They dry quickly, have low odor, and are generally less toxic. However, they are not as durable as oil-based paints and may not be suitable for all surfaces.
- Oil-based paints: These paints use mineral spirits or turpentine as a solvent, resulting in a harder, more durable finish that’s more resistant to water and abrasion. They provide a richer, deeper color, and offer superior adhesion on some surfaces. However, they have a strong odor, take longer to dry, require solvents for cleanup, and are more environmentally concerning.
The choice between water-based and oil-based paints depends on the project’s requirements. Water-based paints are ideal for interior walls and ceilings, while oil-based paints are often preferred for trim, exterior surfaces, or situations requiring extreme durability.
Q 11. How do you clean and maintain your painting tools?
Proper cleaning and maintenance of painting tools is essential for preserving their quality and ensuring successful projects. Here’s a guide:
- Brushes: Immediately after use, rinse brushes thoroughly under running water. For oil-based paints, use a suitable solvent. Reshape the bristles and allow them to dry completely. Store brushes upright to prevent damage.
- Rollers: Remove excess paint from the roller sleeve by running it over a paint tray grid. Wash the sleeve with soap and water (or solvent for oil-based paints). Allow the roller to dry completely before storing it.
- Drop cloths and other supplies: Clean drop cloths and other reusable items according to manufacturer instructions. Dispose of disposable materials properly.
- Spray equipment: Thoroughly clean spray equipment immediately after use, following the manufacturer’s guidelines. This usually involves rinsing with the appropriate solvent, followed by cleaning with water.
Regular maintenance will extend the lifespan of your painting tools and ensure consistent results.
Q 12. What are the advantages and disadvantages of using a paint sprayer?
Paint sprayers offer both advantages and disadvantages:
- Advantages: They provide a fast, even coat, ideal for large areas. The finish is usually very smooth. They’re efficient for reaching hard-to-reach places.
- Disadvantages: They require significant cleanup. Overspray can be a problem, necessitating careful masking. They can be more expensive than other methods. Improper use can lead to an uneven finish or paint build-up.
Choosing between a sprayer and other methods depends on the project scale and the painter’s experience. For large projects with a need for speed and an even finish, a sprayer can be a valuable tool, but for smaller projects or those requiring more control, brushes or rollers might be more appropriate.
Q 13. How do you repair minor surface imperfections before painting?
Minor surface imperfections, like nail holes, cracks, or scratches, need to be addressed before painting for a flawless finish. Here’s how:
- Preparation: Clean the surface thoroughly to remove dust and debris.
- Fill small holes: Use a suitable filler, such as spackle or wood filler, to fill small holes and cracks. Apply a small amount and let it dry completely before sanding.
- Sanding: Once the filler is dry, sand it smooth using fine-grit sandpaper. Remove any excess filler to create a smooth, even surface.
- Priming: Apply a primer to ensure proper adhesion of the paint and to cover any imperfections that might still be visible.
Proper surface preparation is critical; it prevents the imperfections from showing through the final paint coat and ensures a professional-looking finish. Failing to do this can lead to an uneven appearance and potentially compromise the paint’s longevity.
Q 14. How do you achieve a smooth and even paint finish?
Achieving a smooth and even paint finish involves careful preparation and application techniques:
- Surface preparation: Ensure the surface is clean, dry, and free of imperfections. This may involve sanding, priming, or filling holes.
- Proper paint application: Use a quality brush or roller, and apply the paint in thin, even coats. Allow each coat to dry completely before applying the next. Overlapping strokes are essential to prevent streaks. Use a back-and-forth motion with minimal pressure.
- Appropriate tools: Employ tools appropriate for the surface and paint type. A short nap roller works best for smooth surfaces, while longer naps are suitable for textured ones.
- Good lighting: Paint in good lighting to identify any imperfections immediately and address them before they dry.
- Thin coats: Multiple thin coats are always better than one thick coat to avoid runs and drips, promoting a better, smoother finish.
Patience and attention to detail are key to achieving a professional-looking result. Rushing the process often leads to an uneven finish. Taking your time will be well worth the effort.
Q 15. How do you deal with paint spills or drips?
Dealing with paint spills and drips is crucial for a professional finish. Prevention is key; using painter’s tape, drop cloths, and working in small, manageable sections minimizes accidents. However, spills happen. For small spills, I immediately use a clean, dry cloth or paper towel to blot up excess paint, avoiding spreading it. For larger spills, I gently scrape off the excess paint with a putty knife, working from the outside in to prevent further spreading. Then, I carefully blot with a clean cloth. For drips, I allow them to dry completely before carefully scraping them off with a razor blade held at a low angle. Finally, I lightly sand the area smooth and re-apply paint as needed. Think of it like this: quick action prevents larger problems. The faster you address a spill, the easier it is to clean up.
Career Expert Tips:
- Ace those interviews! Prepare effectively by reviewing the Top 50 Most Common Interview Questions on ResumeGemini.
- Navigate your job search with confidence! Explore a wide range of Career Tips on ResumeGemini. Learn about common challenges and recommendations to overcome them.
- Craft the perfect resume! Master the Art of Resume Writing with ResumeGemini’s guide. Showcase your unique qualifications and achievements effectively.
- Don’t miss out on holiday savings! Build your dream resume with ResumeGemini’s ATS optimized templates.
Q 16. What are your experience with different painting tools (brushes, rollers, sprayers)?
My experience spans a wide range of painting tools. Brushes are essential for detail work and achieving specific textural effects. I’m proficient with various brush types – from fine-tipped sable brushes for delicate lines to wider bristle brushes for covering larger areas. Rollers are efficient for covering large, flat surfaces quickly and evenly. I’m skilled in using different nap rollers to achieve optimal results depending on the surface texture (e.g., a thicker nap for textured walls, a thinner nap for smooth surfaces). Sprayers offer a smooth, even finish, particularly beneficial for large projects or when achieving a consistent color is paramount. However, they require careful preparation and proper ventilation. I’m experienced with both airless and HVLP sprayers and understand the importance of adjusting the spray pressure and nozzle size for different paint types and surfaces. Choosing the right tool is half the battle; understanding their strengths and limitations allows for optimal results.
Q 17. Describe your experience with color matching and mixing.
Color matching and mixing are critical aspects of my work. I’m adept at using color charts and digital tools to achieve precise color matches. I understand the nuances of color theory, including the impact of undertones and how different pigments interact. For example, I’ve successfully replicated complex colors from existing paint samples for clients needing matching repairs. When mixing colors, I begin by creating a small test batch to ensure accuracy before committing to a larger quantity. This allows me to adjust the ratios as needed to achieve the desired hue and saturation. I often start with a base color and gradually add other colors to fine-tune it, rather than mixing large quantities all at once. Accuracy is paramount; a slight error in color mixing can be easily noticed, especially in larger areas.
Q 18. How do you address challenges like uneven surfaces or difficult-to-reach areas?
Uneven surfaces and hard-to-reach areas present unique challenges. For uneven surfaces, I carefully prepare the surface by filling gaps and cracks with spackling compound, sanding smooth, and priming to create a uniform base. I might use specialized techniques like multiple thin coats of paint to avoid building up excess paint in certain areas, or I might employ a specialized roller or brush to reach into crevices. For hard-to-reach areas, I employ extension poles for rollers and brushes, or utilize smaller brushes and tools for intricate details. I’m also comfortable using techniques like masking and careful hand-painting to ensure precise application in these areas. It’s all about strategic planning and choosing the right tools for the job. I’ve successfully painted intricate crown moldings and high ceilings with meticulous attention to detail.
Q 19. What types of projects have you completed using different painting techniques?
My painting experience includes a variety of projects and techniques. I’ve completed interior and exterior painting projects using various techniques, such as:
- Standard brushing and rolling: This is the foundation of most painting projects and I’m highly proficient in this technique.
- Spray painting: I utilize this for large-scale projects or when a smooth, even finish is desired, while being mindful of overspray and proper ventilation.
- Faux finishing techniques: This includes techniques like sponging, rag rolling, and distressing, which I’ve used to create unique textures and visual effects.
- Cabinet painting: I’m experienced in preparing and painting cabinets, using appropriate primers and topcoats for optimal durability and a professional finish.
Q 20. Explain your process for selecting the appropriate primer for a given surface.
Selecting the right primer is fundamental to achieving a successful paint job. My process begins with identifying the surface material (wood, drywall, metal, etc.) and its condition. For example, a porous surface like drywall often requires a high-quality primer to provide good adhesion and prevent the paint from being absorbed unevenly. A previously painted surface might need a primer to improve adhesion and prevent the new paint from peeling. If there are stains or water damage, I’ll use a stain-blocking primer. I always consider the type of paint being used; oil-based paints generally require an oil-based primer, while water-based paints can usually use a water-based primer. I’ll carefully read the primer’s label to confirm its suitability for the specific surface and paint type. Using the correct primer ensures a durable, even, and professional finish; otherwise, the paint job might not last.
Q 21. How familiar are you with different types of primers?
I’m familiar with a variety of primers, including:
- Oil-based primers: Excellent for sealing porous surfaces and providing a durable base for oil-based paints. They offer superior adhesion and stain-blocking properties but require solvents for cleanup.
- Water-based primers: Convenient for cleanup and offer good adhesion for water-based paints. They are typically lower in VOCs (Volatile Organic Compounds) making them a more environmentally friendly choice.
- Sheen primers: Available in various sheens (matte, satin, etc.) and offer good adhesion and a smooth finish.
- Specialty primers: These include stain-blocking primers for hiding stains, mold and mildew resistant primers for damp areas, and primers designed for specific surfaces such as metal or wood.
Q 22. How do you determine the correct level of sheen for a paint project?
Choosing the right sheen for your paint project depends largely on the surface you’re painting and the desired aesthetic and durability. Sheen refers to the level of glossiness – ranging from flat (matte) to high-gloss. Think of it like choosing a fabric; some are smooth and silky (high gloss), others are rougher (matte).
- Flat/Matte: Hides imperfections best, excellent for ceilings and areas prone to minor flaws. Less durable and harder to clean.
- Eggshell: Slightly more sheen than flat, more durable and washable, a good compromise for walls in low-traffic areas.
- Satin: More durable and washable than eggshell, good for high-traffic areas like hallways or kitchens. More resistant to scuffs and scratches.
- Semi-gloss: Very durable and washable, often used in bathrooms and kitchens due to its resistance to moisture. Shows imperfections more readily.
- High-gloss: Most durable and washable, reflects light significantly, best suited for trim, molding, and doors. Shows every imperfection.
For example, I wouldn’t use high-gloss paint on a textured wall because it would accentuate the texture. Conversely, I’d choose semi-gloss or satin for a bathroom to withstand moisture and cleaning.
Q 23. What are the steps involved in preparing a surface for a specific paint type?
Surface preparation is crucial for a long-lasting, professional-looking paint job. It’s like prepping the canvas before you start painting a masterpiece. The steps vary depending on the paint type and the surface condition, but generally involve these steps:
- Cleaning: Remove dirt, dust, grease, and cobwebs using appropriate cleaners (e.g., TSP for heavily soiled surfaces). This ensures the paint adheres properly.
- Repairing: Fill holes, cracks, and imperfections using spackle or wood filler. Sand smooth once dry.
- Priming (Often Necessary): A primer provides a uniform surface for the topcoat, improving adhesion and preventing bleed-through (when the underlying color shows through). Different primers are designed for different surfaces (e.g., oil-based primer for knotty pine).
- Sanding: Lightly sand surfaces after filling and priming to create a smooth finish. Use progressively finer grits of sandpaper.
- Caulking: Fill gaps and cracks between trim and walls with paintable caulk for a neat finish.
For example, painting over wallpaper requires removing the wallpaper first before any priming or painting. Failure to do so will likely result in peeling paint later.
Q 24. What are the environmental factors affecting paint application?
Environmental factors significantly impact paint application and the longevity of the paint job. Imagine trying to paint in a hurricane – it wouldn’t be pretty! Key factors include:
- Temperature: Extreme heat can cause the paint to dry too quickly, leading to uneven application and brush strokes. Cold temperatures can slow drying time and prevent proper adhesion.
- Humidity: High humidity can also slow drying time and increase the risk of mildew growth. Low humidity can cause paint to dry too quickly.
- Sunlight: Direct sunlight can cause the paint to dry too quickly and lead to uneven coloring. It’s best to paint in shade whenever possible.
- Wind: Wind can blow dust and debris onto the wet paint, resulting in an uneven finish. It can also dry the paint too fast.
- Rain: Obviously, rain will ruin a fresh paint job. Always check the weather forecast before starting an outdoor painting project.
I always check the weather forecast and adjust my schedule accordingly. I also use fans carefully in high heat to promote even drying but avoid creating excessive drafts.
Q 25. What types of paint are best suited for exterior applications?
Exterior paints must withstand harsh weather conditions, such as sun, rain, and temperature fluctuations. Therefore, they’re formulated with enhanced durability and weather resistance. Popular choices include:
- Acrylic-Latex Paints: Popular due to their water-based nature (easy cleanup!), durability, and flexibility. They adhere well to most surfaces and offer good mildew resistance.
- 100% Acrylic Paints: Offer superior durability and weather resistance compared to acrylic-latex blends. More expensive but provide longer-lasting protection.
- Alkyd Paints (Oil-Based): Offer excellent durability and water resistance but require solvents for cleanup and have a stronger odor. Still used for trim and doors in some cases.
Choosing the right paint depends on the surface and climate. For example, in a humid climate, I would prioritize a paint with excellent mildew resistance.
Q 26. What are the best practices for painting trim and molding?
Painting trim and molding requires precision and attention to detail. It’s the jewelry of the paint job. Here’s how to achieve a professional finish:
- Preparation: Thoroughly clean and caulk gaps as described before. Use painter’s tape to protect adjacent surfaces.
- Primer: Use a primer designed for the type of trim (wood, metal, etc.).
- Paint Selection: Semi-gloss or high-gloss paint is best for trim and molding due to its durability and washability.
- Application: Use a high-quality brush or roller designed for smooth finishes. Apply thin, even coats, allowing each coat to dry completely before applying the next.
- Multiple Coats: Two coats are usually sufficient, but three may be necessary for optimal coverage and color.
- Clean Up: Remove painter’s tape carefully while the paint is still slightly wet to prevent paint from pulling away.
Using an angled brush helps in painting clean lines along the edges of the trim, resulting in a sharp, well-defined finish.
Q 27. How do you handle different types of paint failures (e.g., peeling, cracking)?
Paint failures, like peeling or cracking, point to underlying issues that need to be addressed. It’s not just about a cosmetic fix; it’s about identifying the root cause.
- Peeling: Often caused by poor surface preparation, improper priming, or using the wrong type of paint for the surface. The solution is to remove all loose paint, prepare the surface properly, prime appropriately, and then repaint.
- Cracking: This can result from using a paint that’s too rigid for the substrate (e.g., using a hard paint on a flexible surface), or from expansion and contraction of the substrate due to temperature changes. The solution might involve scraping away the cracked paint, applying an elastic primer, and repainting with a flexible paint.
- Blistering: Usually caused by painting over a damp surface or applying paint too thickly in hot, humid weather. Proper surface preparation, allowing surfaces to dry completely, and thin paint application are vital in preventing blistering.
Before repainting, I always investigate why the paint failed in the first place – it’s a diagnostic process as much as it is a painting one. This ensures the new paint job lasts.
Q 28. Describe your experience working on both residential and commercial projects.
I’ve had extensive experience in both residential and commercial painting projects, ranging from small interior touch-ups to large-scale exterior renovations. In residential settings, I’ve worked on everything from single-family homes to multi-unit complexes, focusing on detailed work and client satisfaction. My experience includes all aspects of the job, from initial consultations and color selection to final cleanup and client walkthroughs. I pride myself on building strong relationships with my clients and delivering high-quality workmanship that exceeds their expectations.
Commercial projects have provided opportunities to work on larger-scale projects with more complex requirements. This has involved adhering to strict deadlines and coordinating with other contractors. Examples include painting the interior of office buildings, retail spaces, and apartment complexes. I’ve learned to manage larger teams and handle more complex logistical challenges, ensuring projects are completed on time and within budget.
Key Topics to Learn for Basic Knowledge of Painting Interview
- Color Theory: Understanding color wheels, harmonies, and mixing techniques. Practical application: Explaining your choices in color palettes for different projects.
- Brushstrokes and Techniques: Familiarity with various brush types and their effects, including layering, blending, and impasto. Practical application: Describing how you achieve specific textures and effects in your work.
- Composition and Design Principles: Knowledge of rule of thirds, leading lines, focal points, and balance. Practical application: Analyzing a painting’s composition and explaining its effectiveness.
- Painting Mediums: Understanding the properties and applications of different mediums like oils, acrylics, watercolors, etc. Practical application: Comparing and contrasting the advantages and disadvantages of various mediums.
- Materials and Tools: Knowledge of different types of canvases, brushes, paints, and other necessary materials. Practical application: Discussing your preferred materials and why you choose them.
- Art History and Influences: Familiarity with significant movements, artists, and styles. Practical application: Connecting your work to historical or contemporary influences.
- Preparation and Clean-up: Understanding proper canvas preparation, paint mixing, and studio maintenance. Practical application: Describing your workflow and best practices for maintaining a clean and organized workspace.
- Problem-Solving in Painting: Techniques for addressing common painting challenges like uneven color application, unwanted textures, or correcting mistakes. Practical application: Providing examples of how you overcome technical difficulties in your work.
Next Steps
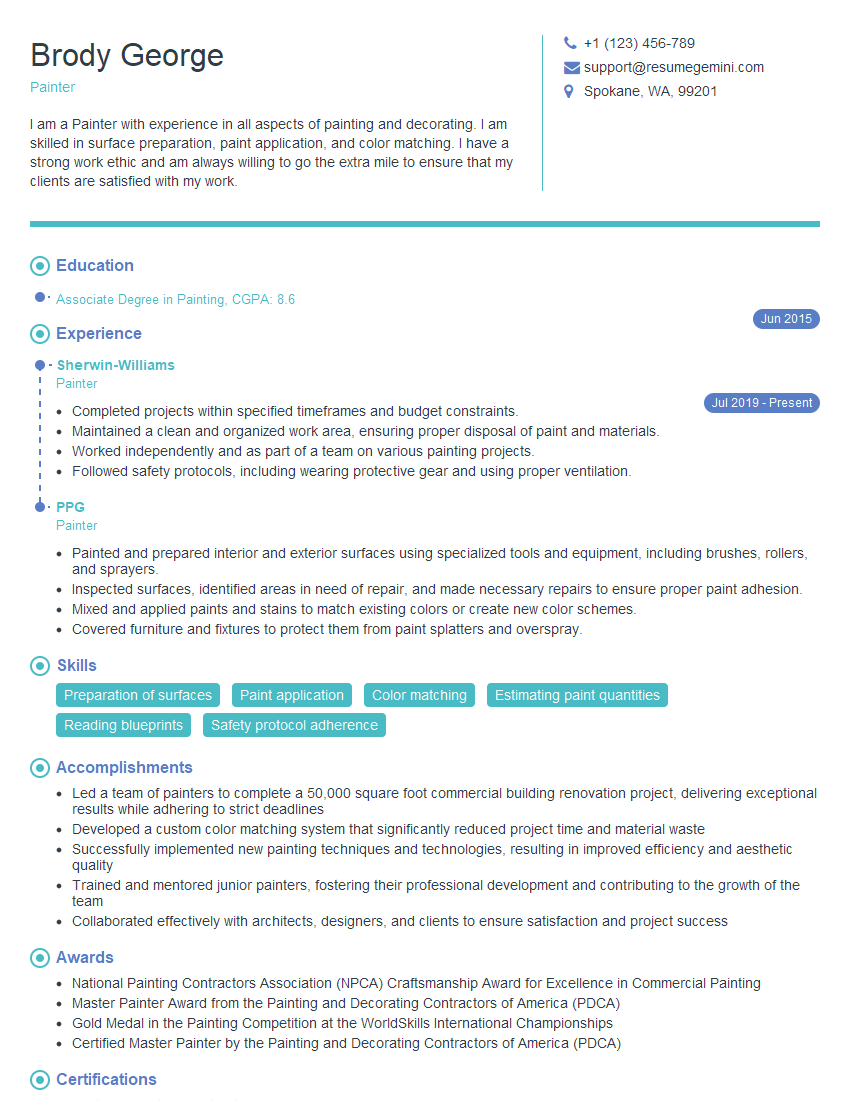
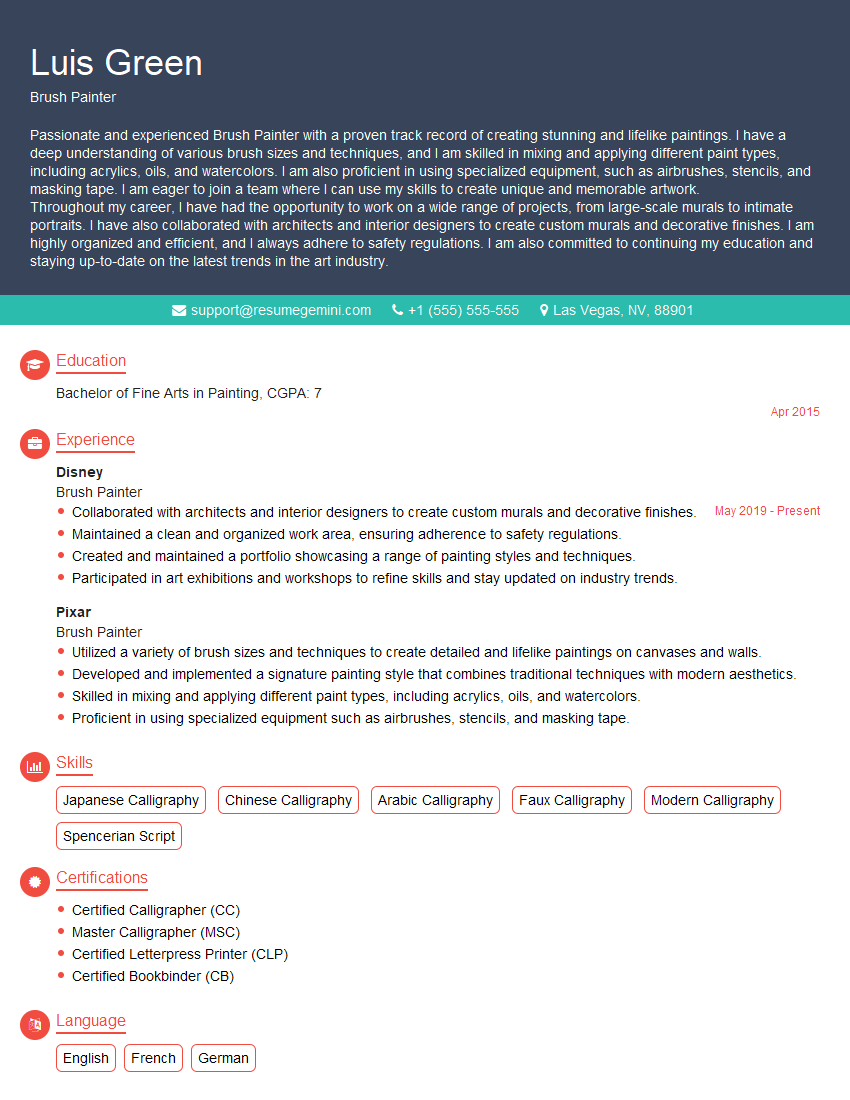
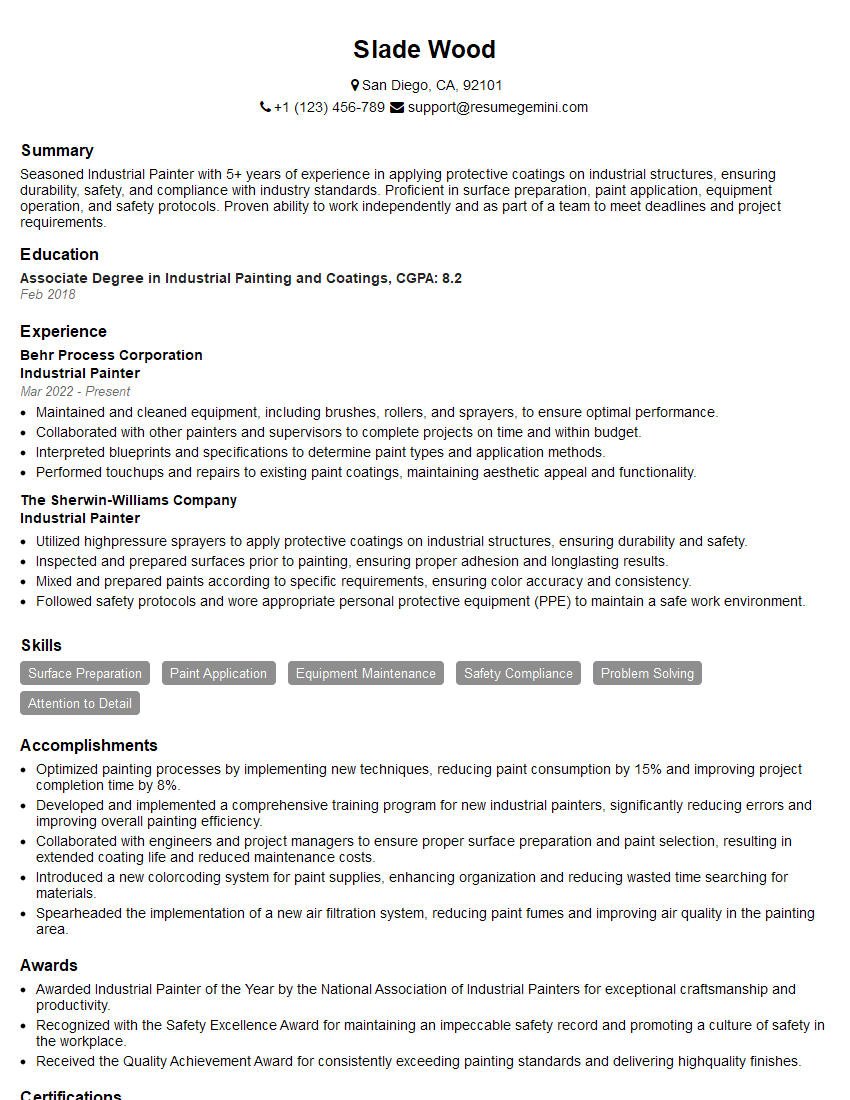
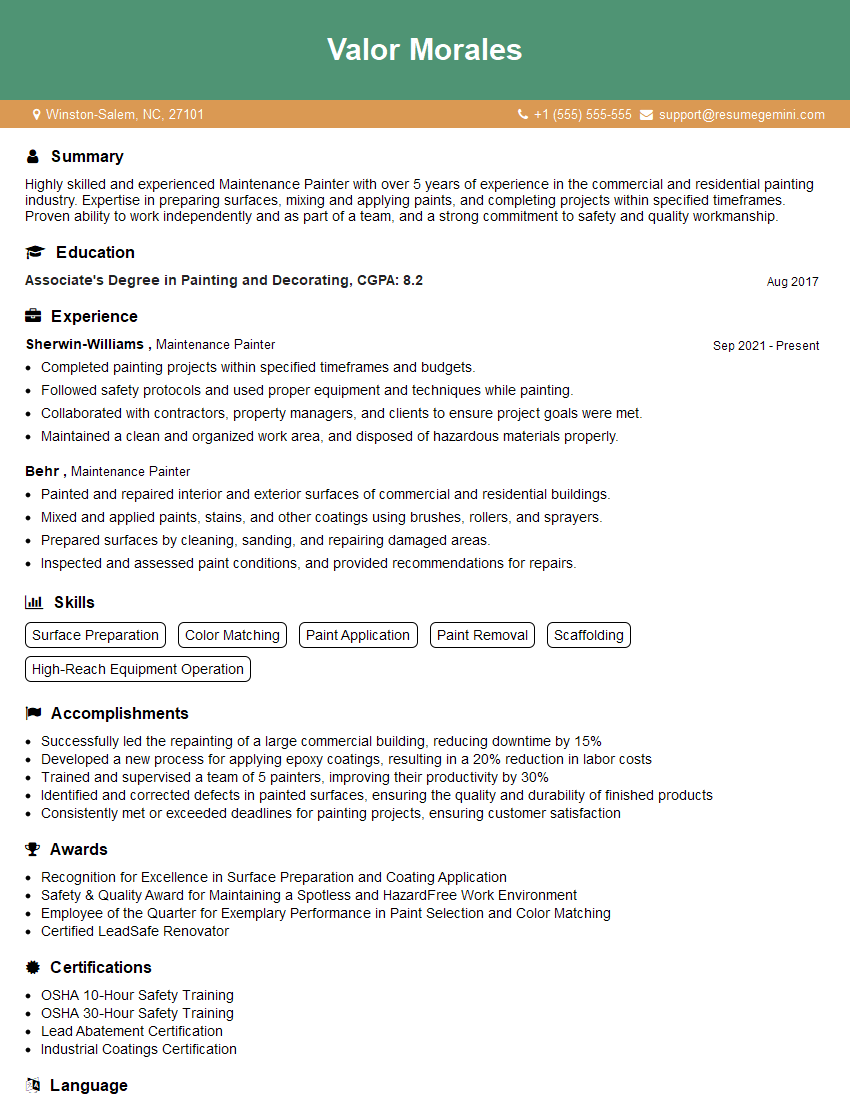
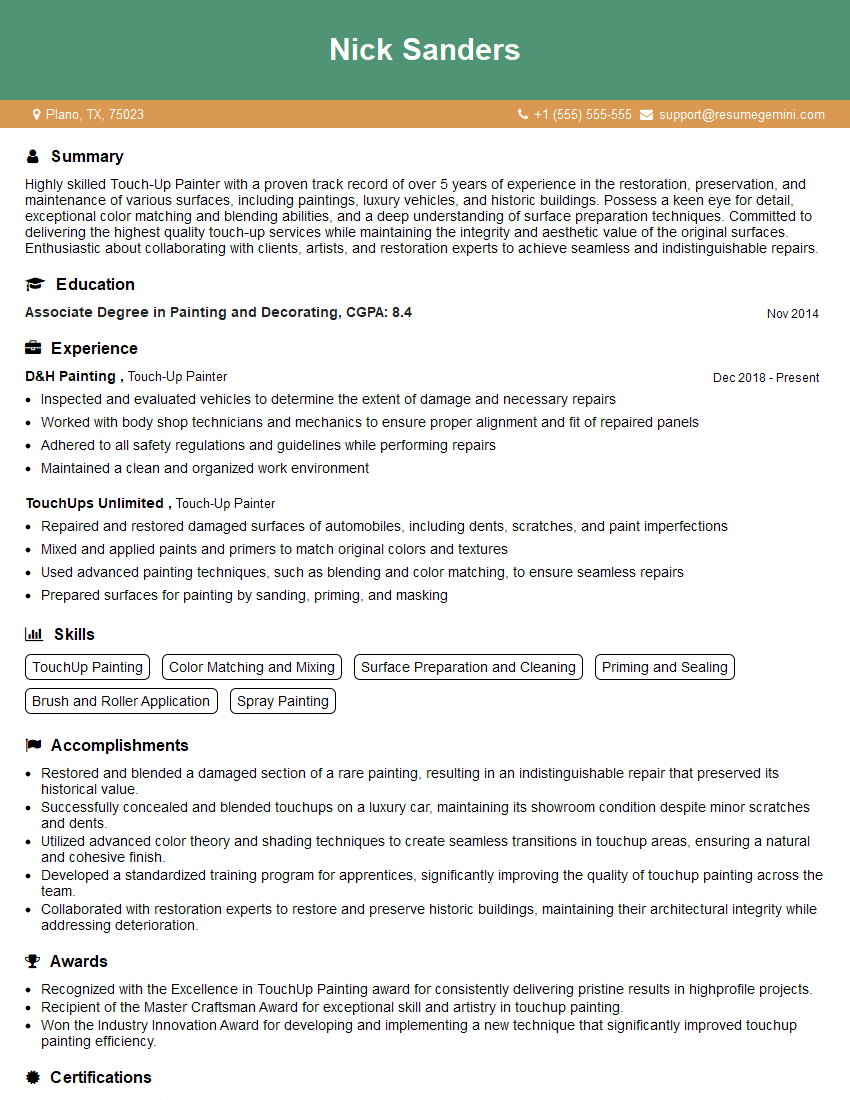
Mastering the basic knowledge of painting is crucial for career advancement in the arts. A strong understanding of these principles demonstrates your skill and professionalism, opening doors to exciting opportunities. To maximize your job prospects, creating an ATS-friendly resume is essential. ResumeGemini is a trusted resource that can help you build a compelling and effective resume tailored to highlight your unique skills and experience. Examples of resumes tailored to Basic Knowledge of Painting are available to help guide you.
Explore more articles
Users Rating of Our Blogs
Share Your Experience
We value your feedback! Please rate our content and share your thoughts (optional).
What Readers Say About Our Blog
Hi, I’m Jay, we have a few potential clients that are interested in your services, thought you might be a good fit. I’d love to talk about the details, when do you have time to talk?
Best,
Jay
Founder | CEO


