The thought of an interview can be nerve-wracking, but the right preparation can make all the difference. Explore this comprehensive guide to Dreamweaver interview questions and gain the confidence you need to showcase your abilities and secure the role.
Questions Asked in Dreamweaver Interview
Q 1. Explain the difference between Dreamweaver’s Live View and Design View.
Dreamweaver’s Live View and Design View offer different perspectives on your website’s development. Think of it like looking at a house: Design View is like the architectural blueprint, showing you the underlying code and structure, while Live View is like a virtual tour, showcasing how the website will appear in a browser.
Design View: This is where you work directly with the HTML, CSS, and JavaScript code. It’s excellent for precise control over the elements and their arrangement. You see the visual representation of your code, but it isn’t a true rendering of what the final webpage will look like in a browser.
Live View: This is a real-time visual representation of your webpage as it will appear in a browser. Changes you make in Design View are immediately reflected in Live View, allowing for quick visual feedback and a more intuitive design process. It’s great for checking the overall layout and responsiveness, although it might not accurately reflect every browser’s rendering engine completely.
For example, when designing a responsive website, Live View lets you easily resize the browser window and observe how your layout adapts across different screen sizes. You can identify and fix responsiveness issues more quickly using Live View than constantly switching back and forth between a browser and Design View.
Q 2. How do you manage CSS styles in Dreamweaver?
Dreamweaver offers several ways to manage CSS styles, making it adaptable to various workflows. You can directly edit CSS within the code editor, use the CSS Designer panel for a visual approach, or link external stylesheets.
- Directly Editing CSS in Code: This provides granular control but requires a good understanding of CSS syntax. You can style elements inline, within the HTML, or inside embedded
<style>tags within the HTML document. This is best for small, specific style changes. - CSS Designer Panel: This visual interface lets you create and modify CSS rules with ease. It’s ideal for beginners and those who prefer a more intuitive approach. The panel allows you to select HTML elements and then adjust their properties like color, font, and spacing visually. Changes are reflected in the Live View immediately.
- External Stylesheets: For larger projects, it’s highly recommended to use external CSS files (
.css). Dreamweaver simplifies the process of linking these external files to your HTML documents. This approach promotes code reusability and maintainability—changes made in the stylesheet apply globally across your website. This is crucial for keeping your code organized and easy to update.
Regardless of your chosen method, Dreamweaver’s code hinting and autocompletion features help minimize errors and boost your CSS editing speed.
Q 3. Describe your experience using Dreamweaver’s code hinting feature.
Dreamweaver’s code hinting is a fantastic time-saver and a major aid in writing accurate code. It’s like having a helpful assistant suggesting the next word as you type.
The feature works by analyzing the code you’re writing and providing suggestions for HTML tags, CSS properties, JavaScript functions, and more. It reduces typing errors, promotes consistency, and helps you discover available options you might not have known. For instance, when I type <div, the hinting feature automatically suggests closing the tag > and may even highlight other attributes relevant to <div> elements, such as class or id. Similarly, when working with CSS, typing color: will offer a list of predefined color values or allow you to input hexadecimal color codes.
It significantly improves coding speed and efficiency. The code hinting feature is particularly useful when working with less familiar technologies or large codebases, helping me quickly familiarize myself with the possibilities. It’s an indispensable tool for maintaining clean and error-free code.
Q 4. How do you optimize images for web use within Dreamweaver?
Optimizing images for web use is crucial for website performance. Dreamweaver doesn’t directly compress images, but it provides tools to help manage the process. I typically use an external image optimization tool before importing images into Dreamweaver.
My workflow involves using tools like TinyPNG or ImageOptim to compress the images, reducing their file size without significantly impacting visual quality. Then, I carefully choose the appropriate image format (JPEG for photographs, PNG for graphics with transparency) for best results.
Within Dreamweaver, I focus on using appropriate image dimensions. I avoid using images larger than necessary, as this increases loading times. I also utilize the alt attribute in my <img> tags, which is vital for accessibility and SEO (Search Engine Optimization).
<img src="image.jpg" alt="Descriptive text for the image" />
For responsive design, I utilize responsive images techniques like <picture> or srcset attributes to provide different image resolutions based on the user’s screen size. This ensures optimal image quality and loading speed across various devices.
Q 5. Explain the process of creating and managing templates in Dreamweaver.
Templates in Dreamweaver are reusable page structures that maintain consistency across a website. They’re like pre-designed blueprints ensuring that all your pages have a similar layout, header, footer, and navigation. This simplifies the design process and ensures a unified brand experience.
Creating Templates: You create a template by starting with a standard HTML page and then defining editable and non-editable regions. Editable regions allow you to change content on individual pages while keeping the overall layout consistent. Non-editable regions define the unchanging elements, like the header and footer. Dreamweaver provides visual tools to clearly define these regions.
Managing Templates: Once a template is created, you can create new pages based on it. When you edit the template, the changes are automatically reflected in all the pages based on that template. This dramatically speeds up development and maintenance, particularly for large websites with many pages. It also ensures consistency across the site.
For example, if you design a template with a specific header and footer, creating new pages based on this template automatically includes that header and footer. If you later want to change the logo in the header, you just need to modify the template, and the change is automatically applied to every page.
Q 6. How do you troubleshoot common Dreamweaver errors?
Troubleshooting Dreamweaver errors often involves systematically checking several aspects of your project.
- Check the Code: Look for syntax errors in your HTML, CSS, and JavaScript. Dreamweaver’s error highlighting and code hinting can help you find these.
- Examine the Console: The browser’s developer console often provides detailed error messages. This is essential for identifying JavaScript errors that may not be apparent in Dreamweaver’s interface.
- Check File Paths and Links: Incorrect file paths or broken links are common causes of issues. Double-check the links to images, CSS files, and other resources.
- Test in Different Browsers: Rendering inconsistencies across different browsers can occur. Testing your website in various browsers like Chrome, Firefox, and Edge helps identify browser-specific issues.
- Check FTP Settings: If you have FTP issues, confirm that the site settings are accurate, including server details, username, and password.
- Restart Dreamweaver: Sometimes a simple restart resolves temporary issues.
- Reinstall Dreamweaver (as a last resort): If persistent issues remain despite other troubleshooting steps, reinstalling the software might be necessary.
Often, the error messages themselves provide valuable clues, guiding you towards the source of the problem. However, if the error is unclear, careful code review, browser console inspection, and thorough testing will help pinpoint and resolve the underlying cause.
Q 7. How do you use Dreamweaver’s FTP capabilities to upload files?
Dreamweaver simplifies file uploading via FTP (File Transfer Protocol), a standard method for transferring files between your computer and a web server.
First, you need to set up an FTP site in Dreamweaver. This involves entering the server details: the server address (often provided by your hosting provider), your username, and password.
Once the site is set up, you can easily upload files using several methods. You can drag and drop files directly from the Dreamweaver Files panel to the remote server. You can also right-click files and select “Put” or “Put File” from the context menu. Dreamweaver will handle the FTP connection and transfer your files. If you’re working with a local folder and a remote folder that mirror each other’s structure, you can use the “Synchronize” feature to efficiently upload only the changes.
Dreamweaver offers real-time feedback on the transfer progress. This is extremely useful for larger projects, allowing you to monitor the process and identify any potential issues early. Regularly backing up files locally before uploading is crucial to avoid data loss if something goes wrong during the FTP process.
Q 8. Describe your experience with Dreamweaver’s visual aids for web design.
Dreamweaver’s visual aids are a cornerstone of its user-friendliness, significantly speeding up the web design process. Think of it like having a sophisticated drawing board for the web. Instead of writing raw HTML, CSS, and JavaScript, you can visually manipulate elements using drag-and-drop functionality. For example, you can easily add and position images, text, and other elements on a page using the visual interface. The Live View feature provides a real-time preview of your work, allowing you to see changes instantly without constantly switching to a browser. Its visual aids also include tools for managing layouts using tables, divs, and other containers, making it simple to structure complex web pages. Furthermore, the CSS Designer allows for visual styling of elements, greatly simplifying the process of applying styles and ensuring consistency.
For instance, if I’m designing a website with a three-column layout, I can easily create and arrange these columns using the visual layout tools instead of meticulously writing the corresponding HTML and CSS code. This significantly accelerates development and reduces potential errors.
Q 9. How do you incorporate Javascript into your Dreamweaver projects?
Integrating JavaScript into Dreamweaver projects is straightforward. You can either directly embed JavaScript code within your HTML pages or link to external JavaScript files. The latter approach is generally preferred for larger projects to improve organization and maintainability. Think of it like using pre-fabricated components in construction. External files keep your code clean and manageable.
For embedding, you’d use the standard <script> tags within your HTML document. For example:
<script>
// Your JavaScript code here
</script>
To link an external JavaScript file, use the src attribute within the <script> tag, pointing to the location of your .js file:
<script src="myScript.js"></script>Dreamweaver also offers code hinting and syntax highlighting for JavaScript, enhancing the coding experience and reducing the likelihood of errors. I frequently use this feature to streamline my workflow, making sure my code functions as intended and remains efficient.
Q 10. How do you handle version control with Dreamweaver projects?
Dreamweaver itself doesn’t have built-in version control. It’s crucial to integrate it with a dedicated version control system like Git. Think of version control as a detailed history log for your project – it allows you to revert to previous versions, track changes, and collaborate effectively with others. I strongly recommend using Git alongside Dreamweaver. I typically use a Git client like GitKraken or Sourcetree and link my Dreamweaver project to a remote repository (like GitHub, GitLab, or Bitbucket) to manage version history.
The process involves initializing a Git repository within your Dreamweaver project folder and then using Git commands (or the GUI of your chosen client) to commit changes, push updates to the remote repository, and manage branches. This ensures that every modification is tracked, allowing for easy rollback and collaboration.
Q 11. Explain the advantages and disadvantages of using Dreamweaver.
Dreamweaver offers a blend of advantages and disadvantages. On the plus side, its visual interface significantly accelerates front-end development for beginners and experienced users alike; it simplifies tasks like layout design and CSS styling. The built-in tools for site management make managing multiple files and folders a breeze.
However, over-reliance on Dreamweaver’s visual aids can hinder the understanding of underlying HTML, CSS, and JavaScript. It also sometimes generates bloated or inefficient code. Further, Dreamweaver’s reliance on a visual interface means that when working with more advanced or complex features or custom coding, the visual interface can feel limiting. Therefore, it’s best to use Dreamweaver judiciously, leveraging its strengths while maintaining a strong understanding of the underlying web technologies.
Q 12. How do you optimize Dreamweaver projects for SEO?
Optimizing Dreamweaver projects for SEO (Search Engine Optimization) involves several key strategies. This is not something Dreamweaver handles automatically, but rather it requires careful attention from the developer. First, ensure proper use of HTML tags like <title>, <meta description>, and <header>, which provide crucial context for search engines. Using relevant keywords throughout your website content is also vital. Dreamweaver provides a good text editor to aid in this process, but the keyword research and content strategy are separate tasks.
Furthermore, it is important to ensure that your site is structured logically, with clear navigation, so search engine crawlers can easily index your pages. Finally, using image optimization techniques like compression helps improve loading speed, a significant ranking factor.
Q 13. How do you ensure cross-browser compatibility in Dreamweaver?
Ensuring cross-browser compatibility in Dreamweaver requires a multi-pronged approach. It’s important to remember that Dreamweaver does not guarantee cross-browser compatibility, it’s up to the developer to follow best practices. The key is to write clean, standards-compliant code that adheres to W3C specifications. Avoid using browser-specific extensions or hacks whenever possible. Always validate your HTML and CSS using online validators to catch any errors that may lead to inconsistencies across browsers. Thorough testing across different browsers and devices (Chrome, Firefox, Safari, Edge, on various screen sizes) is crucial. This might involve using browser developer tools to identify rendering issues. You should consider responsive design principles, which ensure your website adapts appropriately to various screen sizes and devices.
Q 14. Explain your experience using Dreamweaver’s site management features.
Dreamweaver’s site management features are incredibly helpful for managing complex projects. It allows you to easily create and manage local and remote sites, simplifying the organization and synchronization of files. Think of it like a centralized hub for your website project. You define your website structure, and Dreamweaver helps you keep track of your files, allowing you to easily upload, download, and manage your files via FTP or other protocols. This is particularly useful for larger projects with numerous files, folders, and potentially multiple developers. It helps keep everything organized and prevents file conflicts. I regularly use this feature to efficiently manage my projects, especially when working on large, multi-page websites or collaborations.
Q 15. How do you create and edit tables in Dreamweaver?
Creating and editing tables in Dreamweaver is straightforward. You can use either the visual interface or the code editor. The visual approach is ideal for beginners. You simply click “Insert” > “Table” in the menu, specify the number of rows and columns, and Dreamweaver generates the table structure. You can then directly edit the table cells by clicking on them. For more precise control or complex tables, switching to the code view (Code view or Split view) offers finer adjustments. You can manually add table tags (<table>, <tr>, <td>, <th>) and their attributes such as border, cellpadding, and cellspacing to customize the table’s appearance and functionality.
For instance, to create a simple 2×2 table with a border, you would write:
<table border="1"><tr><td>Cell 1</td><td>Cell 2</td></tr><tr><td>Cell 3</td><td>Cell 4</td></tr></table>Remember to always validate your HTML to ensure semantic correctness and browser compatibility. In a professional setting, I find the combination of visual editing for initial structure and code editing for fine-tuning to be highly efficient.
Career Expert Tips:
- Ace those interviews! Prepare effectively by reviewing the Top 50 Most Common Interview Questions on ResumeGemini.
- Navigate your job search with confidence! Explore a wide range of Career Tips on ResumeGemini. Learn about common challenges and recommendations to overcome them.
- Craft the perfect resume! Master the Art of Resume Writing with ResumeGemini’s guide. Showcase your unique qualifications and achievements effectively.
- Don’t miss out on holiday savings! Build your dream resume with ResumeGemini’s ATS optimized templates.
Q 16. Describe your approach to designing responsive websites in Dreamweaver.
Designing responsive websites in Dreamweaver involves a multi-faceted approach. It’s not just about using Dreamweaver’s built-in features, but also understanding responsive design principles. My approach focuses on using CSS media queries to tailor the layout to different screen sizes. I avoid table-based layouts and prefer using semantically correct HTML5 elements such as <header>, <nav>, <main>, <article>, <aside>, and <footer>. These elements provide a solid foundation for responsive design. I utilize flexible layouts (fluid grids) based on percentages instead of fixed pixel widths, ensuring that the website adapts smoothly to different devices.
Furthermore, I often employ a mobile-first approach, starting with designing for smaller screens and progressively enhancing the design for larger ones. Dreamweaver’s Live View can be instrumental in visualizing how the website will appear on various devices during the design process. Finally, I thoroughly test the responsiveness on different devices and browsers to guarantee optimal user experience.
For example, a simple media query to change the width of a div on smaller screens could be:
@media (max-width: 768px) { .my-div { width: 100%; } }Q 17. How do you utilize Dreamweaver’s extensions and add-ons?
Dreamweaver’s extensibility is a powerful feature. I often use extensions to enhance my workflow. These range from code snippets and syntax highlighting enhancements to more advanced tools for FTP management, version control integration (like Git), and even specialized extensions for specific frameworks like Bootstrap or Foundation. My selection process considers reliability, community support, and feature relevance to my projects.
Before installing any extension, I carefully check reviews and ratings to assess its compatibility and stability. I usually prefer extensions from reputable sources to minimize risks. After installing, I always test the extension thoroughly within a test environment before implementing it in a production project. A recent example was using an extension to streamline the process of generating responsive image sizes, significantly reducing my workload.
Q 18. Explain your process for validating HTML and CSS within Dreamweaver.
Validating HTML and CSS is crucial for ensuring web standards compliance and cross-browser compatibility. Dreamweaver doesn’t have built-in validation tools as robust as dedicated validators, but it offers basic checks. For HTML, I prefer using external validators like the W3C Markup Validation Service. I copy the code from Dreamweaver and paste it into the validator to receive detailed reports on errors and warnings. For CSS, I use external validators like the Jigsaw CSS validator. These validators provide valuable insights into potential issues.
While Dreamweaver might provide some real-time error highlighting, it’s not a substitute for comprehensive validation. Relying solely on Dreamweaver’s built-in features is insufficient for ensuring high-quality, standards-compliant code. Regular validation is integral to my workflow, ensuring clean, maintainable, and accessible web pages.
Q 19. How do you work with external style sheets and Javascript files in Dreamweaver?
Working with external style sheets (CSS) and JavaScript files is fundamental to maintain clean and organized code structure. Dreamweaver makes this process efficient. I typically create separate CSS files for styling and JS files for scripting. Then, using Dreamweaver’s capabilities, I link these external files within the HTML document’s <head> section. For CSS, I use <link> tags:
<link rel="stylesheet" href="styles.css">And for JavaScript, I use <script> tags:
<script src="script.js"></script>This approach promotes modularity and reusability, crucial aspects of effective web development. This separation of concerns simplifies maintenance and makes collaboration smoother. In larger projects, I would utilize a CSS preprocessor like Sass or Less for more advanced styling capabilities.
Q 20. How do you create and manage forms using Dreamweaver?
Dreamweaver simplifies form creation significantly. You can visually design forms using the interface or manually write the HTML code. The visual interface guides you through selecting different form elements (text fields, radio buttons, checkboxes, etc.), assigning names and properties. This approach is faster for simpler forms.
For more complex forms or when fine-grained control is required, I prefer writing the HTML code directly. This allows me to define attributes like required, placeholder, and pattern, enhancing form validation and user experience. I always ensure that the forms are submitted using the appropriate method (GET or POST) and target the correct action URL.
After form creation, I thoroughly test the form’s functionality to ensure accurate data submission and handling. I also implement client-side and server-side validation for robust data security and integrity. In professional settings, this typically involves integrating with a backend system for data processing and storage.
Q 21. Describe your experience with accessibility considerations in Dreamweaver.
Accessibility is a paramount concern in all my web development endeavors. When working in Dreamweaver, I strive to follow accessibility best practices from the start. This begins with using semantically correct HTML tags, ensuring proper heading structure (<h1> to <h6>), utilizing alt text for all images (alt attribute in <img> tags), providing captions for videos, and using appropriate ARIA attributes for enhanced screen reader compatibility.
I also check for sufficient color contrast using tools like WebAIM’s contrast checker. Ensuring keyboard navigation is another crucial aspect; all interactive elements must be accessible using the keyboard. Regularly testing with assistive technologies, like screen readers, is essential to verify accessibility features. I always aim for WCAG (Web Content Accessibility Guidelines) compliance to guarantee inclusivity for users with disabilities. Dreamweaver’s built-in features can assist in checking some aspects, but external tools and manual testing remain essential to thorough accessibility review.
Q 22. How familiar are you with using Dreamweaver’s code editor?
My familiarity with Dreamweaver’s code editor is extensive. I’ve used it for years, leveraging its features for efficient coding and website development. It’s more than just a simple text editor; it’s a powerful tool that integrates seamlessly with its visual interface. I’m comfortable working with both HTML, CSS, and JavaScript directly within the code editor, utilizing features like code hinting, syntax highlighting, and code completion to increase my productivity and reduce errors. I often use the code editor for tasks requiring precise control over the underlying code, like optimizing performance, implementing custom JavaScript functionalities, or troubleshooting complex issues that can’t be easily addressed through the visual interface.
For instance, I recently used Dreamweaver’s code editor to optimize the loading speed of a client’s e-commerce website by minifying CSS and JavaScript files directly within the editor, a task that would be much more cumbersome using a separate text editor.
Q 23. How would you troubleshoot a broken link in a Dreamweaver project?
Troubleshooting broken links in Dreamweaver is a systematic process. First, I’d identify the broken link through the visual interface or by inspecting the source code. Dreamweaver often highlights broken links visually. Once identified, I follow these steps:
- Verify the URL: I meticulously check the link’s URL for typos or incorrect pathing. Even a small error can break a link.
- Check Server-Side Issues: If the URL seems correct, I’d check the server to ensure the linked page actually exists and is accessible. This might involve checking server logs or contacting the hosting provider.
- Inspect the Link’s Properties: In Dreamweaver, I would open the Properties panel for the link and verify that the target URL is properly set and the link type is correct.
- Test Locally and Remotely: I’d test the link both locally (on my machine) and on the live server to isolate whether the issue is local or server-side. A local test rules out server problems, while a remote test confirms that the link works in the live environment.
- Use Browser Developer Tools: To further troubleshoot, I’d use the browser’s developer tools (Network tab) to investigate HTTP status codes (e.g., 404 Not Found) returned when attempting to access the broken link. This helps pinpoint the root cause.
For example, if a broken link points to /images/product1.jpg, I’d first check if the images folder exists and if product1.jpg is correctly placed inside it. I would also check for any incorrect capitalization in the file name.
Q 24. Explain your process for testing and debugging Dreamweaver projects.
My testing and debugging process in Dreamweaver is iterative and thorough. It’s crucial to test early and often. My approach involves a combination of manual testing and utilizing Dreamweaver’s features:
- Live View: I heavily use Dreamweaver’s Live View to see changes immediately in a browser-like environment and identify visual errors early.
- Browser Testing: Once the design looks correct in Live View, I thoroughly test across different browsers (Chrome, Firefox, Safari, Edge) and devices (desktop, mobile) to ensure consistent rendering and functionality. Browser inconsistencies are very common.
- JavaScript Debugging: For dynamic content or complex JavaScript interactions, I use the browser’s developer tools to debug JavaScript code, setting breakpoints and stepping through the code to pinpoint the source of errors. Console logs are invaluable here.
- Validating Code: I regularly validate my HTML and CSS code using online validators to ensure it adheres to web standards. Clean, validated code is less prone to errors and easier to maintain.
- Version Control (Git): For larger projects, utilizing a version control system like Git is essential for tracking changes, reverting to previous versions if needed, and collaborating effectively with others. Dreamweaver integrates with Git, simplifying the workflow.
Imagine a scenario where a form submission fails. Using the browser’s developer tools, I’d check the network tab to see if the request was sent, and if so, what the server responded. If the response indicates an error on the server-side, I’d work with the backend developer to resolve the issue. If the problem is client-side (e.g., a JavaScript error preventing the form from submitting), I’d use the debugging tools to identify and fix the code error.
Q 25. How do you manage and organize large Dreamweaver projects?
Managing and organizing large Dreamweaver projects requires a well-defined structure and the use of Dreamweaver’s site management features. My strategy involves:
- Logical Folder Structure: I create a clear and consistent folder structure, separating HTML, CSS, JavaScript, images, and other assets into their respective directories. This improves project organization and code reusability. For example, I might use folders like
/css,/js,/images, and/templates. - Dreamweaver’s Site Definition: I use Dreamweaver’s site definition feature to define the local and remote folders for the project, simplifying file transfers to and from the server. This feature also greatly aids in maintaining consistent relative paths within the code.
- Templates and Includes: I employ templates and includes to create reusable components, reducing code duplication and improving consistency across the website. This helps manage updates efficiently; changing a template affects all pages that use it.
- Comments and Documentation: I write comprehensive comments throughout the code to explain complex logic, functions, and design choices. This is particularly important in larger projects to make the code understandable for others or my future self.
- Modular Design: I break down large projects into smaller, manageable modules. Each module has a specific function, making the project easier to maintain and debug.
Think of it like building a house. A well-organized project, like a well-built house, has a solid foundation, clear compartments (folders), and reusable components (templates and includes). This approach is crucial for long-term maintainability and collaboration.
Q 26. How do you ensure code quality and maintainability in Dreamweaver?
Ensuring code quality and maintainability in Dreamweaver involves a multi-faceted approach:
- Consistent Coding Style: I adhere to a consistent coding style (e.g., using indentation, proper spacing, and meaningful variable names) to improve code readability and reduce errors. There are numerous coding style guides available online.
- Regular Code Reviews: For larger projects, involving a second pair of eyes for code review is invaluable. A fresh perspective can identify potential problems that I might have missed.
- Testing: As mentioned earlier, thorough testing throughout the development process is critical for identifying and fixing bugs early, improving quality and maintainability.
- Code Validation: Using online validators for HTML and CSS helps ensure that the code is valid and adheres to web standards, making it more robust and less prone to cross-browser inconsistencies.
- Modular Design: By dividing the code into independent modules, any changes in one part of the project will be less likely to negatively impact others.
- Version Control: Using Git allows for easy tracking of changes, collaboration, and the possibility to revert to previous versions if needed.
A well-maintained codebase, much like a well-organized library, is easy to navigate, understand, and modify, which saves time and resources in the long run.
Q 27. How would you approach integrating a third-party library into your Dreamweaver project?
Integrating a third-party library into a Dreamweaver project is a straightforward process, though it requires careful planning. My approach is as follows:
- Download and Placement: I download the library files (usually CSS and JavaScript files) and place them in appropriate folders within my project structure (e.g., a
/js/librariesor/css/librariesfolder). - Linking in HTML: I link the library files using the appropriate
<link>(for CSS) and<script>(for JavaScript) tags in my HTML documents. The correct order and placement of these tags are crucial to avoid conflicts. For example:<link rel="stylesheet" href="/css/libraries/mylibrary.css">and<script src="/js/libraries/mylibrary.js"></script> - Compatibility Check: I ensure the library is compatible with the versions of other libraries and the browsers I am targeting. Often, third-party libraries provide detailed compatibility information.
- Conflict Resolution: If conflicts arise between the library and existing code, I might need to use techniques like namespacing or modifying the library’s code carefully (after reviewing its licensing and support options).
- Thorough Testing: After integrating, I conduct thorough testing to verify that the library functions correctly within my project and doesn’t introduce new bugs or break existing functionalities.
For example, integrating a JavaScript charting library would involve downloading the library files, linking them in my HTML, and then using the library’s API within my JavaScript code to create charts. Care must be taken to include the library’s scripts after any scripts that might have dependencies on them.
Q 28. Describe your experience using Dreamweaver to build dynamic websites.
I’ve had considerable experience using Dreamweaver to build dynamic websites. While Dreamweaver doesn’t directly handle server-side scripting, it’s an excellent tool for creating the front-end structure and integrating with server-side technologies. My approach involves:
- Server-Side Technology: I typically work with server-side technologies like PHP, ASP.NET, or Node.js, handling the database interactions and backend logic separately. Dreamweaver focuses on the HTML, CSS, and client-side JavaScript.
- Data Integration: I use Dreamweaver to create the HTML forms and structures for receiving user input. The form data is then sent to the server for processing. I would use server-side technologies to fetch data from databases and dynamically populate the website’s content.
- JavaScript Interaction: I use JavaScript to enhance user interaction and create dynamic effects within the browser, often using AJAX (Asynchronous JavaScript and XML) to make asynchronous requests to the server without reloading the entire page. This enhances the user experience.
- Templates and Includes: I use Dreamweaver’s template and include features extensively to create reusable components, making it easier to manage dynamic content across multiple pages.
- Testing and Debugging: The dynamic nature of the website necessitates thorough testing and debugging using the browser’s developer tools and techniques outlined earlier.
For instance, I built a dynamic blog using Dreamweaver where the posts were fetched from a database via PHP. Dreamweaver handled the front-end layout and the creation of post display elements. PHP took care of database interactions and serving the data. JavaScript handled aspects like pagination and potentially adding comments.
Key Topics to Learn for Dreamweaver Interview
- Site Creation and Management: Understanding the process of creating new sites, managing files and folders within Dreamweaver, and utilizing its built-in site management tools. Practical application: Building a responsive website from scratch using Dreamweaver’s features.
- Code Editing and Manipulation: Proficiency in editing HTML, CSS, and JavaScript directly within the Dreamweaver environment, including understanding code hinting, syntax highlighting, and validation. Practical application: Debugging and optimizing existing website code for improved performance and accessibility.
- Working with Templates and Layouts: Effectively utilizing Dreamweaver’s template system to maintain consistency across multiple pages and applying CSS layouts for responsive design. Practical application: Creating a website with a consistent header, footer, and navigation using templates.
- Visual Aids and Design Tools: Leveraging Dreamweaver’s visual aids such as the visual aids to simplify web development workflows. Practical application: Utilizing the visual aids to speed up design and development.
- Extensions and Integrations: Familiarizing yourself with Dreamweaver’s extensibility and integration capabilities with other tools and services. Practical application: Exploring and utilizing relevant extensions to enhance workflow.
- Advanced Features: Exploring advanced features such as version control integration and advanced code editing features. Practical application: Employing Git integration within Dreamweaver for collaborative web development projects.
- Problem-Solving and Debugging: Developing effective strategies for identifying and resolving common web development issues within Dreamweaver. Practical application: Troubleshooting common JavaScript errors within Dreamweaver.
Next Steps
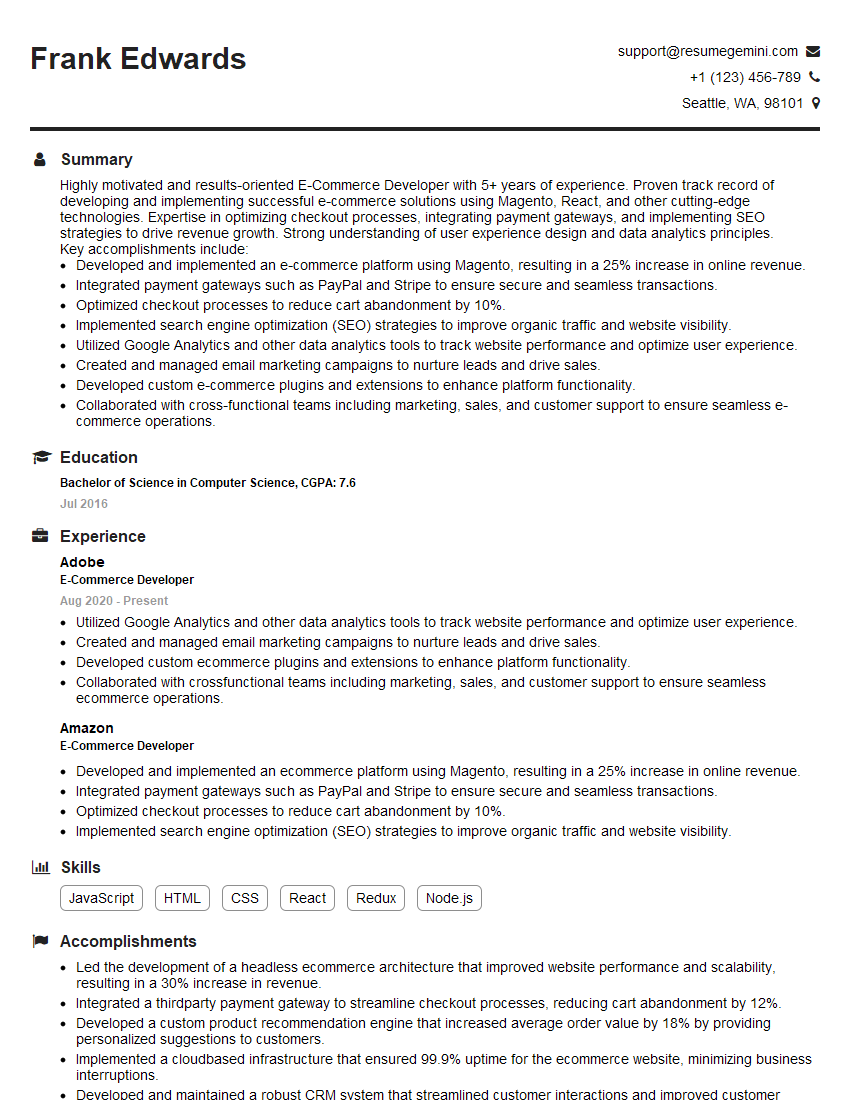
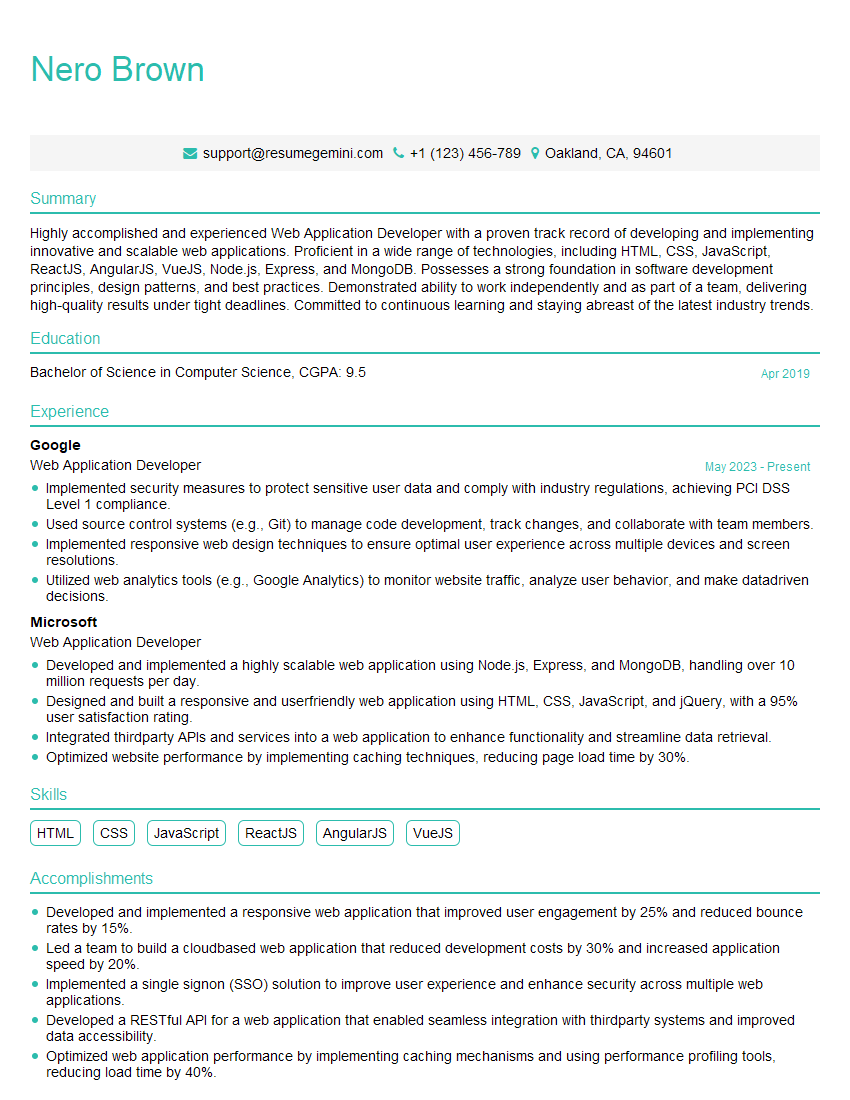
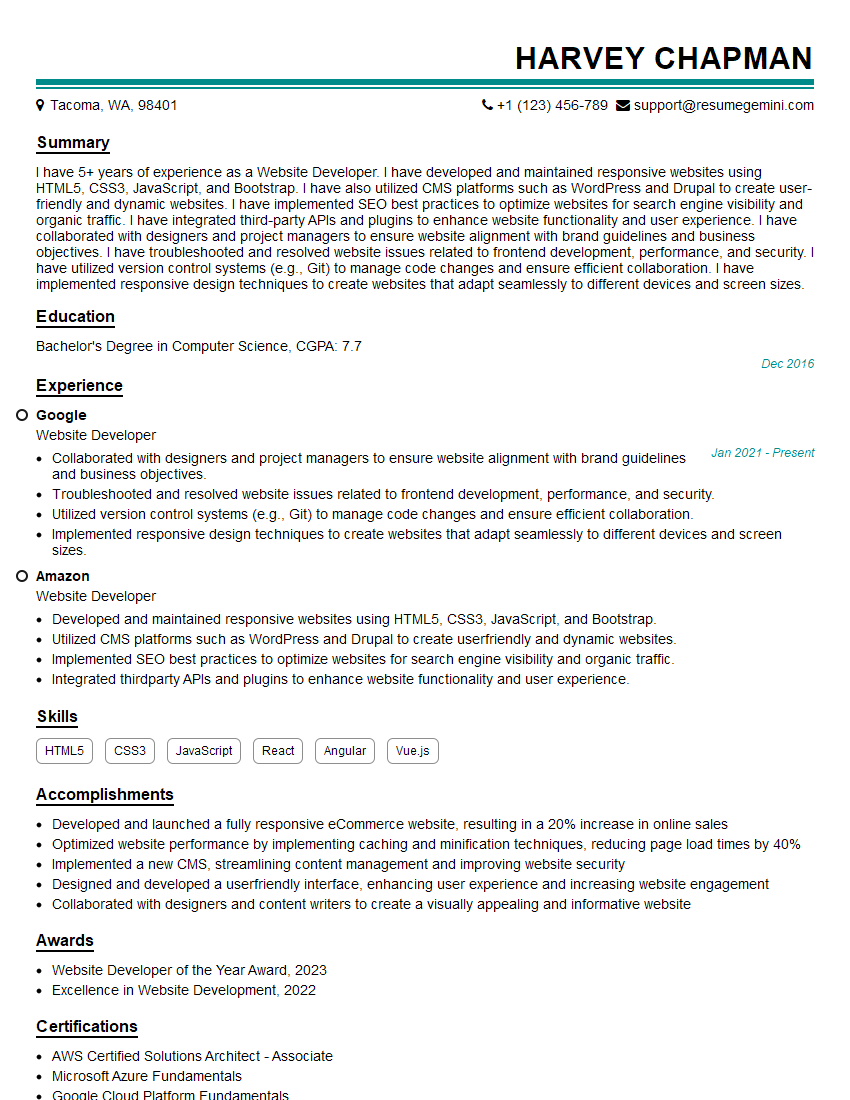
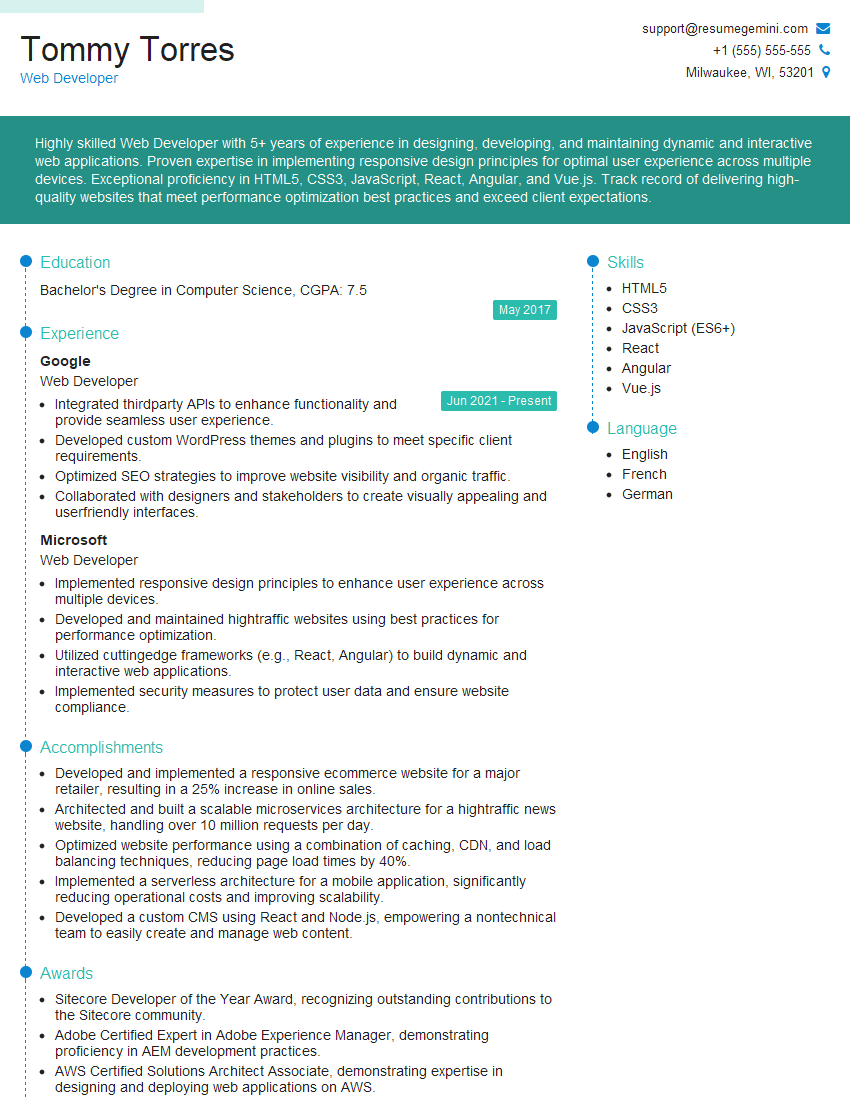
Mastering Dreamweaver significantly enhances your career prospects in web development, opening doors to exciting opportunities and higher earning potential. To maximize your chances of landing your dream job, it’s crucial to create a professional and ATS-friendly resume that showcases your skills and experience effectively. ResumeGemini is a trusted resource to help you build a compelling resume that highlights your Dreamweaver expertise. Examples of resumes tailored specifically for Dreamweaver positions are available to help guide your resume creation process.
Explore more articles
Users Rating of Our Blogs
Share Your Experience
We value your feedback! Please rate our content and share your thoughts (optional).
What Readers Say About Our Blog
Hi, I’m Jay, we have a few potential clients that are interested in your services, thought you might be a good fit. I’d love to talk about the details, when do you have time to talk?
Best,
Jay
Founder | CEO
