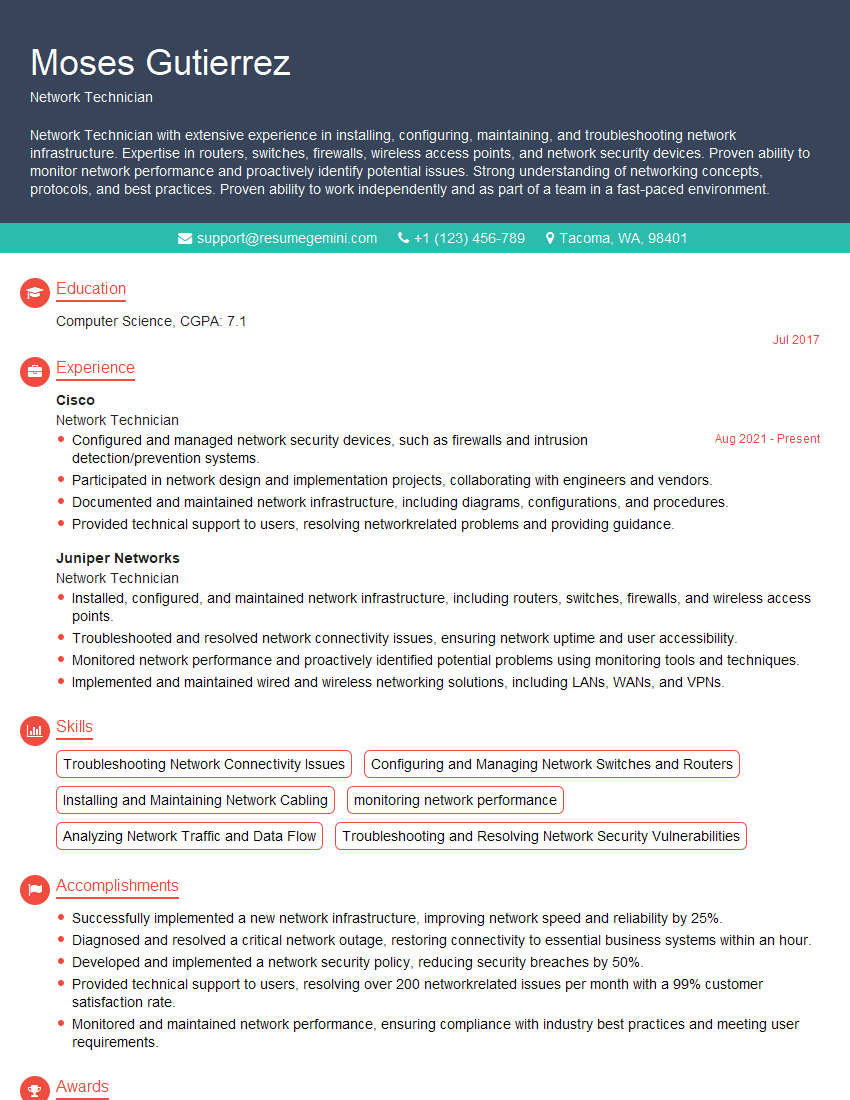
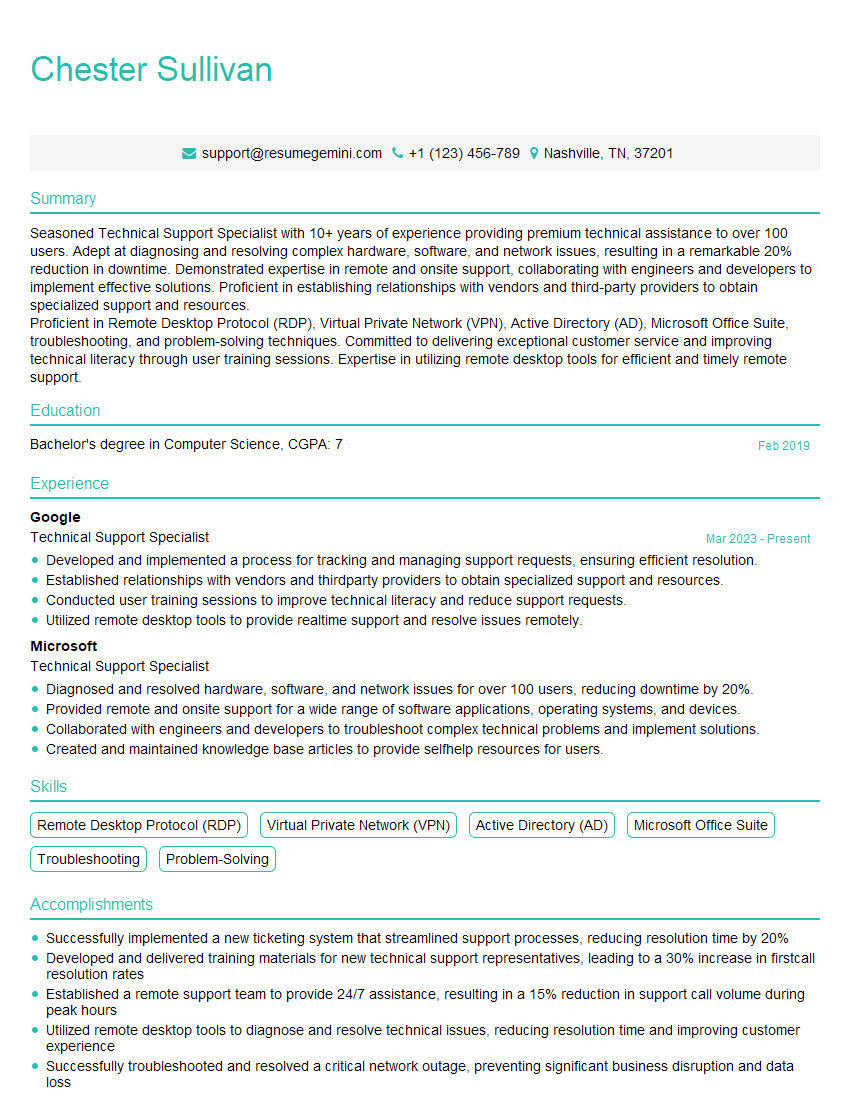
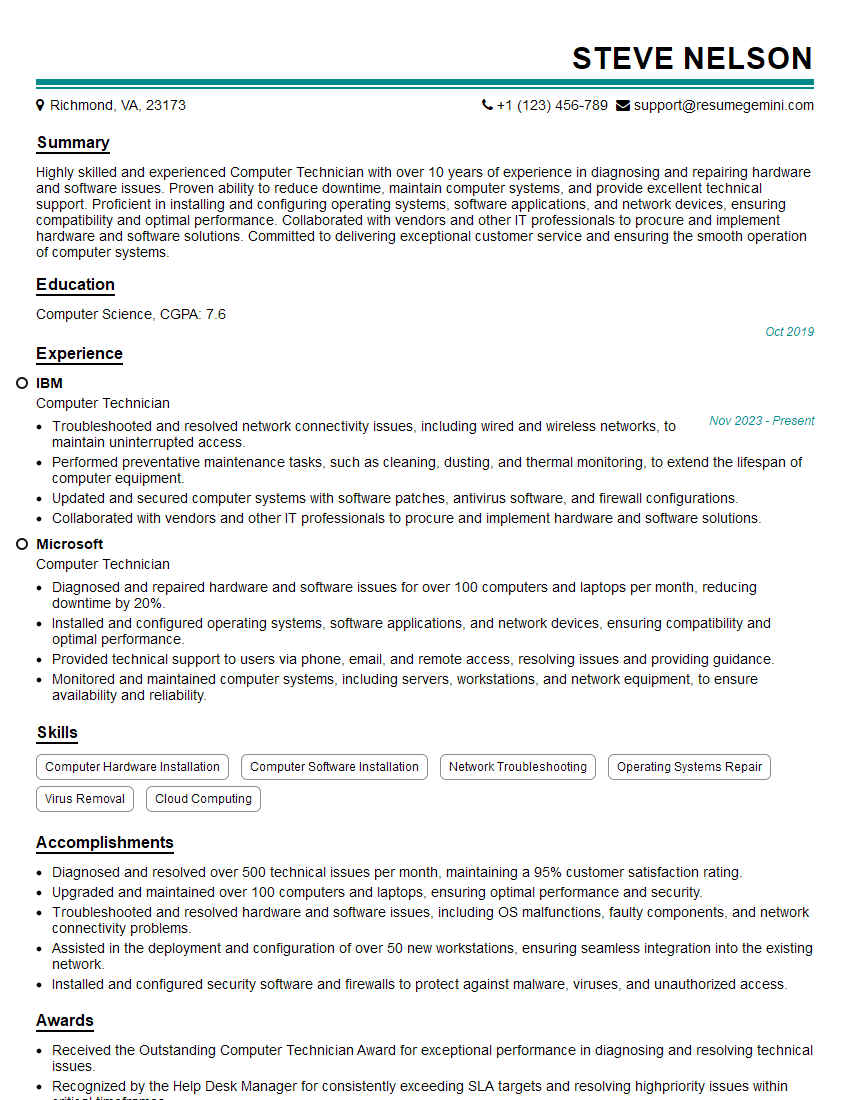
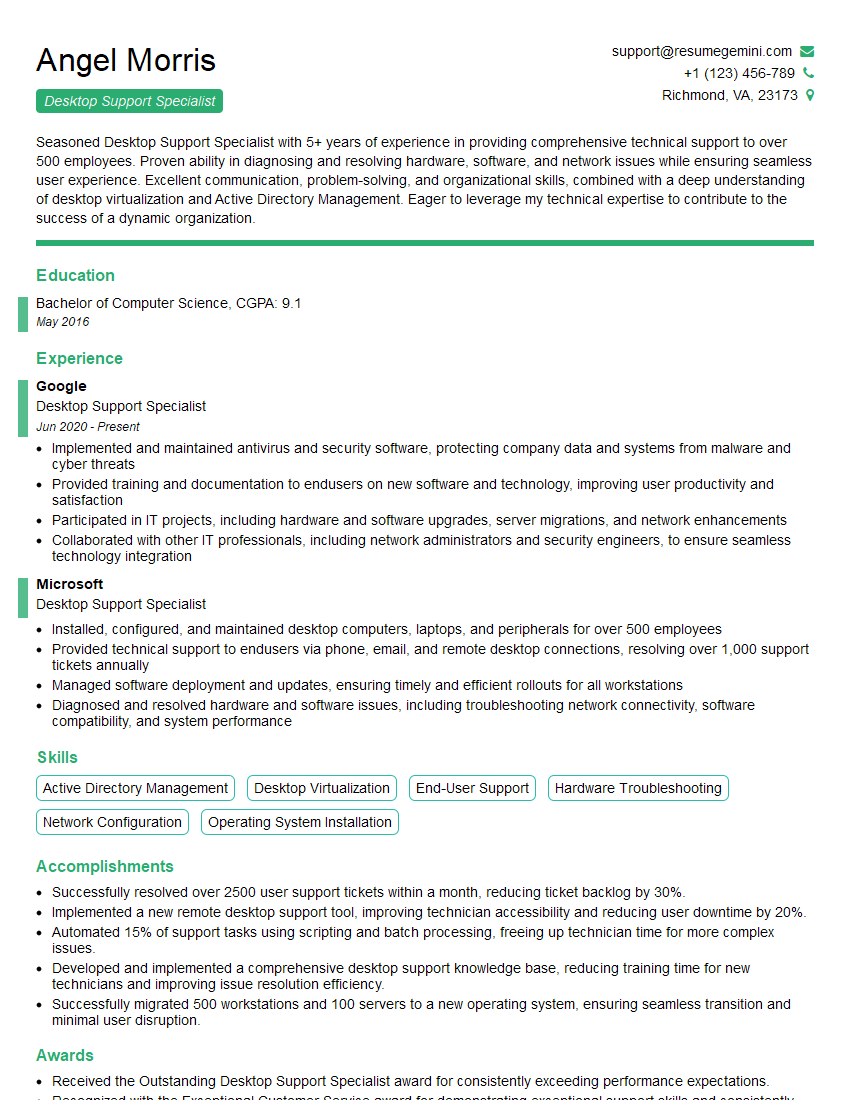
Unlock your full potential by mastering the most common Computer Hardware Installation interview questions. This blog offers a deep dive into the critical topics, ensuring you’re not only prepared to answer but to excel. With these insights, you’ll approach your interview with clarity and confidence.
Questions Asked in Computer Hardware Installation Interview
Q 1. Explain the process of installing a motherboard.
Installing a motherboard is a crucial step in building or upgrading a computer. It’s like placing the brain into the body – it connects all the components. The process involves several key steps, beginning with ensuring proper grounding to prevent electrostatic discharge (ESD) damage. You’ll need an anti-static wrist strap for this.
- Preparation: First, you’ll need to open the computer case. Then, carefully place the case on a non-conductive surface, like a cardboard box. Make sure your workspace is well-lit and spacious enough.
- Standoff Installation (if needed): Many cases come with standoffs – small screws that elevate the motherboard above the chassis, preventing short circuits. These should be installed into the case first.
- Motherboard Placement: Carefully align the motherboard’s I/O panel with the case’s rear opening. Gently lower the motherboard onto the standoffs, making sure it sits evenly. You don’t want to force it.
- Securing the Motherboard: Use the appropriate screws to firmly attach the motherboard to the case standoffs. Do not overtighten.
- Connecting Components: This is where the meticulous work begins! Connect the CPU, RAM, storage drives, power supply, and other peripherals according to the motherboard’s manual. Each connection has a specific orientation – paying close attention to these details is crucial.
- Cable Management: Route all the cables neatly to ensure proper airflow and prevent tangles.
- Power On and BIOS Check: Carefully close the computer case and connect the power supply. Turn on the computer and enter the BIOS setup to verify that all components are recognized. A POST (Power-On Self-Test) failure could indicate a connection issue.
For example, I once had to troubleshoot a motherboard installation where a user had incorrectly aligned the CPU, causing a boot failure. Careful re-alignment solved the problem.
Q 2. Describe your experience with different types of RAM and their installation.
RAM (Random Access Memory) is essential for a computer’s performance. I’ve worked with various types, including DDR2, DDR3, DDR4, and now DDR5. Each generation boasts increased speed and capacity. The installation process is similar across types, though the physical dimensions and notch positions vary.
- Identifying the Type: It’s crucial to verify the type of RAM compatible with your motherboard. The motherboard manual will specify this. Using the wrong type of RAM is a common source of error.
- Opening the Clips: Most RAM slots have clips on the sides. You’ll need to gently push these clips outward to release the slot, allowing insertion of the RAM module.
- Aligning and Inserting: Carefully align the notch on the RAM module with the notch in the RAM slot on the motherboard. Then, firmly but gently push the RAM module down until the clips snap into place.
- Ensuring Secure Connection: After inserting the RAM, try to gently rock it side-to-side; a securely installed module should not move.
A common issue is improper seating of RAM. If the RAM isn’t properly seated, it won’t make contact with the motherboard, resulting in a boot failure or intermittent system crashes. I’ve seen many systems fail to boot due to slightly misaligned RAM, and a simple re-insertion often fixes the problem.
Q 3. How do you troubleshoot a computer that won’t boot?
Troubleshooting a non-booting computer requires a systematic approach. It’s like detective work, starting with the most likely causes and systematically eliminating them.
- Visual Inspection: Begin by visually inspecting the system. Check all power connections, ensuring the power supply is securely plugged into the wall and the motherboard. Look for any loose cables or components.
- Listen for Beeps: Many motherboards emit beeps during the POST (Power-On Self-Test) indicating potential problems. The beep codes often vary depending on the motherboard manufacturer, so consult the motherboard manual for their meaning.
- Check the BIOS: If the computer starts but doesn’t proceed past the POST, enter the BIOS. This allows you to check basic hardware configuration, boot order, and system health. Make sure the boot order is set to boot from your hard drive or SSD.
- Test with Minimal Hardware: The best way to diagnose problems is to use the minimum amount of hardware. Try booting with only one stick of RAM, one storage device, and the essential graphics card. This helps isolate the faulty component.
- Test Components Separately: If you suspect a particular component, such as the RAM or hard drive, test it in another working system. This helps determine if the component is the cause of the problem.
- External Displays: If you see nothing on the monitor, try switching to a different monitor or video cable to rule out these issues.
For example, I once resolved a no-boot issue by identifying a failing power supply unit. Replacing it instantly revived the computer.
Q 4. What are the common issues encountered during CPU installation?
CPU installation, while seemingly simple, is prone to errors. The CPU is extremely delicate and requires precise handling.
- Bent Pins: A common issue is bent CPU pins. Even a slightly bent pin can prevent the CPU from making proper contact with the motherboard socket. A magnifying glass helps in inspecting for bent pins.
- Incorrect Orientation: CPUs have a notch or other marking indicating correct orientation. Inserting the CPU incorrectly can damage the socket or the CPU itself. The manual will clearly show the correct orientation.
- Improper Seating: The CPU must be fully seated in the socket. Failure to properly seat the CPU could prevent it from functioning.
- Heatsink Problems: Incorrect installation or application of thermal paste on the heatsink can lead to overheating and system instability or failure.
- Over-tightening: Over-tightening the CPU heatsink can damage the CPU or the motherboard.
Once, I encountered a case where the user had forced the CPU into the socket, bending several pins. While some minor bending can be repaired, significant damage often requires a replacement CPU.
Q 5. Explain the importance of grounding yourself while working with computer hardware.
Grounding yourself is crucial when working with computer hardware to prevent electrostatic discharge (ESD). ESD is a sudden flow of electricity between two objects with different electrical potentials. This is like a tiny lightning bolt, and it can easily fry sensitive components.
Human bodies can accumulate static charge, which can damage sensitive components like CPUs, motherboards, and RAM, even leading to complete system failure. Grounding provides a safe path for static electricity to dissipate.
The best way to avoid ESD damage is to use an anti-static wrist strap. This strap connects you to the ground, ensuring static electricity doesn’t build up in your body.
Q 6. How do you handle static electricity during hardware installation?
Handling static electricity during hardware installation is paramount to prevent damage. The most effective method is to use an anti-static wrist strap, connecting yourself to a grounded object (e.g., the computer case). This prevents the build-up of static electricity in your body.
- Anti-Static Wrist Strap: This is the most important tool. Always wear one when working with computer hardware.
- Anti-Static Mat: Work on an anti-static mat to further reduce the risk of ESD.
- Proper Handling: Avoid touching components more than necessary. Handle components by their edges or designated areas to avoid touching sensitive parts.
- Grounding the Case: Ensure the computer case itself is properly grounded.
I’ve witnessed numerous instances where a lack of ESD precautions led to irreparable damage to expensive components. This underscores the importance of taking these precautions.
Q 7. What are the different types of hard drives, and how do you install them?
Hard drives come in various types, each with different storage capacities, speeds, and interfaces. The installation process, however, is generally similar.
- HDD (Hard Disk Drive): Traditional mechanical drives with spinning platters. They are generally slower and less durable than SSDs, but offer larger storage capacities at a lower cost.
- SSD (Solid State Drive): Use flash memory to store data. They are much faster than HDDs, more durable, and consume less power, but are typically more expensive per gigabyte of storage.
- NVMe SSD: A newer, faster type of SSD that uses the NVMe (Non-Volatile Memory Express) interface, offering significantly faster data transfer speeds than SATA SSDs.
Installation: Regardless of the type, installing a hard drive involves:
- Connecting to the SATA Ports: Connect the drive to a SATA data port on the motherboard and a SATA power connector from the power supply.
- Securing the Drive: Use the appropriate screws to secure the hard drive into the case bays.
- Driver Installation (if necessary): For some drives, particularly newer NVMe drives, you may need to install drivers.
- Formatting and Partitioning: Once installed, the drive needs to be formatted and partitioned using the operating system’s disk management tools.
I’ve worked extensively with all these drive types, often troubleshooting issues like incorrect cabling or failing drives. Careful attention to detail during installation is critical for reliable operation.
Q 8. Describe your experience with installing and configuring SSDs.
Installing and configuring SSDs is a straightforward process, but requires careful attention to detail. First, you need to identify whether your system uses SATA or NVMe interfaces. SATA SSDs connect via SATA data and power cables, while NVMe drives connect directly to the motherboard’s M.2 slot.
SATA SSD Installation: 1. Power down the computer and unplug it. 2. Open the computer case. 3. Locate an available SATA port on the motherboard and a free SATA power connector from the power supply. 4. Carefully connect the SATA data cable to both the SSD and the motherboard. 5. Connect the SATA power cable to the SSD. 6. Secure the SSD in an available drive bay using screws. 7. Close the computer case and power on. Windows will usually automatically detect the new drive, but you may need to initialize it and format it in Disk Management.
NVMe SSD Installation: 1. Power down and unplug the computer. 2. Open the computer case. 3. Locate the M.2 slot on the motherboard. 4. Carefully align the NVMe SSD with the slot and gently push it down until it clicks into place. Some NVMe drives require screws for secure mounting. 5. Close the computer case and power on. Similar to SATA SSDs, Windows will likely automatically detect and install the driver.
In either case, it’s crucial to back up important data before performing any drive installation or formatting. I’ve personally handled hundreds of SSD installations across various systems—from low-power laptops to high-end workstations—and this systematic approach has always ensured successful installations.
Q 9. How do you install and configure a graphics card?
Installing a graphics card is a relatively simple procedure, but safety and proper grounding are paramount. Before you begin, ensure the computer is completely powered down and unplugged. Open the computer case and locate the PCI-Express (PCIe) x16 slot, usually found towards the bottom of the motherboard.
1. Gently remove the appropriate slot cover plate from the back of the case. 2. Align the graphics card with the PCIe x16 slot and firmly push it down until it clicks into place. This usually requires a fair amount of pressure. 3. Secure the graphics card with a screw at the back of the case. 4. Connect the power cables (if needed, depending on the GPU’s power requirements). Many high-end graphics cards require additional power connectors from the power supply.
After installation, close the case and connect the monitor to the graphics card’s output ports (HDMI, DisplayPort, DVI). Power on your computer. If the installation was successful, your monitor will display the graphics card’s output. If you encounter issues, check the connections and ensure the graphics card is correctly seated in the PCIe slot. I once encountered a situation where a seemingly correctly installed card wasn’t working because a bent pin on the PCIe connector prevented proper contact. A thorough visual inspection is always key.
Q 10. Explain the process of installing and connecting peripherals (mouse, keyboard, monitor).
Connecting peripherals like a mouse, keyboard, and monitor is usually a plug-and-play affair. Modern operating systems generally recognize these devices automatically.
Monitor: Connect the monitor cable (HDMI, DisplayPort, DVI, or VGA) to the corresponding port on the graphics card (or motherboard’s integrated graphics if no dedicated graphics card is present). The type of connector will dictate the cable you use. Make sure the cable is firmly connected to both the monitor and the computer.
Keyboard and Mouse: Most modern keyboards and mice use USB connections. Simply plug the USB connectors into available USB ports on the computer. Wireless devices will require pairing via Bluetooth or a wireless receiver.
Occasionally, you might encounter issues with driver compatibility or port malfunctions. If a device isn’t recognized, trying a different port, restarting the computer, or installing the latest drivers may help solve the problem. During my experience, I’ve found that some older USB ports might have loose connections. Testing different ports is crucial for troubleshooting such issues.
Q 11. How do you troubleshoot a computer with a blue screen of death (BSOD)?
The Blue Screen of Death (BSOD) is a dreaded Windows error, typically caused by hardware or driver issues. Troubleshooting involves a systematic approach:
1. Identify the Stop Code: The BSOD usually displays a ‘Stop Code’ (e.g., 0x0000007B). This code provides clues about the root cause. Searching the code online will reveal potential solutions.
2. Check Hardware Connections: Ensure all components (RAM, hard drives, graphics card) are properly connected and seated. Loose connections are a common cause of BSODs.
3. Memory Testing: Use Windows Memory Diagnostic or a third-party tool to check for RAM errors. Faulty RAM is a frequent culprit.
4. Driver Updates/Rollbacks: Check for updated drivers (especially for graphics cards and other peripherals). If a recent driver update caused the problem, consider rolling back to a previous version.
5. System Restore: If the BSOD occurred recently, use System Restore to revert to a previous stable state of your system.
6. Hardware Diagnostics: Run hardware diagnostics (provided by the motherboard or individual components’ manufacturers) to identify failing hardware.
7. Clean Boot: Perform a clean boot to disable non-essential startup programs, identifying if a specific software is causing the issue.
8. Reinstall Windows (as a last resort): If all else fails, reinstalling Windows may be necessary, but it is crucial to back up your important data beforehand. I’ve successfully employed this troubleshooting approach countless times, often pinpointing the issue to faulty RAM or a driver conflict.
Q 12. Describe your experience with different types of power supplies and their installation.
Power supplies (PSUs) come in various types, primarily differing in power output (wattage), form factor (ATX, SFX), and efficiency certifications (80+ Bronze, Silver, Gold, Platinum, Titanium). The wattage rating indicates the maximum power the PSU can deliver. Choosing a PSU with sufficient wattage for your components is crucial to prevent system instability and damage.
Installation: 1. Power down and unplug the computer. 2. Open the computer case. 3. Carefully remove the existing PSU (if replacing one). 4. Mount the new PSU in its designated bay using screws. 5. Connect the appropriate cables to the motherboard (24-pin ATX connector), CPU (4-pin or 8-pin EPS connector), and other components (peripherals, hard drives, graphics card). Consult the PSU’s manual and motherboard documentation for the correct cable connections.
Different PSU Types: ATX is the standard form factor for desktops, while SFX is smaller and used in compact cases. Efficiency certifications determine how much power is converted into usable energy, with higher-tier certifications indicating less power loss as heat.
Through my experience, I’ve seen how incorrect PSU wattage can lead to system crashes, and the importance of choosing a reputable brand for reliability. Ensuring proper cable management is essential for good airflow and optimal PSU performance. I always emphasize checking the PSU’s specifications to ensure it meets the power requirements of all system components.
Q 13. How do you identify and resolve overheating issues in a computer?
Overheating is a significant threat to computer hardware, potentially leading to performance degradation and component failure. Identifying and resolving overheating often involves several steps:
1. Monitor Temperatures: Use system monitoring software (like HWMonitor or Core Temp) to check CPU and GPU temperatures under load. High temperatures (above 80-90°C for CPUs and 80°C for GPUs) indicate a potential problem.
2. Clean the System: Dust accumulation on fans, heatsinks, and other components restricts airflow, leading to higher temperatures. Thoroughly clean the inside of the computer case using compressed air.
3. Check Fan Functionality: Ensure all case fans and cooling fans (CPU cooler, GPU cooler) are functioning correctly. Replace faulty fans as needed.
4. Apply Thermal Paste (if needed): If you’re working with a CPU cooler, ensure that there’s enough thermal paste between the CPU and the heatsink. If the paste is old or insufficient, re-apply a pea-sized amount of high-quality thermal paste. This step often significantly reduces temperatures.
5. Improve Airflow: Make sure there’s adequate airflow inside the computer case. Consider adding more case fans or improving cable management to ensure unobstructed airflow.
6. Check for hardware malfunctions: In severe cases, overheating might indicate a faulty CPU, GPU, or other components. Further diagnostic testing would be required. I’ve had cases where seemingly minor dust build-up was responsible for significantly high temperatures.
Q 14. What are the different types of computer cases, and what are their advantages and disadvantages?
Computer cases vary widely in size, design, and features, impacting airflow, expandability, and aesthetics. The most common types include:
1. ATX Full-Tower: Large cases offering ample space for multiple components, including several hard drives and long graphics cards. Advantages: Excellent expandability, good airflow potential. Disadvantages: Large size, can be expensive.
2. ATX Mid-Tower: A balanced option, offering a good compromise between size, expandability, and cost. Advantages: Good balance of features and price. Disadvantages: Limited expandability compared to full-towers.
3. ATX Mini-Tower: Smaller cases suitable for compact systems with limited component requirements. Advantages: Small footprint, affordable. Disadvantages: Limited expandability, potential for poor airflow.
4. Micro-ATX: Supports smaller motherboards, ideal for compact systems. Advantages: Smaller size, lower cost. Disadvantages: Limited expandability.
5. ITX: The smallest form factor, designed for ultra-compact builds. Advantages: Extremely small size, portability. Disadvantages: Very limited expandability, often compromises airflow and component selection.
The choice of computer case greatly impacts the system’s build and thermal management. I’ve found that selecting a case with good airflow is crucial for preventing overheating issues, irrespective of the form factor. Choosing the right case is often the first step towards a successful and efficient build.
Q 15. Explain the process of installing an operating system.
Installing an operating system (OS) is like setting up the foundation for a house. It’s the core software that allows your computer to function. The process generally involves these steps:
- Preparation: Back up your data! This is crucial. You’ll also need a bootable installation media (USB drive or DVD) containing the OS installer, and potentially drivers for specific hardware components like network adapters.
- BIOS/UEFI Configuration: Access your computer’s BIOS or UEFI settings (usually by pressing Del, F2, F10, or F12 during startup – the key varies by manufacturer). Here, you’ll need to ensure the boot order prioritizes your installation media (USB or DVD).
- OS Installation: Insert the installation media and restart. Follow the on-screen instructions. This will involve partitioning your hard drive (allocating space for the OS), choosing the installation location, setting up user accounts, and agreeing to licensing terms. This might also include choosing features like language and region.
- Post-Installation: Once installed, you might need to install drivers for specific hardware to ensure everything functions correctly. Windows Update or the equivalent (like Software Update on macOS) should be used to install crucial updates and security patches.
Example: Installing Windows 11 on a new PC requires creating a bootable USB drive using the Media Creation Tool, then following the on-screen instructions to partition the drive, set up the account, and finally install the necessary drivers for peripherals like the printer and graphic card.
Career Expert Tips:
- Ace those interviews! Prepare effectively by reviewing the Top 50 Most Common Interview Questions on ResumeGemini.
- Navigate your job search with confidence! Explore a wide range of Career Tips on ResumeGemini. Learn about common challenges and recommendations to overcome them.
- Craft the perfect resume! Master the Art of Resume Writing with ResumeGemini’s guide. Showcase your unique qualifications and achievements effectively.
- Don’t miss out on holiday savings! Build your dream resume with ResumeGemini’s ATS optimized templates.
Q 16. How do you troubleshoot network connectivity issues?
Troubleshooting network connectivity is like detective work. You systematically eliminate possibilities. My approach involves these steps:
- Check the Physical Connection: Is the Ethernet cable securely plugged into both the computer and the router/modem? Is the Wi-Fi adapter enabled on your computer?
- Check the Network Settings: Verify your computer’s IP address, subnet mask, and default gateway are correctly configured. You can usually find this information in the network settings control panel. Are the correct DNS servers specified? Try using Google’s public DNS (8.8.8.8 and 8.8.4.4).
- Test the Internet Connection Directly: Try connecting a different device to the network to isolate whether the problem is with your computer or the network infrastructure.
- Check Router/Modem: Reboot your router and modem to resolve temporary glitches. Check the router’s status lights – they often indicate problems.
- Advanced Troubleshooting: If the above steps don’t work, you might need to use command-line tools like
ping,ipconfig(Windows) orifconfig(Linux/macOS) to diagnose network issues at a more granular level. You can also use network diagnostic tools provided by your operating system.
Example: Recently, a client reported no internet connection. After checking the physical connection (cable was loose!), I rebooted the router and the problem was solved. If that failed, I would have used ping google.com to check network connectivity and ipconfig /all to examine the IP configuration.
Q 17. How do you diagnose and resolve hardware malfunctions?
Diagnosing and resolving hardware malfunctions involves a combination of observation, testing, and systematic elimination. I always start by gathering information:
- Observe Symptoms: What exactly is happening? Error messages? Unusual sounds? Is the system completely unresponsive or just experiencing performance issues?
- Identify the Potential Culprit: Based on the symptoms, pinpoint the likely source (e.g., slow performance might suggest a failing hard drive or insufficient RAM; no display might indicate a graphics card or monitor problem).
- Isolate the Problem: Try swapping components (if possible) to see if the problem follows a specific part. For example, swapping RAM sticks might pinpoint a faulty module.
- Use Diagnostic Tools: Use tools like BIOS/UEFI POST (Power-On Self-Test) messages, system diagnostic utilities (like Windows Memory Diagnostic or CHKDSK), and specialized hardware diagnostic tools (provided by the manufacturer) to assess individual components.
- Replace Faulty Parts: Once the faulty component is identified, it needs to be replaced with a working one.
Example: A computer repeatedly crashed. By running memory diagnostics, I discovered a faulty RAM module. Replacing it solved the problem. If the crashes continued, the next step would have been to diagnose the hard drive for errors.
Q 18. Describe your experience with using diagnostic tools for computer hardware.
My experience with diagnostic tools is extensive. I’ve used a variety of tools, including:
- BIOS/UEFI POST: I use the POST messages displayed during startup to detect problems with basic hardware, such as RAM or the CPU.
- Windows System Information: This tool provides details about the hardware and software configuration, helping me identify potential conflicts or misconfigurations.
- Hardware Manufacturer Diagnostic Tools: Many hardware manufacturers (e.g., Seagate, Western Digital for hard drives; Nvidia, AMD for graphics cards) provide diagnostic tools specifically designed for their products. These tools often perform extensive tests to identify subtle problems.
- CrystalDiskInfo (for HDD/SSD): This tool provides detailed information on hard drive health, including SMART attributes that help predict potential failures.
- Memtest86 (for RAM): This is a powerful memory testing tool that runs independently of the operating system, allowing for a comprehensive memory test.
These tools are invaluable for identifying issues that may not be obvious through general observation. They help to accelerate the troubleshooting process and provide data-driven solutions.
Q 19. What safety precautions do you take while working with computer hardware?
Safety is paramount when working with computer hardware. My precautions include:
- ESD Precautions: I always use an anti-static wrist strap connected to a grounded object to prevent electrostatic discharge (ESD) from damaging sensitive components. I also work on anti-static mats.
- Power Down Equipment: I always power down the computer and unplug it from the power source before opening the case to avoid electrical shock.
- Proper Handling: I handle components carefully to prevent damage. I avoid touching the pins on chips or other sensitive areas.
- Organization: I keep my workspace clean and organized to avoid accidental damage or short circuits.
- Eye Protection: When working with sharp tools or potentially hazardous materials, I wear safety glasses.
A single spark from ESD can destroy a component costing hundreds of dollars, so taking precautions is a key part of my professional approach.
Q 20. How do you manage multiple hardware installation projects simultaneously?
Managing multiple hardware installation projects simultaneously requires careful planning and organization. My approach focuses on:
- Prioritization: I identify the most urgent projects based on deadlines and criticality. I utilize project management software to track progress and deadlines for each project.
- Resource Allocation: I allocate my time and resources effectively to ensure I can work on all projects without compromising the quality of any single project.
- Communication: Clear and frequent communication with clients is essential to keep them informed about the progress of their projects and address any concerns they might have.
- Documentation: I maintain detailed records of each project, including component lists, configurations, and troubleshooting notes. This helps me stay organized and quickly resolve issues when they arise.
- Delegation (if applicable): In larger organizations, I would delegate tasks to team members, ensuring clear responsibilities and communication channels are established.
Example: I might be building 10 new workstations while simultaneously upgrading the RAM in 5 older servers. Using a project management tool helps me track the progress of each, ensuring timely completion of all projects.
Q 21. Explain your experience with cable management in computer builds.
Cable management is more than just aesthetics; it’s crucial for airflow, maintainability, and preventing damage. My approach emphasizes:
- Planning: Before starting a build, I plan cable routing to minimize clutter and ensure efficient airflow. This helps avoid any potential issues later.
- Use of Cable Ties and Velcro Straps: I use cable ties and Velcro straps to bundle and secure cables, preventing tangling and improving airflow. I avoid over-tightening to prevent damage to cables.
- Proper Cable Routing: I route cables along designated pathways, using cable management clips or similar accessories where necessary, to maintain a clean and organized look. This also prevents cables from obstructing fans or other components.
- Length Considerations: I use cables of appropriate lengths. Too-short cables can strain connectors and too-long cables can create unnecessary clutter.
- Modular Power Supplies: Utilizing modular power supplies greatly reduces cable clutter as it only requires connecting the necessary cables.
Example: In a recent build, I used Velcro straps to bundle the CPU power cables and the PCI-e power cables separately. Then I routed them neatly through designated cable management openings in the case. This allowed for improved airflow around the GPU and other components while giving the PC a professional and clean look.
Q 22. How do you document your installation process?
Thorough documentation is crucial for any successful computer hardware installation. My process involves a multi-layered approach ensuring traceability and ease of troubleshooting. I begin with a detailed pre-installation checklist, noting the components involved, their specifications, and the client’s requirements. This serves as a baseline for comparison during and after the installation.
During the installation, I maintain a comprehensive log detailing each step. This includes timestamps, component installation sequences, any encountered challenges, and their resolutions. I use a combination of textual descriptions and high-quality photographs to visually document the process, especially for cable management and component placement. This photographic record is particularly useful for troubleshooting later, if needed.
Post-installation, I create a final report summarizing the entire process, including the configuration of the system (BIOS/UEFI settings, drivers installed, etc.), performance benchmarks, and any outstanding issues or recommendations. This report is then shared with the client, providing them with a complete overview of the work performed. This meticulous documentation strategy helps guarantee accountability, facilitates efficient troubleshooting, and provides a valuable reference point for future maintenance.
Q 23. What are your preferred tools and equipment for computer hardware installation?
My toolset reflects years of experience and prioritizes safety and efficiency. For handling components, I always use an anti-static wrist strap to prevent electrostatic discharge (ESD), which can damage sensitive electronics. My toolkit includes a variety of screwdrivers (Phillips and flathead, in various sizes) for assembling and disassembling components. I also rely on a set of precision tweezers for handling small parts like RAM modules or expansion cards.
Beyond basic tools, I value specialized equipment like a thermal paste applicator for efficient CPU cooling, cable ties for neat cable management, and compressed air for cleaning internal components. A good quality multimeter is essential for diagnosing power supply issues or other electrical problems. Finally, I always use a well-lit workspace with adequate magnification to ensure accuracy and prevent accidental damage. Think of it like a surgeon preparing for a delicate operation – meticulous preparation is key.
Q 24. Describe a time you had to troubleshoot a complex hardware problem.
I once encountered a system that would intermittently boot, displaying various error messages. Initial diagnostics pointed to potential RAM issues or a failing hard drive. However, after rigorous testing of the RAM using MemTest86+ and checking the SMART data of the hard drive, I found no major errors. The system’s boot times were erratic and unpredictable, sometimes taking several minutes, other times booting up normally.
My systematic approach involved isolating the problem. I started by testing each component individually, including the power supply, motherboard, CPU, and GPU. Through a process of elimination, I eventually identified the problem to be a failing motherboard capacitor. The slight bulging on the capacitor was initially hard to spot. Once this was identified and replaced, the system booted reliably and consistently. This incident highlighted the importance of a systematic and patient troubleshooting methodology, and using multiple diagnostic tools rather than relying on immediate assumptions.
Q 25. How do you stay updated on the latest hardware technologies and trends?
Staying current in the rapidly evolving world of computer hardware requires a multi-pronged approach. I regularly subscribe to industry publications and websites like AnandTech and Tom’s Hardware, which offer in-depth reviews and analyses of new components. These resources provide detailed technical information, performance benchmarks, and insights into emerging technologies.
Beyond reading, I actively participate in online communities and forums. This allows me to engage with other professionals, exchange experiences, and learn from others’ troubleshooting experiences. Additionally, attending webinars and industry conferences provides valuable opportunities for networking and learning from leading experts. Finally, I keep up-to-date with vendor websites like Intel, AMD, and Nvidia, watching for new product releases and technological advancements.
Q 26. Describe your experience with different types of BIOS/UEFI settings.
My experience with BIOS/UEFI settings is extensive, covering a wide range of motherboards and chipsets. I understand the crucial role of these settings in system performance and stability. This includes configuring boot order, enabling or disabling specific features like virtualization (VT-x or AMD-V), and managing power options. I am familiar with both legacy BIOS interfaces and the more modern UEFI (Unified Extensible Firmware Interface).
For example, I know how to adjust the CPU multiplier and memory timings in the BIOS/UEFI to fine-tune performance. I also understand the importance of setting secure boot options, which helps protect systems from malware. Additionally, I’m proficient in utilizing advanced features like RAID configurations, which allow for improved storage performance and redundancy. My knowledge extends to troubleshooting issues related to incorrect BIOS/UEFI settings, often manifested as boot failures or system instability. Understanding these settings is paramount for optimal system performance and diagnostics.
Q 27. How do you handle customer complaints or difficult situations during installations?
Handling customer complaints or difficult situations requires patience, empathy, and strong communication skills. My approach is centered on active listening, ensuring I fully understand the customer’s concerns before attempting to offer solutions. I start by calmly acknowledging their frustration and validating their feelings. I then proceed with a methodical troubleshooting process, explaining each step clearly and transparently to the customer.
If the problem is complex, I’ll keep them informed about my progress and any anticipated delays. Transparency is key to maintaining a positive relationship. In cases where the issue requires specialized knowledge or expertise beyond my immediate capabilities, I will readily escalate the problem to a senior technician or seek the assistance of the relevant manufacturer. Ultimately, my goal is to resolve the issue effectively while ensuring the customer feels heard and respected. Remember, even a seemingly minor inconvenience to the customer can be significant, and a positive outcome is paramount for maintaining a positive professional reputation.
Key Topics to Learn for Computer Hardware Installation Interview
- Computer System Architecture: Understanding the interplay between CPU, RAM, Motherboard, and storage devices. Practical application: Troubleshooting system boot issues by identifying faulty components.
- Component Installation and Compatibility: Mastering the physical installation of components like CPUs, RAM, GPUs, and storage drives. Practical application: Building a custom PC from scratch, ensuring optimal performance and compatibility.
- BIOS/UEFI Setup and Configuration: Understanding BIOS/UEFI settings, boot order, and basic system configuration. Practical application: Resolving boot problems by adjusting BIOS settings.
- Operating System Installation and Drivers: Installing and configuring operating systems (Windows, Linux) and installing necessary drivers for peripherals. Practical application: Setting up a new system from bare metal, ensuring all hardware functions correctly.
- Troubleshooting and Diagnostics: Identifying and resolving common hardware issues like overheating, power supply failures, and peripheral malfunctions. Practical application: Diagnosing and repairing a malfunctioning computer system.
- Data Backup and Recovery: Understanding data backup strategies and techniques for disaster recovery. Practical application: Implementing a robust backup system to prevent data loss.
- Cable Management and Organization: Properly routing and managing cables for optimal airflow and aesthetics. Practical application: Building a clean and efficient computer system.
- Health and Safety: Understanding and applying safe practices for handling computer components and avoiding electrostatic discharge (ESD). Practical application: Protecting components from damage during installation and repair.
- Networking Basics: Understanding basic networking concepts, including connecting to networks and configuring network interfaces. Practical application: Setting up a home network and connecting multiple devices.
Next Steps
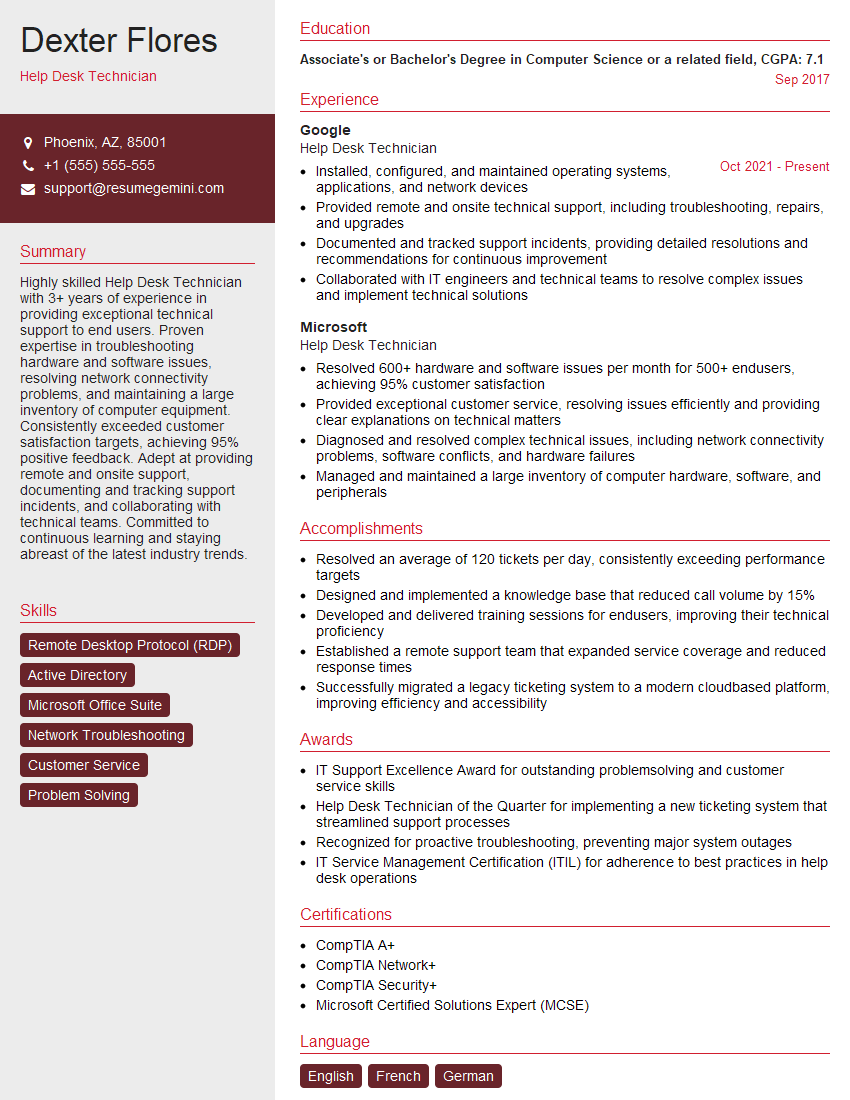
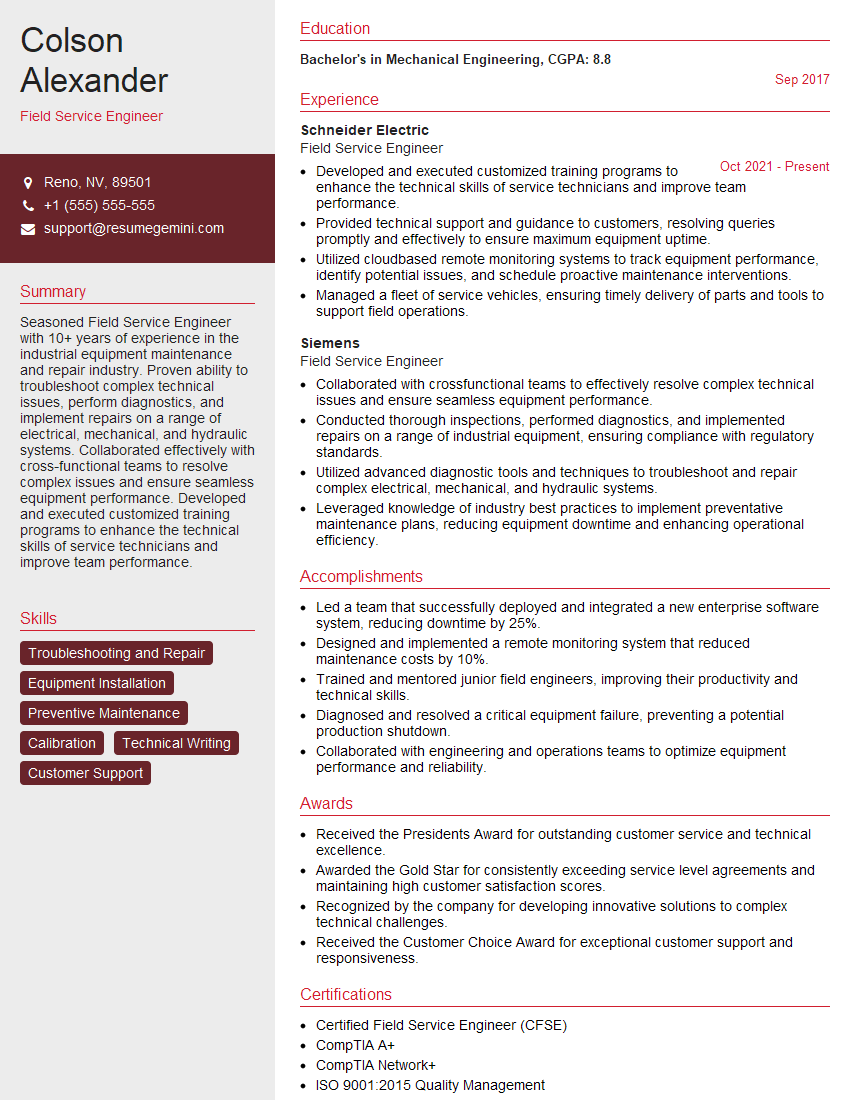
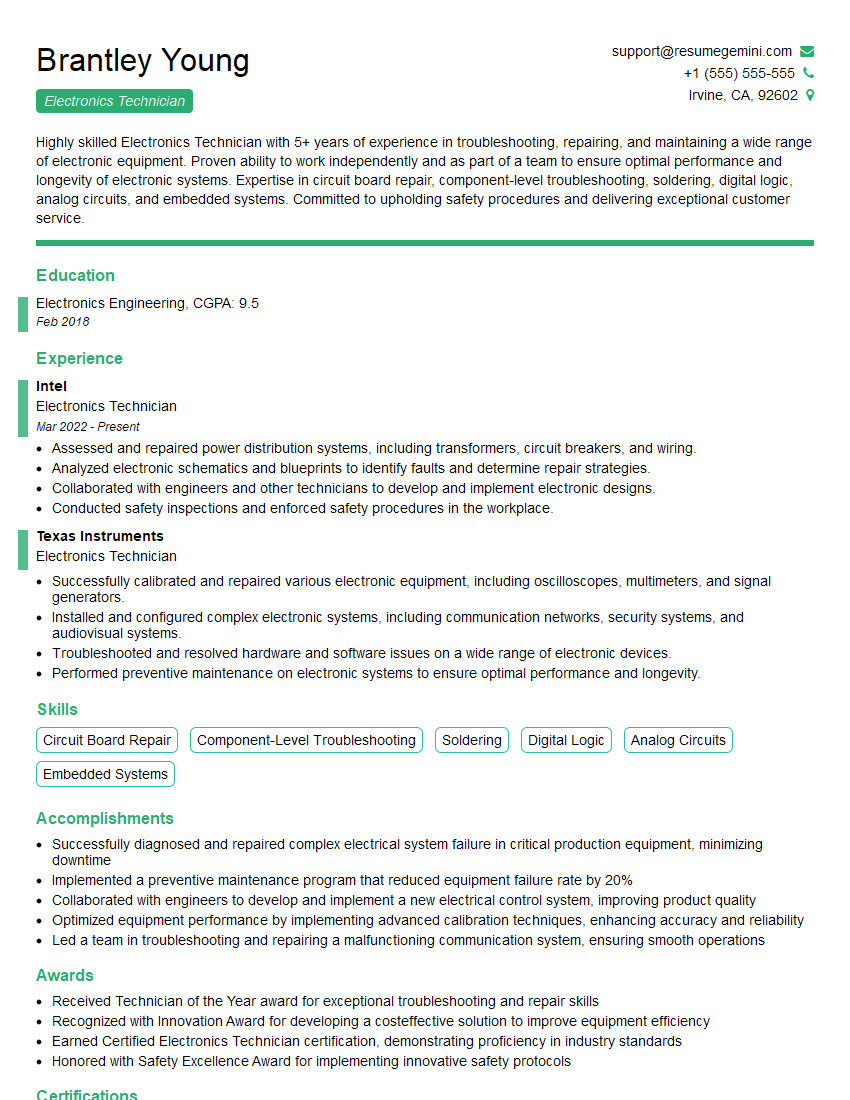
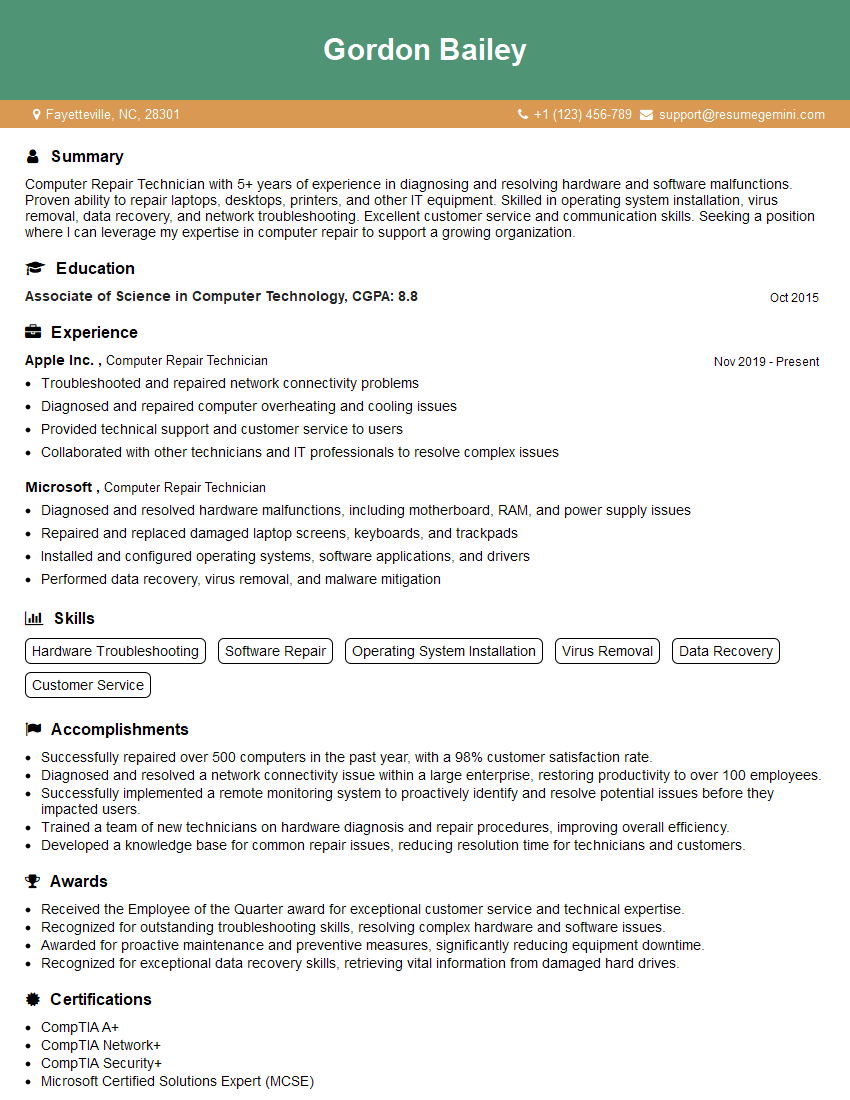
Mastering computer hardware installation opens doors to exciting careers in IT support, system administration, and PC building. To maximize your job prospects, creating a strong, ATS-friendly resume is crucial. ResumeGemini is a trusted resource that can help you build a professional resume that highlights your skills and experience effectively. Examples of resumes tailored to Computer Hardware Installation are available to guide you. Invest time in crafting a compelling resume – it’s your first impression to potential employers.
Explore more articles
Users Rating of Our Blogs
Share Your Experience
We value your feedback! Please rate our content and share your thoughts (optional).
What Readers Say About Our Blog
Hi, I’m Jay, we have a few potential clients that are interested in your services, thought you might be a good fit. I’d love to talk about the details, when do you have time to talk?
Best,
Jay
Founder | CEO
