Interviews are more than just a Q&A session—they’re a chance to prove your worth. This blog dives into essential Knowledge of metrology and inspection techniques interview questions and expert tips to help you align your answers with what hiring managers are looking for. Start preparing to shine!
Questions Asked in Knowledge of metrology and inspection techniques Interview
Q 1. Explain the difference between accuracy and precision in metrology.
Accuracy and precision are crucial concepts in metrology, often confused but distinctly different. Accuracy refers to how close a measurement is to the true value. Think of it like hitting the bullseye on a dartboard – a highly accurate measurement is very close to the center. Precision, on the other hand, describes the repeatability of a measurement. It’s how clustered your measurements are, regardless of whether they’re close to the true value. You can have high precision (all darts clustered together) but low accuracy (clustered far from the bullseye), or vice-versa. Ideally, we want both high accuracy and high precision.
Example: Imagine measuring a 10mm diameter rod. A very accurate measurement might read 9.99mm, while a precise but inaccurate measurement might consistently read 10.10mm. Both sets of measurements are precise (consistent), but only the first is accurate.
Q 2. Describe various types of measurement uncertainties and their sources.
Measurement uncertainty encompasses all possible errors that can affect a measurement result. Sources are broadly categorized into:
- Random Uncertainties: These are unpredictable variations caused by factors like environmental fluctuations (temperature, humidity), instrument noise, or observer inconsistencies. They follow a statistical distribution and can be reduced by repeated measurements and statistical analysis.
- Systematic Uncertainties: These are biases in the measurement process, consistently shifting the results in one direction. Examples include instrument calibration errors (a scale that consistently reads 1 gram high), incorrect measurement techniques, or environmental effects that are consistently present. They are harder to detect and require careful calibration and procedural control.
- Environmental Uncertainties: Temperature, humidity, pressure, and vibrations all affect measurement accuracy. Climate-controlled labs minimize these uncertainties.
Example: Imagine measuring the length of a metal part. Random uncertainty might cause slight variations between measurements due to human error in reading the scale. Systematic uncertainty could be present if the measuring tool is improperly calibrated, consistently underestimating the actual length.
Q 3. What are the different types of Coordinate Measuring Machines (CMMs) and their applications?
Coordinate Measuring Machines (CMMs) are used for high-precision 3D measurements. There are three main types:
- Bridge-type CMMs: These feature a moving bridge structure carrying a probe head, offering a large measurement volume and high accuracy. They are commonly used in larger manufacturing settings for inspection of larger parts.
- Gantry-type CMMs: With a gantry structure, they have a longer working range and are ideal for inspecting larger, heavier components. They offer flexibility but can be less rigid than bridge types, impacting precision.
- Horizontal-arm CMMs: These have a horizontal articulated arm with a probe head at the end. They are very versatile, able to measure parts of complex shapes and in confined spaces. However, their accuracy is typically lower compared to bridge and gantry types.
Applications: CMMs are widely used in various industries for quality control, reverse engineering, and dimensional inspection. This includes aerospace, automotive, medical device manufacturing, and more.
Q 4. How do you perform a CMM probe calibration?
CMM probe calibration is critical for accurate measurements. The process typically involves:
- Using a calibration artifact: A known standard, such as a calibrated sphere or gauge block, is used to establish the probe’s reference point.
- Performing a touch-trigger calibration: The probe is repeatedly touched against different points on the artifact, and the CMM software records the coordinates. This helps to determine the probe’s stylus offset and its overall accuracy. In this, the stylus is often triggered several times at one point to account for any variation.
- Analyzing the data: The CMM software compares the measured coordinates with the known values of the artifact, identifying any deviations. This is analyzed against an acceptable tolerance. This step calculates uncertainties associated with the probe and its geometry.
- Compensation: If deviations are within acceptable limits, software compensates for the deviations, ensuring future measurements are accurate. If they’re outside the tolerances, the probe might need repair or replacement.
The frequency of calibration depends on factors like usage, environmental conditions, and the required measurement accuracy. A regular calibration schedule is crucial for maintaining the reliability of the CMM.
Q 5. Explain the concept of Gage R&R studies and their importance.
Gage Repeatability and Reproducibility (R&R) studies assess the variation in measurements obtained from a given gage (measuring instrument) and the operator using it. It determines the proportion of total variation attributable to the gage itself (repeatability) and the operator (reproducibility). A significant portion of variation stemming from the gage or operator signifies inaccuracies that are likely to hinder the reliability of the data.
Importance: R&R studies are essential for evaluating the capability of a measuring system before deploying it for production. A high R&R variation suggests that the measuring system is unreliable and that the data generated from it could be misleading. It helps to identify and improve weak points in the measuring process, such as poor operator training, worn-out tools, or inadequate measurement techniques. This leads to improved product quality and consistency.
Example: A high R&R value in measuring a component’s diameter might indicate inconsistency between different operators using the same caliper, or variability in measurements from repeated use of the same caliper by the same operator.
Q 6. What are the common methods for surface roughness measurement?
Surface roughness, a crucial aspect of part quality, is measured using several methods:
- Profilometry: A stylus traces the surface profile, and a computer analyzes the data to determine roughness parameters like Ra (average roughness) and Rz (maximum peak-to-valley height). This is a common and relatively simple method. However, the stylus can damage delicate surfaces.
- Optical methods: These methods use optical techniques like confocal microscopy or interferometry to obtain a non-contact, high-resolution measurement of the surface profile, making it suitable for delicate surfaces. These are faster but potentially more expensive.
- Focus variation microscopy: A high-resolution camera captures images at various focus levels, building a 3D surface profile. This is excellent for measuring larger areas and providing comprehensive surface data.
The choice of method depends on factors like surface material, desired resolution, and budget. These methods provide crucial information for evaluating surface properties and their impact on performance in applications such as lubrication, wear resistance, and aesthetics.
Q 7. Describe different types of optical inspection techniques.
Optical inspection techniques offer non-contact, high-resolution methods for examining various surface features. Key examples include:
- Optical Microscopy: Using lenses and light, it offers magnification for visual inspection of surface features and defects. It’s relatively inexpensive and widely accessible.
- Digital Image Correlation (DIC): By comparing images of a surface before and after deformation, DIC provides strain measurement, offering a detailed analysis of stress distribution. It is particularly valuable in material science.
- Confocal Microscopy: This technique provides 3D surface profiling with high resolution, by focusing on specific depths within a specimen. It’s excellent for analyzing intricate surface structures and roughness.
- Laser Scanning Microscopy: This uses a laser beam to scan a surface, providing high-resolution data, used to create detailed 3D images of the surface. Useful in micro-manufacturing and surface analysis.
- Moiré Interferometry: This method relies on the interference pattern created when two nearly identical gratings overlap. When applied to surface analysis, changes in the pattern are directly correlated with surface deformation and displacement.
These techniques are used across various industries, such as automotive, electronics, and biomedical engineering, for quality control, failure analysis, and research and development.
Q 8. How do you handle measurement data analysis and reporting?
Measurement data analysis and reporting are crucial for ensuring the accuracy and reliability of our metrology processes. It’s not just about collecting numbers; it’s about interpreting them to understand the bigger picture.
My approach involves several key steps:
- Data Collection and Validation: This begins with ensuring the data is collected correctly, using calibrated instruments and proper measurement techniques. I meticulously review the data for outliers or anomalies, investigating the root cause of any discrepancies.
- Statistical Analysis: I employ various statistical methods, depending on the data and the goals of the analysis. This might involve calculating mean, standard deviation, and other descriptive statistics. I might use techniques like control charts (X-bar and R charts, for example) to monitor process stability or analyze capability using Cp and Cpk indices. Regression analysis can be used to model relationships between variables.
- Interpretation and Reporting: The raw data is only part of the story. My focus shifts to interpreting the results in context. This means understanding the tolerances, specifications, and the implications of the findings. I prepare comprehensive reports with clear visualizations (charts, graphs) making the findings readily understandable for both technical and non-technical audiences. I always highlight significant findings, potential problems, and recommendations for corrective actions.
For example, in a recent project involving the dimensional inspection of automotive parts, I identified a systematic bias in a particular measurement process using control charts. This led to the recalibration of the equipment and a significant reduction in scrap and rework.
Q 9. What are the key elements of a quality management system relevant to metrology?
A robust Quality Management System (QMS) for metrology is built on several foundational elements, all working together to ensure consistent, reliable, and accurate measurements.
- Traceability: Every measurement must be traceable to national or international standards, forming an unbroken chain of comparisons to ensure accuracy and consistency.
- Calibration Management: A formal system is essential for tracking calibration due dates, ensuring all measurement instruments are calibrated regularly, and managing calibration certificates. This involves selecting appropriate calibration labs and following their guidelines.
- Competency of Personnel: Operators performing measurements must be properly trained, qualified, and competent in using the measurement equipment and interpreting the results. Continuous training and skill development are crucial.
- Environmental Control: The environment in which measurements are made should be controlled to minimize sources of error. This includes aspects like temperature, humidity, and vibration.
- Equipment Maintenance: A program for regular maintenance and repair of all measurement equipment is essential to ensuring accuracy and reliability. This involves scheduled maintenance checks, preventative actions, and effective repair procedures.
- Document Control: Maintaining accurate records of calibrations, measurements, and procedures is critical for auditing and traceability. Version control for measurement procedures is essential to minimize errors.
- Internal Audits: Regular internal audits of the metrology processes ensure that the system is effective and that standards are being met.
Imagine a scenario where a manufacturer produces medical devices. A faulty QMS in metrology could lead to inaccurate measurements, resulting in non-compliant products, endangering patient safety.
Q 10. Explain the importance of traceability in measurement systems.
Traceability in measurement systems is absolutely fundamental. Think of it as a family tree for your measurements, linking them back to a known standard. Without traceability, your measurement results are essentially meaningless.
It establishes a chain of comparisons, allowing you to verify the accuracy of your measurements by connecting them to nationally or internationally recognized standards, such as those maintained by national metrology institutes (NMIs). This chain typically involves multiple levels of calibration, each level traceable to the next until it reaches the primary standard.
The importance lies in:
- Accuracy Verification: Traceability ensures your measurements are accurate and reliable, avoiding discrepancies and costly errors.
- Comparability of Results: Traceable measurements can be compared across different organizations and locations, fostering consistency and collaboration.
- Legal and Regulatory Compliance: Many industries have regulations mandating traceability, ensuring product quality and safety. This is particularly crucial in industries like aerospace and pharmaceuticals.
- Improved Confidence: Knowing that your measurements are traceable builds confidence in the data and the overall process.
For instance, a manufacturer producing precision components for aerospace applications must ensure traceability of all their dimensional measurements to ensure compliance with industry standards and regulations, avoiding potential catastrophic failures.
Q 11. What are some common metrology standards (e.g., ISO, ANSI)?
Several international and national standards govern metrology practices. These standards provide guidelines for measurement procedures, calibration, and data analysis.
- ISO (International Organization for Standardization): ISO 9001 (Quality Management Systems) provides a framework for managing quality, while ISO 10012 (Measurement Management Systems) specifically addresses metrology aspects, including calibration, measurement uncertainty, and traceability. Other ISO standards address specific measurement techniques.
- ANSI (American National Standards Institute): ANSI develops and publishes numerous standards related to metrology, covering various fields like mechanical, electrical, and chemical measurements. Many ANSI standards are aligned with ISO standards.
- Other Standards Bodies: Other national and regional standards organizations, such as DIN (Germany), JIS (Japan), and BS (UK), also develop and maintain relevant metrology standards.
These standards provide a common language and framework, ensuring consistency and comparability of measurements across different organizations and countries. Compliance with these standards builds confidence in the quality of products and services.
Q 12. Describe your experience with statistical process control (SPC).
Statistical Process Control (SPC) is a powerful tool for monitoring and controlling the variation in manufacturing processes. I have extensive experience using SPC techniques to improve process capability and reduce defects.
My experience includes:
- Control Chart Implementation: I’m proficient in creating and interpreting various control charts, including X-bar and R charts, p-charts, c-charts, and u-charts, to monitor process parameters and identify trends.
- Process Capability Analysis: I use Cp and Cpk indices to assess the capability of a process to meet specifications. This helps determine if adjustments are needed to improve the process.
- Data Analysis and Interpretation: I can analyze SPC data to identify assignable causes of variation, implement corrective actions, and continuously improve processes.
- Software Proficiency: I utilize statistical software packages (like Minitab or JMP) to facilitate SPC analysis.
For instance, in a project involving the production of microchips, by implementing SPC, we were able to detect an increase in the defect rate early on and pinpoint a faulty component in the assembly process. This prevented significant scrap and delays.
Q 13. How do you troubleshoot measurement errors and discrepancies?
Troubleshooting measurement errors and discrepancies requires a systematic approach. It’s like detective work, systematically eliminating possibilities.
My troubleshooting strategy typically involves:
- Reviewing Measurement Procedures: I begin by carefully reviewing the measurement procedures and ensuring they are being followed correctly. This often involves checking for proper instrument handling, correct settings, and appropriate environmental conditions.
- Instrument Calibration Verification: I verify the calibration status of the measuring instruments. An out-of-calibration instrument is a primary source of errors.
- Environmental Factors Assessment: Environmental factors like temperature, humidity, and vibration can significantly impact measurements. I assess whether these factors are within acceptable limits.
- Data Analysis: I analyze the measurement data to identify patterns or trends. This may involve statistical analysis to identify outliers or systematic errors.
- Operator Skill Assessment: Human error can be a significant source of measurement discrepancies. Evaluating operator skill and training is often necessary.
- Equipment Maintenance Check: Regular maintenance and servicing are crucial for maintaining equipment accuracy. I check the maintenance logs and equipment condition.
For example, in a situation where consistently high measurements were observed, it turned out to be a combination of minor instrument drift and an improper measurement setup identified through a combination of data analysis and visual inspection.
Q 14. What software packages are you proficient in for metrology data analysis?
I’m proficient in several software packages commonly used for metrology data analysis.
- Minitab: A powerful statistical software package widely used for statistical process control (SPC), data analysis, and capability studies. I use Minitab to create and analyze control charts, perform regression analysis, and generate detailed reports.
- JMP: Another powerful statistical software package with strong visualization capabilities. It’s particularly useful for exploring complex datasets and identifying patterns.
- PolyWorks: Used extensively for 3D point cloud data analysis and reverse engineering. I leverage PolyWorks to analyze scan data, inspect parts, and generate reports.
- CMM Software (e.g., PC-DMIS): I have experience working with various Coordinate Measuring Machine (CMM) software packages for programming inspection routines, collecting data, and generating inspection reports.
- Spreadsheet Software (Excel): I’m comfortable with using Excel for data manipulation, basic statistical calculations, and creating graphs for reporting purposes.
My software proficiency allows me to efficiently analyze large datasets, identify trends and anomalies, and effectively communicate my findings.
Q 15. Explain the concept of tolerance analysis and its role in manufacturing.
Tolerance analysis is the process of determining the acceptable range of variation for a particular dimension or characteristic of a part or product. It’s crucial in manufacturing because it ensures that the final product meets the required specifications and functions correctly. Think of it like baking a cake – you need the right amount of each ingredient to get a good result. Too much or too little flour, sugar, or eggs, and your cake won’t turn out as expected. Similarly, slight variations in manufactured parts can accumulate and lead to functional issues.
In manufacturing, tolerance analysis involves defining tolerances (allowable variations) for each dimension and then analyzing how these tolerances combine to affect the overall functionality. This is often done using statistical methods, such as worst-case analysis or Monte Carlo simulation. Worst-case analysis assumes the maximum variation for each dimension occurs simultaneously, providing a conservative but safe estimate. Monte Carlo simulation uses random sampling to model the variations and provide a probabilistic assessment of the final product’s performance.
For example, consider an assembly requiring a shaft and a hole. Each has a tolerance range; let’s say the shaft has a diameter tolerance of ±0.01mm and the hole has a tolerance of ±0.02mm. Tolerance analysis determines if the resulting clearance (the difference between the hole and shaft diameters) remains within acceptable limits for proper function, even when each part has the maximum variation allowed.
Career Expert Tips:
- Ace those interviews! Prepare effectively by reviewing the Top 50 Most Common Interview Questions on ResumeGemini.
- Navigate your job search with confidence! Explore a wide range of Career Tips on ResumeGemini. Learn about common challenges and recommendations to overcome them.
- Craft the perfect resume! Master the Art of Resume Writing with ResumeGemini’s guide. Showcase your unique qualifications and achievements effectively.
- Don’t miss out on holiday savings! Build your dream resume with ResumeGemini’s ATS optimized templates.
Q 16. Describe your experience with different types of measuring instruments (e.g., calipers, micrometers).
My experience with measuring instruments spans a wide range, from basic tools like calipers and micrometers to more advanced instruments such as coordinate measuring machines (CMMs) and optical comparators. I’m proficient in using vernier calipers for measuring linear dimensions, inside and outside diameters. I routinely utilize micrometers for achieving higher precision measurements, particularly crucial for smaller components. I know how to carefully select the appropriate instrument based on required accuracy, the part’s size and geometry, and the measurement task.
For example, when inspecting small, intricate parts, I would opt for a digital micrometer due to its higher resolution and ability to reduce measurement errors compared to a vernier caliper. Conversely, for larger components, a vernier caliper or even a measuring tape might be suitable. My experience also extends to using dial indicators for assessing surface flatness and runout, and optical comparators for detailed analysis of complex profiles. Beyond manual instruments, I’ve extensively used CMMs for highly accurate 3D measurements, enabling me to generate detailed inspection reports that include point cloud data and deviation analysis.
Q 17. How do you ensure the integrity and accuracy of measuring equipment?
Ensuring the integrity and accuracy of measuring equipment is paramount. This involves a multi-pronged approach encompassing calibration, preventative maintenance, and proper handling. Calibration is performed at regular intervals, typically annually or according to manufacturer recommendations, by accredited laboratories using traceable standards. This verifies the accuracy of the equipment against known standards, ensuring readings are reliable.
Preventative maintenance involves regularly cleaning and inspecting the instruments to identify and address any potential issues, such as damage or wear. This could include checking for any signs of damage to the measuring surfaces, ensuring smooth movement of sliding components, and verifying the integrity of digital displays. Proper handling is just as crucial. Instruments should be stored in controlled environments to prevent damage or deterioration, and always handled carefully to avoid dropping or impacting them.
A well-maintained calibration history is kept for each piece of equipment, serving as a crucial record for traceability and quality assurance audits. Any deviations from expected values during calibration would initiate an investigation to identify the cause and corrective actions.
Q 18. What are your methods for documenting inspection procedures?
I use a combination of methods to document inspection procedures. Detailed written procedures, often in the form of Standard Operating Procedures (SOPs), are created and maintained. These documents outline each step of the inspection process, including the equipment used, the measurement methods employed, acceptance criteria, and reporting requirements. They are essential for ensuring consistency and reproducibility of inspections.
Flowcharts are often used to visually represent complex inspection processes, making them easier to understand and follow. Additionally, I utilize digital documentation methods such as spreadsheets and databases to track inspection results, enabling easy data analysis and trend identification. Photographs and video recordings are sometimes included in the documentation to capture visual aspects of the inspection or the parts themselves.
Crucially, the documentation is version controlled to maintain a clear audit trail, so it is always readily accessible and allows us to trace back any changes and revisions made throughout time. This rigorous documentation is crucial for compliance and quality control.
Q 19. Explain your experience with non-destructive testing (NDT) methods.
My experience with non-destructive testing (NDT) methods includes techniques like visual inspection, liquid penetrant testing, magnetic particle testing, and ultrasonic testing. Visual inspection is the most basic NDT method, involving a thorough visual examination of the part for surface defects such as cracks, scratches, or corrosion. Liquid penetrant testing is used to detect surface-breaking flaws by applying a dye that penetrates the cracks and then revealing them.
Magnetic particle testing utilizes magnetic fields to detect surface and near-surface flaws in ferromagnetic materials. Ultrasonic testing employs high-frequency sound waves to detect internal flaws, providing information on the size and location of defects. The selection of the appropriate NDT method depends on the material, the type of defect being sought, and the access to the component. For example, ultrasonic testing is ideal for detecting internal flaws in thick metal sections, while liquid penetrant testing is better suited for detecting surface cracks in non-ferromagnetic materials.
I’m familiar with the interpretation of NDT results and the creation of comprehensive reports documenting the findings. This includes classifying defects according to their severity and recommending appropriate actions based on industry standards and codes.
Q 20. How do you handle non-conforming parts or products?
When non-conforming parts or products are identified, a systematic approach is essential. First, the non-conformance is documented, including details of the defect, the location, the quantity, and any potential root causes. Then, the parts are quarantined to prevent their further use or shipment. A thorough investigation is launched to determine the root cause of the non-conformance, which may involve reviewing the manufacturing process, the measuring equipment, or the raw materials.
Depending on the severity and nature of the non-conformance, different actions may be taken. This could include repairing the parts, scrapping them, or implementing corrective actions to prevent future occurrences. A comprehensive report is generated, documenting the investigation, the findings, the actions taken, and any preventative measures implemented. All of these steps are crucial for continuous improvement and ensuring that future products meet the required quality standards.
For example, if a batch of parts exhibits consistent dimensional inaccuracies, it might indicate a problem with the machine’s settings or tooling. Addressing these issues prevents further production of non-conforming parts and minimizes waste.
Q 21. Describe your experience with root cause analysis related to measurement issues.
Root cause analysis (RCA) of measurement issues often involves a systematic investigation to identify the underlying factors causing inaccurate or unreliable measurements. The process typically involves collecting data, interviewing relevant personnel, and analyzing the measurement process. Common tools used in RCA include the 5 Whys technique, fishbone diagrams (Ishikawa diagrams), and fault tree analysis.
The 5 Whys technique involves repeatedly asking “Why?” to progressively delve deeper into the root cause. For example, if measurements are consistently off, asking “Why are the measurements inaccurate?” might lead to discovering a poorly calibrated instrument, which leads to “Why is the instrument not calibrated?” revealing a missed calibration schedule. Fishbone diagrams visually organize potential causes, categorized by factors like manpower, methods, machines, materials, and environment. Fault tree analysis allows visualizing how multiple contributing factors can lead to a final measurement error.
After identifying the root cause, corrective actions are implemented to prevent future occurrences. These might include recalibrating equipment, improving training, implementing stricter quality control measures, or refining the measurement processes. The effectiveness of the corrective actions is then monitored to ensure that the root cause has been properly addressed and measurement accuracy is restored.
Q 22. What are some common inspection techniques for different materials (e.g., metals, plastics)?
Material inspection techniques vary significantly depending on the material properties and the required level of detail. For metals, common methods include:
- Visual Inspection: A basic yet crucial first step, checking for surface imperfections like cracks, scratches, or corrosion.
- Dimensional Inspection: Using tools like calipers, micrometers, or coordinate measuring machines (CMMs) to verify dimensions against specifications.
- Ultrasonic Testing (UT): Employing high-frequency sound waves to detect internal flaws like voids or cracks. Think of it like a medical ultrasound, but for metal.
- Radiographic Testing (RT): Using X-rays or gamma rays to create images of internal structures, revealing hidden defects. Similar to an X-ray at the doctor’s office.
- Magnetic Particle Inspection (MPI): Applying a magnetic field and iron particles to detect surface and near-surface cracks in ferromagnetic materials. The particles cling to any discontinuity in the magnetic field.
Plastics, on the other hand, often require different approaches:
- Visual Inspection: Again, a primary method, looking for surface defects, discoloration, or warping.
- Dimensional Inspection: Similar to metals, but with careful consideration of plastic’s potential for shrinkage or warping during manufacturing.
- Density Testing: Assessing the density of the plastic to ensure it meets specifications and hasn’t been improperly processed.
- Mechanical Testing: Techniques like tensile testing, impact testing, and flexural testing to evaluate strength and durability.
- Spectroscopy: Identifying the chemical composition and verifying the type of plastic used.
The choice of technique depends heavily on the specific application, material properties, and required accuracy.
Q 23. How familiar are you with different types of inspection plans (e.g., sampling plans)?
I’m very familiar with various inspection plans, including sampling plans. These plans are crucial for balancing the cost and time of inspection with the need for quality assurance. Different sampling plans exist, each tailored to specific risk levels and inspection goals. For example:
- Acceptance Sampling Plans: These plans define the sample size and acceptance criteria for a batch of parts. If the sample meets the criteria, the entire batch is accepted; otherwise, it’s rejected or further inspected. Examples include MIL-STD-105E and ANSI/ASQ Z1.4.
- Attribute Sampling Plans: These plans focus on the presence or absence of defects (e.g., number of defective units). They’re straightforward to implement but may miss subtle variations.
- Variables Sampling Plans: These plans measure a continuous quality characteristic (e.g., dimension, weight) and use statistical methods to determine acceptability. They provide more detailed information but are more complex to implement.
- Sequential Sampling Plans: These plans allow for adjustments to the sample size based on the results of inspection, making them more efficient when dealing with uncertain quality.
Selecting the right sampling plan involves carefully considering factors such as the acceptable quality level (AQL), the lot tolerance percent defective (LTPD), and the producer’s and consumer’s risks.
Q 24. Describe your experience with automated inspection systems.
My experience with automated inspection systems is extensive. I’ve worked with various systems, including vision systems using cameras and image processing software, CMMs with automated probing routines, and robotic systems integrating multiple inspection methods. For instance, I was involved in implementing a vision system for inspecting printed circuit boards (PCBs). The system automatically detected defects such as missing components, solder bridges, and opens with a much higher throughput and consistency than manual inspection. Automated systems offer several advantages:
- Increased speed and efficiency: They can inspect parts much faster than humans, significantly increasing throughput.
- Improved consistency and accuracy: Automated systems minimize human error, leading to more reliable results.
- Objective data collection: They provide detailed, quantifiable data that can be analyzed for process improvement.
- Enhanced safety: They can handle dangerous or repetitive tasks, reducing risks to human inspectors.
However, challenges include initial investment costs, the need for skilled technicians for setup and maintenance, and limitations in handling complex or highly variable parts. Successful implementation requires careful planning, system integration, and ongoing calibration and maintenance.
Q 25. How do you ensure the safety of yourself and others during the inspection process?
Safety is paramount in any inspection process. My approach is based on a multi-layered strategy:
- Risk Assessment: I always begin by identifying potential hazards associated with the specific inspection task, materials, and equipment. This could include anything from electrical hazards to chemical exposure or ergonomic risks.
- Personal Protective Equipment (PPE): I ensure I and my team use appropriate PPE, such as safety glasses, gloves, hearing protection, and safety shoes, based on the identified hazards.
- Safe Work Practices: I adhere to established safety procedures and guidelines, including lockout/tagout procedures for machinery and proper handling of hazardous materials.
- Equipment Maintenance: I ensure all equipment is properly maintained and calibrated to prevent malfunctions and accidents.
- Training and Communication: I make sure all team members receive adequate training on safe work practices and emergency procedures, and I foster open communication about any safety concerns.
Ultimately, a proactive and cautious approach to safety is critical, not just for compliance but for protecting the well-being of myself and my colleagues.
Q 26. What are your strengths and weaknesses related to metrology and inspection?
My strengths lie in my broad understanding of metrology principles and my ability to adapt different inspection techniques to specific applications. I have a proven track record of successfully troubleshooting complex measurement problems and implementing efficient inspection systems. I’m also a strong communicator and team player, capable of explaining complex technical concepts to both technical and non-technical audiences. My experience working with various automated systems is a valuable asset.
One area I’m continually working to improve is my expertise in advanced statistical process control (SPC) techniques. While I understand the fundamentals, I’m actively seeking opportunities to enhance my proficiency in using more advanced SPC methods for optimizing processes and improving quality control.
Q 27. Describe a challenging metrology problem you solved and your approach.
A challenging metrology problem I solved involved measuring the extremely small dimensions of microfluidic channels etched into a silicon wafer. These channels were only a few micrometers wide and deep, making traditional measurement methods unreliable. The client needed highly accurate dimensions to ensure the proper functionality of their microfluidic device. My approach involved a multi-step process:
- Initial Assessment: I carefully evaluated the limitations of various measurement techniques, considering the required accuracy and the size of the features.
- Method Selection: After thorough consideration, I chose Atomic Force Microscopy (AFM), a technique capable of measuring at the nanometer scale. I justified this choice based on its superior resolution and capability to image surface topography.
- Calibration and Verification: I meticulously calibrated the AFM using certified standards and verified its accuracy before starting the measurements.
- Data Acquisition and Analysis: I performed multiple measurements at different locations on the wafer, ensuring sufficient statistical representation. The collected data was then analyzed to extract the channel dimensions and generate a detailed report.
- Reporting and Collaboration: The results, including 3D surface profiles and dimensional data, were presented in a clear and concise report. I also collaborated with the client’s engineers to ensure they understood the results and their implications for device design and fabrication.
This successful resolution demonstrates my ability to select appropriate measurement techniques, address challenges in high-precision metrology, and effectively communicate complex technical information.
Key Topics to Learn for Knowledge of Metrology and Inspection Techniques Interview
- Dimensional Metrology: Understanding fundamental concepts like length, angle, and surface finish measurements. Explore various measuring instruments and their applications (e.g., calipers, micrometers, CMMs).
- Geometric Dimensioning and Tolerancing (GD&T): Mastering the interpretation and application of GD&T symbols to ensure part conformance to specifications. Practice interpreting drawings and specifications that utilize GD&T.
- Inspection Techniques: Familiarize yourself with various inspection methods, including visual inspection, dimensional inspection, non-destructive testing (NDT) methods (e.g., ultrasonic testing, liquid penetrant testing), and their appropriate applications.
- Measurement Uncertainty and Error Analysis: Understand the sources of measurement errors and how to minimize them. Learn how to calculate and report measurement uncertainty.
- Statistical Process Control (SPC): Grasp the principles of SPC charts (e.g., control charts) and their use in monitoring and improving process capability.
- Calibration and Traceability: Understand the importance of instrument calibration and traceability to national or international standards.
- Material Testing and Analysis: Develop knowledge of common material testing methods (e.g., tensile testing, hardness testing) and their relevance to quality control.
- Problem-Solving and Root Cause Analysis: Practice identifying and analyzing issues related to measurement discrepancies or non-conforming parts. Develop your ability to propose effective solutions.
- Specific Industry Standards and Regulations: Research relevant industry standards and regulations pertaining to metrology and inspection within your target field.
Next Steps
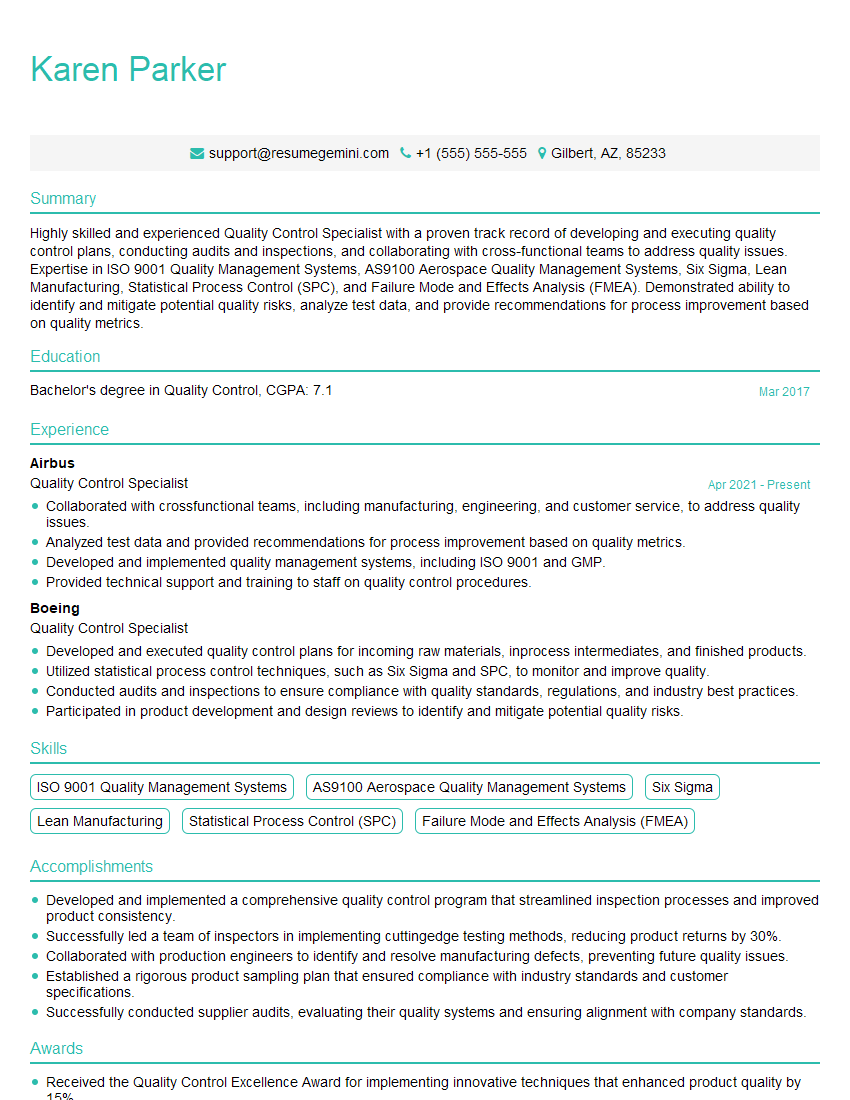
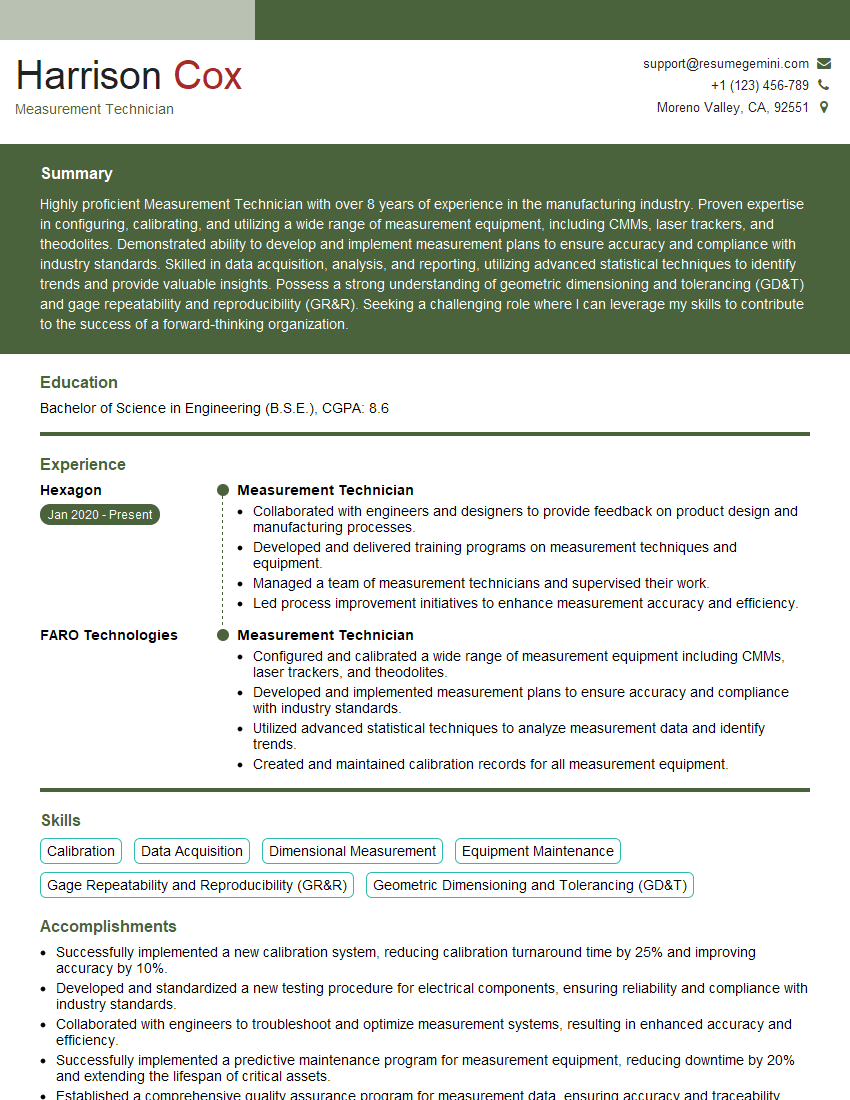
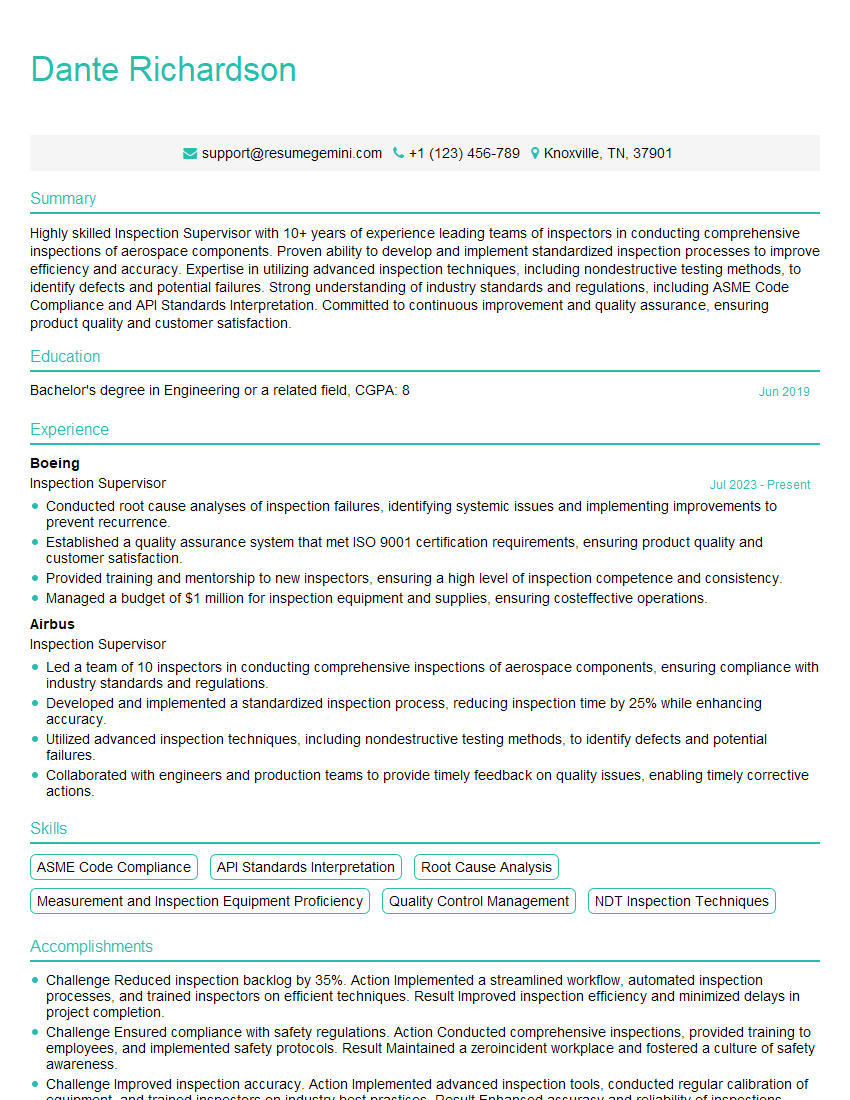
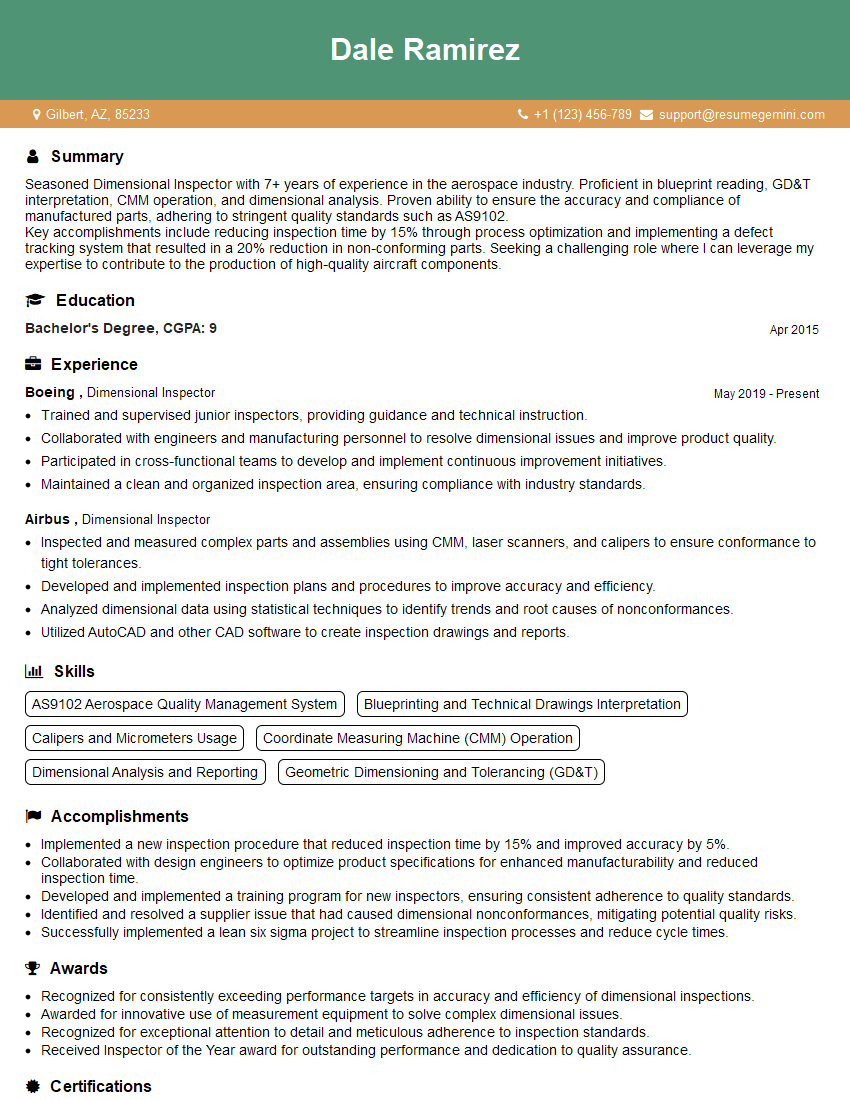
Mastering knowledge of metrology and inspection techniques is crucial for career advancement in manufacturing, engineering, and quality control. A strong understanding of these principles demonstrates your technical expertise and problem-solving abilities, making you a highly valuable asset to any organization. To increase your chances of landing your dream job, crafting an ATS-friendly resume is essential. ResumeGemini can help you create a powerful resume that highlights your skills and experience effectively. We provide examples of resumes tailored to roles requiring Knowledge of metrology and inspection techniques to help you get started. Take the next step in your career journey – build a winning resume with ResumeGemini today.
Explore more articles
Users Rating of Our Blogs
Share Your Experience
We value your feedback! Please rate our content and share your thoughts (optional).
What Readers Say About Our Blog
Hi, I’m Jay, we have a few potential clients that are interested in your services, thought you might be a good fit. I’d love to talk about the details, when do you have time to talk?
Best,
Jay
Founder | CEO


