Are you ready to stand out in your next interview? Understanding and preparing for Basic mechanical diagnosis interview questions is a game-changer. In this blog, we’ve compiled key questions and expert advice to help you showcase your skills with confidence and precision. Let’s get started on your journey to acing the interview.
Questions Asked in Basic mechanical diagnosis Interview
Q 1. Explain the process of diagnosing a malfunctioning engine.
Diagnosing a malfunctioning engine is a systematic process that involves careful observation, listening, and testing. It’s like being a detective, piecing together clues to find the culprit.
The process typically begins with gathering information. What are the symptoms? Is the engine running rough, making strange noises, losing power, or consuming excessive fuel? This initial assessment guides the next steps. Next, a visual inspection is crucial. Check for obvious problems such as leaks (oil, coolant, fuel), loose connections, or damaged parts. Then, we move to more advanced diagnostics, which might involve using tools like a code reader to check for diagnostic trouble codes (DTCs) from the engine control unit (ECU). These codes provide valuable insights into potential problems. We might also check compression, fuel pressure, and ignition timing. For example, low compression could indicate worn piston rings or a valve problem; low fuel pressure could suggest a faulty fuel pump; and erratic ignition timing points towards issues with the distributor, ignition coil, or crankshaft position sensor. The process concludes with a test drive to confirm the repair has solved the problem and rule out any other related issues. It’s important to remember safety first, always use caution when working around moving parts or hot components.
Q 2. How do you troubleshoot a no-start condition in a vehicle?
Troubleshooting a no-start condition requires a methodical approach. Think of it as eliminating possibilities one by one. We start with the basics: Is there power to the battery? (Check the voltage using a multimeter). Is the battery sufficiently charged? (Check the battery terminals for corrosion and clean them if necessary). Next, we check the starting system. Does the starter motor crank? If not, there might be a problem with the starter motor itself, the battery cables, or the starter solenoid. If the engine cranks but doesn’t start, the issue lies in the ignition system or fuel delivery. We check for spark at the spark plugs. If there’s no spark, we check the ignition coil, distributor (if applicable), ignition wires, and crankshaft position sensor. If there is spark, we move to fuel delivery. We inspect the fuel pump to ensure it’s functioning correctly and there’s sufficient fuel pressure. We also check the fuel injectors to make sure they are delivering fuel. We may also inspect the air intake system to check for blockages. Sometimes, simple things like a blown fuse or a faulty fuel pump relay can also cause a no-start. Finally, if none of these steps reveal the problem, a scan tool might help by looking at the ECU for any stored diagnostic trouble codes.
Q 3. Describe different types of engine failure and their symptoms.
Engine failures can be categorized in various ways, with symptoms varying depending on the cause. Some common types include:
- Catastrophic failures: These involve sudden and complete engine seizure, often due to a lack of lubrication (leading to a spun bearing), a broken connecting rod, or a severe overheat event. Symptoms include a loud bang or knock, loss of power, and often visible damage.
- Gradual failures: These occur over time and are often characterized by decreased performance or unusual sounds. Examples include:
- Wear and tear: Worn piston rings, worn bearings, or camshaft wear will result in a loss of power, increased oil consumption, and noisy operation.
- Internal leaks: Leaks in head gaskets or cracked cylinder blocks lead to coolant or oil mixing, causing white smoke from the exhaust, low coolant levels, and milky oil.
- Electrical Failures: These can cause complete failure or intermittent problems. A failed crankshaft position sensor, for example, will prevent the engine from starting or running properly, and may throw a related DTC.
Diagnosing the specific type of failure often involves a combination of the methods described earlier, including visual inspection, code reading, and diagnostic testing.
Q 4. What are the common causes of overheating in an engine?
Engine overheating is a serious issue that can lead to significant damage. The common causes are generally related to the cooling system. Think of the cooling system like the radiator in a house—if it malfunctions, the house overheats. A malfunctioning thermostat will cause the engine to overheat because coolant won’t circulate when it should. A low coolant level, due to a leak or not enough coolant added, obviously prevents adequate cooling. A clogged radiator prevents coolant from releasing heat. A malfunctioning water pump is another common cause, as it’s responsible for circulating the coolant. Other possible causes include a faulty radiator fan, a damaged head gasket (allowing coolant to leak into the cylinders), and severe blockages in the cooling passages within the engine block. In some cases, prolonged idling or heavy loads on the engine may contribute to overheating in older vehicles, especially those with worn or failing cooling system components.
Q 5. How do you diagnose a faulty transmission?
Diagnosing a faulty transmission involves a combination of observation, testing, and sometimes specialized equipment. A faulty transmission can manifest in numerous ways, like difficulty shifting, slipping gears, harsh shifting, unusual noises (whining, grinding, clunking), and inability to select gears. The diagnostic process often starts with a thorough inspection of the transmission fluid. The fluid’s level, color, and smell (burnt smell suggests overheating and potential damage) offer important clues. Next, a road test is critical to understand the exact nature of the problem. Does the transmission slip under load? Does it grind when shifting into certain gears? Does it fail to engage certain gears? This information allows technicians to narrow down the potential causes. Specialized diagnostic tools, like scan tools, may be used to check for diagnostic trouble codes (DTCs). Sometimes, a transmission fluid pressure test may be necessary to confirm the proper operation of internal components. If the problem is more complex, a complete teardown and inspection of the transmission might be required.
Q 6. Explain the process of diagnosing a braking system problem.
Diagnosing braking system problems begins with a thorough visual inspection of all components, much like a doctor would conduct a physical examination. Check brake pads and shoes for wear. Look at the brake rotors and drums for scoring, cracks, or excessive wear. Inspect brake lines for leaks, damage, and proper routing. Look for leaks in the master cylinder. Next, we test the braking system. Is the pedal firm, soft, or spongy? Does the pedal travel too far before engaging the brakes? Does the vehicle pull to one side during braking? Does the brake pedal feel different at different speeds or under varying conditions? These observations provide valuable clues. Finally, we use a brake pressure gauge to measure brake system pressure, especially in ABS systems. In the absence of proper equipment, we are only limited to visual inspections and road testing, which can lead to the identification of many common issues, but won’t be as thorough or accurate.
Q 7. How do you check for leaks in a hydraulic system?
Checking for leaks in a hydraulic system involves both visual inspection and pressure testing. Visual inspection is the first step. Look carefully for any signs of fluid leaks around components such as cylinders, pumps, valves, hoses, and fittings. Look for wet spots, discoloration, or fluid dripping. Pay close attention to fittings and connections, as these are common points of failure. Next, a pressure test is crucial for pinpointing leaks that may not be immediately visible. This is done by pressurizing the hydraulic system and carefully observing for any pressure drops. Specialized equipment, like a pressure gauge, is necessary for this type of testing. You also need to observe carefully while the system is under pressure. Leaking hydraulic fluid can cause damage, and some systems operate under significant pressure. Different colored dyes can be added to the fluid to help locate the leaks, making them easier to spot, but this typically necessitates a complete system flush afterward. Finally, once leaks have been identified, it’s important to find the underlying cause for the leak to prevent future problems.
Q 8. What tools and equipment are essential for basic mechanical diagnosis?
Basic mechanical diagnosis requires a versatile toolkit. Think of it like a surgeon needing the right instruments – you need the right tools for the job! Essential tools span hand tools, specialized tools, and diagnostic equipment.
- Hand Tools: Wrenches (metric and standard), sockets, screwdrivers (Phillips and flathead), pliers, hammer, torque wrench (crucial for precise tightening), and a good set of Allen keys are fundamental.
- Specialized Tools: Depending on the system being diagnosed, you might need things like a fuel pressure gauge, compression tester, multimeter, timing light, and various pullers and adapters.
- Diagnostic Equipment: A scan tool capable of reading and clearing Diagnostic Trouble Codes (DTCs) is essential for modern vehicles. This allows you to quickly pinpoint potential issues within the vehicle’s computer systems. A good quality multimeter for electrical diagnostics is equally important.
For instance, diagnosing a misfire might involve using a compression tester to check cylinder pressure, a spark tester to verify ignition, and a scan tool to identify any related DTCs. The right tools make all the difference in accurately and efficiently diagnosing the problem.
Q 9. Describe your experience using diagnostic software.
I have extensive experience using various diagnostic software packages, from OEM-specific software like Ford IDS or GM Tech 2, to more universal scan tools like Autohex II. My proficiency includes reading and interpreting DTCs, accessing live data streams (like fuel trims, sensor readings, etc.), performing actuator tests, and calibrating various modules within the vehicle’s electronic control units (ECUs).
For example, I recently used Ford IDS to diagnose a no-start condition in a Ford F-150. The software allowed me to monitor the various sensors involved in the starting sequence, which ultimately revealed a faulty crankshaft position sensor. Live data analysis is invaluable in these situations, enabling diagnosis that isn’t possible with just a basic code reader.
I’m also adept at understanding the limitations of different software packages. For example, while universal scan tools can read generic DTCs, OEM-specific software often provides more detailed data and allows access to manufacturer-specific diagnostic procedures.
Q 10. How do you interpret diagnostic trouble codes (DTCs)?
Diagnostic Trouble Codes (DTCs) are alphanumeric codes generated by a vehicle’s onboard computer system to indicate a malfunction. Interpreting them is crucial for efficient diagnosis.
The process usually involves:
- Retrieving the DTCs: Using a scan tool to read the stored codes from the vehicle’s ECU(s).
- Looking up the code: Consulting a repair manual or online database to understand the meaning of each code. For example, a P0171 code typically indicates a lean fuel condition in bank 1 of the engine.
- Analyzing the code’s context: Consider the specific code, any accompanying freeze frame data (snapshot of the vehicle’s condition when the code was set), and the vehicle’s symptoms. A P0171 code might be caused by a faulty oxygen sensor, vacuum leak, or mass airflow sensor issue; the freeze frame data and observed symptoms help narrow this down.
- Verification: Don’t solely rely on the DTC; perform further tests (visual inspections, component testing, etc.) to confirm the code’s indication and identify the root cause.
For instance, if I see a P0300 (random misfire) code, I wouldn’t automatically replace all the spark plugs. I would first check for things like vacuum leaks, faulty ignition coils, or worn spark plug wires, using relevant testing equipment to pinpoint the specific cylinder(s) experiencing the misfire.
Q 11. Explain the difference between preventative and reactive maintenance.
Preventative maintenance focuses on preventing problems before they occur, while reactive maintenance addresses problems after they have already happened. Think of it like this: preventative maintenance is like regular check-ups at the doctor, while reactive maintenance is like going to the emergency room.
- Preventative Maintenance: This includes regularly scheduled servicing such as oil changes, fluid flushes (coolant, brake fluid, transmission fluid), filter replacements (air, fuel, cabin air), and inspections of key components like belts, hoses, and tires. This extends the life of components and reduces the likelihood of unexpected breakdowns.
- Reactive Maintenance: This involves repairing or replacing components only after they’ve failed or malfunctioned. Examples include replacing a worn-out brake pad after experiencing reduced braking performance or fixing a broken exhaust manifold after hearing a loud noise.
Ideally, a balanced approach incorporating both is best. Regular preventative maintenance minimizes the need for costly and time-consuming reactive repairs, increasing vehicle longevity and reducing overall maintenance costs.
Q 12. How do you identify and address electrical problems in a vehicle?
Diagnosing electrical problems requires a systematic approach, utilizing both visual inspection and electrical testing. It’s similar to detective work, following the circuit’s path to find the culprit.
- Visual Inspection: Look for obvious issues like damaged wiring, loose connections, corrosion, or melted insulation. This can often identify the source quickly.
- Testing with a Multimeter: A multimeter is invaluable. Use it to check for voltage at various points in the circuit, check for continuity in wires, and test components like switches, relays, and sensors. Understanding basic electrical principles (voltage, current, resistance) is essential.
- Circuit Diagrams: Refer to wiring diagrams to trace the path of circuits and identify all components involved. This helps to avoid guessing and ensures a thorough diagnosis.
- Component Testing: Sometimes, direct component testing is required. For example, testing a sensor’s output with a multimeter to confirm it’s generating the correct signal under specific conditions.
For example, if a headlight doesn’t work, I’d first check the bulb itself. If the bulb is good, I’d then use a multimeter to check for power at the headlight connector. If no power is present, I’d follow the wiring back towards the fuse box or switch, checking for breaks or shorts along the way. Understanding how circuits function and using a multimeter systematically is critical in isolating electrical problems.
Q 13. What are the safety precautions you take while performing mechanical diagnosis?
Safety is paramount when performing mechanical diagnosis. A single mistake can lead to serious injury or damage. I always follow these safety procedures:
- Personal Protective Equipment (PPE): This includes safety glasses or goggles, gloves, hearing protection (when using power tools), and appropriate clothing to avoid snags or entanglement.
- Vehicle Safety: Ensure the vehicle is parked on a level surface, the parking brake is engaged, and the vehicle is turned off. Never work under a vehicle supported only by a jack; use jack stands for secure support.
- Jack and Stands: If the vehicle needs to be lifted, always use jack stands rated for the vehicle’s weight. Never rely solely on a jack.
- Fire Safety: Be aware of potential fire hazards, especially when working near fuel systems or electrical components. Have a fire extinguisher readily available.
- Proper Lifting Techniques: Use proper lifting techniques to avoid injuries when handling heavy parts or tools. Ask for assistance if needed.
- Environmental Awareness: Be aware of your surroundings and potential hazards such as sharp edges or moving parts.
For instance, before I start any work under a vehicle, I always make absolutely certain it’s securely supported by jack stands. It’s simply not worth the risk to cut corners on safety.
Q 14. How do you diagnose a faulty fuel system?
Diagnosing a faulty fuel system involves a systematic approach, checking various components to identify the source of the problem. This is very similar to detective work, needing to methodically check each component.
- Check for Fuel Delivery: Start by verifying that fuel is reaching the engine. Listen for the fuel pump to prime when the ignition is turned on. Visually inspect the fuel lines for leaks and check the fuel filter for blockages. If the pump doesn’t prime, check the fuse/relay for the pump.
- Fuel Pressure Test: Use a fuel pressure gauge to measure the fuel pressure at the fuel rail. This provides an indication of pump output and regulator function. Compare the reading to the manufacturer’s specifications.
- Fuel Injectors: Check for injector operation visually (if accessible) or by measuring the voltage at the injector connectors. Faulty injectors can lead to a misfire or poor fuel atomization. A more advanced diagnostic might involve checking the injector pulse width from the ECU.
- Fuel Filter Inspection: A clogged fuel filter can restrict fuel flow and cause a variety of problems, from poor performance to stalling. Replace if necessary.
- Check for Leaks: Inspect the fuel lines, fuel rail, and injectors for leaks. Fuel leaks pose a significant fire hazard.
For instance, if a vehicle is experiencing poor acceleration and hesitation, a fuel pressure test might reveal low fuel pressure, indicating a failing fuel pump or a clogged fuel filter. I would address the problem based on the results of my tests.
Q 15. How do you troubleshoot a problem with a vehicle’s charging system?
Troubleshooting a vehicle’s charging system involves systematically checking components to identify the source of a malfunction, such as a dead battery or dim headlights. It’s like detective work, following a logical path to find the culprit.
- Visual Inspection: Begin by visually inspecting the battery terminals for corrosion, loose connections, or damage. Clean corroded terminals with a wire brush and baking soda solution. A loose connection can be as simple to fix as tightening a bolt, but it can manifest as significant charging issues.
- Battery Voltage Test: Use a voltmeter to check the battery voltage. A healthy battery should read around 12.6 volts when not charging. A lower voltage indicates a weak or discharged battery.
- Charging System Voltage Test: With the engine running, check the voltage again. It should be between 13.5 and 14.5 volts. A lower voltage suggests a problem with the alternator, voltage regulator, or wiring.
- Alternator Output Test: If the voltage is low while the engine is running, further investigation of the alternator is needed. This might involve testing the alternator’s output directly with a multimeter, which requires some technical knowledge and appropriate safety precautions.
- Voltage Regulator Test: The voltage regulator controls the alternator’s output. A faulty regulator can lead to overcharging or undercharging. This component often requires specialized testing equipment for accurate diagnosis.
- Wiring and Connections: Inspect all wiring and connections related to the battery, alternator, and voltage regulator for damage or loose connections. A seemingly insignificant break in a wire can significantly impact the charging system.
Example: I once diagnosed a charging system problem where the car’s headlights were dim, but the battery voltage was fine at idle. Further testing revealed a faulty alternator that only produced sufficient voltage at higher engine RPMs. Replacing the alternator solved the problem.
Career Expert Tips:
- Ace those interviews! Prepare effectively by reviewing the Top 50 Most Common Interview Questions on ResumeGemini.
- Navigate your job search with confidence! Explore a wide range of Career Tips on ResumeGemini. Learn about common challenges and recommendations to overcome them.
- Craft the perfect resume! Master the Art of Resume Writing with ResumeGemini’s guide. Showcase your unique qualifications and achievements effectively.
- Don’t miss out on holiday savings! Build your dream resume with ResumeGemini’s ATS optimized templates.
Q 16. Explain the importance of regular vehicle maintenance.
Regular vehicle maintenance is crucial for extending the lifespan of your vehicle, ensuring safety, and preventing costly repairs. Think of it as preventative healthcare for your car.
- Improved Fuel Efficiency: Regularly changing your oil and air filter improves engine performance and leads to better fuel economy.
- Enhanced Safety: Maintaining your brakes, tires, and steering system prevents accidents and keeps you safe on the road. Worn brake pads, for instance, significantly compromise braking ability.
- Reduced Repair Costs: Addressing small issues during routine maintenance prevents them from becoming major and expensive problems. A small leak ignored can lead to catastrophic engine damage.
- Increased Resale Value: A well-maintained vehicle commands a higher resale value compared to a neglected one. Service records are a valuable asset when selling a car.
- Peace of Mind: Knowing your vehicle is in good working order provides peace of mind and reduces the risk of unexpected breakdowns.
Example: Regularly rotating tires prevents uneven wear and tear, extending their lifespan. This simple task can save hundreds of dollars over the life of the vehicle.
Q 17. How do you document your diagnostic findings?
I meticulously document diagnostic findings using a combination of methods to ensure clarity and traceability. Think of it as creating a detailed case history for each vehicle.
- Digital Inspection Reports: I use digital inspection software or forms that record all the steps I take, including visual observations, test results (with numerical data), component checks, and parts replaced. This ensures everything is clearly documented.
- Photographs and Videos: I take photos and videos of critical findings, especially damage or wear to specific components. This provides visual evidence to support my diagnosis and facilitates communication with clients.
- Repair Orders: All repairs are documented on standardized repair orders, including parts used, labor hours, and customer authorizations. This is critical for both billing and warranty purposes.
- Schematic References: For complex systems, I annotate circuit diagrams or schematics with my observations to visually track down problems. This is especially helpful for electrical system issues.
Example: When diagnosing a misfire in an engine, I’d document the cylinder showing the misfire (via a scan tool), include photos of spark plugs and wires showing signs of wear or damage, and note the steps taken to correct the issue (e.g. replacement of specific spark plugs).
Q 18. Describe your experience working with different types of mechanical systems.
My experience spans a wide range of mechanical systems, encompassing automotive, small engine, and some light industrial machinery. Each system presents its unique challenges and diagnostic approaches.
- Automotive Systems: I have extensive experience working on automotive engine systems (internal combustion engines, fuel injection, ignition, and emissions), transmission systems (manual and automatic), braking systems (disc and drum), steering systems, suspension systems, and electrical systems (charging, starting, and lighting).
- Small Engine Systems: I’m proficient in diagnosing and repairing small engines found in lawnmowers, generators, and other outdoor power equipment. These often have simpler systems but require a good understanding of basic engine principles.
- Light Industrial Machinery: I’ve worked on some basic industrial machinery, primarily involving hydraulics and pneumatics. While this experience is less extensive than my automotive expertise, it has enhanced my understanding of fluid power systems and pressure-based operation.
Example: I recently repaired a lawnmower engine that wouldn’t start. Through systematic troubleshooting, I identified a faulty ignition coil. The diagnostic approach was similar to that used in automotive systems, highlighting the transferable skills I possess.
Q 19. How do you prioritize repairs based on urgency and severity?
Prioritizing repairs depends on a careful assessment of urgency and severity. I utilize a risk-based approach similar to how medical professionals prioritize patient treatment.
- Safety-Critical Issues: Repairs that directly impact vehicle safety, such as brake failure or steering problems, are always top priority. These must be addressed immediately.
- Critical System Failures: Issues that affect essential systems, like engine failure or complete loss of power, need urgent attention. These can leave the vehicle immobile.
- Convenience Issues: Problems that don’t pose a direct safety or functional risk, such as cosmetic damage or minor electrical glitches, can be addressed later.
- Severity and Potential Damage: A small leak might seem insignificant, but it could lead to significant engine damage if neglected. I consider the potential for escalation when prioritizing.
Example: If a vehicle comes in with a brake warning light, that takes precedence over a rattling exhaust system. The brake issue presents an immediate safety risk.
Q 20. Explain your troubleshooting methodology.
My troubleshooting methodology follows a systematic and logical approach, often described as a ‘5-Why’ analysis combined with a structured process.
- Gather Information: I begin by gathering information about the problem from the client (symptoms, when it started, etc.).
- Visual Inspection: I perform a thorough visual inspection, checking for obvious signs of damage or malfunction.
- Testing and Diagnostics: I use appropriate diagnostic tools and testing equipment (multimeters, scan tools, etc.) to isolate the problem.
- Component Checks: Once the problem area is identified, I systematically check individual components within that system to pinpoint the faulty part.
- Verification and Repair: Once the faulty component is identified and replaced, I verify the repair by retesting the system and ensuring the problem is resolved. This confirms the diagnosis was correct.
- Documentation: Thoroughly document the entire process – the client’s report, my observations, testing results, and repair procedures.
Example: If a car is overheating, I would check the coolant level, inspect the radiator for leaks, test the thermostat, and check the water pump, following a logical progression to find the root cause of the overheating.
Q 21. How familiar are you with schematics and diagrams?
I’m very familiar with schematics and diagrams, considering them essential tools in mechanical diagnosis. They provide a visual map of a system’s components and their interconnections.
I can interpret and utilize various types of diagrams including:
- Wiring Diagrams: Essential for troubleshooting electrical systems, showing the flow of current and the location of components.
- System Diagrams: Show the overall layout of a system and the relationship between its components, providing a high-level overview.
- Component Schematics: Detail the internal workings of a specific component, such as an alternator or fuel injector.
- Hydraulic and Pneumatic Diagrams: Show the flow of fluids or gases in systems involving pressure.
Example: When working on a car’s electrical system, the wiring diagram is invaluable in tracing circuits to find broken wires or faulty components. It’s like having a roadmap for the electrical network of the vehicle.
Q 22. Describe a time you had to diagnose a complex mechanical problem.
One particularly challenging diagnosis involved a construction vehicle experiencing intermittent power loss. Initially, the operator reported the issue only occurring under heavy load. This pointed towards a potential problem with the engine’s power delivery system, but initial checks of fuel pressure, air intake, and exhaust systems revealed nothing conclusive.
My systematic approach involved breaking down the problem into smaller, more manageable parts. I started by conducting a thorough visual inspection, checking for loose connections, damaged wiring, and any obvious signs of wear and tear. I then proceeded to use a diagnostic scanner to read the engine’s control module (ECM) for any stored trouble codes. The scanner revealed no immediate faults, but I noticed fluctuating readings in the fuel injector control signals under load, indicating a possible intermittent electrical problem.
After tracing the wiring harnesses, I discovered a partially frayed wire within the main harness near the engine, which was causing intermittent signal disruption only when the engine was under heavy load and the wires vibrated against the chassis. Replacing the damaged section of wiring completely resolved the power loss issue. This case highlighted the importance of systematic troubleshooting, combined with using diagnostic tools effectively, to identify even the most elusive mechanical problems.
Q 23. How do you stay up-to-date with the latest technologies and techniques in mechanical diagnosis?
Staying current in the rapidly evolving field of mechanical diagnosis requires a multi-faceted approach. I actively participate in professional development workshops and conferences focused on automotive and heavy equipment technology. These events often feature presentations on the latest diagnostic techniques and the introduction of new diagnostic tools. I also regularly subscribe to trade journals and online publications dedicated to mechanical engineering and automotive repair. These resources provide in-depth technical articles and updates on emerging technologies.
Furthermore, I actively engage with online communities and forums where experienced mechanics discuss real-world problems and troubleshooting strategies. This peer-to-peer learning is invaluable for exchanging knowledge and insights. Finally, I continually update my knowledge base on manufacturers’ websites and technical documentation to access the most current information on specific vehicle systems and components.
Q 24. What are your strengths and weaknesses in mechanical diagnosis?
My greatest strengths lie in my systematic and analytical approach to problem-solving. I excel at breaking down complex issues into manageable steps and utilizing a combination of theoretical knowledge and practical skills to find solutions. I am also highly adept at using various diagnostic tools and interpreting their data accurately. My experience with a wide range of engines and systems allows me to diagnose problems efficiently.
One area I am working on is expanding my knowledge of the latest advancements in electric vehicle diagnostics. While I have a solid understanding of the fundamental principles, there are always new technologies and systems emerging in this area. I plan to address this by taking dedicated courses and seeking mentorship from experts in the field.
Q 25. What is your experience with different types of engines (e.g., gasoline, diesel, electric)?
I have extensive experience working with gasoline, diesel, and increasingly, electric engines. My work with gasoline engines ranges from diagnosing issues in small car engines to larger V8 engines in trucks and SUVs. I am familiar with fuel injection systems, ignition systems, and emission control systems. My experience with diesel engines includes working on both light and heavy-duty applications, focusing on fuel injection pumps, turbochargers, and the unique challenges associated with diesel particulate filters (DPFs).
My experience with electric motors and associated power electronics is growing, focusing on battery management systems, motor controllers, and the diagnostic tools specific to electric and hybrid systems. Understanding the differences in diagnostic approaches and the specific tools required for each engine type is crucial for effective diagnosis.
Q 26. How do you handle situations where you are unable to diagnose a problem?
When encountering a problem I can’t immediately solve, my approach involves several key steps. First, I thoroughly document all observations, measurements, and diagnostic tests already performed. This ensures a complete record for later review and avoids redundant testing. Second, I consult additional resources, including service manuals, online forums, and colleagues with specialized expertise. Sometimes, a fresh perspective can quickly identify the overlooked detail.
If the problem remains unresolved after these steps, I don’t hesitate to seek assistance from more experienced technicians or specialists. It’s crucial to acknowledge limitations and seek help when necessary. Ultimately, collaboration and continuous learning are key to overcoming the most difficult challenges in mechanical diagnosis. Proper documentation also benefits the future resolution of similar issues.
Q 27. Describe your experience with different types of testing equipment (e.g., multimeters, oscilloscopes).
I am proficient in using a range of diagnostic equipment, including multimeters, oscilloscopes, and diagnostic scanners. Multimeters are essential for checking voltage, current, and resistance in various electrical circuits. For example, I’ve used a multimeter to identify a short circuit in a vehicle’s wiring harness causing intermittent power loss to a specific component.
Oscilloscopes are invaluable for analyzing waveforms and identifying intermittent electrical problems. I have used an oscilloscope to pinpoint a faulty sensor signal caused by a failing sensor or a problem with the signal wiring. Diagnostic scanners provide comprehensive information about a vehicle’s various electronic control units (ECUs), allowing me to retrieve trouble codes and monitor real-time data, which was critical in diagnosing the faulty fuel injector control signals in the earlier example. The proper use and interpretation of data from these devices are integral to accurate diagnosis.
Q 28. How do you ensure the accuracy of your diagnoses?
Ensuring the accuracy of my diagnoses involves a rigorous, multi-step process. First, I always start with a thorough visual inspection, paying close attention to detail. Then, I employ a systematic approach, using diagnostic tools to confirm my initial suspicions. This often involves cross-referencing data from multiple sources (e.g., comparing readings from a multimeter with data from the diagnostic scanner). The accuracy of any measurement is critically dependent on the accuracy and calibration of the measuring instruments used.
Crucially, I always double-check my findings and ensure that my repairs address the root cause of the problem, not just the symptoms. Finally, I conduct thorough testing after repairs are completed to verify that the problem is resolved and that no new issues have been introduced. This approach minimizes errors and ensures the long-term reliability of any repairs performed.
Key Topics to Learn for Basic Mechanical Diagnosis Interview
- Understanding Basic Engine Components: Internal combustion engine principles, component functions (pistons, cylinders, crankshaft, connecting rods, valves, etc.), and their interrelationships.
- Troubleshooting Common Engine Issues: Practical application of diagnosing problems like misfires, lack of power, unusual noises, overheating, and excessive smoke. This includes using diagnostic tools and interpreting their readings.
- Fluid Systems Diagnosis: Understanding the function of lubrication, cooling, and fuel systems. Identifying leaks, low fluid levels, and contamination issues.
- Electrical System Basics: Fundamental knowledge of automotive electrical systems, including batteries, starters, alternators, and basic wiring diagrams. Troubleshooting simple electrical faults.
- Safety Procedures and Practices: Prioritizing safety when conducting any mechanical diagnosis, including proper use of tools and personal protective equipment (PPE).
- Basic Diagnostic Tools and Equipment: Familiarity with common diagnostic tools such as multimeters, pressure gauges, and scan tools. Understanding their applications and limitations.
- Interpreting Diagnostic Trouble Codes (DTCs): Understanding the meaning of DTCs and using them to pinpoint potential problems in modern vehicles.
- Preventive Maintenance: The importance of routine maintenance and its role in preventing major mechanical failures. Identifying common preventive maintenance tasks.
- Problem-Solving Methodology: Applying a systematic approach to diagnosing mechanical problems, including gathering information, formulating hypotheses, testing, and verification.
Next Steps
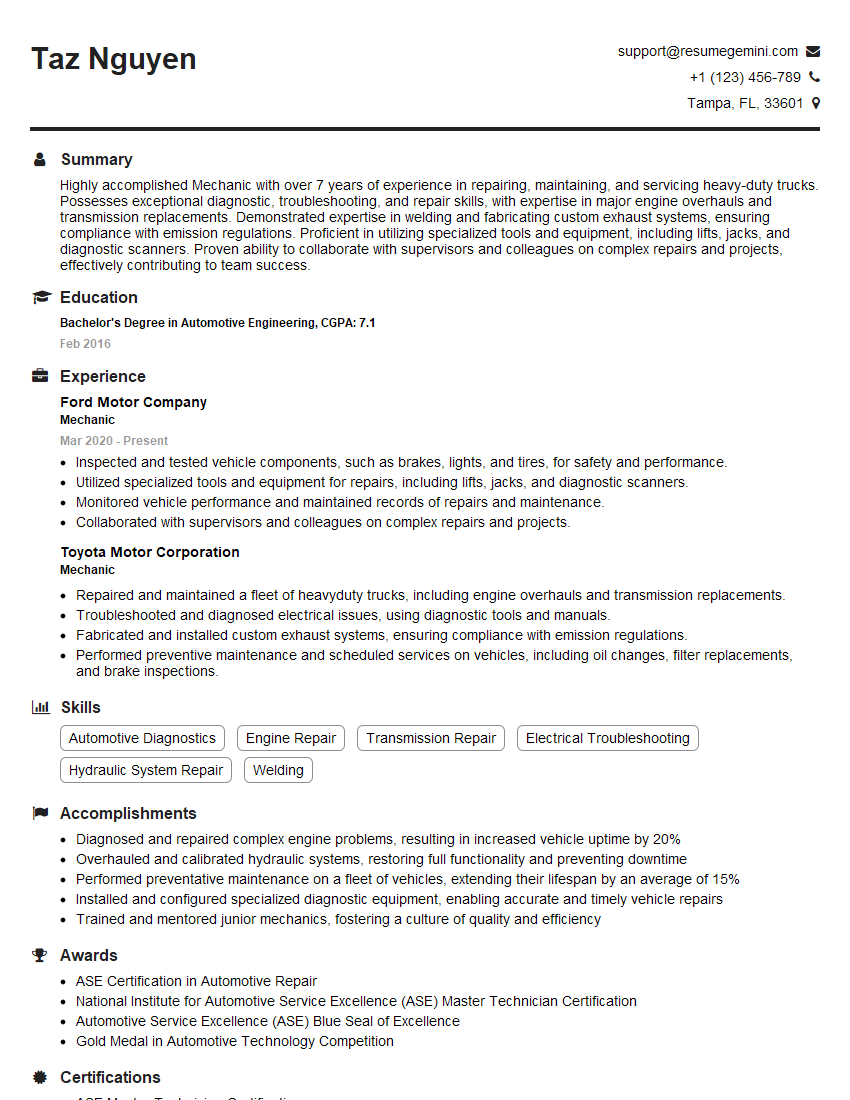
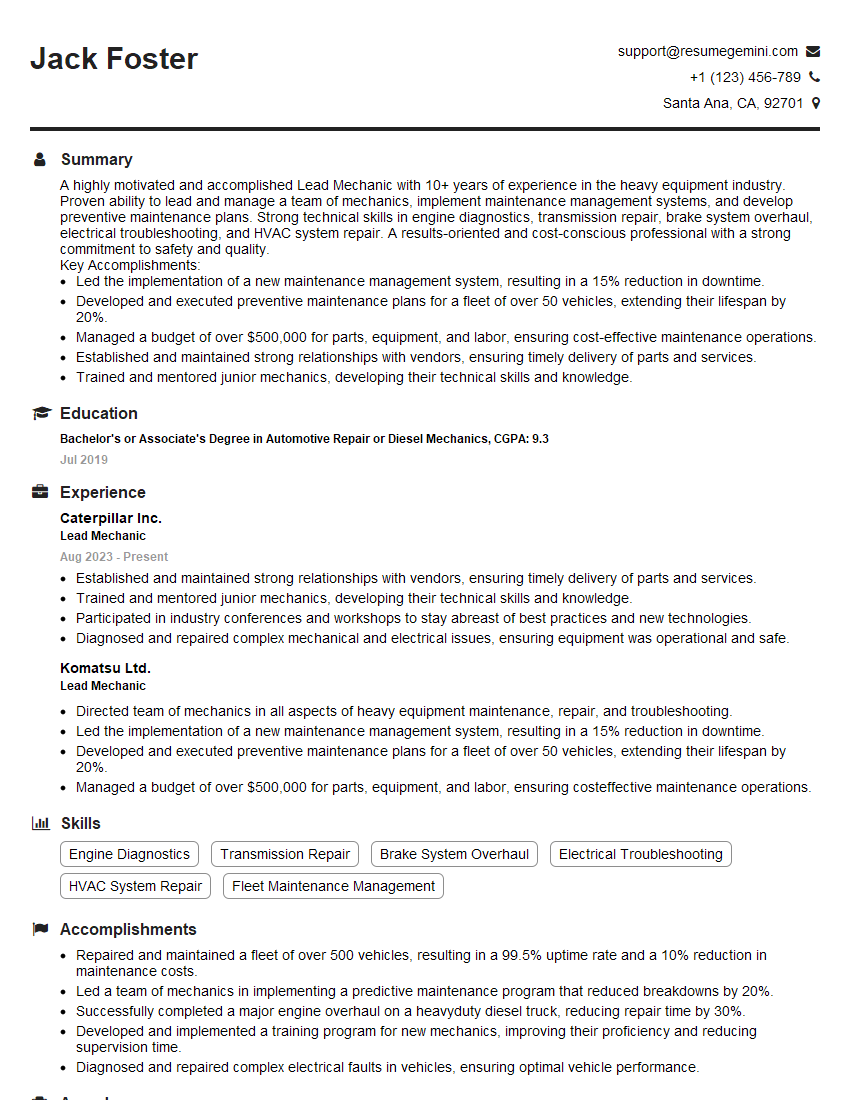
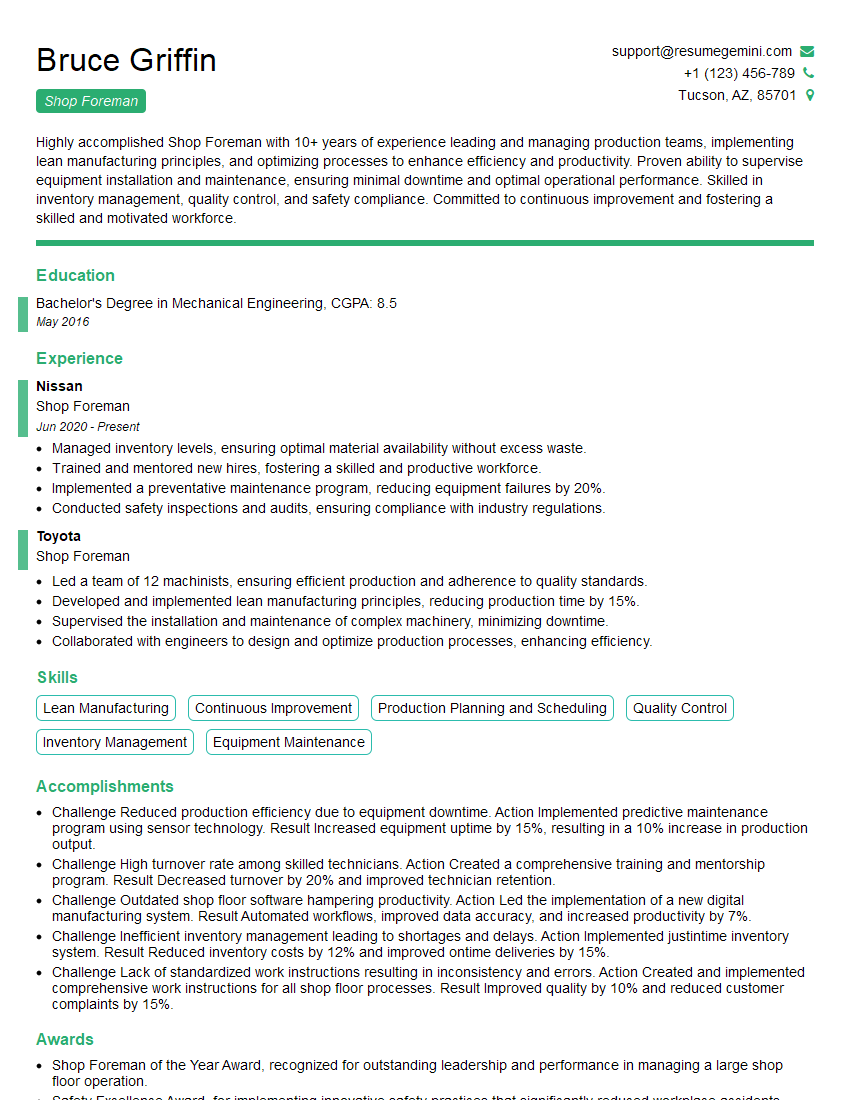
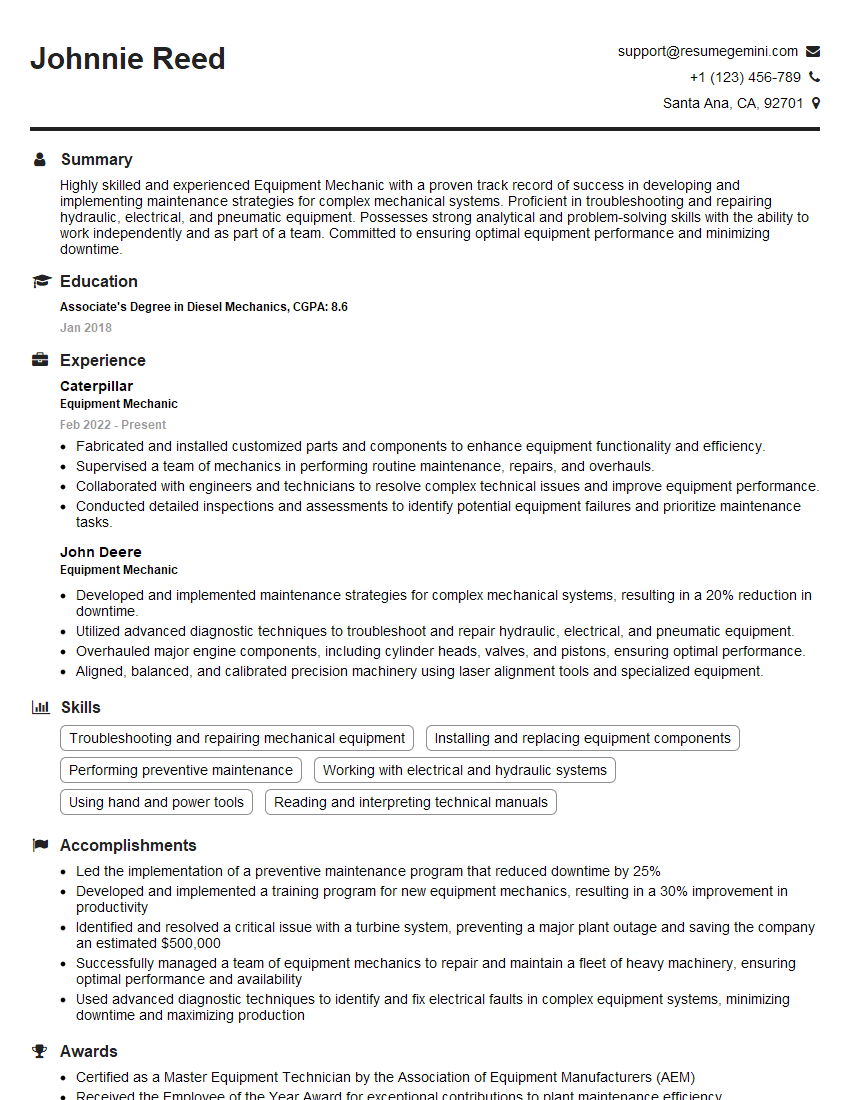
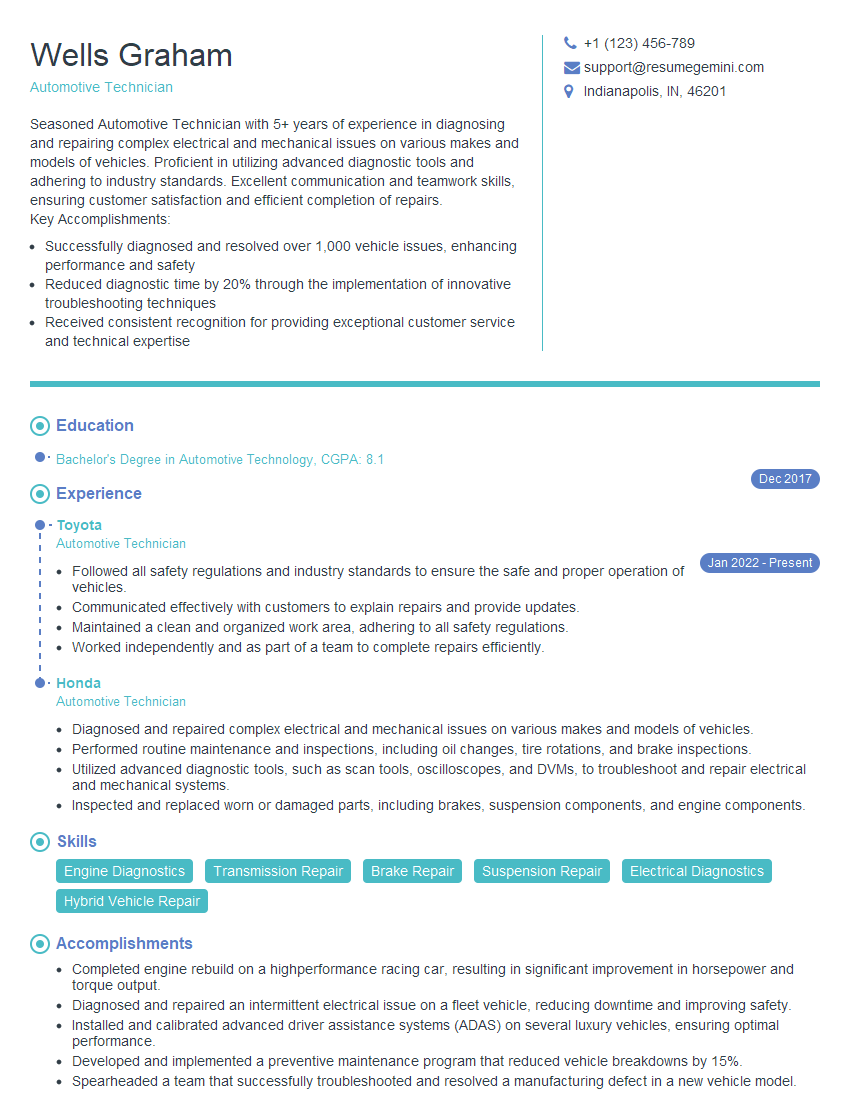
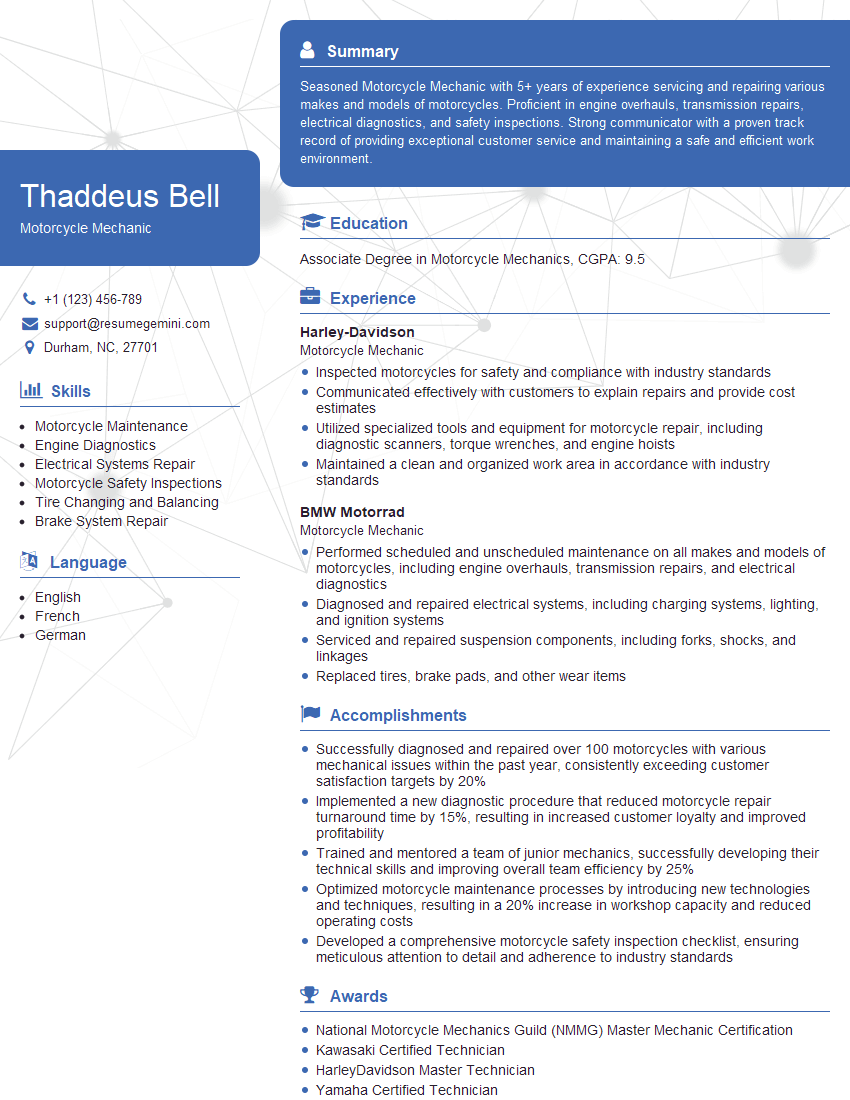
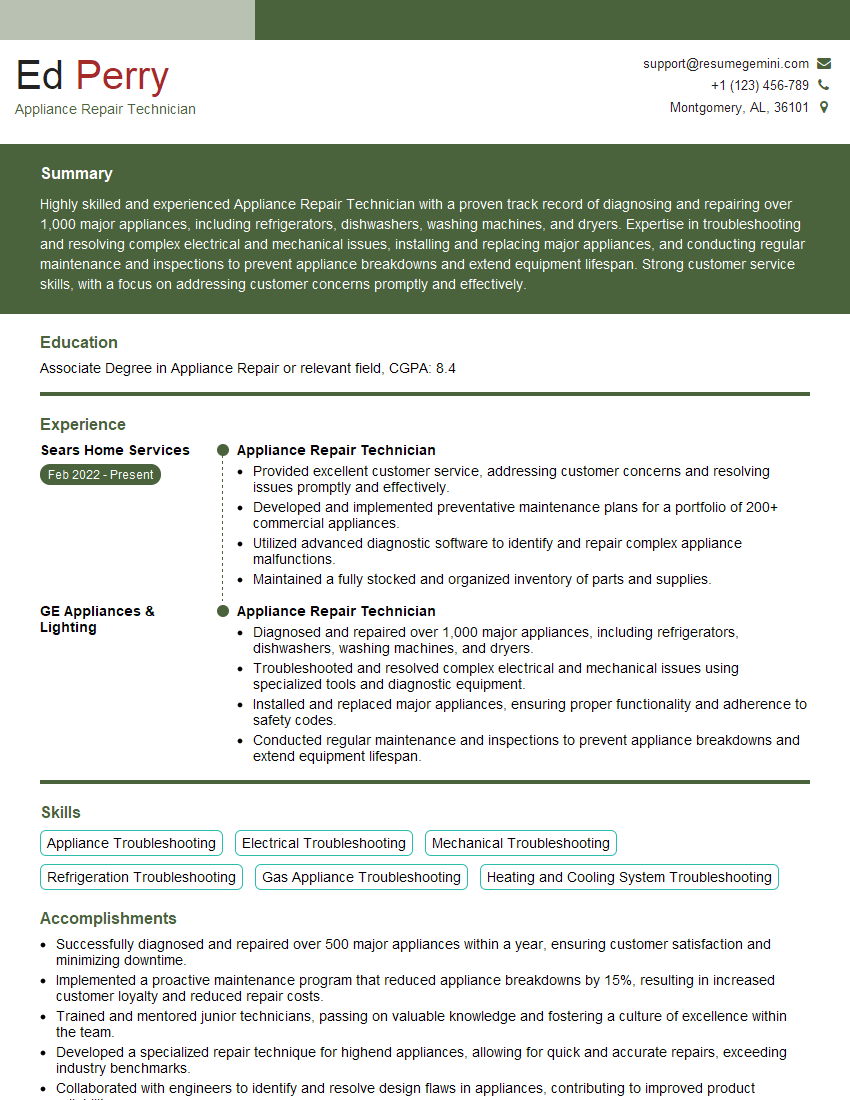
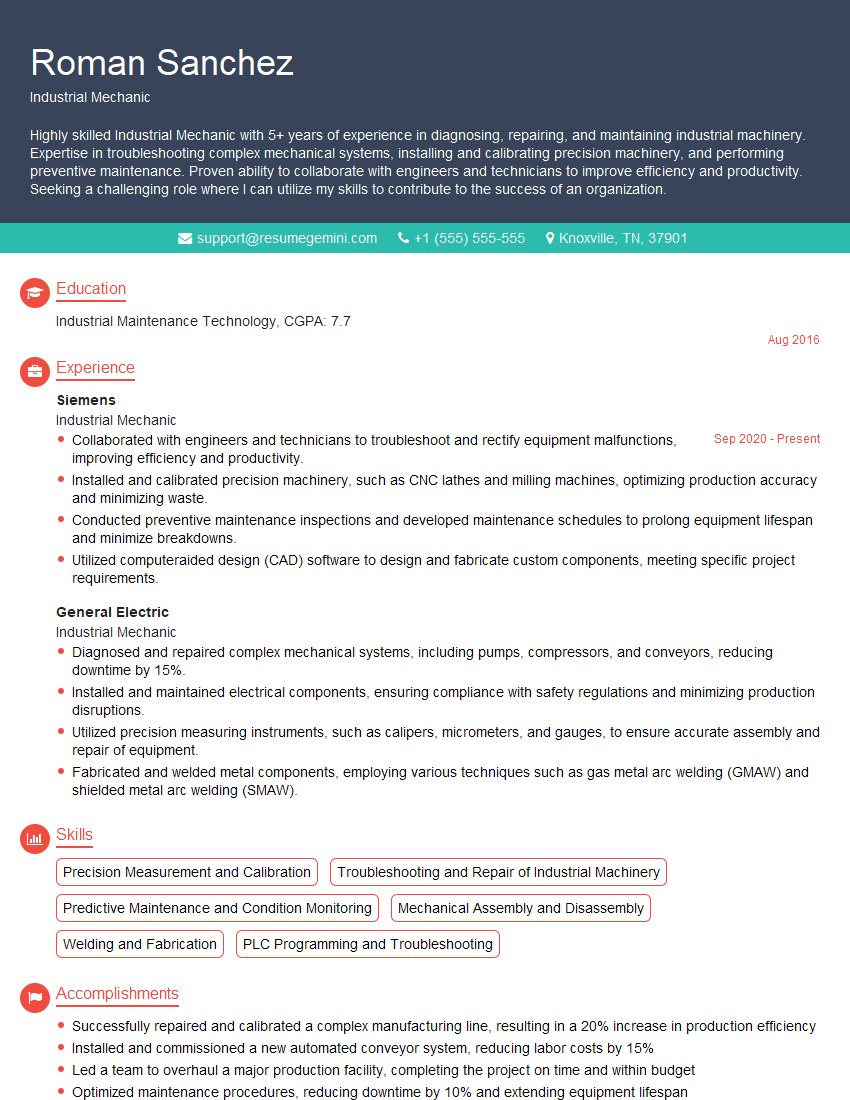
Mastering basic mechanical diagnosis is crucial for career advancement in the automotive industry and related fields. It demonstrates a strong foundation in practical skills and problem-solving abilities, opening doors to more challenging and rewarding opportunities. To maximize your job prospects, creating a compelling and ATS-friendly resume is essential. ResumeGemini can help you build a professional and effective resume that highlights your skills and experience. Examples of resumes tailored to Basic Mechanical Diagnosis are available to guide you through the process.
Explore more articles
Users Rating of Our Blogs
Share Your Experience
We value your feedback! Please rate our content and share your thoughts (optional).
What Readers Say About Our Blog
Hi, I’m Jay, we have a few potential clients that are interested in your services, thought you might be a good fit. I’d love to talk about the details, when do you have time to talk?
Best,
Jay
Founder | CEO
