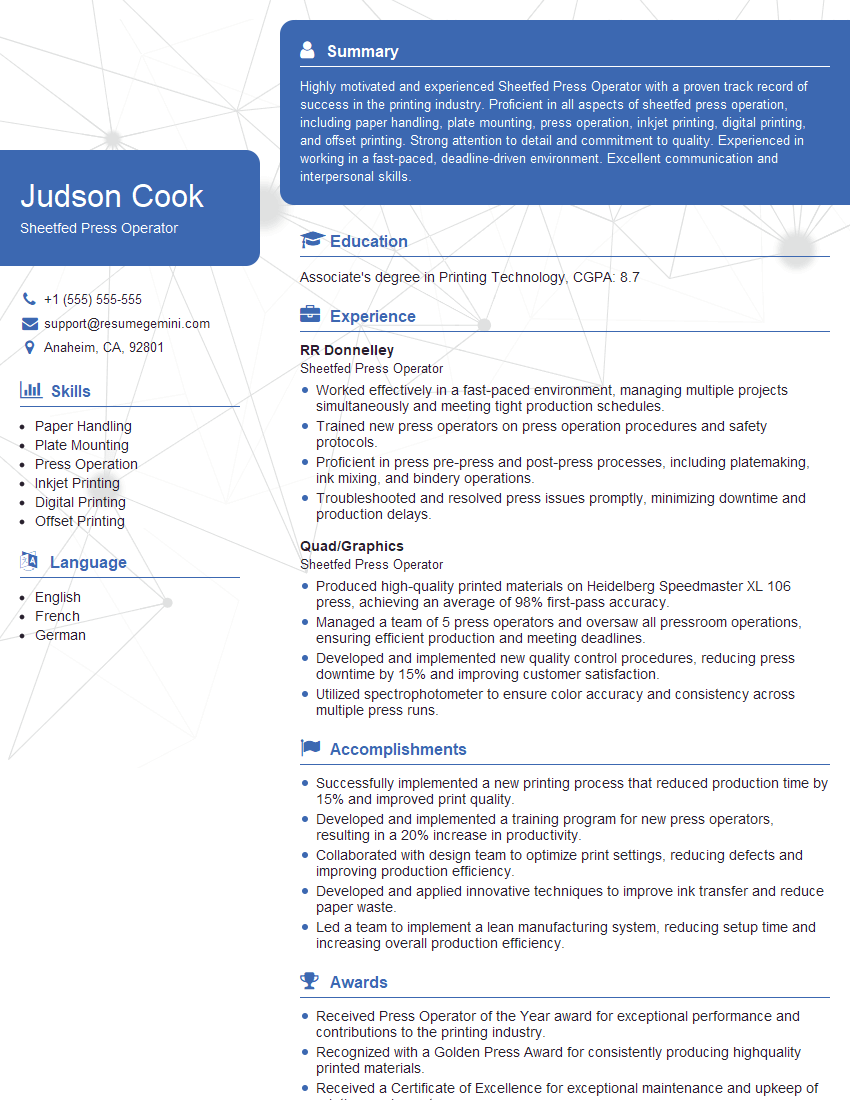
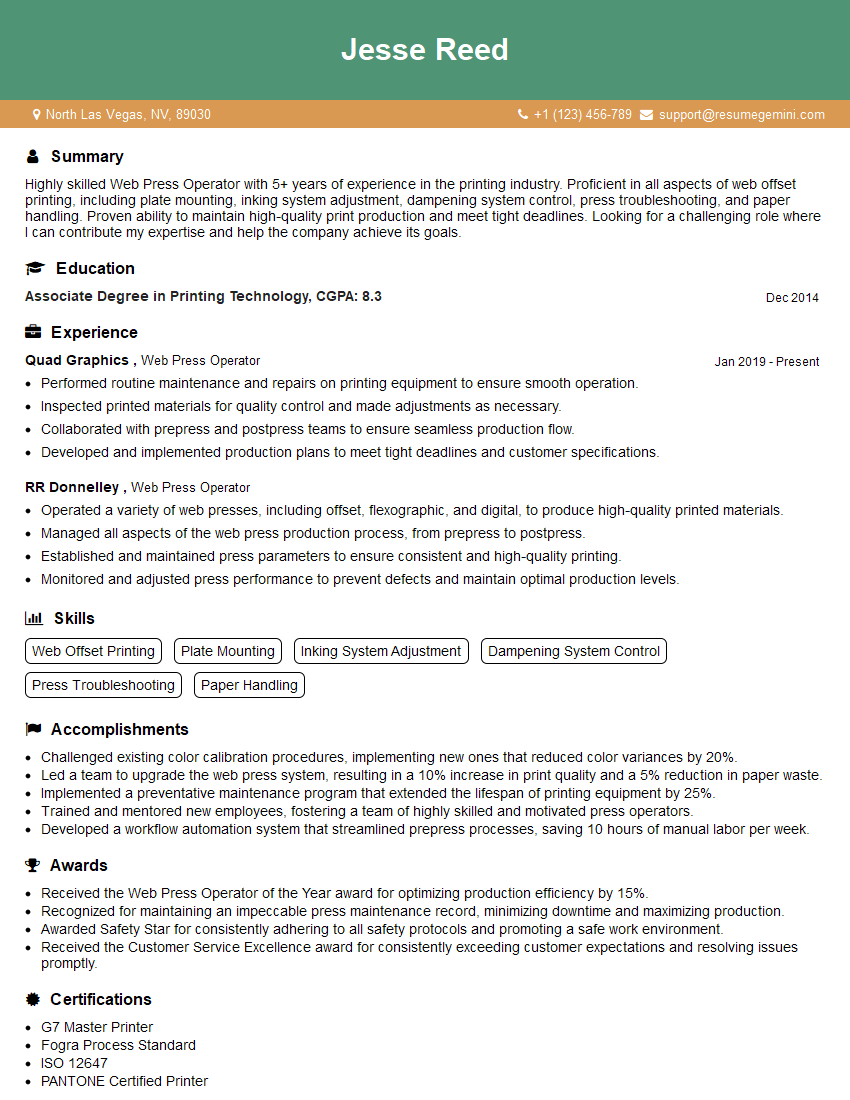
The thought of an interview can be nerve-wracking, but the right preparation can make all the difference. Explore this comprehensive guide to Offset Press Operations interview questions and gain the confidence you need to showcase your abilities and secure the role.
Questions Asked in Offset Press Operations Interview
Q 1. Explain the difference between sheetfed and web offset printing.
The core difference between sheetfed and web offset printing lies in how the paper is fed into the press. Think of it like this: sheetfed is like individually placing sheets of paper into a printer, while web offset is like feeding a continuous roll of paper, like a giant roll of toilet paper.
Sheetfed offset printing uses individual sheets of paper, typically larger formats. Each sheet is fed separately into the press, printed, and then ejected. This is ideal for jobs requiring high-quality, precise registration, and diverse paper stocks, such as brochures, business cards, and high-end posters. The process is more controlled but slower and less economical for high-volume jobs.
Web offset printing uses a continuous roll of paper (the ‘web’). This allows for incredibly high-speed printing, making it perfect for mass production of newspapers, magazines, and books. However, the paper stock options are usually limited, and achieving the same level of precise registration as sheetfed can be more challenging. Think of the speed and efficiency of a newspaper printing plant – that’s web offset in action.
Q 2. Describe the process of platemaking for offset printing.
Platemaking in offset printing is the crucial process of creating the printing plates that transfer the image onto the blanket cylinder and then the paper. It involves several steps, and the specific method depends on the type of plate used (e.g., thermal, CtP).
- Image Creation: The artwork is digitally prepared, ensuring proper resolution and color profiles.
- Plate Preparation: This can involve using computer-to-plate (CtP) technology, where the image is directly burned onto the plate using lasers. Alternatively, film positives can be created and used to expose the plate using a platemaker.
- Plate Processing: After exposure, the plate goes through a processing stage to develop the image, removing unexposed areas. This often involves chemical processing, but some CtP plates require minimal or no processing.
- Plate Mounting: The finished plate is carefully mounted onto the printing press’s plate cylinder, ensuring perfect alignment and a snug fit.
Think of the plate as a stencil. Where the image is, ink adheres; where it isn’t, it doesn’t. The precision of this process directly impacts print quality.
Q 3. What are the common causes of ink smudging on printed sheets?
Ink smudging on printed sheets is a common frustration. It usually stems from one or more of the following issues:
- Excessive Ink: Too much ink on the rollers or plate leads to excess transfer, causing smudging, especially in areas with large ink coverage.
- Improper Ink Viscosity: Ink that is too thin or too thick will not transfer properly. Thick ink can cause poor transfer and smudging, while thin ink can lead to blurry images and smearing.
- High Humidity: High humidity can make the ink absorb more moisture, leading to smearing, especially on coated papers.
- Insufficient Drying Time: If the printed sheets aren’t given enough time to dry before being stacked, they can smudge against each other.
- Paper Problems: Poor quality, absorbent, or incorrectly sized paper can also contribute to ink smudging.
- Roller Issues: Worn, dirty, or improperly maintained rollers can cause inconsistent ink transfer, leading to smudges.
Solving ink smudging often involves adjusting ink viscosity, reducing ink flow, checking humidity levels, ensuring proper drying time, and investigating paper and roller conditions.
Q 4. How do you adjust ink density on an offset press?
Ink density adjustment on an offset press is crucial for achieving accurate color reproduction and consistent print quality. This is typically done by adjusting the ink keys and making minor adjustments to the ink rollers.
Ink Keys: These are levers or controls that regulate the amount of ink delivered to each printing unit. By carefully adjusting these, the operator can increase or decrease the ink flow, thus affecting the density. Each color (CMYK) will have its own set of keys. Fine adjustments are usually made in increments, often as small as a fraction of a millimeter.
Ink Roller Settings: The position and pressure of the ink rollers also impact ink transfer. Adjusting these settings can influence the amount of ink picked up and transferred to the plate.
Densitometer: A densitometer is an essential tool for accurately measuring the ink density. The operator uses this instrument to take readings and make adjustments accordingly, ensuring the printed output matches the desired values. It’s like a color meter for ensuring precise control.
The process requires experience and a keen eye, as slight changes can significantly impact the final print.
Q 5. What is the purpose of a blanket cylinder?
The blanket cylinder is a crucial component in offset printing. It acts as an intermediary between the printing plate and the paper. Imagine it as a soft, rubbery intermediary ensuring the transfer is even.
The printing plate, containing the inked image, doesn’t directly touch the paper. Instead, it transfers the ink to the blanket cylinder, a rubber-covered cylinder. This cylinder then transfers the image to the paper. This indirect transfer method offers several advantages:
- Image Fidelity: The blanket helps to produce a more even ink distribution and sharper images, avoiding the risk of damage to the plate from direct contact with the paper.
- Longer Plate Life: By protecting the plate, the blanket extends its lifespan and reduces the frequency of plate changes.
- Versatile Substrate Handling: The blanket cylinder can accommodate a variety of paper types and thicknesses, offering flexibility in print jobs.
Q 6. Explain the role of impression cylinders in offset printing.
The impression cylinder plays a vital role in transferring the inked image from the blanket cylinder to the paper. It applies the correct pressure to ensure a clean and crisp impression.
Think of it like a press – the impression cylinder provides the pressure needed to firmly press the paper against the blanket cylinder, transferring the ink. The pressure must be precisely controlled, and this is adjusted using impression settings on the press.
Improper impression pressure can result in several problems, including:
- Light Impression: Faint images and lack of sharpness.
- Heavy Impression: Damage to the paper, ghosting, and blurring of the image.
- Uneven Impression: Inconsistency in image quality across the sheet, or even across different parts of a large run.
Precise control of the impression cylinder pressure is critical for achieving consistent, high-quality prints.
Q 7. How do you identify and correct paper misfeeds?
Paper misfeeds are a common occurrence in offset printing, often causing downtime and waste. They arise from several factors:
- Incorrect Paper Stacking: Improperly stacked paper, uneven piles, or the presence of foreign objects can cause misfeeds.
- Paper Condition: Damaged, damp, or dusty paper can lead to problems with feeding.
- Feed Table Adjustments: Incorrect settings on the feed table, such as the vacuum or grippers, can cause paper to be misaligned or not properly picked up.
- Mechanical Issues: Problems with the rollers, chains, or other mechanical components of the paper feed system.
Corrective Steps:
- Inspect the Paper Stack: Examine the paper for any damage, dust, or foreign objects.
- Check Feed Table Settings: Verify the vacuum and gripper settings to ensure they are correctly adjusted for the paper weight and size.
- Examine the Feed Rollers: Inspect the rollers for wear or damage. Replace as needed.
- Inspect Mechanical Components: Look for any signs of wear or damage in the paper feed mechanism.
- Test Feed: Once adjustments are made, test the paper feed with a small number of sheets before starting a full print run.
Preventing misfeeds requires regular maintenance, careful attention to paper handling, and proper press operation.
Q 8. What are the different types of offset printing plates?
Offset printing plates come in several types, each with its own advantages and disadvantages. The choice depends on factors like print volume, image complexity, and budget.
- Metal Plates: These are the most common, typically made of aluminum. They offer excellent print quality and durability, making them ideal for long print runs. Sub-types include surface plates (coated aluminum) and positive/negative plates (depending on the imaging process). Surface plates are generally used for shorter runs because they are easier and cheaper to produce but less durable.
- Polymer Plates: These are becoming increasingly popular due to their environmental friendliness and ability to produce high-quality prints. They are generally more expensive than metal plates but are more durable than surface plates and require less makeready time. They’re often preferred for shorter runs where the cost of a metal plate and extensive makeready wouldn’t be justified.
- Flexible Plates: These are typically made of plastic and are used for applications where flexibility is required, such as printing on unusual substrates or curved surfaces.
For instance, a high-volume magazine printing job would likely utilize metal plates for their robustness and cost-effectiveness over a longer run, while a small business printing a limited number of brochures might opt for polymer plates due to their convenience and reduced environmental impact.
Q 9. Describe the process of makeready for an offset printing job.
Makeready in offset printing is a crucial process that prepares the press for a specific print job. It involves a series of steps ensuring optimal print quality and efficiency. Think of it like preparing a kitchen for a complex recipe – you wouldn’t just start cooking without setting up everything!
- Plate Mounting: The printing plates are carefully mounted onto the printing cylinders, ensuring precise registration (alignment) of colors. Incorrect registration leads to misaligned images.
- Blanket Cylinder Preparation: The blanket cylinders, which transfer the ink from the plate to the paper, are cleaned and conditioned. This is vital because any debris on the blanket cylinder can cause defects in the printed image.
- Ink and Water Balance: The ink fountains and dampening systems are adjusted to achieve the proper ink-water balance. This is a critical step; getting this wrong results in blurry or smeared images. Too much water leads to muddy colors, while too little can cause the ink to dry too quickly on the plate.
- Impression Cylinder Adjustment: The pressure between the blanket cylinder and the impression cylinder (which presses the paper against the blanket) is adjusted to ensure proper ink transfer and prevent paper damage.
- Color Calibration and Registration Checks: Test prints are run to check color accuracy and registration. Adjustments are made as needed until the desired results are achieved. This often involves adjusting ink keys, which control ink density.
- Waste Run: Once the test prints are satisfactory, a short waste run is performed to remove any excess ink or water and ensure the press is ready for the main print run. This allows for any leftover impurities on the plates, cylinders or rollers to be removed
A well-executed makeready significantly reduces waste, minimizes downtime, and delivers consistent, high-quality prints.
Q 10. How do you troubleshoot common press problems, such as slurring or ghosting?
Slurring and ghosting are common offset printing problems, but systematic troubleshooting can usually identify the root cause. Let’s tackle them:
Slurring (blurred images):
- Ink-Water Balance: Too much water leads to slurring; check the dampening system and adjust for a proper balance.
- Ink Viscosity: Too thin ink will also cause slurring; adjust ink viscosity or add appropriate additives.
- Roller Condition: Worn or damaged rollers can transfer ink unevenly; replace or clean rollers.
- Plate Problems: Damaged or improperly etched plates can result in blurry images; replace the plate.
- Press Speed: High press speed can lead to slurring, particularly if other aspects aren’t optimized. Try reducing speed.
Ghosting (faint, secondary images):
- Ink Transfer: Ink transferring to the non-image areas from previous sheets; check blanket cylinder condition for debris.
- Plate Scratches: Microscopic scratches on the plate lead to ghosting; replace damaged plate.
- Poor Ink Tack: Lower-than-ideal ink tack allows the previously printed image to smear onto the next sheet; consider adjustments to ink or additives.
- Insufficient Drying Time: Using a slower-drying ink or applying too much ink can lead to offsetting onto subsequent sheets; consider using a faster-drying ink or implementing better drying systems. This issue is common in high-volume printing.
Troubleshooting involves a systematic approach—check the obvious first, then systematically eliminate possibilities until the problem is identified.
Q 11. What are the safety precautions you follow while operating an offset press?
Safety is paramount in offset printing. Here are some crucial safety precautions:
- Lockout/Tagout Procedures: Always lock out and tag out the press before performing maintenance or repairs. This prevents accidental startup.
- Personal Protective Equipment (PPE): Wear appropriate PPE, including safety glasses, gloves, and hearing protection. Some inks may require specific PPE.
- Machine Guards: Ensure all machine guards are in place and functioning correctly to prevent accidental contact with moving parts.
- Proper Lifting Techniques: Use proper lifting techniques when handling heavy materials such as paper rolls or plates.
- Fire Safety: Be aware of fire safety procedures and know the location of fire extinguishers. Ink and solvents are flammable.
- Chemical Handling: Follow all safety regulations when handling inks, solvents, and other chemicals. Consult SDS (Safety Data Sheets) for appropriate handling and disposal methods. Good ventilation is key to prevent harmful fumes from accumulating.
- Emergency Procedures: Familiarize yourself with emergency procedures and know how to react in case of an accident.
Safety isn’t just about rules; it’s a mindset. A culture of safety is crucial in a print shop.
Q 12. How do you ensure color consistency throughout a print run?
Maintaining color consistency throughout a print run requires meticulous attention to detail and the use of color management systems.
- Color Standards: Use standardized color references like Pantone or other industry-accepted color systems. This provides a baseline for color consistency.
- Proofing: Create accurate proofs using the same inks and paper as the final print to serve as a benchmark.
- Color Calibration: Regularly calibrate the press using color measuring instruments (spectrophotometers) and software to ensure accurate color reproduction. This includes monitoring and adjusting ink and water balance throughout the run.
- Ink Consistency: Maintain consistent ink viscosity and temperature throughout the run to avoid color variations.
- Environmental Control: Maintain a consistent environmental temperature and humidity in the pressroom to reduce color shifts due to environmental factors.
- Regular Monitoring: Regularly monitor the printed output to identify any color variations early and make necessary adjustments.
Think of it like baking a cake—you need precise measurements and consistent baking conditions to achieve a consistent outcome. Color consistency is vital for maintaining brand identity and avoiding costly reprints.
Q 13. Explain the importance of maintaining proper ink viscosity.
Maintaining proper ink viscosity is crucial for consistent print quality and efficient press operation. Ink that’s too thick or too thin can cause various problems.
- Too Thick: Thick ink leads to uneven ink transfer, poor dot reproduction, and slow drying times, potentially smearing the printed image.
- Too Thin: Thin ink can result in slurring, weak color density, and poor print sharpness. This leads to blurry prints and inconsistent color across the job.
Viscosity is usually measured using a viscosity cup or a digital viscometer. Adjusting the viscosity often involves adding reducers (thinner) or extenders (thicker) depending on the conditions. Temperature also affects ink viscosity; colder temperatures increase viscosity. The correct viscosity is critical for transferring the perfect amount of ink to achieve the intended color density. Incorrect viscosity can cause color variation or even necessitate a costly reprint.
Q 14. How do you perform a pre-press check?
A pre-press check ensures that the print job is ready for production and helps prevent costly errors. It’s a multi-step process focused on catching issues before they hit the press.
- Artwork Verification: Check the artwork for accuracy, resolution, color consistency, and proper bleeds and margins. This also involves checking the file format to ensure compatibility with the printing process.
- Proof Comparison: Compare the digital proof with the customer-approved proof to ensure they match exactly. Discrepancies at this stage can save significant money and time.
- Plate Inspection: Inspect the printing plates for any defects such as scratches, blemishes, or improper etching. These imperfections can lead to print quality issues.
- Imposition Check: Verify the imposition layout (arrangement of pages on the printing sheet) to ensure correct page sequence and alignment.
- Color Separation Review: Ensure color separations are accurate and optimized for the chosen printing method and inks. Incorrect color separation will cause severe color errors in the final print.
- Material Check: Verify that the appropriate paper stock and other printing materials are available and ready for use.
Thorough pre-press checks are essential for avoiding costly mistakes and ensuring a smooth and efficient printing process. Think of it as the final quality control check before production, preventing potential problems and ensuring customer satisfaction.
Q 15. Describe your experience with different types of paper stocks.
My experience with paper stocks is extensive, encompassing a wide range of weights, finishes, and types. Understanding paper is crucial for achieving optimal print results. I’ve worked with everything from lightweight uncoated papers ideal for brochures and flyers to heavy-weight coated stocks for high-quality magazines and packaging. The choice of paper significantly impacts the final product’s look, feel, and durability.
- Coated Papers: These offer a smooth surface, excellent ink holdout, and vibrant color reproduction. Sub-categories include glossy, matte, and dull coated, each with its unique properties. I’ve used glossy coated for magazine covers to maximize impact and matte coated for business cards for a sophisticated feel.
- Uncoated Papers: These have a more porous surface, resulting in a softer feel and a more natural look. They are suitable for applications where a less glossy finish is desired, such as letterheads or invitations. I find that understanding the absorbency is key to proper ink selection with uncoated papers.
- Specialty Papers: This category includes textured papers, recycled papers, and others with unique characteristics. For example, I’ve worked with linen-textured papers for high-end invitations, and recycled papers for eco-friendly brochures, carefully considering their impact on the printing process and machinery.
Selecting the right paper stock involves considering the project’s requirements, such as the desired aesthetic, durability, and budget. I always consult with clients to ensure we choose the optimal paper for their needs.
Career Expert Tips:
- Ace those interviews! Prepare effectively by reviewing the Top 50 Most Common Interview Questions on ResumeGemini.
- Navigate your job search with confidence! Explore a wide range of Career Tips on ResumeGemini. Learn about common challenges and recommendations to overcome them.
- Craft the perfect resume! Master the Art of Resume Writing with ResumeGemini’s guide. Showcase your unique qualifications and achievements effectively.
- Don’t miss out on holiday savings! Build your dream resume with ResumeGemini’s ATS optimized templates.
Q 16. How do you handle a situation where the printed output is not meeting the specifications?
When the printed output doesn’t meet specifications, a systematic approach is essential. My first step is to identify the discrepancy – is it color inaccuracy, poor registration, or something else? This often involves comparing the printed sheet to the proof and the original design file. Then I trace the problem back through the printing process.
- Color Issues: This could be due to incorrect color profiles, ink density problems, or issues with the press itself (e.g., faulty ink fountain or inking rollers). I would investigate the color profile settings on the RIP (Raster Image Processor), check ink keys, and potentially adjust the ink balance on the press. For example, if the blues are too light, I would increase the cyan ink density.
- Registration Problems: This refers to misalignment of colors or images. Causes include issues with the press’s registration system, incorrect plate mounting, or problems with the paper feed. We would check the grippers, the impression cylinders, and the plate alignment to identify and fix the root cause.
- Other Issues: Problems like smudging, poor sharpness, or excessive dot gain can result from issues such as incorrect paper choice, excessive moisture, or worn printing plates. Addressing this requires a careful examination of every step of the process.
Documentation is vital. I meticulously record every step of the troubleshooting process, including adjustments made and results. This ensures consistent quality and helps avoid repeating the same mistakes.
Q 17. What is your experience with different types of inks (UV, Aqueous etc.)?
My experience encompasses a variety of inks, each with its unique properties and applications. The choice of ink is crucial for achieving the desired aesthetic and durability.
- UV Inks: These inks cure instantly upon exposure to ultraviolet light. They offer exceptional scratch resistance, vibrant colors, and a high gloss finish, making them suitable for packaging, outdoor signage, and applications requiring durability. However, they require specialized UV curing equipment and can be more expensive.
- Aqueous Inks: These water-based inks are environmentally friendly and require less energy to dry, making them a cost-effective and sustainable option. They are suitable for applications where a matte or less glossy finish is desired. However, their color vibrancy might be slightly less than UV inks.
- Conventional Inks (Solvent-Based): These are the more traditional inks that dry through oxidation or absorption into the paper. They can deliver vibrant colors, but have a slower drying time and require more time for curing. I have extensive experience working with different types of solvent-based inks and know when to use certain inks based on paper stock and printing technique.
The selection of ink depends on many factors including print quality requirements, environmental concerns, budget, and the type of printing being done. I always ensure the ink selection aligns perfectly with the job specifications and client expectations.
Q 18. Explain the concept of color profiles (CMYK, Pantone).
Color profiles are crucial for accurate color reproduction in printing. They act as a translation system, ensuring that the colors displayed on a monitor are accurately represented in the printed output.
- CMYK: This is the subtractive color model used in offset printing. It uses Cyan, Magenta, Yellow, and Black inks to create a vast range of colors. Each color is represented by a percentage value (e.g.,
C=50, M=20, Y=100, K=0). The challenge lies in achieving the desired color accurately through mixing different percentages of each color, considering the limitations of the printing process. - Pantone: This is a spot color system using pre-mixed inks with specific formulations. Each Pantone color has a unique name and number, ensuring consistent color reproduction across different print jobs and printers. Pantone is particularly useful when precise color matching is critical, such as in corporate branding or packaging where consistency is paramount. Using Pantone might involve an extra setup cost compared to CMYK.
Understanding and managing both color profiles is vital. In practice, I often work with both, using Pantone for critical brand colors and CMYK for the rest of the design. Proper calibration of the printing process and the RIP are also vital to ensuring accurate color reproduction.
Q 19. How do you monitor and maintain press speed and efficiency?
Monitoring and maintaining press speed and efficiency involves a multi-faceted approach focused on both preventing downtime and maximizing productivity. This includes regular inspections, data analysis, and proactive adjustments.
- Regular Inspections: I routinely check the press for any signs of wear and tear, paying close attention to the rollers, blankets, and other moving parts. This early detection of potential issues can prevent costly downtime.
- Data Analysis: Modern presses provide detailed performance data. I use this data to identify bottlenecks, optimize press settings, and improve efficiency. For instance, if the press is frequently stopping due to paper jams, I might investigate the paper feed system or adjust the paper settings.
- Proactive Adjustments: Based on data analysis and experience, I proactively adjust press settings to maintain optimal speed and efficiency. For example, I might fine-tune the ink balance or adjust the impression pressure to achieve the best possible print quality without sacrificing speed.
- Operator Training: Well-trained operators are crucial for maintaining efficiency. Proper training on the press, maintenance procedures, and troubleshooting techniques helps in preventing avoidable stops and breakdowns.
The goal is a balance between speed and quality. While high speed is desirable, it shouldn’t compromise the quality of the final product. I always prioritize producing high-quality prints while aiming for maximum efficiency.
Q 20. What is your experience with press maintenance and preventative maintenance?
Press maintenance is paramount to ensuring consistent print quality, minimizing downtime, and extending the lifespan of the equipment. My experience includes both routine maintenance and preventative maintenance.
- Routine Maintenance: This involves daily cleaning of the press, checking ink levels and fountain solutions, and lubricating moving parts. A clean press is a more efficient press and reduces the risk of issues.
- Preventative Maintenance: This is a proactive approach involving scheduled inspections and servicing to prevent potential problems before they occur. This could include replacing worn rollers, checking the registration system, and cleaning or replacing the blankets. I maintain detailed records of all maintenance activities, following a strict preventative maintenance schedule.
- Troubleshooting and Repairs: When problems arise, I can diagnose and fix many issues myself. However, I understand when to call in specialized technicians for complex repairs. My aim is to minimize downtime and ensure minimal disruption to production schedules.
By meticulously following a comprehensive maintenance program, I ensure the press operates at its peak performance, delivers high-quality prints consistently, and maximizes its lifespan. This proactive approach reduces downtime and increases ROI.
Q 21. What are your troubleshooting skills when dealing with printing issues?
My troubleshooting skills are honed by years of experience and a systematic approach. When a printing issue arises, I follow a methodical process.
- Identify the Problem: The first step is to accurately define the problem. Is it a color issue, a registration problem, or something else? Detailed observation is critical. Is the issue consistent across the entire sheet or only in specific areas? I take samples of the faulty print and compare them to the original design and proof.
- Gather Information: I check the press settings, ink levels, paper quality, and any recent changes made to the printing process. This helps to narrow down the possible causes.
- Eliminate Possible Causes: Using a logical process of elimination, I systematically address potential issues. For example, if the problem is poor registration, I would check the plate alignment, grippers, and impression cylinders. For color issues, I would examine ink densities, color profiles, and the RIP settings.
- Implement Solutions: Once the root cause is identified, I implement the appropriate solutions, documenting every step along the way. This documentation aids in future troubleshooting and prevents similar problems from recurring.
My approach is both logical and practical. I combine my theoretical knowledge with hands-on experience to effectively diagnose and resolve printing issues. I’m committed to continuous learning and staying up-to-date with the latest technologies and techniques in offset printing.
Q 22. How familiar are you with various types of printing plates (CTP, analog)?
My experience encompasses both analog and Computer-to-Plate (CTP) printing plates. Analog plates, while less common now, involve the creation of plates using photographic methods and chemical processing. This is a labor-intensive process, prone to errors, and less precise. Think of it like developing a photograph – you need a darkroom and precise chemical handling. I’ve worked extensively with them early in my career, mastering techniques for stripping, exposing, and processing. CTP, on the other hand, is a digital workflow. Images are directly outputted to a plate via a laser imager, eliminating the chemical processes and significantly improving accuracy and efficiency. I’m proficient in various CTP plate types, including thermal, violet, and UV plates, understanding their individual strengths and weaknesses concerning resolution, speed, and cost.
For example, when dealing with a high-volume job requiring precise color consistency, CTP is the clear choice for its speed and accuracy. However, in a small-run, budget-conscious project where analog plate-making equipment is readily available, using analog plates might be more economical despite being more time-consuming.
Q 23. How do you handle a production emergency and resolve urgent printing problems?
Production emergencies require a calm, systematic approach. My first step is always assessing the situation: What’s the problem? What’s the deadline? What resources are available? For instance, if we’re facing a misregistration issue mid-run (where the colors aren’t aligning correctly), I’d immediately stop the press to prevent further waste. I’d then systematically check the following:
- Plate alignment: Inspecting the plates for any shift or damage.
- Impression cylinder settings: Adjusting the pressure and position of the impression cylinder to ensure proper contact.
- Gripper adjustment: Ensuring the paper is being fed correctly.
- Blanket condition: Checking the blanket cylinder for wear and tear that might cause misregistration.
I’d involve the team, delegating tasks based on their expertise while maintaining clear communication. If a quick fix isn’t possible, we’d explore alternative solutions – perhaps rerunning the sheets on a different press or adjusting the schedule to accommodate a delay. Documentation throughout the process is crucial for future reference and identifying patterns in potential problems.
Q 24. Describe your experience with quality control processes within offset printing.
Quality control is fundamental in offset printing. It’s a multi-stage process starting even before printing begins. We use a standardized system, regularly checking for consistent color accuracy, proper registration, image sharpness, and paper quality. I’ve implemented and refined QC procedures that include:
- Pre-press checks: Verification of artwork, color profiles, and plate proofs before printing commences.
- In-press checks: Regularly monitoring the printed sheets for quality issues such as color variations, misregistration, or ink smudging. We often use color targets and densitometers for precise measurements.
- Post-press checks: Inspecting finished products for proper folding, cutting, and binding, ensuring the final output meets client specifications. This is critical to prevent printing hundreds of faulty copies only to discover the problem after finishing.
Using statistical process control methods, we identify and address trends that might affect quality over time. For example, if we see a consistent color shift across multiple runs, we would investigate the ink, plates, or press settings. Customer satisfaction depends heavily on achieving the highest quality output in every job.
Q 25. What software are you proficient in (RIP software, color management software)?
My software proficiency includes a range of RIP (Raster Image Processor) software, such as Esko CDI and Creo Vantage, and color management software like GMG ColorProof and X-Rite i1Profiler. I’m familiar with their functionalities related to color separation, image processing, imposition (arranging pages for optimal printing), and color profile creation and management. I understand how different RIP settings can impact the final print quality, especially when working with specific substrates or inks. I can effectively troubleshoot issues arising from color inconsistencies by using profiling software to fine-tune the color output. For instance, I can use GMI ColorProof to simulate the final print output and make adjustments beforehand to avoid surprises during the printing process.
Q 26. Describe your experience with different types of finishing processes (cutting, folding, etc.).
My experience in post-press finishing encompasses a variety of techniques, including cutting, folding, binding, and perforating. I understand the importance of selecting the appropriate finishing method for each project, based on factors such as the paper type, quantity, and the desired final product. I’m familiar with different types of cutting machines, from guillotine cutters to die-cutting presses, and various folding techniques (such as parallel, letter, and gate folds). For example, a large-format poster will use guillotine cutting for straight cuts, whereas a brochure might need more complex die-cutting to achieve specific shapes or perforations.
I’m also experienced with different binding methods, such as saddle stitch (for magazines), perfect binding (for books), and wire-o binding (for notebooks), understanding the strengths and limitations of each. Experience in this phase is just as critical as the printing process itself, as it ensures the final product looks professional and functions as intended.
Q 27. How do you stay up-to-date with the latest technologies and trends in offset printing?
Staying current in this dynamic industry requires continuous learning. I actively participate in industry conferences and trade shows like drupa, attend webinars, and subscribe to trade publications such as Printing Impressions and WhatTheyThink. I also engage with online communities and forums where printers share best practices and discuss new technologies. This continuous learning keeps me updated on new printing techniques, color management advancements, and automation solutions that can improve efficiency and quality. I also proactively seek out training opportunities on new software and equipment to broaden my skillset. For example, recently I completed a certification course on the latest version of our RIP software, enhancing my knowledge in color profile optimization and workflow automation.
Key Topics to Learn for Offset Press Operations Interview
- Press Setup and Operation: Understanding the intricacies of different offset press models, including makeready, color registration, and print quality control. Practical application: Explain your experience setting up a specific press for a particular job, highlighting challenges and solutions.
- Color Management: Mastering color theory, color calibration, and the use of color management software. Practical application: Describe your process for achieving accurate color reproduction, including troubleshooting color inconsistencies.
- Print Quality Control: Identifying and resolving common print defects like dot gain, moiré, and slur. Practical application: Detail your experience using quality control tools and methodologies to maintain consistent print quality.
- Platemaking and Cylinder Preparation: Knowledge of different plate types, their preparation, and mounting onto the press cylinders. Practical application: Explain your experience with plate mounting, ensuring proper registration and minimizing waste.
- Ink and Paper Knowledge: Understanding the properties of various inks and papers and their impact on print quality. Practical application: Discuss how you select the appropriate ink and paper for a given print job based on its requirements.
- Press Maintenance and Troubleshooting: Proficiency in basic press maintenance, identifying and resolving common mechanical issues. Practical application: Describe a time you successfully diagnosed and resolved a press malfunction, minimizing downtime.
- Safety Procedures: Adherence to all safety regulations and procedures related to operating heavy machinery. Practical application: Explain your understanding and implementation of safety protocols in a pressroom environment.
- Waste Management and Sustainability: Understanding environmentally responsible practices within offset printing operations. Practical application: Describe your experience in reducing waste and implementing sustainable printing practices.
Next Steps
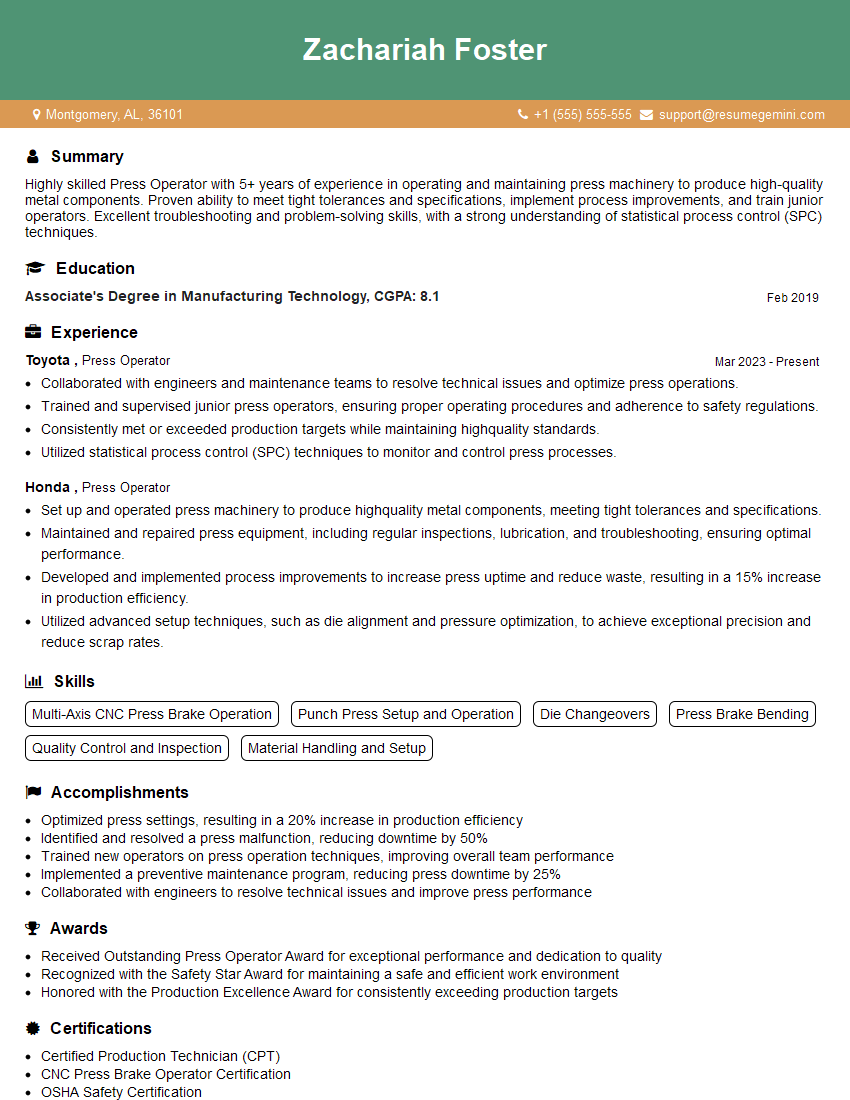
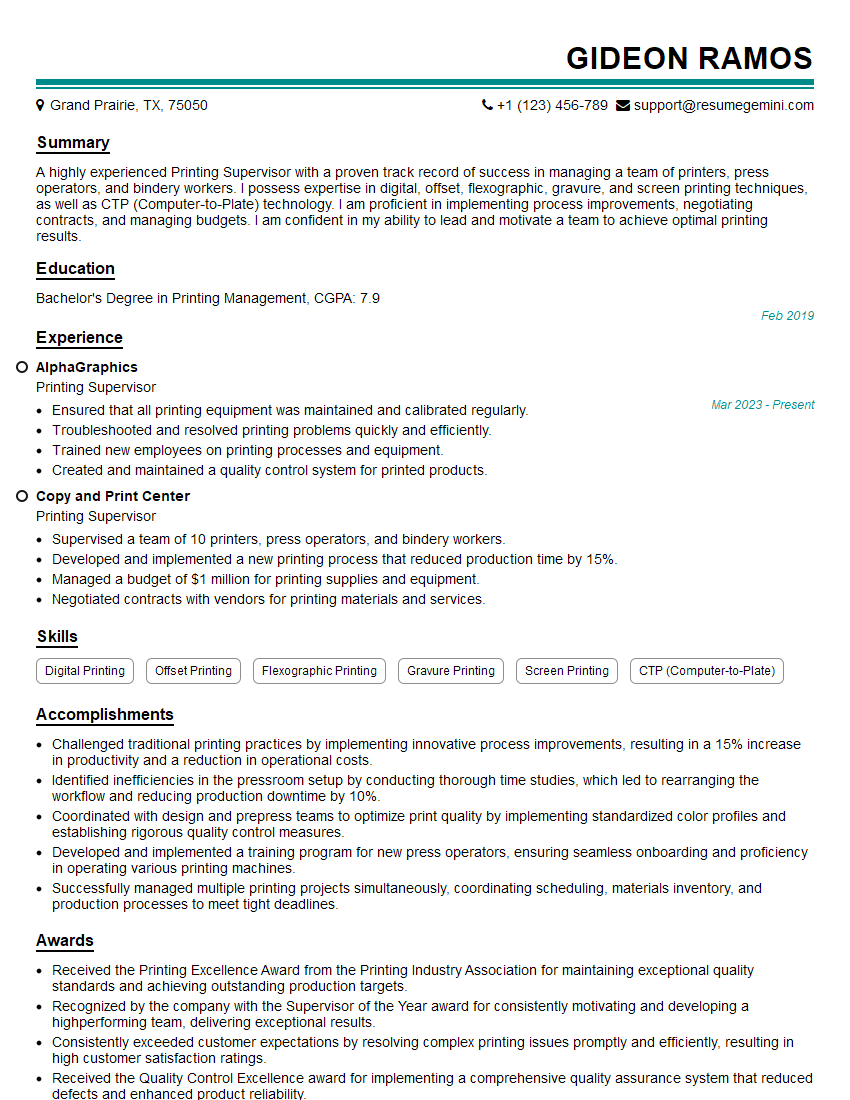
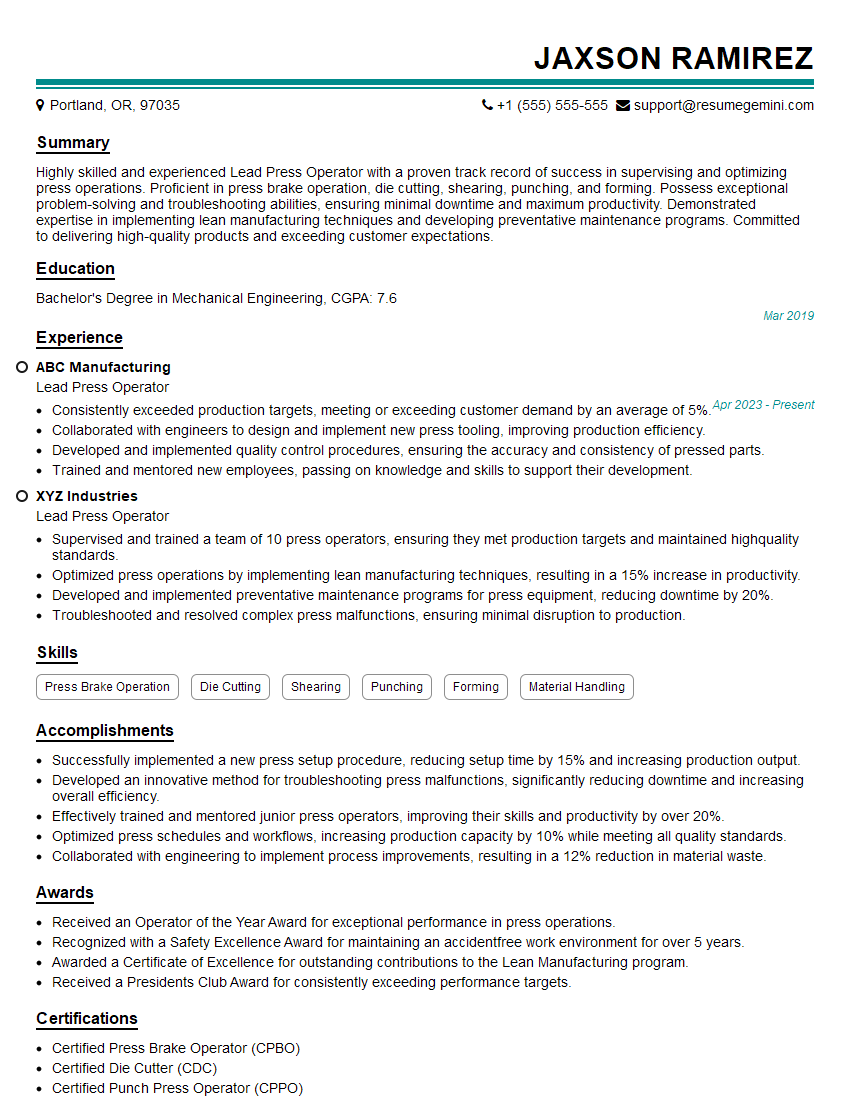
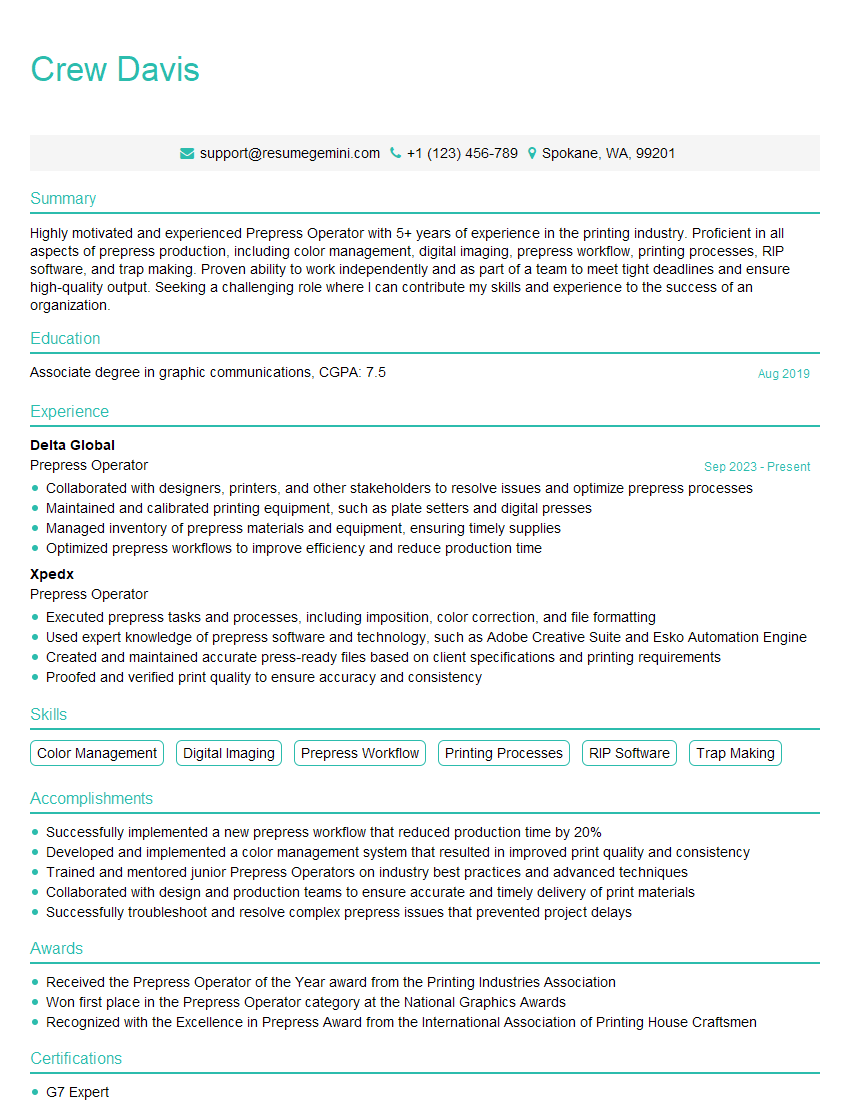
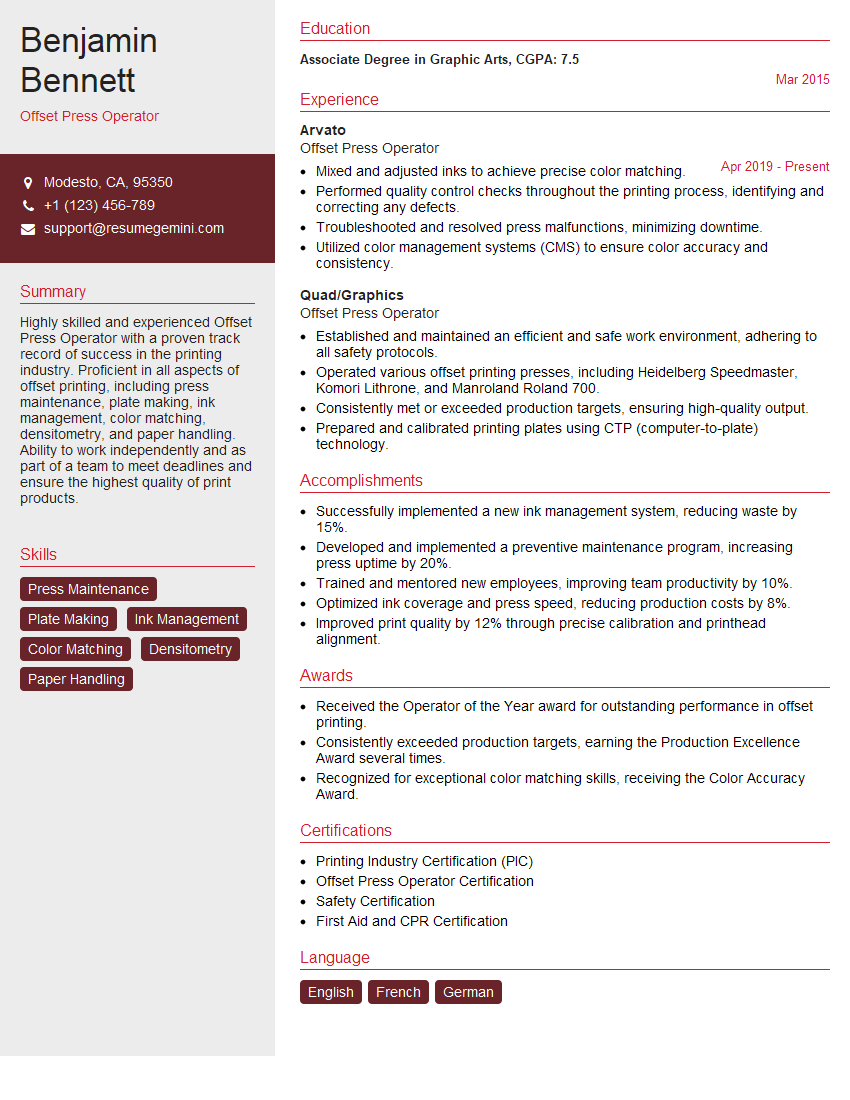
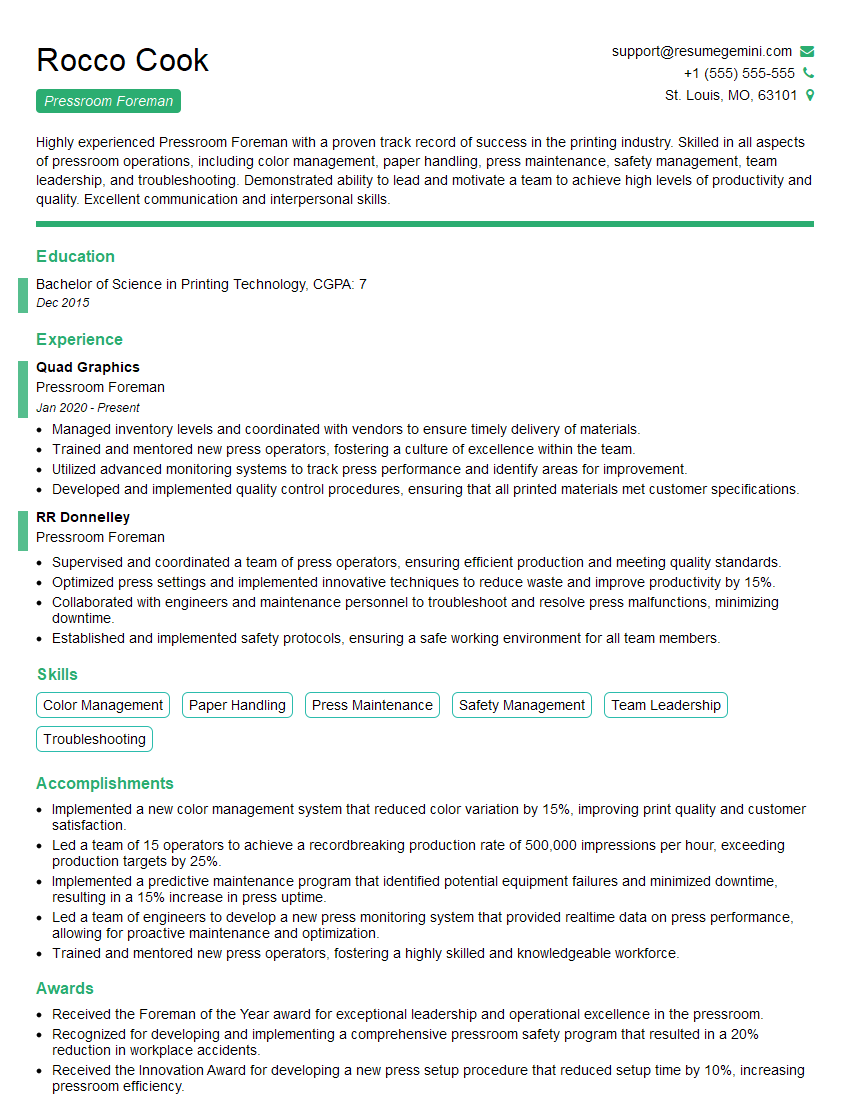
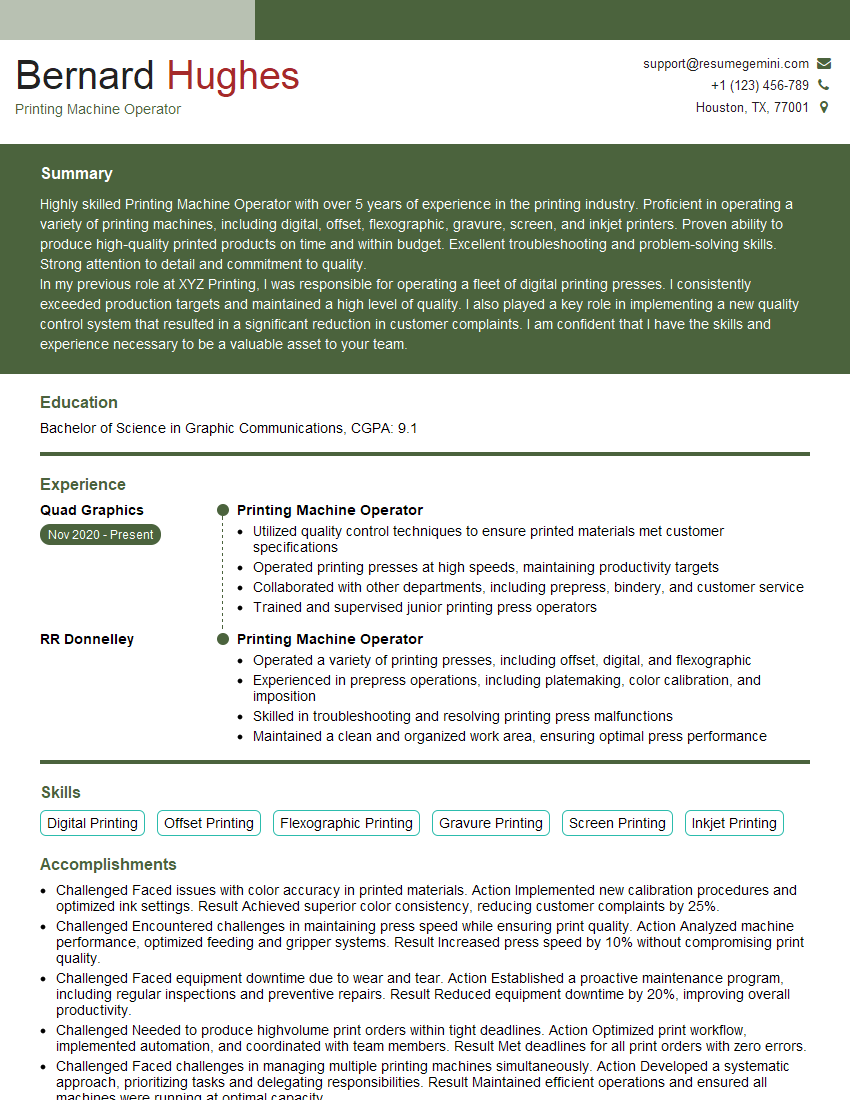
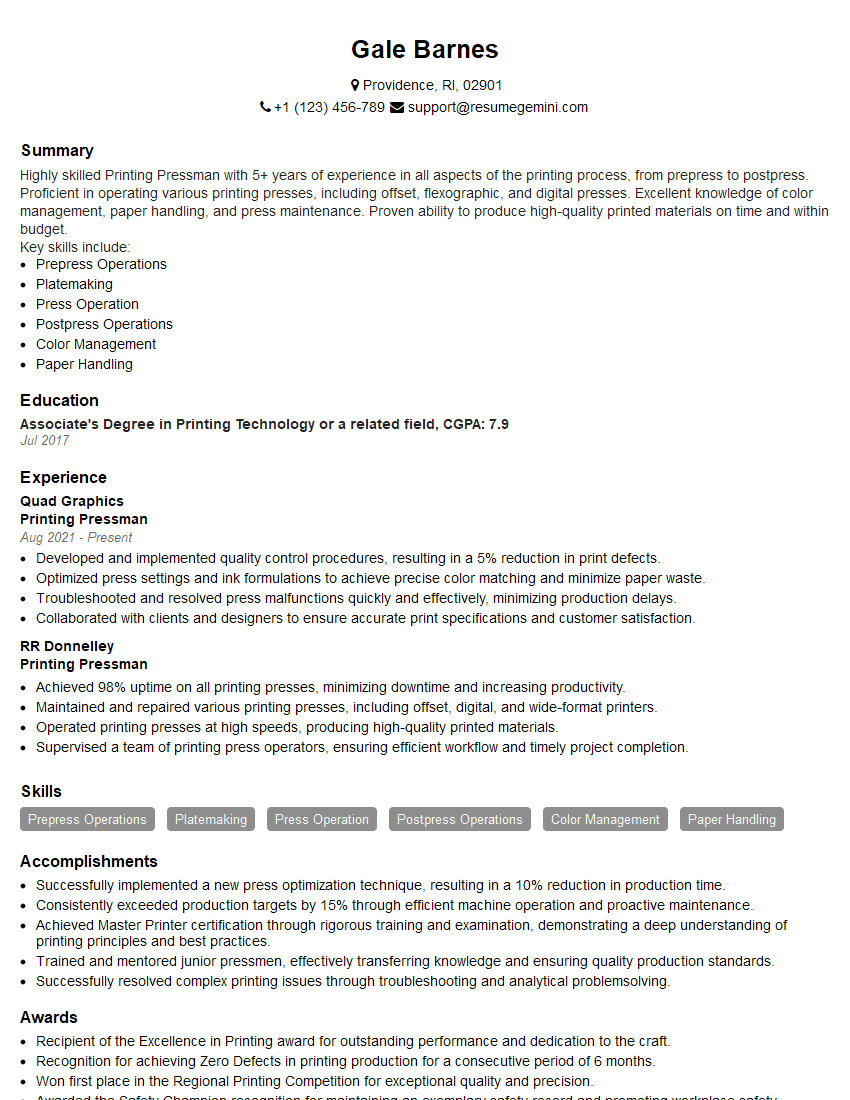
Mastering Offset Press Operations is crucial for a successful and rewarding career in the printing industry. It opens doors to advanced roles, increased earning potential, and opportunities for specialization. To maximize your job prospects, create an ATS-friendly resume that highlights your skills and experience effectively. ResumeGemini is a trusted resource to help you build a professional and impactful resume. They provide examples of resumes tailored to Offset Press Operations to give you a head start. Invest the time to craft a compelling resume – it’s your first impression on potential employers.
Explore more articles
Users Rating of Our Blogs
Share Your Experience
We value your feedback! Please rate our content and share your thoughts (optional).
What Readers Say About Our Blog
Hi, I’m Jay, we have a few potential clients that are interested in your services, thought you might be a good fit. I’d love to talk about the details, when do you have time to talk?
Best,
Jay
Founder | CEO
