The right preparation can turn an interview into an opportunity to showcase your expertise. This guide to Use hand tools interview questions is your ultimate resource, providing key insights and tips to help you ace your responses and stand out as a top candidate.
Questions Asked in Use hand tools Interview
Q 1. What are the safety precautions when using a hammer?
Hammer safety is paramount. Before you even pick up the hammer, ensure you’re wearing appropriate safety glasses to protect your eyes from flying debris. Loose clothing or jewelry should be avoided as they can get caught in the work. Always use the right hammer for the job; a lightweight tack hammer for small nails, a heavier claw hammer for larger ones. When swinging, maintain a firm grip, keeping your eye on the target and swinging in a smooth, controlled arc, not a jerky motion. Never use a hammer with a loose or damaged head, as this could lead to injury. After use, store the hammer securely to prevent accidents.
Think of it like this: a hammer is a powerful tool, much like a car. You wouldn’t drive without checking your mirrors and seatbelt, right? Similarly, taking a moment to inspect your hammer and surroundings before using it is crucial for your safety.
Q 2. Explain the proper technique for using a screwdriver.
Proper screwdriver technique involves selecting the right screwdriver for the screw head – Phillips, flathead, Torx, etc. – ensuring a snug fit to prevent slippage and damage. Apply even pressure to the handle, avoiding excessive force that could strip the screw or break the screwdriver. Keep your wrist straight and use your whole arm for leverage on larger screws. For stubborn screws, try using penetrating oil to loosen them beforehand. Always maintain a firm grip and be mindful of where your other hand is positioned to avoid injury.
For example, when assembling furniture, using the wrong screwdriver can easily strip the screw head, rendering the furniture unusable. Using the right size and type of screwdriver ensures a smooth and efficient assembly.
Q 3. How do you select the appropriate wrench for a specific bolt?
Selecting the right wrench is critical for efficient and safe work. The wrench’s jaw size must precisely match the bolt’s size. Too small, and the wrench might slip, causing damage or injury; too large, and it won’t grip properly. Consider the bolt head shape (hexagonal, square, etc.) and choose the corresponding wrench type – open-ended, box-end, combination, or adjustable. For particularly tight bolts, a ratchet wrench offers greater leverage and efficiency. When in doubt, always opt for a slightly larger wrench to avoid stripping the bolt head.
Imagine trying to open a jar with a lid that’s slightly too small for your grip. It’s going to be difficult, and you risk damaging both the lid and your hand. The same principle applies to choosing a wrench.
Q 4. Describe the different types of saws and their applications.
Saws are categorized by their blade type and cutting action.
- Hand saws: These are manually operated and include rip saws (for cutting with the grain of wood), crosscut saws (for cutting against the grain), and coping saws (for intricate cuts).
- Hacksaws: Designed for cutting metal, they have fine teeth and a rigid frame.
- Jigsaw: These electric saws are ideal for curved cuts in wood and other materials.
- Circular saws: Electric saws with a rotating circular blade, perfect for straight cuts in wood and other materials.
- Reciprocating saws: Also known as saber saws, these have a reciprocating blade ideal for demolition and rough cutting.
Q 5. What are the common types of pliers and their uses?
Pliers come in various types, each suited for specific tasks:
- Slip-joint pliers: Adjustable jaws for gripping different sizes of objects.
- Needle-nose pliers: Long, thin jaws for reaching into tight spaces.
- Lineman’s pliers: Heavy-duty pliers with cutting edges for gripping and cutting wire.
- Channel-lock pliers: Self-adjusting jaws that grip a wide range of sizes.
- Locking pliers (e.g., Vise-Grips): Jaws that lock onto the object for secure holding.
Q 6. How do you measure accurately using a tape measure?
Accurate measuring with a tape measure requires a steady hand and attention to detail. Extend the tape measure fully to the desired point, ensuring it’s taut but not overly stretched. Align the zero mark with the starting point. Read the measurement from the hook at the end of the tape, keeping your eye level with the measurement mark to avoid parallax error. For more precision, especially with longer measurements, use a chalk line to mark the distance first.
Picture measuring the length of a wall for painting. A single inch off could mean you buy the wrong amount of paint, delaying your project and potentially costing you more money. Accurate measuring is vital for efficient work.
Q 7. How do you use a level to ensure a surface is perfectly level?
Using a level ensures surfaces are perfectly horizontal or vertical. Place the level on the surface to be checked, ensuring it rests firmly and completely. Observe the bubble in the vial; when the bubble is centered between the lines, the surface is level. If the bubble is off-center, adjust the surface until the bubble is centered. For larger surfaces, check multiple points to ensure consistent leveling. A digital level provides a more precise reading, often with a digital readout of the angle.
Imagine hanging a picture on a wall. If the wall isn’t level, the picture will look crooked. Using a level guarantees a professional and aesthetically pleasing result.
Q 8. What are the different types of chisels and their uses?
Chisels are essential hand tools used for shaping and carving wood, metal, or other materials. Different types are designed for specific tasks.
- Bevel-edge chisels: The most common type, featuring a beveled edge for general-purpose carving and shaping. Think of these as your all-around workhorses.
- Butt chisels: These have a flat, un-beveled edge, ideal for delicate work and tight spaces. Imagine using one to create fine details in a wooden sculpture.
- Mortise chisels: Heavier and sturdier, perfect for creating precise mortises (holes) for joinery. These are crucial for strong, lasting wooden structures.
- Paring chisels: Narrow and lightweight, these are used for fine detail work and removing small amounts of material. They’re excellent for intricate carving or creating smooth transitions.
- Firmer chisels: These are heavier-duty versions of bevel-edge chisels, suited for more robust work such as chopping wood or removing larger amounts of material.
The choice of chisel depends on the task at hand. For instance, a paring chisel would be inappropriate for removing a large chunk of wood, while a firmer chisel would be too heavy for delicate carving.
Q 9. Explain the proper technique for using a drill bit.
Using a drill bit effectively and safely involves several key steps. First, select the correct bit for the material – wood, metal, or plastic – and the desired hole size. A wrong choice can lead to broken bits or uneven holes.
- Secure the workpiece: Clamp the material firmly to a workbench to prevent movement. Safety is paramount!
- Position the bit: Carefully align the drill bit with the marked point where the hole needs to be drilled.
- Start slowly: Begin drilling at a low speed to prevent the bit from slipping or wandering. Gradually increase speed as the bit penetrates.
- Apply even pressure: Maintain consistent pressure throughout the drilling process, avoiding excessive force that could break the bit or damage the material.
- Avoid overheating: Take breaks if necessary to prevent overheating of the bit, especially when drilling metal. Overheating can dull the bit and even cause it to lose its temper.
- Use cutting fluid (when needed): For drilling metal, use a lubricant such as cutting oil to reduce friction, heat, and extend the life of the bit.
Proper technique ensures clean, accurate holes and prevents injuries. Always remember to wear safety glasses!
Q 10. How do you sharpen a hand saw?
Sharpening a hand saw is crucial for efficient and safe cutting. A dull saw requires more force, leading to uneven cuts and potential injury. You’ll need a saw file, typically a triangular or flat file, and a sharpening guide or jig (optional but recommended).
- Secure the saw: Use a vise or clamp to hold the saw securely and at a comfortable working height.
- Determine the file angle: The angle should match the saw’s original angle. Usually, it is around 15-20 degrees. Experiment with the angle on a scrap piece of wood if you’re unsure.
- File each tooth individually: Using a light, even stroke, file each tooth individually from the top and toward the end of the tooth. Maintain a consistent angle throughout the process.
- Maintain consistency: Ensure each tooth is filed equally to maintain the saw’s set (the slight bend of teeth to allow cutting clearance). Over-filing will weaken the teeth.
- Check regularly: After several strokes, examine the teeth’s sharpness. Continue filing until all teeth are uniformly sharp.
- Set the teeth (if necessary): If the teeth are not set enough, carefully use a saw set to bend the teeth alternately to create the correct clearance.
Properly sharpening keeps your saw sharp, safe, and efficient, thus preventing frustration and potential injury. Using a jig aids this process significantly.
Q 11. What are the safety precautions when using a utility knife?
Utility knives, while versatile, require caution to prevent injuries. Here are key safety measures:
- Always cut away from yourself: This simple rule is the most crucial for safety.
- Use a cutting mat: Protect your work surface and prevent accidental cuts.
- Maintain a sharp blade: A sharp blade requires less force, reducing the risk of slippage and accidents.
- Store carefully: When not in use, store the knife in a protective sheath or case. Keep it out of reach of children.
- Use appropriate blade for the material: Select a blade suitable for the task, avoiding using the wrong blade which could lead to slips.
- Inspect before use: Always check for any damage to the blade or handle before using the knife.
Treating a utility knife with respect prevents injuries and extends its lifespan.
Q 12. How do you identify different types of wood?
Identifying wood types requires observation of several characteristics.
- Color and Grain: Different woods have distinct colors and grain patterns. Oak, for example, typically has a prominent, open grain, while maple is known for its tighter grain and lighter color.
- Texture and Hardness: Touch the wood; is it smooth or rough? Hard or soft? Hardwoods are generally denser and harder than softwoods.
- Odor: Some woods have distinctive smells, like cedar’s aromatic scent.
- End Grain: Observe the pattern at the end of the wood piece – it often reveals unique characteristics.
- Use of field guides and resources: A wood identification guide or online resources can assist in identifying more challenging species.
Practice and experience are crucial; the more you handle wood, the better you’ll become at identifying different types.
Q 13. How do you use a plane to smooth wood?
A plane is a hand tool used to smooth wood surfaces, removing small amounts of material with each pass. There are many types of planes; here we focus on the smooth plane, a common type.
- Adjust the plane’s blade: The blade should protrude slightly from the plane’s sole (bottom), typically a few millimeters. Adjust the depth with the adjuster knob.
- Position the plane: Place the plane’s sole flat on the wood surface and at a slight angle.
- Push the plane: Gently push the plane along the wood, applying moderate pressure. Keep the plane moving at a consistent speed.
- Overlap strokes: Overlap each stroke by about half the plane’s width to create an even surface.
- Adjust for depth: Adjust the blade’s protrusion as needed, reducing the amount as you get closer to the desired smoothness.
- Check regularly: Frequently check the surface to ensure evenness and avoid removing too much material at once.
Using a plane takes practice, but the result is a smooth, even surface. Experiment on scrap wood first to get a feel for the tool.
Q 14. Describe the proper way to use a file.
Files are used to shape, smooth, and finish metal and other materials. Proper technique ensures efficient and safe use.
- Secure the workpiece: Clamp or hold the workpiece firmly to prevent movement.
- Select the appropriate file: Different files are designed for various tasks. Consider the size, shape, and cut of the file.
- Hold the file correctly: Grip the file firmly but not too tightly. Use both hands to control the file’s motion.
- Push, don’t pull: Push the file across the surface of the workpiece, applying even pressure. Avoid pulling the file back, as this can damage the file’s teeth.
- Use light, even strokes: Avoid applying excessive pressure, which can damage the file or the workpiece. Keep your strokes consistent.
- Use a file card (if necessary): After using the file for a while, use a file card to remove any metal particles that might clog the file’s teeth.
Practice makes perfect. Start with simple shapes on scrap materials to get comfortable with the tool’s feel and control before working on a finished project.
Q 15. What are the different types of clamps and their uses?
Clamps are indispensable tools for holding materials together securely during woodworking, metalworking, and other crafts. Different clamps serve different purposes depending on the project and materials. Here are some common types:
- Bar Clamps: These are versatile and widely used. They feature a long bar with adjustable jaws for clamping large or oddly-shaped pieces. Think of assembling a large table – bar clamps are perfect for holding the pieces together while the glue dries.
- C-Clamps: These are smaller, C-shaped clamps ideal for smaller projects requiring precise clamping pressure. They’re excellent for quick jobs, such as attaching a metal bracket to a wooden surface.
- Spring Clamps: These quick-release clamps are perfect for temporary holding, such as keeping smaller pieces together while you work or ensuring fabric stays flat during sewing. They’re lightweight and easy to use.
- Pipe Clamps: These are essentially adjustable C-clamps, that use lengths of pipe to increase clamping reach. They are ideal for larger projects where more clamping power and reach are needed. Picture holding two large pieces of plywood together – pipe clamps offer significant clamping force.
- F-Clamps: Combining aspects of both C-clamps and bar clamps, F-clamps offer strong clamping force in a more compact design. Often used for woodworking tasks.
- Quick-Grip Clamps: These have a trigger-like release mechanism for fast clamping and releasing. Very handy for repetitive tasks.
Choosing the right clamp depends on the material’s size, shape, and the required clamping pressure. For instance, delicate materials might require gentler spring clamps, while sturdy hardwoods may necessitate the strong grip of a bar clamp.
Career Expert Tips:
- Ace those interviews! Prepare effectively by reviewing the Top 50 Most Common Interview Questions on ResumeGemini.
- Navigate your job search with confidence! Explore a wide range of Career Tips on ResumeGemini. Learn about common challenges and recommendations to overcome them.
- Craft the perfect resume! Master the Art of Resume Writing with ResumeGemini’s guide. Showcase your unique qualifications and achievements effectively.
- Don’t miss out on holiday savings! Build your dream resume with ResumeGemini’s ATS optimized templates.
Q 16. How do you use a mallet effectively?
Using a mallet effectively involves more than just swinging it hard. It’s about controlled force and precision. The key is to use the weight of the mallet, not just your arm strength.
Proper Technique:
- Grip: Hold the mallet firmly but not too tightly. A relaxed grip allows for better control and reduces the risk of injury.
- Stance: Maintain a balanced stance with your feet shoulder-width apart, ensuring stability. You want to transfer your body weight into the stroke, not just use your arms.
- Swing: Use a smooth, controlled swing, directing the force squarely onto the target. Avoid jerky movements. A short, controlled swing is often more effective than a long, powerful one, especially when working with delicate materials.
- Target: Always ensure the target area can withstand the impact. Use a protective surface beneath if needed (e.g., a piece of scrap wood) to avoid damaging the work surface.
Different Mallet Types: Different mallet heads suit different materials and tasks. Rubber mallets are ideal for preventing damage to softer materials, while wooden mallets are good for general carpentry.
Example: When driving chisels, start with light taps to set the chisel and then increase the force as needed. This prevents the chisel from slipping or damaging the wood.
Q 17. Explain the process of using a hand-held hole saw.
A hand-held hole saw is a cutting tool used to create precise, round holes in various materials. Using one safely and effectively involves several steps:
- Select the Correct Bit: Choose a hole saw with a diameter appropriate for your needs and compatible with the material you’re cutting. Different materials require different types of hole saw blades.
- Secure the Material: Clamp the material firmly to a workbench or other stable surface. This prevents movement during cutting and reduces the risk of injury.
- Pilot Drill: Start by drilling a small pilot hole (using a drill bit slightly smaller than the hole saw’s arbor) at the center point where you want the hole. This guides the hole saw and prevents it from wandering.
- Attach the Hole Saw: Carefully attach the hole saw to a suitable drill chuck (hand drill or electric drill). Ensure it’s securely fastened to prevent slippage.
- Start Cutting: Apply gentle pressure and begin drilling. Maintain even pressure and speed throughout the cut. Avoid excessive force, which can cause the saw to bind or break.
- Cool the Bit: Periodically stop and remove the sawdust from the hole. Excessive heat can damage the hole saw. If you are using a power drill, take frequent breaks to allow the drill and hole saw to cool.
- Complete the Cut: Continue drilling until the hole saw has completely cut through the material. When near the end of the cut, slow down the rotation to prevent tear-out.
- Remove the Hole Saw: Carefully remove the hole saw and clean the hole. Check the quality of the cut. If necessary, do a light sanding of the edges.
Safety Precautions: Always wear safety glasses, and consider using a dust mask or respirator, especially when cutting materials like wood or metal that generate fine dust.
Q 18. What are the safety considerations when using power tools alongside hand tools?
Using power tools alongside hand tools requires extra vigilance in safety. The risks are compounded when combining the speed and power of power tools with the precision of hand tools.
- Secure Workpiece: Always clamp your workpiece securely before using any power tool. This minimizes movement and potential kickbacks, which could lead to hand injuries while you’re using hand tools to finish the work.
- Proper Tool Use: Use each tool for its intended purpose. Don’t force a hand tool in a power tool’s place or vice-versa.
- Safety Equipment: Always wear appropriate safety equipment like eye protection, hearing protection (especially with power tools), and gloves.
- Clear Workspace: Maintain a clutter-free workspace to prevent accidents. Keep hand tools out of the way of power tool operation.
- Power Tool Safety: Follow all manufacturer’s instructions and safety warnings for power tools. Ensure that guards are in place and functioning correctly.
- Hand Tool Inspection: Before using hand tools, inspect them for damage and ensure they are in good working order. Damaged or dull tools increase the risk of slips and accidents during and after use with power tools.
- Awareness: Be fully aware of your surroundings and the potential hazards. Always maintain a safe distance from rotating blades and other moving parts of power tools.
Example: If you’re using a router to create a mortise (a hole) and then using a chisel to clean up the edges, ensure the router is completely stopped and unplugged before you handle the chisel. This prevents accidental starting or catching fingers in the router’s bit.
Q 19. Describe your experience troubleshooting hand tool malfunctions.
Troubleshooting hand tool malfunctions involves a systematic approach. I always start by visually inspecting the tool for damage and identifying any obvious problems.
My Process:
- Visual Inspection: Check for broken parts, loose screws, damage to the handle or blade, and any signs of wear and tear.
- Functionality Check: Test the tool’s functionality. If it’s a cutting tool, does it cut cleanly? If it’s a clamping tool, does it hold securely? This pinpoints the exact issue.
- Sharpening/Honing: Many hand tool malfunctions, especially with cutting tools, are due to dull blades. Sharpening or honing is often the solution. I have a variety of sharpening stones and know the techniques for maintaining the edge of different tools.
- Lubrication: Moving parts like hinges or sliding mechanisms can become stiff or jammed due to lack of lubrication. Applying a suitable lubricant (oil or grease) can resolve this.
- Tightening: Loose screws or bolts can cause many hand tools to malfunction. I systematically tighten all screws and bolts to ensure they are secure.
- Part Replacement: If a part is broken or beyond repair, it needs replacing. I keep spare parts for common tools or know where to source replacements.
Example: Recently, a plane I was using started chattering (producing uneven cuts). After inspecting it, I found the blade was slightly bent. I carefully straightened the blade, and the plane worked perfectly again.
Q 20. How do you maintain and care for your hand tools?
Maintaining hand tools is crucial for their longevity and safe operation. It’s a combination of cleaning, sharpening, and storage.
- Cleaning: After each use, I clean my tools thoroughly, removing sawdust, dirt, grease, or other debris. This prevents corrosion and ensures they operate smoothly.
- Sharpening: Cutting tools, like chisels, planes, and saws, need regular sharpening. I use appropriate sharpening stones and techniques to maintain their sharpness. A sharp tool is a safe tool.
- Lubrication: Moving parts require lubrication to prevent wear and tear. I apply a suitable lubricant to hinges, sliding mechanisms, and other moving parts.
- Storage: Tools should be stored properly to prevent damage or rust. I keep them in a dry, organized space, often with protective coatings on metal surfaces.
- Inspection: Periodically, I inspect all my hand tools for signs of damage or wear. Damaged tools should be repaired or replaced immediately.
Think of it like taking care of a valuable possession; consistent maintenance adds to the value and ensures the tools perform at their best and remain safe.
Q 21. What are some common hand tool maintenance tasks?
Common hand tool maintenance tasks include:
- Sharpening blades (chisels, plane blades, saws): This is arguably the most crucial task, ensuring clean and safe cuts.
- Cleaning and oiling hinges: Keeps moving parts smooth and prevents binding.
- Tightening loose screws and bolts: Prevents tools from becoming wobbly and unsafe.
- Removing rust and corrosion: Prevents damage and extends tool lifespan. Wire brushes and rust removers can help here.
- Replacing worn-out parts: Handle grips, saw teeth, or other components may wear out over time and need replacing.
- Inspecting for damage: Regularly check for cracks, chips, or bends that could compromise safety or functionality.
- Lubricating sliding parts: For tools like mitre boxes or dovetail saws, lubrication is essential.
- Cleaning tool surfaces: Removes dirt, sap, and residue that may hinder performance or cause corrosion.
- Storing tools properly: Prevents rust and damage from moisture and impacts.
Regular maintenance – even just a quick wipe down and inspection – dramatically extends the lifespan of your tools and makes them safer and more efficient to use.
Q 22. How do you choose the right hand tool for a specific task?
Choosing the right hand tool is paramount for efficiency, safety, and achieving the desired result. It’s like selecting the right tool for a specific job in a well-equipped workshop; using a screwdriver on a nut is not optimal. The selection process involves considering several factors:
- The Material: Are you working with wood, metal, plastic, or something else? Different materials require different tools. For example, you wouldn’t use a wood chisel on a steel plate.
- The Task: What are you trying to accomplish? Cutting, shaping, fastening, measuring, etc., each calls for a specialized tool. A hammer is ideal for driving nails, while a file is better for smoothing metal.
- The Size and Scale: The dimensions of your project influence tool size. A small screwdriver is unsuitable for large screws, and vice versa. A large framing hammer is unnecessary for delicate work.
- Tool Condition: Always inspect tools for sharpness, damage, or wear before use. A dull blade is inefficient and potentially dangerous.
For instance, if I need to create a mortise and tenon joint in a wooden chair leg, I would choose a chisel and mallet for precise carving, and a saw for cutting the tenon. This would be far better and safer than attempting the task with a hatchet. The choice considers the material (wood), the task (precise cutting and shaping), and the size (appropriate for chair leg dimensions).
Q 23. Describe a time you had to improvise using hand tools.
During a renovation project, I needed to remove a stubborn, rusted screw from an antique door. My usual screwdriver slipped repeatedly. Improvisation was key. I used a small, well-fitting punch to carefully tap the screw head, loosening it enough to then grip it with pliers. It’s a perfect example of adapting available tools to overcome unexpected challenges. Think of it like working around limitations to still get the job done; we don’t always have the ‘perfect’ tool.
Another example was using a putty knife as a makeshift scraper for removing dried paint. It wasn’t the ideal tool, but it worked effectively and quickly and prevented wasting time looking for the right tool.
Q 24. What is your experience with different types of metalworking hand tools?
My experience with metalworking hand tools is extensive. I’m proficient in using:
- Files: Various types, including flat, half-round, and triangular, for shaping and smoothing metal. I understand the importance of proper filing techniques to avoid damage to the workpiece and the file itself.
- Hacksaws: For cutting metal to specific lengths, choosing the right blade for the material’s thickness is crucial. I know how to maintain the blade’s tension and cutting angle for efficient and accurate cuts.
- Punches: From center punches for marking metal to drift punches for aligning holes, I understand their various uses and how to use them safely. I know the different types of punches, their uses, and their importance to various jobs.
- Cold Chisels: For cutting or shaping metal by striking them with a hammer; this requires precision and proper technique to prevent damage.
- Metal Hammers: Ball-peen hammers and other specialized hammers for different metalworking tasks. The hammer’s weight and the striking technique are key to avoiding workpiece damage.
I’m also familiar with specialized tools like riveting hammers and punches for creating rivets, which are essential for many metal fabrication projects.
Q 25. How familiar are you with various types of woodworking joints?
My understanding of woodworking joints is comprehensive. I’m familiar with a wide variety of joints, each suited to specific applications and load-bearing requirements. Some common examples include:
- Butt Joint: Simple and relatively weak, suitable for light-duty applications.
- Lap Joint: Offers increased strength compared to a butt joint, ideal for applications where some level of strength is required.
- Miter Joint: Used for joining two pieces at an angle, often requiring reinforcement for durability. Common in picture frames.
- Dovetail Joint: Extremely strong and visually appealing, often used in high-quality furniture making.
- Mortise and Tenon Joint: Another strong joint, common in traditional joinery, offering both strength and stability. This joint requires precise measurements and careful cutting.
- Dado Joint: Used to create shelves or other features within a piece of wood; requires precision and suitable tools like a dado set.
The choice of joint depends on the project’s requirements. I always select the joint that will provide the necessary strength and aesthetic appeal while considering the tools at my disposal.
Q 26. Explain the importance of proper tool storage.
Proper tool storage is critical for safety, tool longevity, and efficiency. A disorganized toolbox is not only inefficient but also increases the risk of accidents. Proper storage involves:
- Organized Storage: Tools should be stored in a designated place, whether it’s a toolbox, a cabinet, or a wall-mounted system. Each tool should have its own spot, preventing damage and loss.
- Protection from the Elements: Tools must be protected from moisture, dust, and extreme temperatures, which can cause rust, corrosion, and damage.
- Sharp Tools Separately: Sharp tools should be stored separately from other tools to avoid accidents and damage.
- Proper Maintenance: Regular cleaning and maintenance (e.g., sharpening blades, lubricating moving parts) are essential for extending the life of your tools. It’s like servicing a vehicle—regular care improves performance and longevity.
Using a well-organized system ensures quick access to the needed tools and avoids time-consuming searches, keeping the project moving smoothly. Think of it like a well-stocked kitchen; the right tool is easily found when you need it.
Q 27. Describe your experience with working at heights using hand tools.
Working at heights with hand tools requires meticulous attention to safety. I always follow strict safety protocols, which include:
- Proper Fall Protection: Using harnesses, lanyards, and anchor points to prevent falls, particularly crucial when using tools that require precise movements.
- Stable Work Platform: Ensuring a sturdy scaffold or ladder that is properly set up and within code is paramount. I inspect them carefully before use.
- Tool Tethering: Securing tools to prevent accidental drops, which could injure someone below or damage property.
- Appropriate PPE: Wearing safety glasses, gloves, and other personal protective equipment that is essential for protection from falling debris or tool slippage. Safety should never be compromised.
My experience shows that safety procedures cannot be overlooked. A momentary lapse in safety protocols can lead to serious consequences. I always prioritize safety above speed in all my work at height, and it is part of my core value system.
Q 28. How do you ensure you are using the correct size and type of fastener?
Using the correct fastener size and type is crucial for structural integrity and longevity of any project. The selection depends on:
- Material: Wood, metal, and plastic require different fasteners. For example, screws are commonly used for wood and metal, whereas nails are usually suitable only for wood.
- Thickness/Strength: The material’s thickness and the load-bearing requirements dictate fastener length and diameter. Using too short a fastener can lead to failure, while an excessively long one may cause damage.
- Application: The fastener’s type—screw, nail, bolt, rivet, etc.—is selected according to the application. For instance, a screw might be ideal for a furniture project, but a bolt might be required for structural applications needing higher strength.
I always carefully measure and check fastener specifications against project requirements. I consult manufacturer guidelines for guidance, such as the load capacities of various screws. It is much like building a house; we need to ensure the foundation is strong to prevent failures, as choosing the correct fastener type and size is crucial for creating a safe and sturdy structure.
Key Topics to Learn for Use hand tools Interview
- Safety Procedures and Regulations: Understanding and applying relevant safety protocols when using hand tools, including proper PPE usage and hazard identification.
- Tool Selection and Maintenance: Knowing which hand tool is appropriate for a given task and performing basic maintenance like sharpening and cleaning.
- Measurement and Marking Techniques: Accurately measuring and marking materials using various tools like rulers, tape measures, and marking pencils.
- Basic Hand Tool Operation: Demonstrating proficiency in using common hand tools such as hammers, screwdrivers, wrenches, pliers, saws, and chisels.
- Material Knowledge: Understanding the properties of different materials (wood, metal, plastic) and how this impacts tool selection and technique.
- Troubleshooting and Problem-Solving: Identifying and resolving common issues encountered when using hand tools, such as jammed mechanisms or broken parts.
- Practical Application and Projects: Being able to describe past projects where hand tools were used and the challenges overcome.
- Advanced Hand Tool Techniques: Exploring specialized techniques such as mortise and tenon joinery (if applicable to the role).
Next Steps
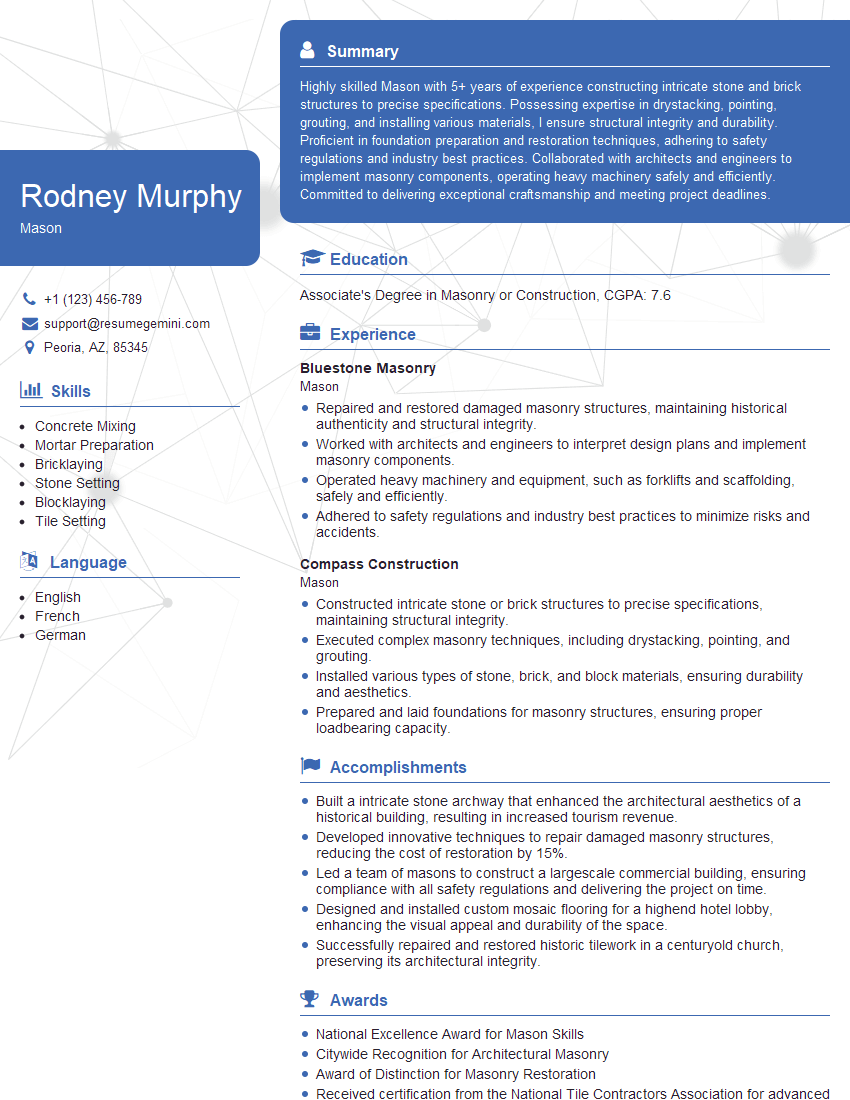
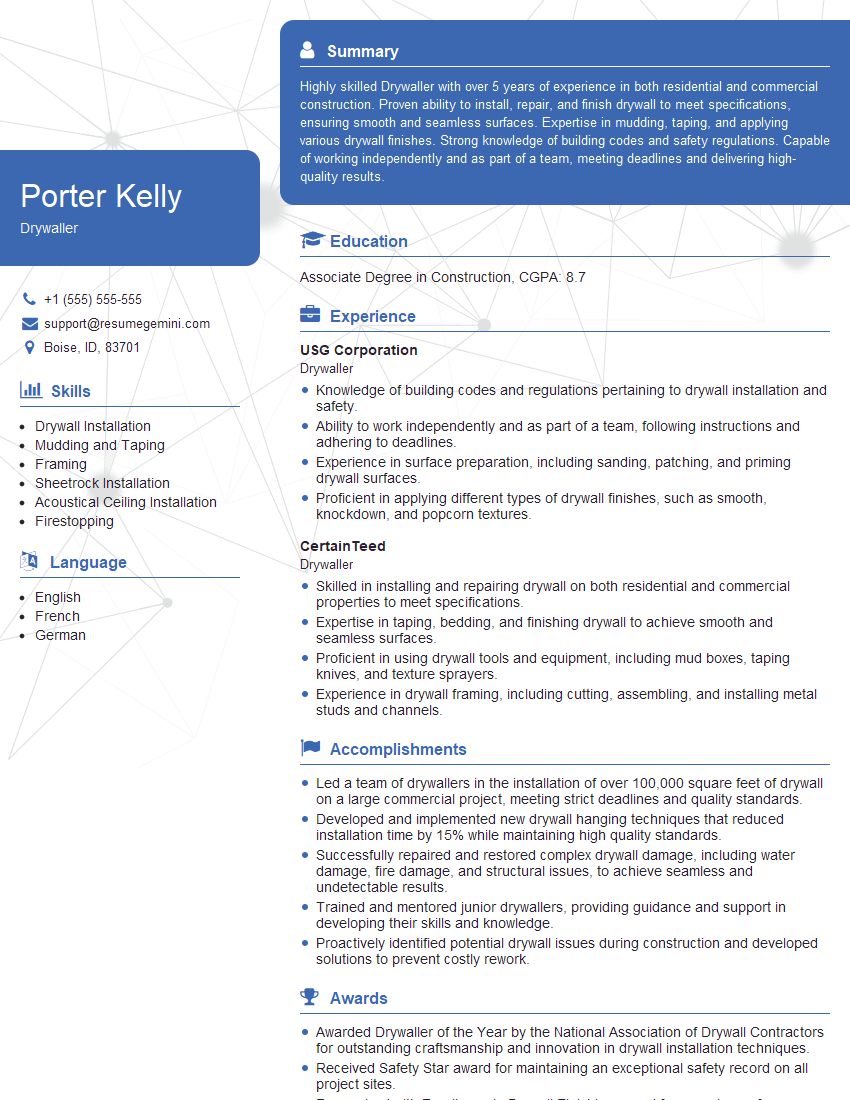
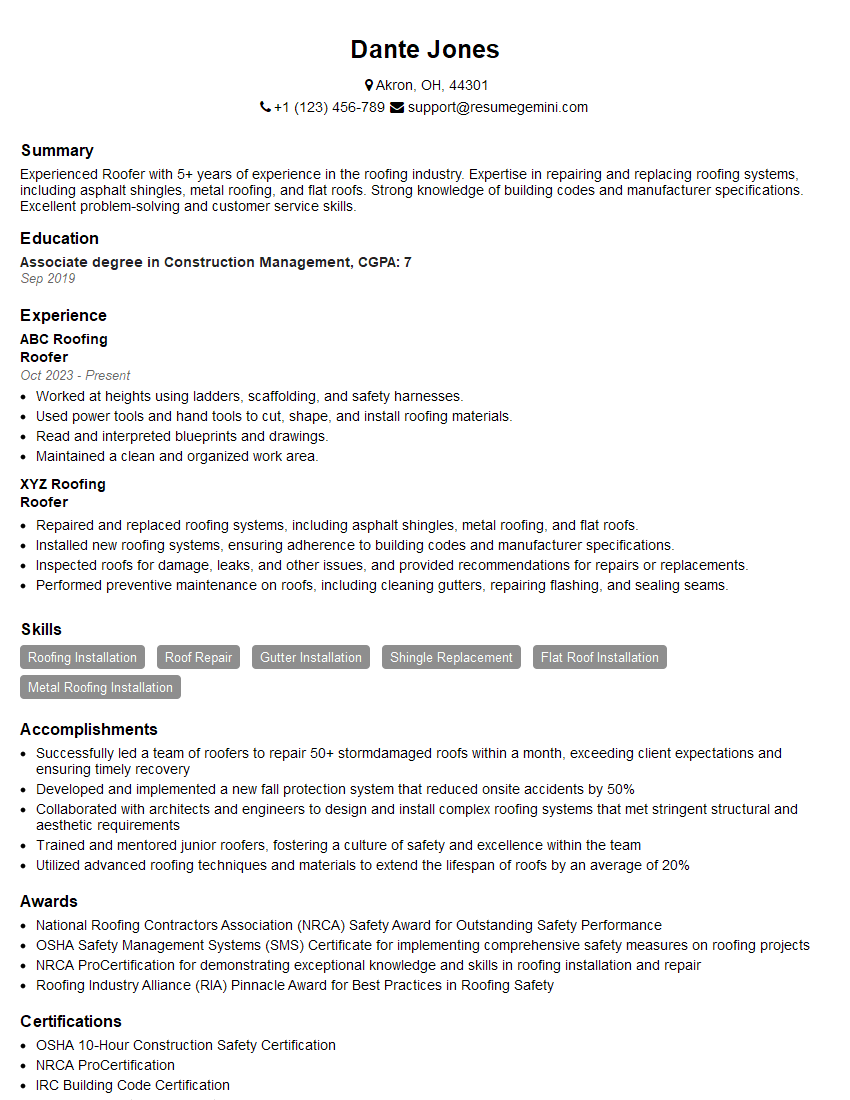
Mastering the use of hand tools is crucial for career advancement in many skilled trades and manufacturing roles. A strong understanding of these tools demonstrates craftsmanship, attention to detail, and a commitment to safety – highly valued attributes by employers. To significantly boost your job prospects, create an ATS-friendly resume that clearly showcases your skills and experience. ResumeGemini is a trusted resource to help you build a professional and impactful resume. We provide examples of resumes tailored to the use of hand tools to guide you in crafting the perfect application.
Explore more articles
Users Rating of Our Blogs
Share Your Experience
We value your feedback! Please rate our content and share your thoughts (optional).
What Readers Say About Our Blog
Hi, I’m Jay, we have a few potential clients that are interested in your services, thought you might be a good fit. I’d love to talk about the details, when do you have time to talk?
Best,
Jay
Founder | CEO

