Feeling uncertain about what to expect in your upcoming interview? We’ve got you covered! This blog highlights the most important Use measuring tools interview questions and provides actionable advice to help you stand out as the ideal candidate. Let’s pave the way for your success.
Questions Asked in Use measuring tools Interview
Q 1. What are the different types of measuring tools used in your field?
The types of measuring tools used vary greatly depending on the specific application, but some common examples include:
- Vernier Calipers: These are precision instruments used for measuring linear dimensions with accuracy to 0.01mm or 0.001 inches. They are versatile and widely used in various fields.
- Micrometers (Micrometer Screw Gauges): These offer even higher precision than vernier calipers, typically measuring to 0.001mm or 0.0001 inches. They are ideal for very fine measurements.
- Digital Calipers and Micrometers: Electronic versions of the above, offering digital readouts for easier and faster measurement. They often include additional features like data storage and different measurement units.
- Dial Indicators: These tools are used to measure small displacements or deviations from a reference point. They are essential in applications requiring high sensitivity like checking alignment or surface flatness.
- Rulers and Measuring Tapes: While less precise, these are commonly used for quick measurements in construction, carpentry, and general applications.
- Levels: Essential for determining whether a surface is horizontal or vertical; crucial in construction and machine setup.
- Protractors: Used to measure angles, commonly found in drafting, machining and other precision work.
- Thickness Gauges (Feeler Gauges): Used to measure very small gaps or clearances, often utilized in automotive mechanics and machine maintenance.
The choice of measuring tool depends heavily on the required accuracy and the type of measurement being taken. For instance, you wouldn’t use a ruler to measure the thickness of a sheet of paper, but a micrometer would be ideal.
Q 2. Explain the principle of operation of a micrometer.
A micrometer operates on the principle of precise screw mechanism. A precisely threaded screw is turned using a thimble, and each rotation of the thimble advances the screw a known amount (e.g., 0.5 mm). The thimble is marked with a scale allowing for fine measurements between the screw’s major graduations. The anvil and spindle, the two measuring faces, precisely measure the object placed between them. The linear movement of the screw is directly proportional to the rotation of the thimble, thus providing a highly accurate measurement. Think of it like a very sophisticated screw with a super finely detailed measuring scale. The combination of the main scale on the barrel and the scale on the thimble allows for extremely accurate readings.
Q 3. How do you ensure the accuracy of measuring tools?
Ensuring accuracy of measuring tools involves a multi-faceted approach:
- Calibration: Regular calibration against traceable standards is crucial. This involves comparing the instrument’s readings with known, accurate values. Calibration frequency depends on the tool, its use, and the required accuracy.
- Proper Handling and Storage: Careless handling can damage the measuring tool, affecting its accuracy. Storing tools in appropriate conditions (clean, dry, temperature-controlled environment) extends their lifespan and maintains their precision.
- Regular Cleaning: Dirt, debris, and corrosion can interfere with measurements. Regular cleaning is important, using appropriate cleaning agents to avoid damaging the instrument’s surface.
- Operator Training: Proper training ensures users understand how to operate and read the instrument correctly, minimizing human error.
- Inspection: Regular visual inspection for any signs of damage, such as dents or scratches on the measuring surfaces, is essential.
For example, a micrometer should be checked for any damage to the anvil or spindle, and a digital caliper should be verified for zero offset.
Q 4. Describe the process of calibrating a digital caliper.
Calibrating a digital caliper usually involves these steps:
- Power On: Ensure the caliper is powered on and the display shows a reading.
- Zero Setting: Close the jaws of the caliper completely. Most digital calipers have a ‘zero’ button to set the display to zero. If not, you may need to use the caliper’s calibration procedure outlined in its manual.
- Calibration Block (Optional): For higher precision, use a calibration block with a known dimension. Close the jaws on the block and adjust the zero setting if there is a discrepancy (Check manufacturer’s instructions for specifics). Many calipers have a secondary calibration option usually via a small screw on the body.
- Verification: Take several measurements of a known object (e.g., a gauge block) to verify the accuracy after zeroing.
Calibration procedures might slightly differ depending on the manufacturer and model of the caliper. Always consult the manufacturer’s instruction manual for precise steps.
Q 5. What are the common sources of error in measurement?
Common sources of error in measurement include:
- Parallax Error: This occurs when the observer’s eye is not aligned perpendicular to the measuring scale, leading to an inaccurate reading. This is particularly common with analog tools like vernier calipers and micrometers.
- Zero Error: This is an offset in the reading even when the measuring tool is closed or zeroed. It is often caused by damage or miscalibration.
- Tool Wear: Wear and tear on the measuring surfaces (e.g., jaws of a caliper) can lead to inaccurate readings. Regular maintenance and calibration address this.
- Environmental Factors: Temperature and humidity can affect the dimensions of the object being measured and the measuring tool itself.
- Human Error: Incorrect reading of the scale, improper handling of the instrument, or misinterpretation of the result are common human errors.
- Tool Deformation: Applying excessive force when using a measuring tool can deform it, introducing error.
Minimizing these errors requires careful attention to detail, proper training, and regular maintenance of the measuring tools.
Q 6. How do you handle discrepancies between measurements?
Discrepancies between measurements require careful investigation. Here’s a suggested approach:
- Repeat the Measurement: Take several measurements using the same tool and method. Consistent discrepancies indicate a problem.
- Check the Tool: Examine the measuring tool for zero error, damage, or wear. Calibrate the tool if needed.
- Consider Environmental Factors: Assess whether temperature, humidity, or other environmental conditions could influence the results.
- Use a Different Tool: If possible, repeat the measurement using a different measuring instrument to verify the results. Two independent measurements agreeing is a strong indication of accuracy.
- Analyze the Measurement Process: Review the entire measurement process for any procedural errors that may have been made.
- Document Findings: Keep a record of all measurements, observations, and conclusions.
If discrepancies persist after these steps, consider seeking assistance from a more experienced colleague or consulting the manufacturer’s documentation.
Q 7. Explain the concept of measurement uncertainty.
Measurement uncertainty reflects the range of values within which the true value of a measurement is likely to lie. It quantifies the doubt associated with a measurement result. It’s not about the accuracy of the tool alone but also considers the effects of various factors, such as operator skill, environmental conditions, and the tool’s limitations. It’s expressed as a plus or minus value added to the measured value. For example, a measurement of 10mm ± 0.02mm signifies that the true value is likely to fall between 9.98mm and 10.02mm. A smaller uncertainty indicates greater precision and reliability of the measurement. The concept is crucial in ensuring that reported measurements reflect the actual precision attained, rather than implying a level of accuracy not realistically achieved.
Q 8. What are the different units of measurement and their conversions?
Units of measurement are fundamental to expressing the size, weight, or other properties of an object. The most common systems are the metric (SI) system and the imperial system. Conversions between these systems are crucial for accurate work.
- Length: Metric uses meters (m), centimeters (cm), millimeters (mm), kilometers (km), etc. Imperial uses inches (in), feet (ft), yards (yd), miles (mi). Conversion: 1 inch = 2.54 centimeters.
- Mass/Weight: Metric uses kilograms (kg), grams (g), milligrams (mg). Imperial uses pounds (lb), ounces (oz), tons. Conversion: 1 kilogram ≈ 2.20462 pounds.
- Volume: Metric uses liters (L), milliliters (mL), cubic meters (m³). Imperial uses gallons (gal), quarts (qt), pints (pt), cubic inches (in³). Conversion: 1 liter ≈ 1.05669 quarts.
- Temperature: Metric uses Celsius (°C), Kelvin (K). Imperial uses Fahrenheit (°F). Conversion: °C = (°F – 32) × 5/9
For example, converting 10 inches to centimeters involves multiplying 10 by 2.54, resulting in 25.4 centimeters. Accurate conversion is critical to avoid errors in manufacturing, construction, or engineering.
Q 9. How do you select the appropriate measuring tool for a specific task?
Selecting the right measuring tool depends entirely on the task’s precision requirements, the size and shape of the object being measured, and the material’s properties.
- High Precision: For extremely accurate measurements (e.g., in microelectronics or aerospace), tools like micrometers, calipers, or laser measurement systems are essential. These offer readings down to thousandths or even millionths of an inch or millimeter.
- General Purpose: For less demanding tasks (e.g., carpentry or home repairs), rulers, tape measures, or even simple level gauges are suitable.
- Specific Applications: Specialized tools exist for specific purposes. For instance, a depth gauge measures the depth of holes, while a dial indicator checks surface flatness or the runout of a rotating shaft.
Consider the material: measuring a hot metal requires different tools and safety precautions than measuring wood. Always choose a tool with a resolution (smallest increment) that matches the required accuracy; a ruler won’t measure a component to 0.01mm accurately.
Q 10. What are the safety precautions when using measuring tools?
Safety is paramount when using measuring tools. Ignoring safety can lead to injuries or inaccurate measurements.
- Proper Handling: Always handle tools carefully to avoid dropping them and causing damage or injury. Never force a tool—this can damage it or injure you.
- Eye Protection: When using tools like laser measurement devices, wear appropriate eye protection to shield your eyes from potential harm.
- Sharp Edges: Be aware of sharp edges on calipers, micrometers, or other precision tools and handle them with care. Use gloves if needed.
- Calibration: Regularly calibrate your tools to ensure accuracy. An inaccurate tool can lead to significant errors and costly mistakes.
- Work Area: Ensure a clean, clutter-free workspace to prevent accidents.
For example, when using a micrometer, always use the ratchet mechanism to avoid over-tightening and damaging the instrument or the workpiece.
Q 11. Describe your experience with different types of gauges (e.g., dial indicator, plug gauge).
I have extensive experience using various gauges. Dial indicators are versatile instruments that measure displacement or deviation from a reference point. I’ve used them in applications like checking the flatness of a surface plate, measuring runout on a lathe, or verifying the alignment of components. Their accuracy is typically in the range of 0.001 inches or 0.01mm.
Plug gauges are used to inspect the diameter of holes to ensure they are within specified tolerances. They come in various sizes and are usually made of hardened steel for durability. I’ve used plug gauges in quality control inspections for machined parts, ensuring that the holes meet design specifications to prevent assembly issues.
In one instance, I used a dial indicator and a surface plate to detect a slight warp in a component that was causing a malfunction in an assembled system. The dial indicator clearly highlighted the deviation, leading to the identification and correction of the manufacturing error.
Q 12. How do you interpret measurement data?
Interpreting measurement data involves more than just reading the numbers. It’s about understanding the context and making appropriate inferences.
- Accuracy vs. Precision: Understanding the difference between accuracy (closeness to the true value) and precision (reproducibility of measurements) is key. A measurement can be precise but inaccurate.
- Tolerance Limits: Check whether the measured values fall within the acceptable tolerance ranges specified in engineering drawings or product specifications. Measurements outside these limits indicate a problem that requires investigation.
- Data Analysis: For multiple measurements, calculate statistical parameters like mean, standard deviation, and range to assess data distribution and identify potential outliers. Outliers might indicate measurement errors or process issues.
For example, if the tolerance for a shaft diameter is ±0.01mm, and the measured diameters are 10.005mm, 10.006mm and 10.011mm, we are within tolerance, but the last measurement warrants a closer look because it is nearing the tolerance boundary.
Q 13. Explain your experience with statistical process control (SPC) in relation to measurements.
Statistical Process Control (SPC) is a vital tool for monitoring and improving the consistency of measurement processes. I have used SPC extensively to analyze measurement data, identify trends, and implement corrective actions.
Control charts, such as X-bar and R charts, are typically used to visually represent the data. These charts show the average (X-bar) and range (R) of a series of measurements. By analyzing these charts, we identify whether the process is stable or if there are special causes of variation affecting the measurement accuracy.
For example, if a control chart shows points consistently falling outside the control limits, it indicates an issue that requires investigation, possibly calibration problems with the equipment or a change in the manufacturing process itself.
SPC allows for proactive identification of problems, prevention of defects, and continuous improvement of measurement processes, leading to significant cost savings and enhanced product quality.
Q 14. How do you document measurement results?
Accurate documentation of measurement results is crucial for traceability, quality assurance, and regulatory compliance.
- Measurement Records: Record all measurement data clearly and concisely, including date, time, instrument used, measured values, and the operator’s initials.
- Data Sheets: Use standardized data sheets or spreadsheets to record measurement results in an organized format.
- Calibration Records: Keep detailed records of instrument calibrations, including calibration dates, results, and the certifying body. This ensures the validity of all measurements.
- Digital Systems: In modern settings, integrate measurement data into a digital system that allows for efficient data management, analysis, and reporting.
- Traceability: Ensure traceability of measurement data back to its source, making it possible to identify and correct any errors or inconsistencies.
Maintaining comprehensive measurement records is critical for auditing, quality control inspections, and addressing potential liability issues. Clear documentation streamlines investigations and ensures accountability.
Q 15. Describe your experience with CMM (Coordinate Measuring Machine) operation.
My experience with Coordinate Measuring Machines (CMMs) spans over seven years, encompassing various applications from simple dimensional checks to complex surface scans. I’m proficient in operating both touch-probe and laser CMMs from leading manufacturers like Zeiss and Hexagon. My expertise extends to programming CMMs using various software packages, including PC-DMIS and CALYPSO. For example, I recently used a Zeiss CMM to inspect the intricate components of a medical implant, ensuring that all tolerances were met with high precision. The project required meticulous programming to create a comprehensive inspection plan, including probe path generation and data analysis. Another instance involved troubleshooting a faulty probe signal on a Hexagon CMM, which I resolved by carefully checking the probe’s electrical connections and calibrating the machine following the manufacturer’s guidelines.
I’m adept at handling different types of probes, including touch-trigger, scanning, and optical probes, and understand the importance of selecting the appropriate probe for the specific application. I also possess expertise in generating detailed inspection reports, complete with graphical visualizations of the measured data, ensuring clear and concise communication of the results.
Career Expert Tips:
- Ace those interviews! Prepare effectively by reviewing the Top 50 Most Common Interview Questions on ResumeGemini.
- Navigate your job search with confidence! Explore a wide range of Career Tips on ResumeGemini. Learn about common challenges and recommendations to overcome them.
- Craft the perfect resume! Master the Art of Resume Writing with ResumeGemini’s guide. Showcase your unique qualifications and achievements effectively.
- Don’t miss out on holiday savings! Build your dream resume with ResumeGemini’s ATS optimized templates.
Q 16. How do you troubleshoot issues with measuring tools?
Troubleshooting measuring tools involves a systematic approach. It begins with identifying the type of issue: is it a reading error, a mechanical problem, or a software glitch? I always start with the simplest checks – verifying calibration, ensuring proper power supply, examining for physical damage, and checking connections. For example, if a caliper consistently reads slightly off, I first check for any damage to the jaws or the sliding mechanism. If the issue persists, I’d verify its calibration against a known standard.
For electronic measuring tools, I’ll investigate the battery life, check the display for errors, and if necessary, consult the user manual or manufacturer’s troubleshooting guide. Software issues might require resetting the device or updating the firmware. A methodical approach – checking the obvious first, then progressively examining more complex possibilities – is crucial. For instance, if a laser scanner isn’t acquiring data, I’d first check the laser alignment, environmental conditions (like dust or excessive vibration), and the proper functioning of the communication interface.
Q 17. What are some common problems encountered with laser measurement systems?
Laser measurement systems, while highly precise, are susceptible to several problems. Environmental factors such as temperature fluctuations, air turbulence (causing beam deflection), and vibrations can significantly impact accuracy. Dust or debris in the optical path can scatter the laser beam, leading to inaccurate measurements. The laser’s power source and its alignment also need regular checking.
Another common issue is surface reflectivity: highly reflective or absorbent surfaces can interfere with accurate measurement. Incorrect calibration, software glitches, and even improper handling or storage can affect the reliability of laser measurement data. For example, a poorly calibrated laser scanner might produce consistent errors across all measurements, highlighting the importance of regular calibration checks and adhering to manufacturer guidelines.
Q 18. How do you maintain and store measuring tools?
Maintaining and storing measuring tools correctly is paramount to their longevity and accuracy. This involves regular cleaning, lubrication (where applicable), and calibration. Cleaning should be done using appropriate cleaning agents and soft cloths, avoiding abrasive materials that could damage the measuring surfaces. Lubrication, often overlooked, is crucial for mechanical measuring tools like calipers and micrometers, ensuring smooth movement and preventing wear. Calibration, a critical aspect of maintaining accuracy, should be performed according to a schedule based on usage frequency and the tool’s specifications.
Storage is equally important. Tools should be stored in a clean, dry, controlled environment, away from extreme temperatures and humidity. They should be kept in their designated cases or storage containers to protect them from damage and prevent accidental misalignment. Properly maintained tools not only prolong their lifespan but also guarantee the integrity and accuracy of your measurements, preventing costly errors down the line.
Q 19. Describe your experience with using specific software for data acquisition and analysis in metrology.
I have extensive experience using various software packages for data acquisition and analysis in metrology, including PC-DMIS, CALYPSO, and PolyWorks. PC-DMIS is my preferred software for CMM operation, enabling me to program complex measurement routines, analyze large datasets, and generate comprehensive inspection reports. I’m proficient in creating GD&T (Geometric Dimensioning and Tolerancing) compliant reports, and experienced in statistical process control (SPC) techniques for data analysis.
For example, I recently used PolyWorks to process point cloud data acquired from a laser scanner to create a 3D model of a complex automotive part. This involved cleaning the point cloud, aligning the scans, and generating surface meshes for further analysis. My skillset also includes using these software packages to create custom reports tailored to specific client needs, including generating graphical representations of measurement data, which simplifies the interpretation of results.
Q 20. Explain the concept of traceability in measurement.
Traceability in measurement refers to the ability to trace the results of a measurement back to internationally recognized standards. This means establishing an unbroken chain of comparisons that links the measuring instrument used to a national or international standard. For instance, the calibration of a micrometer might be traced back to a certified standard maintained by a national metrology institute, then possibly back to the international prototype kilogram.
This is critical for ensuring the reliability and consistency of measurements across different locations and organizations. Without traceability, measurement results might be questionable and lack credibility, especially in regulated industries such as aerospace or pharmaceuticals. Think of it like a family tree for your measurements: each measurement has an ancestor, going back to the most fundamental standards.
Q 21. How do you ensure compliance with relevant standards and regulations in measurement?
Ensuring compliance with relevant standards and regulations in measurement is a top priority. This typically involves adhering to international standards like ISO 9001 (quality management) and ISO 17025 (testing and calibration laboratories). It means regular calibration of measuring equipment using traceable standards, maintaining detailed records of calibrations and measurements, and ensuring that all personnel involved are properly trained and competent.
Specific industry regulations might also apply; for example, in aerospace, adherence to specific standards relating to aircraft component tolerances is mandatory. Compliance is verified through regular audits and inspections. I meticulously maintain all calibration certificates and measurement records, ensuring that our processes are fully compliant with all relevant standards and that our results are credible and verifiable. This includes documenting every step of the measurement process, from equipment preparation to data analysis, allowing for complete traceability and accountability.
Q 22. Describe your experience with different types of measurement standards (e.g., NIST traceable standards).
My experience with measurement standards, particularly NIST (National Institute of Standards and Technology) traceable standards, is extensive. NIST traceable standards ensure that measurements are consistent and comparable across different labs and locations. They form a chain of custody, linking your measurement equipment back to national standards maintained by organizations like NIST. This traceability is crucial for accuracy and reliability, especially in industries with stringent quality control requirements.
I’ve worked with various standards, including calibrated gauges, master length bars, and certified reference materials. For example, in a previous role involving precision machining, we used NIST-traceable micrometers to verify the dimensions of manufactured parts. Any discrepancies detected were immediately addressed through recalibration or tool adjustments. We also used traceable pressure gauges for critical process monitoring to ensure adherence to specifications. Regular calibration against these standards is paramount to maintain accuracy and confidence in our measurements.
Understanding the uncertainty associated with each standard is essential. This uncertainty propagates through the measurement chain, impacting the overall measurement uncertainty. Proper documentation and careful analysis are crucial to manage this uncertainty and ensure compliance with standards.
Q 23. How do you handle non-conforming measurements?
Handling non-conforming measurements involves a systematic approach focused on identifying the root cause and implementing corrective actions. The first step is to verify the measurement using a different, calibrated instrument to rule out instrument error. If the non-conforming measurement is confirmed, a thorough investigation follows. This could involve reviewing the measurement process, checking environmental factors (temperature, humidity), and evaluating the condition of the measuring instrument.
Once the root cause is identified, corrective actions are implemented. This might involve recalibrating the instrument, retraining personnel, adjusting the process, or even replacing faulty equipment. Documentation of the entire process, including the non-conforming measurement, investigation, and corrective actions, is vital for continuous improvement and compliance. Depending on the severity and context, a non-conforming measurement may necessitate a full investigation, potentially involving a failure mode and effects analysis (FMEA) to prevent recurrence.
For instance, if a batch of parts consistently falls outside the specified tolerance, it might indicate a problem with the machine settings or raw materials. A thorough review of the manufacturing process and a potential redesign might be necessary.
Q 24. What are the limitations of different measuring tools?
Every measuring tool has limitations, primarily related to resolution, accuracy, and precision. Resolution refers to the smallest increment the tool can measure. A ruler with millimeter markings has lower resolution than a micrometer capable of measuring to micrometers. Accuracy refers to how close a measurement is to the true value, while precision refers to the repeatability of measurements. A tool can be precise but inaccurate if it’s consistently off by a certain amount.
- Vernier Caliper: Limited resolution and prone to errors if not used properly. Its accuracy is also dependent on the operator’s skill.
- Micrometer: Higher resolution than vernier calipers but can still be affected by wear and tear, requiring regular calibration.
- Optical Comparator: Can suffer from inaccuracies due to lighting conditions and operator subjectivity in interpreting measurements on the projected image.
- Digital Multimeter: Accuracy can be affected by environmental factors like temperature and humidity. The resolution is dependent on the specific model.
Understanding these limitations is crucial for selecting the appropriate tool and interpreting the results correctly. Using a low-resolution tool for a high-precision measurement will lead to significant errors. Similarly, neglecting environmental factors can affect the accuracy of measurements.
Q 25. Explain the concept of repeatability and reproducibility in measurement.
Repeatability and reproducibility are key concepts in measurement quality. Repeatability refers to the closeness of agreement between successive measurements of the same measurand carried out under the same conditions. This measures the consistency of the measuring system under constant conditions. Reproducibility, on the other hand, assesses the closeness of agreement between measurements of the same measurand carried out under different conditions, such as different operators, instruments, or locations. It evaluates the consistency of the measurement across variations.
Imagine measuring the length of a metal bar multiple times with the same micrometer. High repeatability means all measurements are very close. Now, if several different technicians measure the same bar with different micrometers in different labs, high reproducibility means those measurements remain consistent, demonstrating the robustness of the measurement process.
Both repeatability and reproducibility are essential for establishing confidence in measurement results. Poor repeatability or reproducibility often indicates problems with the measuring instrument, the measurement process, or the operator’s technique. In order to ensure the validity of the results, understanding and improving both are vital.
Q 26. How do you choose the appropriate resolution for a measuring instrument?
Choosing the appropriate resolution for a measuring instrument depends on the required accuracy and the application. The resolution should be fine enough to capture the necessary details, but not so fine that it introduces unnecessary complexity or measurement uncertainty. Overly high resolution can lead to unnecessary costs and potential errors caused by instrument limitations.
For example, measuring the length of a large structural beam might only require a tape measure with centimeter or even decimeter markings, while measuring a small component for a precision instrument might require a micrometer with micrometer resolution. The resolution needs to match the required tolerance of the application. If the tolerance is ±0.1 mm, a measuring tool with a resolution of 0.01 mm is sufficient, but a tool with a resolution of 1 mm would be inadequate.
It’s always better to choose an instrument with slightly higher resolution than strictly necessary to account for potential variations and uncertainties. However, excessively high resolution can lead to wasted resources and increased measurement uncertainty due to the instrument’s limitations.
Q 27. Describe your experience with using optical measuring instruments (e.g., optical comparator).
I have extensive experience using optical measuring instruments, most notably optical comparators. These instruments project a magnified image of an object onto a screen, allowing for precise measurement of dimensions, angles, and surface features. They are particularly useful for inspecting small, intricate parts where high accuracy is required.
In one project, we used an optical comparator to inspect the complex geometries of micro-machined components. The magnification capabilities allowed us to detect minute imperfections and deviations from the design specifications. The comparator’s built-in measuring scales enabled precise measurements of critical dimensions, ensuring the quality of the components.
However, it’s important to be mindful of environmental factors, such as lighting and vibrations, which can affect the accuracy of the measurements. Proper calibration and operator training are vital for ensuring accurate and reliable results. Optical comparators, while powerful, require a skilled operator to interpret the projected images and avoid introducing subjective errors into the measurements.
Key Topics to Learn for Use Measuring Tools Interview
- Types of Measuring Tools: Understanding the various types of measuring tools (e.g., rulers, calipers, micrometers, tape measures, laser measuring devices) and their respective applications and limitations.
- Accuracy and Precision: Grasping the concepts of accuracy and precision in measurement, understanding sources of error, and applying appropriate techniques to minimize inaccuracies.
- Units of Measurement: Proficiency in converting between different units of measurement (e.g., metric and imperial systems) and performing calculations involving dimensions and tolerances.
- Reading Measurement Scales: Mastering the skill of accurately reading and interpreting measurements from various types of measuring tools, including understanding vernier scales and digital displays.
- Practical Applications: Demonstrating knowledge of how measuring tools are used in various industries and contexts, such as manufacturing, construction, engineering, and design.
- Troubleshooting and Calibration: Understanding common issues encountered when using measuring tools, such as tool malfunction or calibration errors, and knowing how to address them effectively.
- Safety Procedures: Familiarity with safety protocols and best practices for handling and using various measuring tools to prevent accidents and ensure accurate readings.
- Selecting Appropriate Tools: Demonstrating the ability to choose the most suitable measuring tool for a specific task based on factors such as accuracy requirements, material properties, and measurement range.
- Data Recording and Documentation: Understanding the importance of accurate record-keeping, including proper labeling and organization of measurement data.
Next Steps
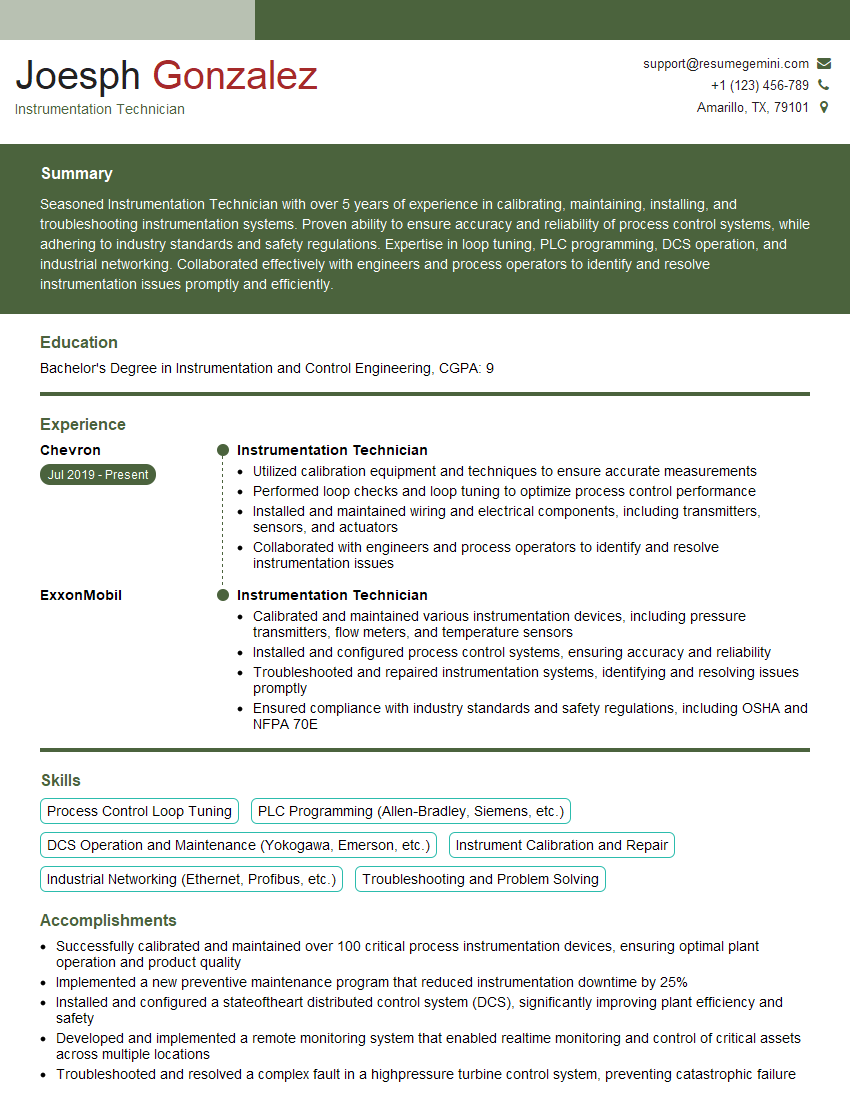
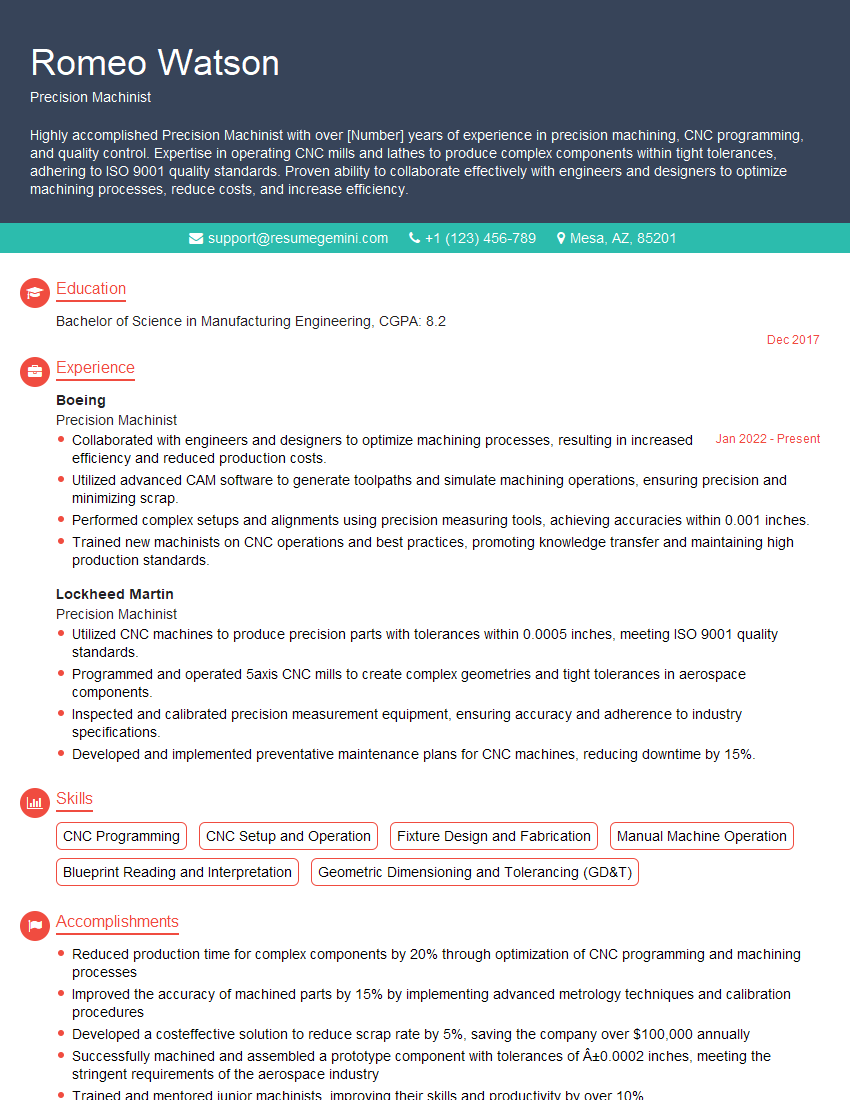
Mastering the use of measuring tools is crucial for success in many technical fields, opening doors to exciting career opportunities and advancement. A strong understanding of these tools showcases your attention to detail, problem-solving skills, and commitment to precision – highly valued attributes in today’s job market. To significantly boost your job prospects, focus on crafting an ATS-friendly resume that highlights your skills and experience effectively. ResumeGemini is a trusted resource to help you build a professional and impactful resume that catches the eye of recruiters. We provide examples of resumes tailored to highlight expertise in using measuring tools, helping you present your qualifications in the best possible light.
Explore more articles
Users Rating of Our Blogs
Share Your Experience
We value your feedback! Please rate our content and share your thoughts (optional).
What Readers Say About Our Blog
Hi, I’m Jay, we have a few potential clients that are interested in your services, thought you might be a good fit. I’d love to talk about the details, when do you have time to talk?
Best,
Jay
Founder | CEO
