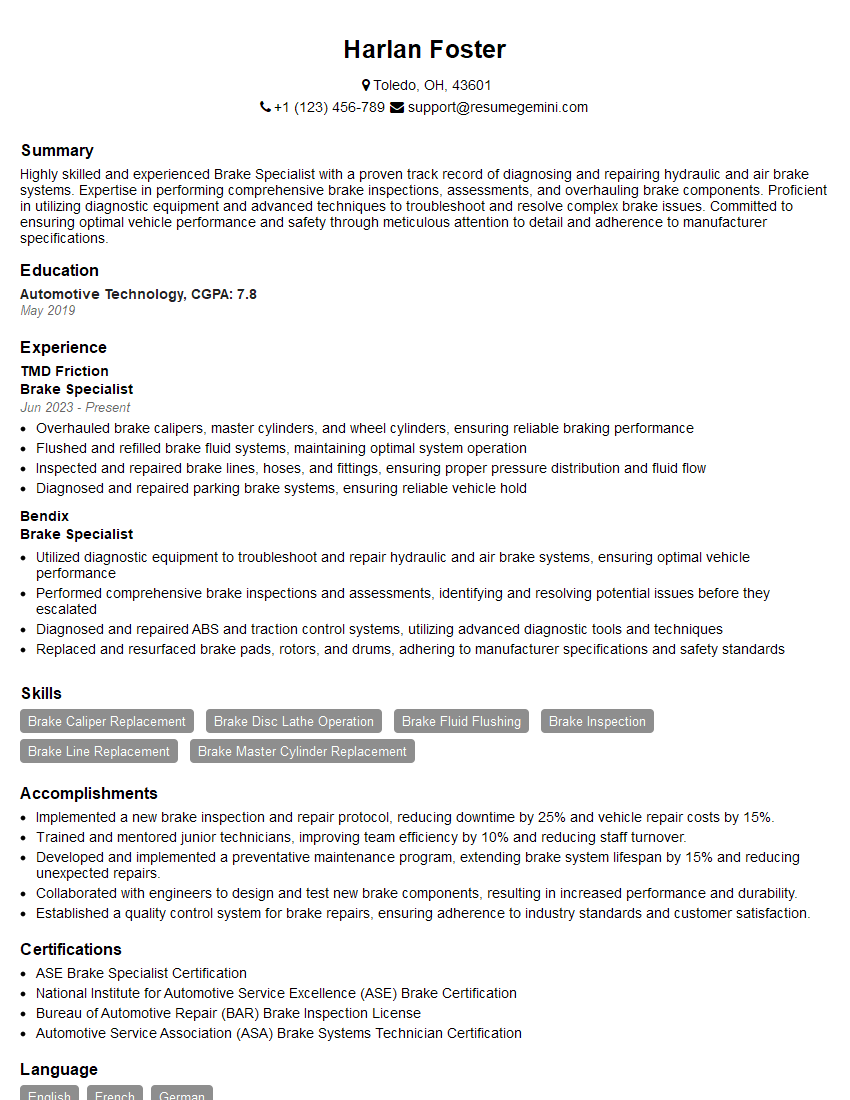
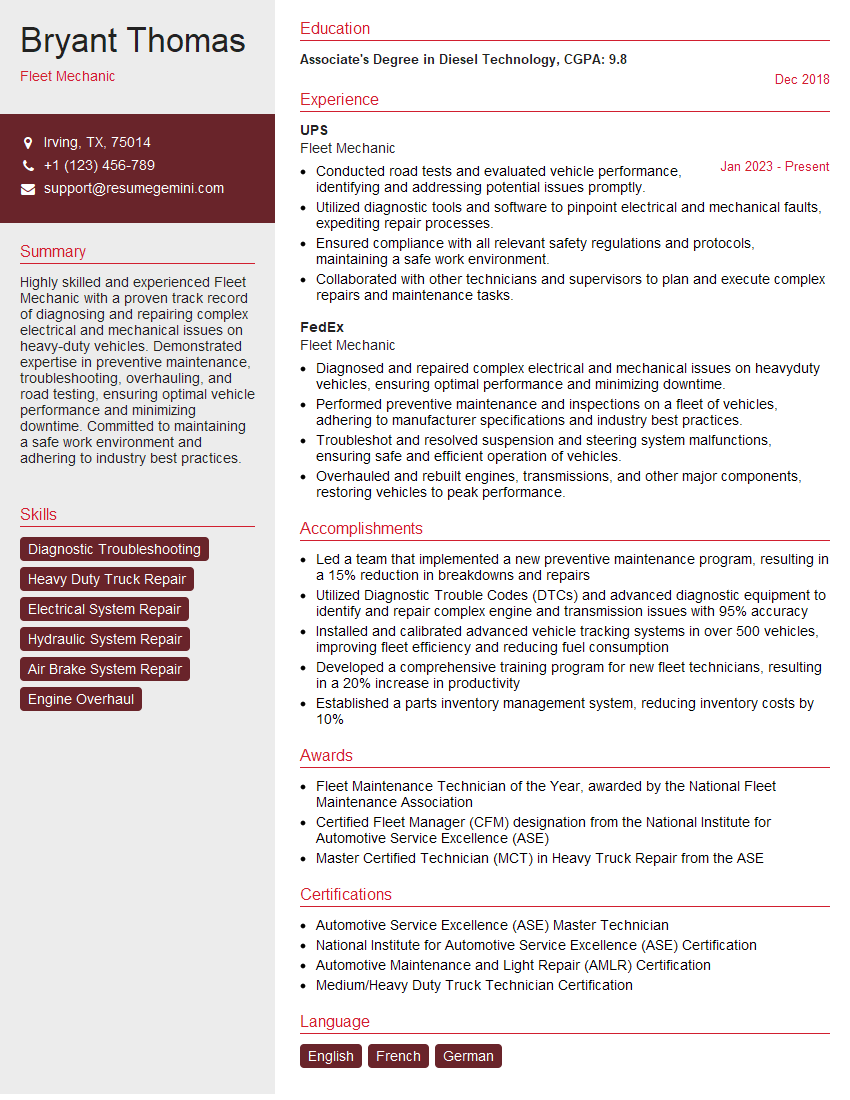
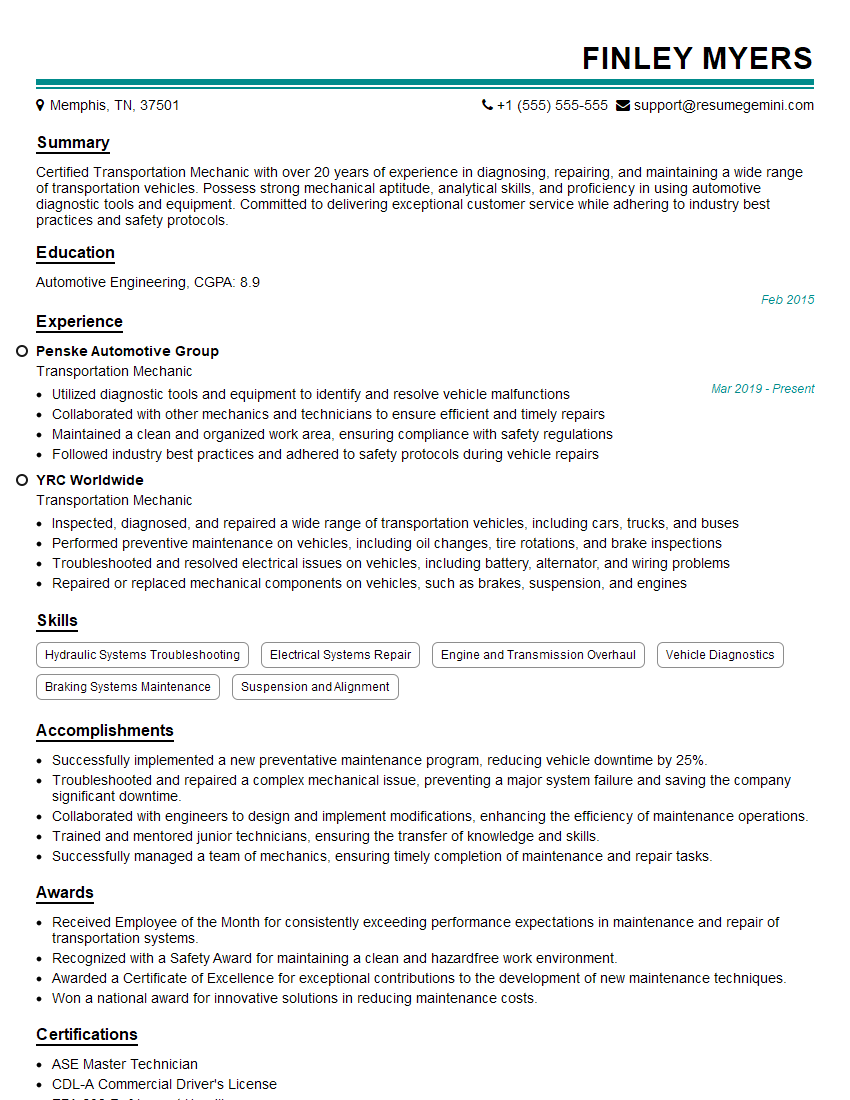
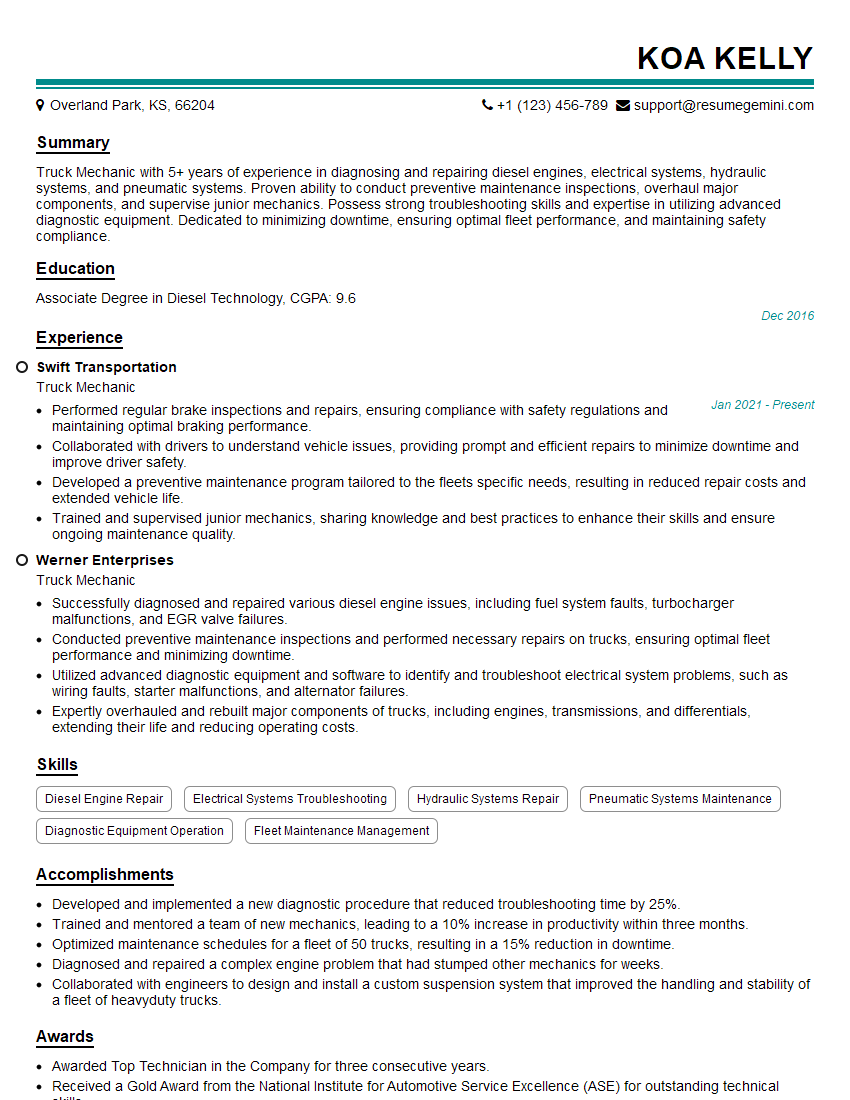
Feeling uncertain about what to expect in your upcoming interview? We’ve got you covered! This blog highlights the most important Brake adjustment interview questions and provides actionable advice to help you stand out as the ideal candidate. Let’s pave the way for your success.
Questions Asked in Brake adjustment Interview
Q 1. Explain the process of adjusting drum brakes.
Adjusting drum brakes involves precisely setting the clearance between the brake shoes and the drum. Improper adjustment leads to either ineffective braking (too much clearance) or dragging brakes (too little clearance), resulting in reduced fuel efficiency and potentially damaged components. The process typically involves accessing the adjuster mechanism, usually a star wheel or automatic adjuster, and turning it to increase or decrease the shoe-to-drum contact.
- Accessing the Adjuster: This often requires removing a rubber plug or cover on the back of the brake drum.
- Adjusting the Shoes: Using a screwdriver or special adjustment tool, carefully turn the star wheel. Turn it clockwise to tighten (reduce clearance) and counterclockwise to loosen (increase clearance).
- Testing the Adjustment: After adjustment, spin the wheel by hand. It should turn freely but with noticeable resistance when you apply moderate pressure. If the wheel is hard to turn, loosen the adjuster. If there’s no resistance, tighten it.
- Automatic Adjusters: Some drum brake systems use automatic adjusters that maintain proper clearance automatically. These generally don’t require manual adjustment unless a significant repair has been made, such as replacing the brake shoes.
Example: Imagine the brake shoes as two hands clapping. If the hands are too far apart, the clap (braking) is weak. If they are too close, the clap is constant and painful (dragging brakes). The adjustment process is finding the ‘perfect clap’ – enough contact for effective braking, but not so much that it causes friction.
Q 2. Describe the procedure for adjusting disc brakes.
Disc brake adjustment is generally simpler than drum brake adjustment and often involves adjusting the brake caliper piston. Many modern disc brakes are self-adjusting, meaning they automatically compensate for wear. However, sometimes manual intervention is required, especially after replacing brake pads.
- Checking for Wear: First, visually inspect the brake pads. If they are worn below the minimum thickness specified by the manufacturer, they must be replaced.
- Caliper Piston Adjustment (if necessary): If the caliper piston is not retracting properly after pad replacement, you may need to compress it using a special caliper piston compression tool. This ensures the new pads are properly seated against the rotor.
- Checking for Binding: Ensure the caliper slides smoothly in its guide pins. Lubricate the pins if they’re stiff. A binding caliper will cause uneven braking and pad wear.
Important Note: Some vehicles have an Electronic Parking Brake (EPB) system. Working on these brakes requires specialized tools and knowledge. Incorrect procedures can damage the system.
Example: Think of the brake caliper as a clamp squeezing a rotor. The pads are the jaws of the clamp. Adjustment ensures the clamp grips the rotor firmly and evenly when braking, but releases fully when not braking.
Q 3. How do you diagnose a brake system problem?
Diagnosing brake system problems involves a systematic approach. Start with a visual inspection, checking for obvious signs of damage such as leaks, worn pads or shoes, or damaged components. Then move on to functional tests.
- Visual Inspection: Look for brake fluid leaks at calipers, wheel cylinders, or brake lines. Inspect brake pads and shoes for wear and tear, cracks, or glazing. Check for damaged brake rotors or drums (scoring, cracks). Examine brake lines for corrosion or damage.
- Brake Pedal Test: Check for pedal sponginess, a low pedal, or a hard pedal. Each indicates a different problem (e.g., air in the lines, worn brake pads, or a master cylinder issue).
- Road Test: Drive the vehicle and test the braking performance. Note any pulling, vibration, squealing, or grinding noises. These can pinpoint issues like uneven braking, worn rotors, or failing components.
- Brake Fluid Level Check: A low brake fluid level indicates a leak, and requires immediate attention.
Example: A spongy brake pedal suggests air in the brake lines, while a squealing sound during braking indicates worn brake pads.
Q 4. What tools are essential for brake adjustment?
The essential tools for brake adjustment vary depending on the type of brakes (drum or disc) and the specific vehicle. However, a basic set usually includes:
- Wrench Set: For removing lug nuts and caliper bolts.
- Screwdrivers: Flathead and Phillips head, for adjusting drum brakes and other tasks.
- Caliper Piston Compression Tool: For compressing disc brake calipers during pad replacement.
- Brake Bleeder Wrench: For bleeding air from the brake lines.
- Wheel Chocks: Essential for safety.
- Gloves: To protect hands from brake dust and grease.
- Jack and Jack Stands: To safely lift the vehicle.
- Brake cleaner: For cleaning brake parts.
For Drum Brakes: You might also need a specific drum brake adjuster tool.
Example: A basic socket set would handle most nut and bolt removal, while the caliper piston compression tool is specialized for disc brakes. Always remember safety gear, such as gloves and eye protection, is critical.
Q 5. What are the safety precautions when adjusting brakes?
Safety is paramount when adjusting brakes. Failure to follow proper procedures can lead to serious injury.
- Vehicle Securement: Always use jack stands and wheel chocks to securely lift and support the vehicle. Never rely solely on a jack.
- Proper Lifting Points: Lift the vehicle only at designated jack points to avoid damage.
- Personal Protective Equipment (PPE): Wear safety glasses or goggles, gloves, and closed-toe shoes.
- Environmental Considerations: Brake fluid is corrosive and hazardous. Avoid spills and dispose of it properly. Work in a well-ventilated area.
- Post-Adjustment Test Drive: After adjusting the brakes, perform a thorough test drive to ensure effective braking and the absence of any unusual sounds or vibrations.
Example: Before even touching the car, chock the wheels opposite to the ones you’re working on to ensure stability, even if it’s just lifted slightly. Never work under a car supported only by a jack.
Q 6. How do you check brake fluid levels and condition?
Checking brake fluid is a critical part of regular vehicle maintenance. Low fluid levels can indicate a leak, while dirty fluid can indicate contamination.
- Locating the Reservoir: The brake fluid reservoir is usually a transparent plastic container in the engine bay. It’s often clearly labeled.
- Checking the Level: The reservoir will have minimum and maximum markings. The fluid level should be between these marks. Low fluid is an immediate cause for concern.
- Assessing the Condition: Inspect the fluid for clarity. It should be clean and clear. Dark, cloudy, or discolored fluid indicates contamination and should be flushed.
Important Note: Never open the brake fluid reservoir when the system is hot, as this could cause burns from the hot fluid.
Example: Imagine your car’s brakes as a hydraulic system. The fluid acts like the blood in your body. Low fluid levels or dirty fluid mean this system is not operating correctly.
Q 7. Explain the function of a brake caliper.
The brake caliper is a critical component in a disc brake system. It’s the device that squeezes the brake pads against the rotor, creating friction and slowing or stopping the vehicle.
- Housing the Pads: The caliper securely holds the brake pads and provides a mechanism for applying pressure to them.
- Piston Movement: Hydraulic pressure from the master cylinder forces pistons inside the caliper to push the pads outward against the rotor.
- Friction Generation: The friction between the pads and the rotor converts kinetic energy into heat, slowing the vehicle down.
- Retracting the Pads: When braking ceases, the pistons retract, releasing the pads and allowing the rotor to spin freely.
Example: Think of the caliper as a C-clamp. The pistons are like the screws of the clamp that push the brake pads, the clamp’s jaws, against the rotor.
Q 8. What is the purpose of brake pads?
Brake pads are the friction material that slows your vehicle down. Think of them as the crucial component that creates the stopping power when you press the brake pedal. They’re designed to wear down over time, sacrificing themselves to prevent damage to your rotors or drums.
They’re typically made of a composite material that includes metallic particles, friction modifiers, and binding agents, carefully formulated for optimal friction and wear characteristics. Different formulations exist to cater to different driving styles and conditions, with some prioritizing longevity and others prioritizing aggressive stopping power.
Q 9. How do you identify worn brake pads?
Identifying worn brake pads is crucial for safety. Several indicators signal they need replacement. The most straightforward is visually inspecting the pads themselves. If you can see less than ⅛ inch (about 3mm) of friction material remaining, it’s time for a change.
You might also hear a squealing or grinding noise when braking – a sure sign that the wear indicators (small metal tabs embedded in the pads) are scraping against the rotor or drum. Another indicator is a spongy brake pedal feel, meaning the pads have worn down to the point where they are no longer providing consistent braking pressure.
Finally, a vibration or pulsation in the brake pedal, especially at higher speeds, could also indicate worn brake pads and/or rotor issues.
Q 10. Describe the different types of brake systems.
Several types of brake systems exist, each with its own mechanisms. The most common are:
- Disc Brakes: These utilize calipers that squeeze brake pads against a rotating disc (rotor) attached to the wheel. They are generally known for better heat dissipation and stopping power, especially at high speeds.
- Drum Brakes: These use brake shoes that expand outward against the inner surface of a rotating drum. They are often simpler in design and less expensive but tend to be less effective in wet conditions and can overheat more easily.
- Anti-lock Braking Systems (ABS): This is a safety feature that prevents wheel lockup during braking, improving control and reducing stopping distances. ABS works by rapidly pumping the brakes, allowing the wheels to maintain some rolling motion, providing better steering control.
- Electronic Brakeforce Distribution (EBD): This system automatically adjusts the braking force between the front and rear wheels to optimize stopping distance and prevent skidding, particularly on uneven surfaces. It works in tandem with ABS for enhanced braking control.
Q 11. What are the signs of brake fade?
Brake fade is a reduction in braking effectiveness due to excessive heat. Imagine trying to stop a boiling pot of water by simply grabbing it; it wouldn’t work very well. It’s similar with brakes. When brakes overheat, the friction material loses its effectiveness, and the stopping distance increases significantly.
Signs include a longer than usual braking distance, a soft or spongy brake pedal feel, and a burning smell emanating from the brakes. In severe cases, the brake pedal may even go to the floor with minimal braking effect. Continuous hard braking, especially on steep downhill grades, can lead to brake fade. It’s a serious safety concern and requires immediate attention, including allowing the brakes to cool down if possible.
Q 12. How do you adjust a parking brake?
Adjusting a parking brake (emergency brake) varies depending on the vehicle. Some vehicles have a cable-operated system, while others have a hydraulic system. For cable systems, you’ll usually find an adjustment nut or wheel near the rear brake mechanism. Turning this nut increases or decreases cable tension, tightening or loosening the brakes.
Important Note: Consult your vehicle’s owner’s manual for the precise procedure and location of the adjustment mechanism. Incorrect adjustment can lead to ineffective braking or brake damage. In some newer vehicles, parking brake adjustment is automated and managed by the vehicle’s onboard computer system; these generally don’t require manual adjustment.
Always ensure the parking brake engages firmly and releases smoothly. If you encounter problems, professional assistance might be necessary.
Q 13. Explain the concept of brake bleeding.
Brake bleeding is the process of removing air from the brake lines. Air in the lines compresses under pressure, making the brake pedal feel spongy or soft, and reducing braking effectiveness. Think of it like trying to squeeze toothpaste with air in the tube; you get little to no toothpaste out. It’s essential to remove air and replace it with brake fluid to ensure a firm and reliable pedal.
Air can enter the system during brake repairs, component replacement, or fluid leaks. A properly bled system is vital for safe and effective braking. Failure to bleed can result in inconsistent and unreliable braking.
Q 14. How do you properly bleed a brake system?
Proper brake bleeding requires two people: one to pump the brake pedal and one to open and close the bleeder valve. You’ll need a wrench, a clear tube to collect the fluid, and a container to catch the old fluid. It’s also crucial to use the correct brake fluid specified for your vehicle.
Step-by-Step Process (for a typical system):
- Locate the bleeder valves (usually on the caliper or wheel cylinder).
- Attach the clear tube to the bleeder valve and submerge the other end in the container.
- Have the person pumping the brake pedal several times.
- Open the bleeder valve to release trapped air while the pedal is pressed, then close it before releasing the pedal.
- Repeat steps 3 and 4 until only clean brake fluid flows through the tube with no air bubbles.
- Repeat the process for each wheel, starting with the furthest wheel from the master cylinder and working your way closer.
- After bleeding, check the brake fluid level in the master cylinder reservoir and top it off as needed.
Caution: Brake fluid is corrosive. Wear gloves and eye protection, and avoid getting it on your paint or skin. If you’re uncomfortable performing this procedure, it’s best to take your vehicle to a qualified mechanic.
Q 15. What is the difference between hydraulic and pneumatic brakes?
Hydraulic and pneumatic brakes differ fundamentally in how they transmit force to the wheels. Hydraulic brakes use incompressible liquid (usually brake fluid) to transfer pressure from the master cylinder to the wheel cylinders or calipers, causing the brake pads to clamp onto the rotors. Think of it like squeezing a tube of toothpaste – the pressure is transferred uniformly throughout the fluid. Pneumatic brakes, on the other hand, use compressed air to activate the brakes. Air pressure is used to actuate brake chambers or diaphragms, which then force the brake shoes or pads against the drums or rotors. This system is common in larger vehicles like trucks and buses.
- Hydraulic: Uses brake fluid; Offers consistent and responsive braking; Suitable for most passenger vehicles.
- Pneumatic: Uses compressed air; Often requires an air compressor; Offers powerful braking for heavy vehicles; More complex maintenance.
Imagine a bicycle brake lever. That’s a simple hydraulic system. Now picture a large semi-truck’s braking system – that’s a more complex pneumatic system needing an air compressor to build pressure.
Career Expert Tips:
- Ace those interviews! Prepare effectively by reviewing the Top 50 Most Common Interview Questions on ResumeGemini.
- Navigate your job search with confidence! Explore a wide range of Career Tips on ResumeGemini. Learn about common challenges and recommendations to overcome them.
- Craft the perfect resume! Master the Art of Resume Writing with ResumeGemini’s guide. Showcase your unique qualifications and achievements effectively.
- Don’t miss out on holiday savings! Build your dream resume with ResumeGemini’s ATS optimized templates.
Q 16. What are the common causes of brake noise?
Brake noise is a common issue, often stemming from several sources. Identifying the specific cause requires careful investigation. Common causes include:
- Worn brake pads: As pads wear down, metal-to-metal contact can create squealing or grinding noises.
- Contaminated brake pads or rotors: Oil, grease, or other contaminants on brake surfaces can lead to noise and reduced braking performance.
- Loose or worn brake hardware: Loose clips, pins, or other components can rattle or vibrate, generating noise.
- Warped brake rotors: Overheating can warp rotors, causing a pulsating or grinding feel and sound during braking.
- Rust or corrosion: Build-up of rust on brake components can create friction and noise.
- Stone or debris trapped in brake caliper: Foreign objects lodged between the pad and rotor are a common source of noises.
Q 17. How do you diagnose brake squeal?
Diagnosing brake squeal involves a systematic approach. First, identify when the squeal occurs (e.g., only when braking lightly, at higher speeds, or always). This helps narrow down potential causes. Next, visually inspect the brake components for wear, damage, or contamination. Pay close attention to the brake pads, rotors, and hardware. Listen carefully to pinpoint the location of the squeal, which can help determine the faulty component. If the squeal is only present when braking lightly, the issue might be the brake pads rubbing against the rotor due to improper adjustment or wear patterns. A persistent high-pitched squeal could indicate metal-to-metal contact due to severely worn pads. Sometimes the squeal can be related to the caliper itself or its mounting hardware. A thorough inspection often reveals the root cause.
Q 18. How do you identify a leaking brake cylinder?
Identifying a leaking brake cylinder requires careful observation and, sometimes, specialized tools. Look for visible signs of brake fluid leakage around the wheel cylinder or caliper. This might appear as a wet or oily spot on the brake assembly. You can also check the brake fluid reservoir; a significant drop in fluid level may indicate a leak. Another method is to carefully inspect the brake lines and hoses connecting to the cylinder for any damage or leaks. A pressure test with a specialized brake system pressure tester can confirm the presence and location of a leak, ensuring a much more accurate diagnosis. Always remember safety procedures when working on the brake system.
Q 19. Explain the importance of proper brake adjustment.
Proper brake adjustment is paramount for safe and efficient braking. It ensures that the brakes engage correctly at the right moment and with the right force, providing optimal stopping power and responsiveness. Improper adjustment can lead to inconsistent braking, increased stopping distances, and excessive wear on brake components. Properly adjusted brakes ensure that brake pads or shoes make even contact with the friction surface, reducing uneven wear and extending the lifespan of the braking system. Imagine driving with brakes that engage too slowly or too forcefully – the consequences could be catastrophic.
Q 20. What are the consequences of improperly adjusted brakes?
Improperly adjusted brakes pose significant safety risks. Consequences include:
- Increased stopping distances: Brakes that engage too late or weakly increase the distance needed to stop, significantly impacting safety.
- Uneven brake wear: One wheel braking harder than others can lead to accelerated wear and premature failure of brake components, resulting in uneven braking capabilities.
- Reduced braking effectiveness: Insufficient braking force can render the vehicle unable to stop adequately in emergency situations.
- Brake fade: Overheating due to inefficient braking can lead to brake fade, where the braking ability diminishes under stress.
- Excessive brake noise and vibration: Uneven contact between brake pads and rotor or drums causes uncomfortable squealing or vibration.
In extreme cases, improperly adjusted brakes can lead to complete brake failure, resulting in a dangerous accident.
Q 21. Describe the different types of brake rotors.
Brake rotors are the discs that the brake pads clamp onto to slow the vehicle. Several types exist:
- Solid rotors: These are simple, one-piece rotors made from cast iron or steel. They are cost-effective but can be prone to warping from overheating.
- Ventilated rotors: These rotors have internal vanes or fins to improve cooling and dissipate heat more effectively. This reduces the likelihood of warping and brake fade.
- Cross-drilled rotors: Holes are drilled through the rotor to improve cooling and help remove gases and debris from the pad surface. However, drilling can weaken the rotor structure.
- Slotted rotors: Slots are cut into the rotor surface to aid in cooling and improved brake pad bite.
- Dimpled rotors: Small dimples are stamped onto the rotor face to achieve similar results to slotted rotors, offering a compromise between cooling performance and rotor integrity.
The choice of rotor depends on the vehicle’s application and performance requirements. High-performance vehicles often benefit from ventilated, slotted, or dimpled rotors, while standard vehicles usually use solid or ventilated rotors.
Q 22. How do you inspect brake rotors for wear?
Inspecting brake rotors for wear involves a visual check and sometimes the use of a caliper. Visually, look for scoring, grooves, excessive rust, or cracking on the rotor’s friction surface. These imperfections can reduce braking effectiveness and cause vibrations. Scoring is often caused by worn brake pads, while grooves indicate uneven wear. Excessive rust suggests neglect and potential corrosion. Cracking can be a sign of severe heat damage or fatigue. Using a caliper, measure the rotor thickness. The manufacturer specifies a minimum thickness; if the rotor is thinner than this minimum, it needs replacement to ensure consistent braking performance and prevent damage to the caliper.
For example, imagine you’re inspecting a rotor and you notice deep scoring across its surface. This indicates that the previous brake pads were likely severely worn, causing the pads to dig into the rotor. This rotor needs replacement to ensure safe braking.
Q 23. What are the symptoms of low brake fluid?
Low brake fluid is a serious issue. The most obvious symptom is a low fluid level in the master cylinder reservoir. However, low fluid is usually a symptom of a larger problem, not the problem itself. Other symptoms might include a spongy or soft brake pedal (the pedal goes almost to the floor), a hard brake pedal (the pedal is difficult to press), a brake warning light illuminated on the dashboard, and uneven braking performance. If you notice any of these, immediately check your brake fluid level. A low level indicates a leak somewhere in the system – a brake line, caliper, wheel cylinder or master cylinder. It’s crucial to address this immediately because it dramatically compromises braking ability.
For instance, a spongy brake pedal often means air is in the brake lines, suggesting a leak somewhere has let air into the system. It needs immediate attention by a professional to bleed the brakes and locate the source of the leak.
Q 24. What is the role of the master cylinder in a braking system?
The master cylinder is the heart of your braking system. When you press the brake pedal, it pushes the piston in the master cylinder. This creates hydraulic pressure that pushes the brake fluid through the brake lines to the wheel cylinders or calipers. The master cylinder amplifies the force you apply to the brake pedal, translating it into sufficient pressure to stop your vehicle. It’s essentially a hydraulic pump that ensures equal pressure distribution to all four wheels (or all brakes in the system). A faulty master cylinder can lead to complete brake failure, so regular inspection and maintenance are vital.
Think of it like this: your foot is the input, the master cylinder is the amplifier, and the brake fluid is the messenger delivering power to the brakes at each wheel.
Q 25. Explain the concept of brake pressure.
Brake pressure is the hydraulic force exerted by the brake fluid within the braking system. This pressure is generated by the master cylinder when the brake pedal is depressed and is directly proportional to the force applied to the pedal. The higher the pressure, the stronger the clamping force exerted by the brake pads onto the rotors or drums, resulting in greater braking power. The pressure is distributed evenly (ideally) to all wheels, enabling balanced braking and preventing skidding. Brake pressure is crucial for safe and effective stopping.
Imagine squeezing a toothpaste tube: the force of your squeeze is analogous to brake pedal pressure, and the toothpaste coming out represents the brake fluid pressure acting on the brakes.
Q 26. How do ABS brakes work?
Anti-lock Braking Systems (ABS) prevent wheel lockup during hard braking. ABS uses wheel speed sensors to monitor each wheel’s rotation. If a wheel starts to lock up (stop rotating), the ABS system rapidly pumps the brakes, momentarily releasing and reapplying pressure to that specific wheel. This pulsing action maintains tire contact with the road surface, allowing the driver to maintain steering control during an emergency stop, preventing a skid.
Think of it like this: instead of a continuous, solid application of brakes, ABS applies the brakes in short bursts to prevent a complete loss of traction and steerability.
Q 27. How do you inspect brake lines for leaks?
Inspecting brake lines for leaks involves a thorough visual inspection and sometimes a pressure test. Start by carefully examining all brake lines, paying close attention to connections, bends, and areas where the lines might rub against other components. Look for any signs of corrosion, damage, or fluid leakage. Wet spots, rust stains, or bubbling paint are tell-tale signs. A pressure test is more definitive; it involves pressurizing the brake system and observing for pressure drops indicating leaks. Pay particular attention to areas prone to damage from road debris or corrosion.
For example, if you notice a rusty patch on a brake line near a wheel well, this is a serious concern and requires immediate attention. You should not drive the vehicle until the issue has been thoroughly inspected and repaired.
Q 28. Describe the function of a brake booster.
The brake booster is a vacuum-assisted device that reduces the effort required to stop a vehicle. It uses engine vacuum to multiply the force applied to the brake pedal. When you depress the brake pedal, the booster uses engine vacuum to assist the master cylinder, significantly reducing the amount of force you need to exert. This makes braking easier, especially in emergency situations.
Think of it as a mechanical helper for your foot. It significantly reduces the effort you need to put in to stop your car, enhancing safety and driver comfort.
Key Topics to Learn for Brake Adjustment Interview
- Fundamentals of Brake Systems: Understanding different brake types (disc, drum, ABS), their components, and basic operating principles.
- Brake Adjustment Procedures: Mastering the practical steps involved in adjusting various brake systems, including proper torque specifications and safety precautions.
- Troubleshooting Brake Issues: Identifying common brake problems (e.g., squealing, pulling, spongy pedal), diagnosing their root causes, and implementing effective solutions.
- Brake System Diagnostics: Utilizing diagnostic tools and techniques to assess brake system performance and identify malfunctions accurately.
- Safety Regulations and Compliance: Understanding relevant safety standards and regulations concerning brake adjustment and maintenance.
- Hydraulic Systems and Fluid Management: Knowledge of brake fluid properties, bleeding procedures, and the importance of maintaining proper fluid levels.
- Wear Indicators and Replacement Criteria: Recognizing signs of brake pad or rotor wear and understanding when replacement is necessary.
- Practical Application: Understanding how theoretical knowledge translates into real-world scenarios, including different vehicle types and brake system designs.
- Problem-Solving Methodology: Developing a systematic approach to troubleshooting brake system issues, using a logical and methodical process.
Next Steps
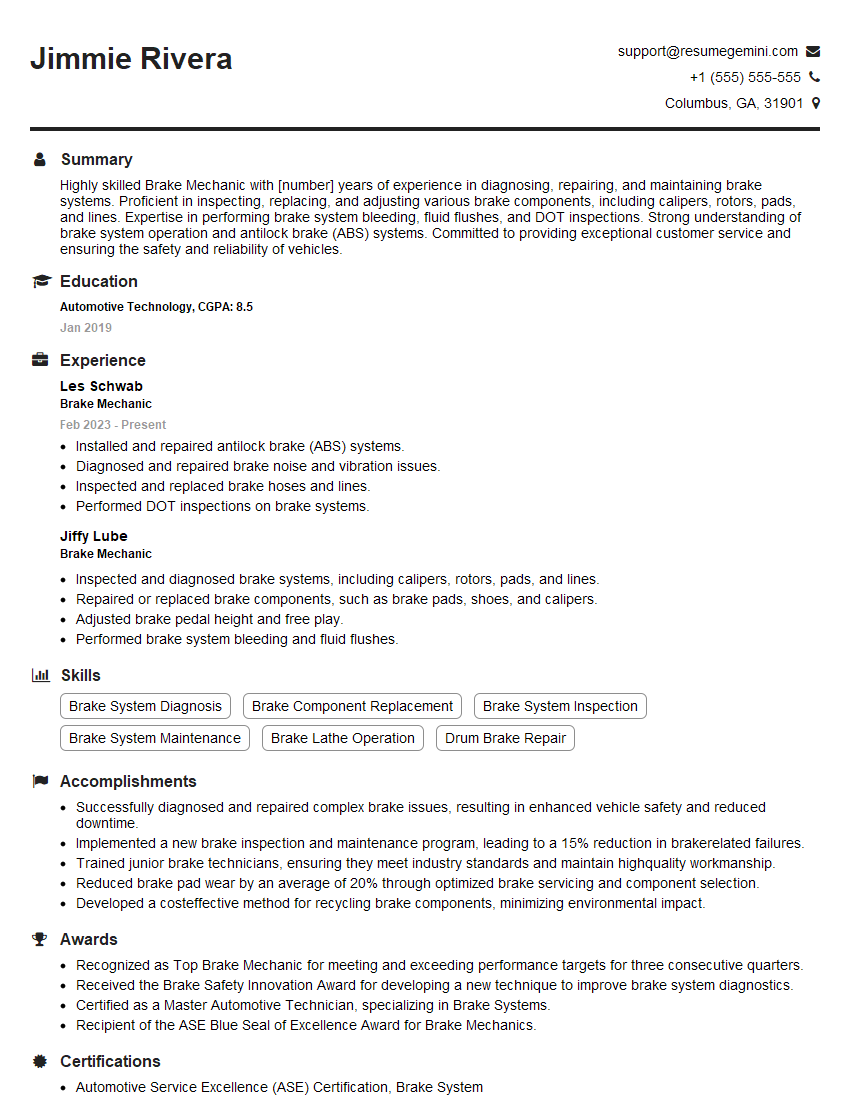
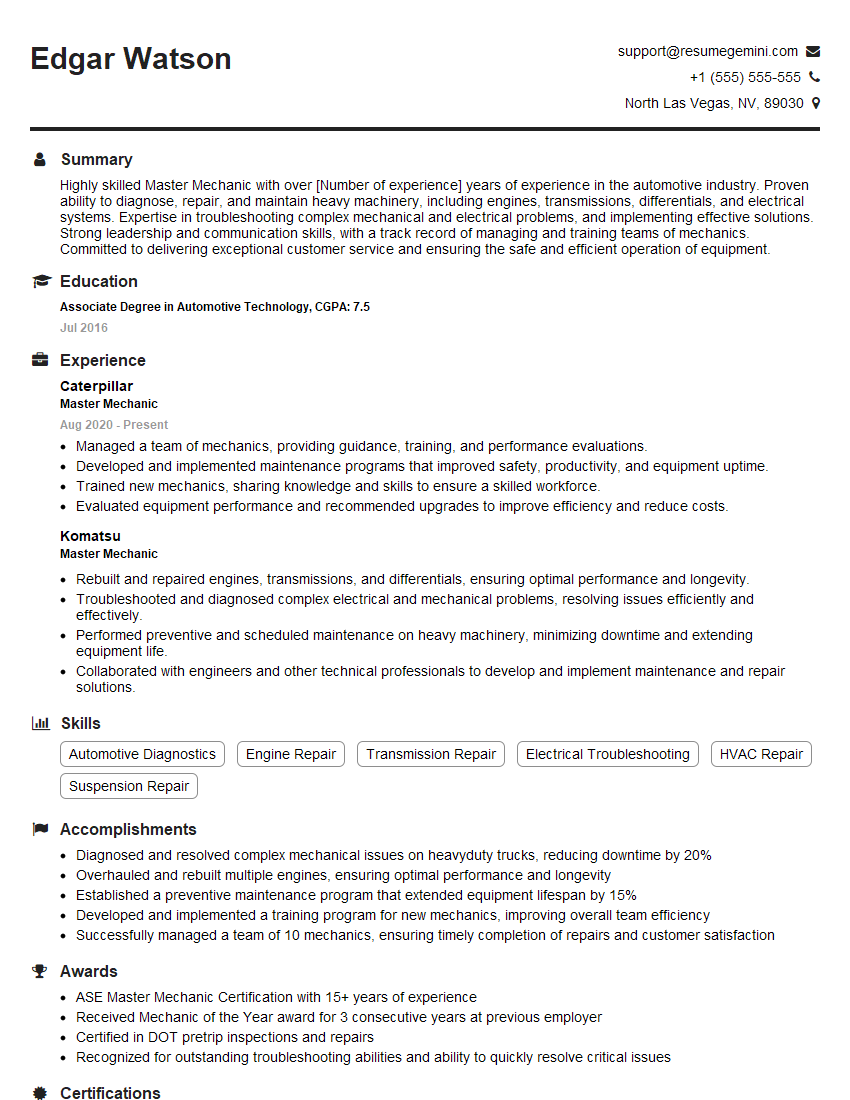
Mastering brake adjustment is crucial for career advancement in automotive maintenance and repair. A strong understanding of this area demonstrates technical proficiency and a commitment to safety, making you a highly valuable asset to any team. To maximize your job prospects, focus on crafting an ATS-friendly resume that highlights your skills and experience effectively. ResumeGemini is a trusted resource that can help you build a professional and impactful resume. We provide examples of resumes tailored specifically to brake adjustment roles to help you get started. Invest time in refining your resume; it’s your first impression on potential employers.
Explore more articles
Users Rating of Our Blogs
Share Your Experience
We value your feedback! Please rate our content and share your thoughts (optional).
What Readers Say About Our Blog
Hi, I’m Jay, we have a few potential clients that are interested in your services, thought you might be a good fit. I’d love to talk about the details, when do you have time to talk?
Best,
Jay
Founder | CEO
