Are you ready to stand out in your next interview? Understanding and preparing for Leveling and Topography interview questions is a game-changer. In this blog, we’ve compiled key questions and expert advice to help you showcase your skills with confidence and precision. Let’s get started on your journey to acing the interview.
Questions Asked in Leveling and Topography Interview
Q 1. Explain the difference between leveling and profiling.
Leveling and profiling are both surveying techniques used to determine elevations, but they differ in their scope and purpose. Leveling focuses on determining the difference in elevation between two or more points with high precision. It’s like finding the exact height difference between two floors in a building. Profiling, on the other hand, involves determining the elevation of a series of points along a line, creating an elevation profile. This is like creating a detailed height chart of a hiking trail, showing ups and downs.
In essence, leveling is a tool often used *within* profiling. Profiling requires multiple leveling operations to create the complete elevation profile.
Q 2. Describe the process of setting up a level.
Setting up a level involves several crucial steps to ensure accurate readings. First, you need to choose a stable, level location for the instrument. Think of it like finding a perfectly flat spot on a table to set your measuring equipment. Then, you carefully level the instrument using the built-in leveling screws and a circular bubble level. This ensures the instrument’s line of sight is truly horizontal. Once the bubble is centered, you can proceed to take readings.
Many modern levels have automatic leveling capabilities, simplifying this process, but careful checks are always necessary. Incorrect leveling will significantly impact the accuracy of your measurements. Finally, selecting a suitable location considering sight distances for efficient working is important.
Q 3. How do you calculate elevation differences using a level?
Elevation differences are calculated using the readings taken from the level. The process typically involves setting up the instrument at a central location and taking backsight (BS) readings (reading from a point of known elevation) and foresight (FS) readings (reading from points of unknown elevation). The difference between the BS and FS readings, along with the known elevation, gives you the unknown elevations.
For example: If the known elevation of a benchmark (a point of known elevation) is 100.00 meters, and you take a backsight reading of 1.50 meters, and then take a foresight reading of 2.00 meters at point A, the elevation of point A is calculated as follows: 100.00 m + 1.50 m – 2.00 m = 99.50 m.
Q 4. What are the common sources of error in leveling?
Several factors can introduce errors in leveling. Instrumental errors can arise from the level itself, such as collimation errors (the line of sight isn’t perfectly horizontal) or imperfections in the level’s mechanism. Personal errors are common and often caused by incorrect reading of the rod, improper leveling, or mistakes in recording data. This is why teamwork and double-checking are crucial.
Natural errors stem from environmental factors like curvature of the Earth and atmospheric refraction (bending of light). Finally, Target errors can occur due to incorrect positioning or reading of the leveling rod.
Q 5. How do you correct for curvature and refraction in leveling?
Curvature and refraction cause the line of sight to deviate from a true horizontal plane, leading to errors in elevation measurements. While we cannot entirely eliminate these effects, we can correct for them. Curvature correction is accounted for using a formula that considers the distance of the sight. Similarly, refraction correction considers the bending of light rays due to changes in atmospheric density. These corrections are usually small for shorter sights but increase significantly over longer distances. These corrections are frequently incorporated into modern surveying software.
In practice, minimizing sight distances helps reduce these errors, but for longer distances, applying the corrections is essential for high accuracy.
Q 6. Explain the different types of leveling instruments.
Leveling instruments vary in design and precision. Dumpy levels are the simplest, using a telescope mounted on a leveling head. They are sturdy but less precise. Automatic levels use a compensator to automatically level the line of sight, significantly speeding up the process and reducing operator error. These are widely used in construction and engineering.
Tilting levels allow for a small amount of tilting for fine adjustments, offering increased precision. Digital levels incorporate electronic sensors for direct digital reading, eliminating the need for manual rod readings and providing increased accuracy and data logging capabilities.
Q 7. What are the principles of topographic surveying?
Topographic surveying aims to create a detailed representation of the Earth’s surface, including its relief (shape and elevation), natural and man-made features. The core principle involves determining the three-dimensional coordinates (X, Y, Z or Easting, Northing, Elevation) of numerous points across a given area.
This is achieved using a combination of techniques including leveling, traversing (measuring horizontal distances and angles), and often employing specialized equipment like Total Stations or GPS receivers. The data is then processed and used to create contour maps, digital elevation models (DEMs), and other visualizations showcasing the terrain’s complexities. This information is crucial in planning infrastructure projects, land development, and environmental management.
Q 8. Describe the methods used for creating contour lines.
Contour lines are imaginary lines connecting points of equal elevation on the Earth’s surface. Creating them involves several methods, all reliant on determining the elevation of numerous points across the area of interest. The most common methods are:
- Direct Method (Leveling): This involves using a level and staff to precisely measure the elevation of points across the terrain. These points are then plotted on a map, and contour lines are interpolated between them. Imagine it like connecting dots, but the dots represent elevation. The denser the points, the more accurate the contours.
- Indirect Method (Photogrammetry): This utilizes overlapping aerial photographs or drone imagery. Specialized software analyzes the images to create a 3D model of the terrain, from which contour lines can be extracted. Think of it as reconstructing the terrain from multiple pictures, revealing its ups and downs.
- Total Station Method: A total station, a sophisticated surveying instrument, measures distances and angles to determine the three-dimensional coordinates of points. This data is then used to generate a digital terrain model (DTM), and contour lines are derived from the DTM. This method combines precision distance measurements with angles, creating a very accurate representation.
- LiDAR (Light Detection and Ranging): This technology uses laser pulses to measure distances to the ground. The vast amounts of elevation data collected allow for highly accurate and dense contour lines, particularly useful for large areas and complex terrain. It’s like a super-powerful laser scanner creating a detailed 3D image.
Regardless of the method, the key is obtaining sufficient data points to accurately represent the terrain’s shape and avoid distortions. The spacing between contour lines depends on the scale of the map and the terrain’s complexity.
Q 9. How do you determine the scale of a topographic map?
The scale of a topographic map shows the relationship between the distance on the map and the corresponding distance on the ground. It’s typically represented as a ratio (e.g., 1:50,000 or 1:24,000) or a representative fraction (RF). This means that 1 unit on the map represents 50,000 or 24,000 units on the ground, respectively. For example, 1cm on a 1:50,000 map represents 50,000cm (500m) on the ground.
You can determine the scale by looking for the scale bar usually present on the map. This bar has marked distances that directly correspond to real-world distances. Alternatively, if the scale is given as a ratio, you can use this information directly. The smaller the scale denominator (the second number in the ratio), the larger the scale and the more detailed the map will be. A large scale map (like 1:1000) shows a smaller area in more detail. A small scale map (like 1:1,000,000) shows a vast area but with less detail.
Q 10. What are the different types of contour intervals?
The contour interval is the vertical distance between adjacent contour lines on a topographic map. It’s crucial for understanding the relief (elevation changes) of the terrain. The choice of contour interval depends on the scale of the map and the ruggedness of the terrain.
- Uniform Contour Interval: The most common type, where the vertical distance between consecutive contour lines remains constant across the entire map. This makes it easy to read and interpret elevation changes.
- Variable Contour Interval: Used in areas with drastically changing relief. For example, a steeper slope might have a smaller interval between contour lines, while a gentler slope might have a larger interval. This helps to depict subtle changes in elevation more clearly in areas with gentle slopes and accurately portray steep slopes.
- Supplementary Contour Lines: These are lines drawn at half the interval of the main contour lines, providing more detailed elevation information in specific areas. Think of them as extra lines to clarify elevation in complex terrain. They often have a dashed or thinner line style to differentiate them from the main contour lines.
Selecting the appropriate contour interval is crucial for clarity and accuracy. Too large an interval obscures subtle changes, while too small an interval can lead to map clutter.
Q 11. Explain the concept of benchmarks in surveying.
Benchmarks are permanently marked points of known elevation established by surveying. They serve as reference points for leveling and other surveying activities. They’re essentially fixed points with known heights, allowing surveyors to tie their measurements to a reliable vertical datum.
Benchmarks are crucial for several reasons:
- Vertical Control: They provide a stable and accurate vertical reference for all subsequent leveling and survey work in a project.
- Accuracy Check: They can be used to check the accuracy of leveling measurements. By revisiting a benchmark, any accumulated errors during leveling can be identified and rectified.
- Long-Term Reference: They serve as a long-term reference for future surveying projects in the same area.
Benchmarks can be established using precise leveling techniques and are typically marked with a brass plate or other durable marker, often indicating their elevation and a unique identification number. They’re critical for establishing and maintaining the vertical accuracy of maps and other geospatial data.
Q 12. How do you establish a control network for a topographic survey?
Establishing a control network is essential for accurate topographic surveys. This network consists of a series of precisely located points with known coordinates (both horizontal and vertical). These points form a framework to which all other survey measurements are tied, ensuring accuracy and consistency throughout the survey area. The process usually involves:
- Planning: Determining the required accuracy, extent of the survey area and terrain complexity informs the design of the control network. The denser the network, the better control is achieved.
- Reconnaissance: A site visit to select suitable locations for control points. Ideal locations are easily accessible, provide good visibility and are likely to remain stable over time. Imagine selecting points that are both visible from many positions and unlikely to be moved.
- Establishment: Control points are physically marked and their positions are determined using high-precision techniques such as GPS, total stations or triangulation. Triangulation employs measuring angles between known points to pinpoint unknown ones. This approach builds a chain of interconnected points.
- Computation and Adjustment: The coordinates of the control points are computed using specialized software. This process includes error adjustment to ensure the best possible accuracy.
The control network’s accuracy influences the overall accuracy of the topographic survey. A well-designed and precisely established network is fundamental to a successful topographic survey.
Q 13. Describe the process of conducting a detail survey.
A detail survey involves collecting precise information about the features within the area defined by the control network. This includes the location and characteristics of natural and man-made features. The process typically involves:
- Fieldwork: This is where surveyors use instruments such as total stations, GPS receivers, and levels to measure the position and elevation of features like buildings, roads, trees, and streams. The method selected depends on the required accuracy and complexity of the survey area.
- Data Recording: All measurements are carefully recorded and field notes are maintained. This documentation needs to be extremely thorough and organized.
- Data Processing: This involves editing and transforming the field data into a usable format. For example, raw GPS readings might require processing to correct for atmospheric and other errors.
- Mapping: The processed data is used to create a topographic map or a 3D model, providing a detailed visual representation of the surveyed area. Computer-aided drafting (CAD) software is often used for this stage.
Detail surveys are critical for various applications, such as urban planning, construction, engineering projects, and environmental assessments, providing a factual base for decision-making.
Q 14. What are the applications of GPS in topographic surveying?
GPS (Global Positioning System) technology has revolutionized topographic surveying, providing several key applications:
- Control Point Establishment: GPS receivers are used to precisely determine the coordinates of control points in the control network. High-precision GPS techniques, like Real-Time Kinematic (RTK), achieve centimeter-level accuracy.
- Detail Surveying: GPS can be used to efficiently locate and measure the positions of features, accelerating the detail survey process. It is particularly beneficial in large areas where traditional methods would be time-consuming.
- Mapping and Modeling: The vast quantities of positional data gathered through GPS are integrated into Geographic Information Systems (GIS) and used to create detailed maps and 3D models of terrain. This data provides significant information about elevation and geographical features.
- Monitoring and Deformation Detection: GPS can monitor movements of features over time, providing valuable data for tasks such as landslide monitoring and infrastructure stability assessment.
While GPS is incredibly valuable, it’s essential to consider its limitations, such as signal blockage by obstacles or atmospheric effects. Combining GPS with other surveying techniques often optimizes accuracy and efficiency.
Q 15. Explain the difference between precision and accuracy in surveying.
In surveying, accuracy and precision are distinct but equally important concepts. Accuracy refers to how close a measurement is to the true value. Think of it like hitting the bullseye on a dartboard – the closer your darts are to the center, the more accurate you are. Precision, on the other hand, refers to how close repeated measurements are to each other. This is like consistently hitting the same spot on the dartboard, even if that spot isn’t the bullseye. You can have high precision but low accuracy (all darts clustered tightly but far from the center), high accuracy but low precision (darts scattered around the bullseye but averaging to the center), high accuracy and high precision (all darts clustered tightly around the bullseye), or low accuracy and low precision (darts scattered everywhere).
For example, if the true elevation of a point is 100.00 meters, an accurate measurement might be 100.02 meters, while a precise measurement might be consistently reading 100.50 meters, 100.51 meters, and 100.52 meters over repeated readings. Both are crucial in surveying; high precision increases the confidence in the consistency of your data, while high accuracy ensures your measurements reflect the true reality.
Career Expert Tips:
- Ace those interviews! Prepare effectively by reviewing the Top 50 Most Common Interview Questions on ResumeGemini.
- Navigate your job search with confidence! Explore a wide range of Career Tips on ResumeGemini. Learn about common challenges and recommendations to overcome them.
- Craft the perfect resume! Master the Art of Resume Writing with ResumeGemini’s guide. Showcase your unique qualifications and achievements effectively.
- Don’t miss out on holiday savings! Build your dream resume with ResumeGemini’s ATS optimized templates.
Q 16. How do you handle discrepancies in survey data?
Discrepancies in survey data are inevitable, arising from various error sources. My approach involves a systematic investigation. Firstly, I’d review the fieldwork procedures to identify any potential mistakes, such as incorrect instrument setup or reading errors. Secondly, I’d analyze the data for outliers, which are measurements significantly different from the rest. These outliers might be due to blunders (human errors) or gross errors (instrument malfunction). I would investigate the cause of any outlier and potentially reject it if deemed unreliable. Finally, for smaller discrepancies, I might employ statistical analysis, such as least squares adjustment, to determine the most probable values based on all available data. This process uses mathematical models to distribute the errors across all measurements, obtaining a consistent and more reliable dataset.
For instance, if I’m working on a boundary survey and find a significant discrepancy between my measurements and existing records, I will revisit the site to perform a detailed re-survey, checking for any mistakes in my original measurement or potential changes in the terrain. If I cannot find an explanation for the discrepancy, I might consult with other surveyors or experts to reach a reliable conclusion. Thorough documentation of the investigation and resolution process is key.
Q 17. Describe the different types of survey errors and how to minimize them.
Survey errors can be broadly classified into systematic errors, random errors, and blunders. Systematic errors are consistent and predictable, arising from factors like instrument maladjustment (e.g., a level not perfectly leveled), temperature variations affecting measuring tapes, or using an outdated datum. These errors can be minimized through careful calibration and instrument maintenance, using appropriate correction factors (like temperature corrections for tape measurements), and implementing standardized procedures. Random errors are unpredictable, small variations caused by factors like human limitations in reading instruments or environmental fluctuations. These can be minimized by repeating measurements multiple times and averaging the results. Blunders are gross mistakes, often resulting from human error or equipment malfunction, such as misreading a scale or recording data incorrectly. These are often detected through data analysis and thorough quality checks.
Consider the example of using a total station. Systematic error could arise from an incorrectly calibrated instrument. Random errors might be observed in the angle measurements due to slight vibrations or human error while reading the instrument. A blunder might be recording the wrong angle entirely or failing to properly target the survey point.
Q 18. What software are you familiar with for processing survey data?
I’m proficient in several software packages for processing survey data. My experience includes AutoCAD Civil 3D for design and drafting, and ArcGIS for geographic information system (GIS) analysis and spatial data management. I also have extensive experience with industry-standard surveying software such as Leica GeoOffice, Trimble Business Center, and Carlson Survey. These packages allow me to perform various tasks including data import and export, coordinate transformations, surface modeling, volume calculations, and error analysis, enabling me to manage and interpret survey data effectively. Each software package has its strengths, and the choice often depends on the project’s specific needs and the data format used.
Q 19. Explain your experience with data collection techniques.
My experience encompasses a range of data collection techniques, including traditional methods like traversing and leveling using theodolites and levels, and modern techniques utilizing GPS/GNSS receivers and total stations. I’m proficient in both static and RTK (Real-Time Kinematic) GPS surveying, understanding the advantages and limitations of each approach. I’m also experienced in using digital level instruments, which automatically record readings, improving efficiency and reducing human errors. I’ve worked on projects requiring both high-precision control surveys and large-scale topographic surveys, adapting my techniques based on the project requirements and the terrain conditions. For example, in a dense urban area, RTK GPS would likely be a more efficient method for data collection than traditional traversing.
Q 20. How do you ensure the quality control of survey data?
Quality control of survey data is paramount. My approach involves a multi-layered system. First, I conduct rigorous fieldwork checks, including instrument calibration and double-checking measurements. Secondly, I perform thorough data validation and analysis within the chosen software package, looking for outliers or inconsistencies. Thirdly, I utilize independent checks, such as comparing my data to existing maps or plans, and verifying the closure errors of traverses and levels. Finally, I maintain detailed field notes and documentation, which serves as an audit trail for the entire survey process. A specific example would be comparing the measured lengths and angles of a closed traverse loop to see how closely the loop closes, which helps identify any significant errors. Any discrepancy that cannot be easily explained would trigger a revisit to the location to re-measure and ensure the accuracy of the data.
Q 21. Describe your experience with different surveying instruments.
My experience includes working with a variety of surveying instruments, including total stations (Leica, Trimble, Sokkia), GPS/GNSS receivers (Trimble, Leica), digital levels, and traditional optical levels. I’m comfortable with both the operation and maintenance of these instruments. I understand the principles of operation and the inherent limitations of each instrument, and I can select the most appropriate instrument for a given project based on the accuracy requirements and site conditions. For instance, while a total station provides high accuracy for precise detail surveys, a less expensive level might suffice for a simpler leveling task. The choice is driven by factors such as budget, project specifications, and the nature of the terrain.
Q 22. What safety procedures do you follow on a survey site?
Safety is paramount on any survey site. My approach is proactive and multi-layered, beginning with a thorough site assessment before any fieldwork. This includes identifying potential hazards like uneven terrain, overhead power lines, underground utilities, and traffic conditions. I then implement appropriate control measures, such as using high-visibility clothing, setting up warning signs and barriers, ensuring adequate lighting, and employing spotters when working near traffic or in blind spots.
Communication is key. Before starting work, I conduct a safety briefing with the team, highlighting the identified risks and the safety procedures we’ll be following. We always have readily available first-aid supplies and emergency contact information. I strictly enforce the use of Personal Protective Equipment (PPE), including safety helmets, high-visibility vests, safety boots, and eye protection. After the fieldwork, we always perform a thorough equipment check and site cleanup to prevent accidents and maintain a safe environment.
For example, on a recent project near a busy highway, we implemented a traffic management plan, coordinating with local authorities to ensure the safety of both our team and the public. This included flaggers directing traffic, establishing clear work zones, and using appropriately sized warning signs. Proactive safety measures are not just a procedure, they are fundamental to ensuring a successful and injury-free project.
Q 23. How do you interpret survey drawings and plans?
Interpreting survey drawings and plans involves a systematic approach that combines understanding the conventions and symbology used, with spatial reasoning and a deep knowledge of surveying principles. I begin by carefully reviewing the title block, noting the project name, date, scale, north arrow, and the names of the surveyors and engineers involved. This provides crucial contextual information.
Next, I analyze the plan’s various elements: contours, spot elevations, property boundaries, easements, and any other relevant features. Understanding contour lines is crucial; I interpret their spacing and pattern to visualize the terrain’s slope and elevation changes. Spot elevations provide precise height measurements at specific points, helping me refine the understanding of the terrain’s undulation. I also look for key features like benchmarks, which act as vertical control points, ensuring accuracy.
Then I check for any annotations, notes, or references to other documents that might provide further clarifications. For example, a note indicating the presence of underground utilities would be crucial for excavation planning. The understanding of scales and coordinate systems is also important for translating the drawing to real-world distances and locations. If any discrepancies or ambiguities are found, I proactively seek clarification from the project engineer or lead surveyor.
Q 24. Describe your experience with different types of terrain.
My experience encompasses a wide range of terrains, from flat, open areas to challenging mountainous regions and densely forested environments. Working in flat terrains, such as agricultural fields, is relatively straightforward, often involving simpler survey techniques. The main challenge here is maintaining accuracy over long distances, which necessitates careful instrument calibration and meticulous data processing.
In hilly and mountainous regions, however, the challenges increase significantly. I have experience using techniques like three-dimensional surveying and GPS to accurately measure elevations and distances in these complex environments. Steep slopes, uneven surfaces, and limited visibility require careful planning and the selection of appropriate surveying instruments and techniques. For instance, I’ve used robotic total stations in situations with limited line-of-sight, allowing for remote measurement and data collection.
Working in densely forested areas requires overcoming the challenges of obstructed visibility. Here, careful clearing of vegetation – within safety regulations – and the use of advanced GPS techniques become crucial. I’ve even had to adapt to working in urban environments with restricted access and heavy traffic, demanding creative solutions and a high level of coordination.
Q 25. Explain your problem-solving skills in a challenging surveying situation.
During a recent project, we encountered unexpected underground utilities that were not indicated on the existing plans. This posed a significant challenge as it could have compromised the integrity of the proposed construction and created safety hazards. My problem-solving approach involved several steps.
First, I immediately halted the fieldwork to prevent any damage to the utilities. Then, I contacted the relevant utility companies to confirm the location and nature of the discovered utilities. While waiting for their response, I utilized ground-penetrating radar (GPR) to further investigate the subsurface conditions, creating a more precise map of the utilities’ location.
Once we received confirmation from the utility companies, I worked with the project engineer to revise the design to accommodate the unexpectedly discovered utilities, minimizing disruption to the overall project timeline and budget. This situation highlighted the importance of thorough site investigation, proactive risk assessment, and the ability to adapt quickly to unforeseen circumstances. Effective communication with all stakeholders was key to resolving this issue swiftly and safely.
Q 26. How do you manage your time effectively on a survey project?
Effective time management on a survey project involves meticulous planning and execution. It begins with a thorough understanding of the project scope, objectives, and deliverables. I create a detailed work plan, breaking down the project into smaller, manageable tasks with realistic timelines. This plan includes allocating time for site preparation, data collection, data processing, report writing, and quality control checks.
I utilize project management software to track progress, manage resources, and identify potential delays. Regular meetings with the team help to identify and address any emerging issues promptly. Prioritizing tasks based on their importance and urgency is crucial. For example, tasks critical to maintaining the project timeline are prioritized over less urgent ones. I also make sure to include buffer time in the schedule to accommodate unforeseen challenges or delays.
Regular review of the schedule ensures that we remain on track. If any unforeseen delays occur, I assess the impact and implement corrective actions to minimize disruption. Continuous communication with the client ensures alignment with their expectations and prevents unnecessary delays caused by misunderstandings. Proactive time management and efficient workflow are essential for project success and client satisfaction.
Q 27. How do you communicate effectively with clients and colleagues?
Effective communication is central to my work. With clients, I prioritize clear, concise, and easily understandable explanations of technical concepts. I utilize visual aids such as maps, diagrams, and 3D models to enhance understanding and engagement. I ensure that all project updates are communicated promptly and transparently, keeping clients informed of progress, challenges, and any necessary adjustments to the project plan.
With colleagues, open and honest communication is key. I actively participate in team discussions, sharing my expertise and actively listening to others’ perspectives. I encourage a collaborative environment where everyone feels comfortable sharing their ideas and concerns. During fieldwork, clear and concise communication is essential for safety and efficiency. I use standard communication protocols, such as radio communication, to ensure coordination among team members.
For instance, when presenting a project report to a client, I present the data in a non-technical way, focusing on the implications for the client’s project, rather than getting bogged down in technical details. This ensures they understand the findings and their significance to their goals. Clear and proactive communication helps build trust and ensures project success.
Q 28. Describe your experience working in a team environment.
I thrive in team environments. My experience includes working on diverse teams, ranging from small, specialized crews to larger, multi-disciplinary project teams. I’m comfortable taking on both leadership roles and collaborative roles, depending on the project’s needs. I believe that strong teamwork depends on mutual respect, open communication, and a shared commitment to achieving common goals.
I’m skilled at delegating tasks effectively, matching individuals’ strengths to the task at hand. I also provide constructive feedback and support to my team members, fostering a positive and productive working environment. I am adept at conflict resolution, ensuring that disagreements are addressed in a professional and constructive manner, focusing on finding solutions that benefit the project as a whole.
For example, on a recent large-scale project, we divided our tasks logically, with one team concentrating on data collection while another focused on data processing. This division of labour, along with clear communication protocols, allowed us to complete the project efficiently and meet the strict deadline. Teamwork is not just about working together; it’s about leveraging each individual’s strengths to achieve collective success.
Key Topics to Learn for Leveling and Topography Interview
- Fundamentals of Leveling: Understanding different leveling methods (e.g., differential leveling, trigonometric leveling), leveling instruments, and error correction techniques.
- Practical Application of Leveling: Experience with setting benchmarks, establishing control points, and conducting site surveys for construction projects. Understanding applications in road construction, building foundations, and land surveying.
- Topography and Contouring: Interpreting contour maps, creating contour lines from survey data, understanding map scales and coordinate systems, and the use of GIS software for topographic analysis.
- Data Collection and Processing: Proficiency in using total stations, GPS receivers, and other surveying equipment. Understanding data processing techniques, including coordinate transformations and error analysis.
- Earthwork Calculations: Calculating volumes of earthwork (cut and fill) using various methods, including cross-sectioning techniques. Understanding applications in mass haul diagrams and earthwork estimations.
- Legal Aspects and Surveying Standards: Familiarity with relevant codes, regulations, and standards of practice in surveying and leveling. Understanding property boundaries and legal descriptions.
- Problem-Solving and Decision Making: Demonstrating the ability to identify and resolve issues related to leveling and topographic data, and making sound judgments based on available information.
Next Steps
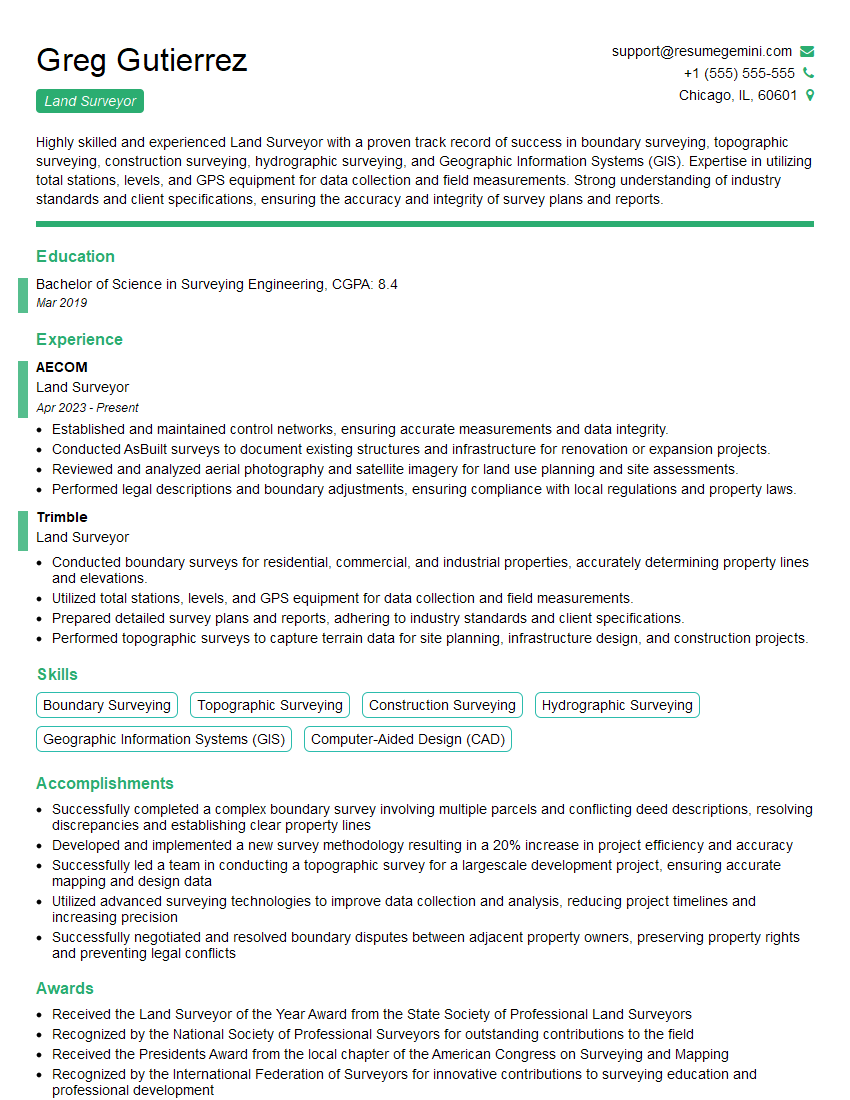
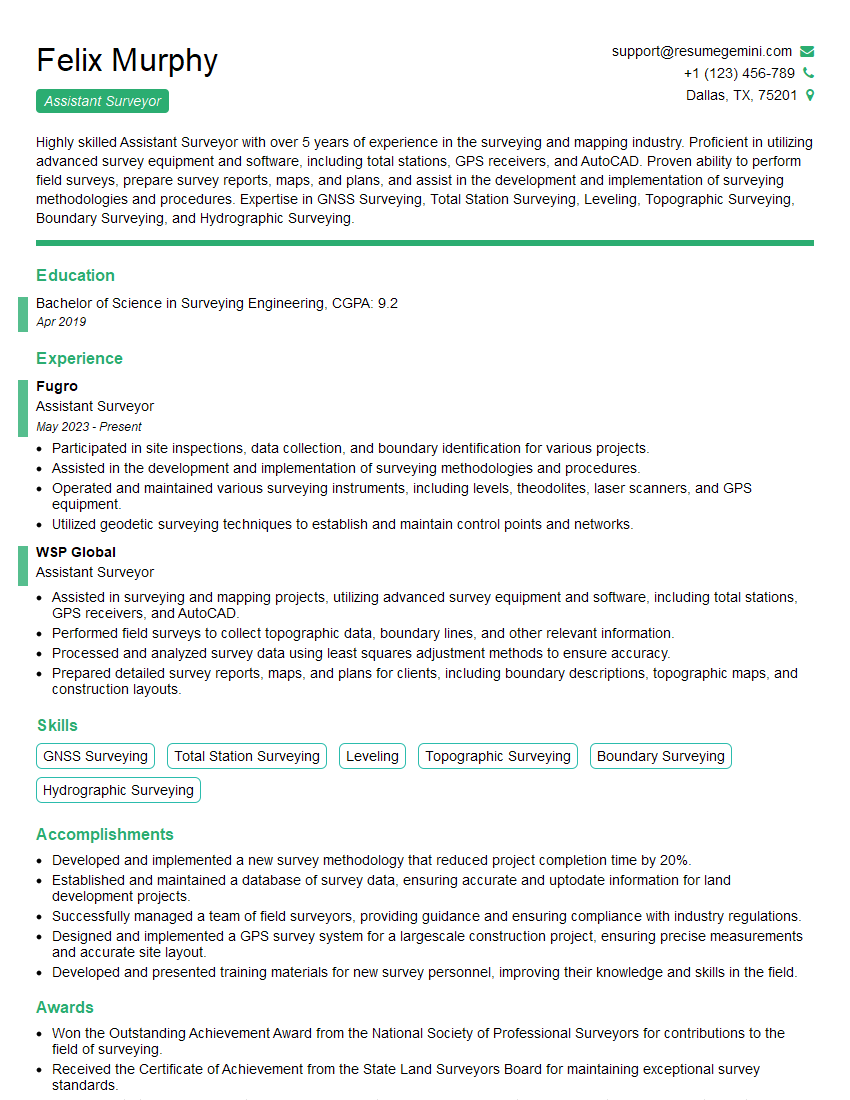
Mastering Leveling and Topography opens doors to exciting career opportunities in construction, engineering, and land surveying, offering diverse roles and rewarding challenges. A strong resume is key to showcasing your skills and experience to potential employers. Create an ATS-friendly resume to maximize your chances of getting noticed and landing your dream job. ResumeGemini is a trusted resource that can help you build a professional and impactful resume that highlights your expertise. Examples of resumes tailored to Leveling and Topography are available within ResumeGemini to guide you. Take the next step towards your successful career today!
Explore more articles
Users Rating of Our Blogs
Share Your Experience
We value your feedback! Please rate our content and share your thoughts (optional).
What Readers Say About Our Blog
Hi, I’m Jay, we have a few potential clients that are interested in your services, thought you might be a good fit. I’d love to talk about the details, when do you have time to talk?
Best,
Jay
Founder | CEO
