The thought of an interview can be nerve-wracking, but the right preparation can make all the difference. Explore this comprehensive guide to Basic Knowledge of Drawing interview questions and gain the confidence you need to showcase your abilities and secure the role.
Questions Asked in Basic Knowledge of Drawing Interview
Q 1. What are the basic elements of drawing?
The basic elements of drawing are the foundational building blocks that artists use to create any image. These elements work together to communicate form, space, and emotion. They include:
- Line: The most fundamental element, a line can be thick, thin, straight, curved, dashed – all impacting the overall feel of the artwork. Think of a simple line drawing of a tree; the trunk is a vertical line, the branches are diagonal and curved.
- Shape: Shapes are two-dimensional areas defined by lines. They can be geometric (squares, circles, triangles) or organic (free-form shapes found in nature). The interplay of shapes helps to establish form and structure in a drawing.
- Form: Form is the three-dimensional representation of shape. Think of a sphere; it’s a three-dimensional form created from a two-dimensional circle. Form is often achieved through shading and perspective.
- Value (Tone): This refers to the lightness or darkness of a color or tone. Using value helps create contrast, depth, and mood. A dark value suggests shadow, while a light value suggests highlights.
- Space: This refers to the area around and between the objects within a drawing. Space can be positive (the object itself) or negative (the area surrounding the object). The manipulation of space can enhance depth and realism.
- Texture: This element refers to the surface quality of an object, whether it feels rough, smooth, soft, or hard. Texture can be implied through the use of line and value.
- Color (Optional): While not always considered essential in basic drawing (as many drawings utilize only black and white/grayscale), color dramatically enhances a drawing by introducing a whole other layer of visual and emotional impact.
Understanding and mastering these elements is crucial for any aspiring artist, laying the foundation for more complex drawing techniques.
Q 2. Explain the difference between perspective drawing and orthographic projection.
Perspective drawing and orthographic projection are two distinct methods of representing three-dimensional objects on a two-dimensional surface. They differ fundamentally in how they portray depth and spatial relationships.
Perspective drawing simulates how we visually perceive the world. It uses converging lines to create the illusion of depth, making objects appear smaller and closer together as they recede into the distance. There are various types of perspective, including one-point, two-point, and three-point perspective, depending on the number of vanishing points (where parallel lines appear to converge).
Orthographic projection, on the other hand, shows multiple views of an object – typically front, side, and top – without perspective distortion. Each view is a flat, two-dimensional representation projected onto a plane perpendicular to the viewing direction. It’s frequently used in technical drawings, blueprints, and engineering design to accurately represent the dimensions and form of an object. There is no illusion of depth; rather, dimensions are accurately stated.
Imagine drawing a house. A perspective drawing would show the house with converging lines, giving the impression of depth and three-dimensionality. An orthographic projection of the same house would consist of separate drawings showing the front, side, and top views, each as if viewed directly from the respective direction.
Q 3. Describe your process for creating a basic sketch.
My process for creating a basic sketch involves several key steps, starting with a light approach and gradually adding detail:
- Light Sketching: I begin with a very light pencil sketch, using guidelines to establish the basic proportions and composition. I prefer to start with lightly drawn ellipses and lines rather than directly trying to render details. This step is about establishing the overall structure and pose. I might use very light construction lines to map out basic proportions, such as a center line to ensure the subject is balanced.
- Refining the Form: Next, I refine the initial sketch, gradually adding more detail and definition to the forms. I pay close attention to the negative spaces around the subject. This helps to achieve accurate proportions and create a believable representation of the subject’s form.
- Adding Value: Once the basic forms are established, I start to add value to create depth and volume. I focus on identifying light sources and using shading to create contrast. I often use a range of pencils – softer ones for darker shadows and harder ones for lighter tones.
- Refining Details: In the final stages, I refine the details, carefully adding texture, and adjusting lines and values as needed. This involves paying close attention to the small details to enhance realism and expression.
- Final Touches: Finally, I assess the drawing as a whole, checking for proportion, value, and overall composition. I may make minor adjustments before deeming it finished.
Throughout the process, I maintain a loose and fluid approach, making quick decisions and not overthinking the details too soon.
Q 4. How do you use shading and light to create depth in your drawings?
Shading and light are essential for creating the illusion of depth and volume in drawings. By manipulating value (light and dark) we can suggest three-dimensionality on a flat surface. This is achieved through understanding the interaction of light and shadow.
Light Source: The first step is to identify the light source. Where is the light coming from? This determines where highlights and shadows will fall. A light source often casts a highlight on a surface and a core shadow (the darkest area directly opposite the light source) A cast shadow is then created where the object blocks light, creating a shadow on a nearby surface.
Shading Techniques: Various shading techniques are used to create a gradual transition from light to dark. Hatching (parallel lines) and cross-hatching (intersecting lines) are common methods. Blending with a smudge tool or finger can create smooth transitions. The placement and density of the shading creates depth and volume. Darker values recede, while lighter values project forward.
For example, imagine drawing a sphere. A highlight would be placed on the side facing the light source. A gradual darkening (using shading) would lead to a core shadow directly opposite the light source. A cast shadow would appear on the surface underneath, further enhancing its three-dimensional appearance.
Q 5. What are different types of drawing mediums and their properties?
Many mediums can be used in drawing, each with unique properties impacting the final artwork’s look and feel:
- Graphite Pencils: These are versatile and readily available, ranging from hard (H) to soft (B), influencing line weight and shading intensity. Harder pencils create lighter lines, ideal for sketching and underdrawing, while softer pencils produce darker lines, perfect for shading and creating rich tones.
- Charcoal: Offers a rich, dark tone and a smudgeable quality. It’s excellent for creating expressive, dramatic drawings. There are various types: vine charcoal (easier to blend) and compressed charcoal (darker and more controlled).
- Pen and Ink: Creates precise lines and details; well-suited for illustrative work and line art. Different pen nibs produce varying line weights and textures. Ink is permanent.
- Colored Pencils: Allow for a wide range of colors and tones, suitable for both realistic and stylized artwork. Layering colors builds depth and intensity.
- Pastels: Soft sticks of pigment that can create vibrant, textured drawings. They blend easily and are often used for landscapes and expressive work. There are soft pastels and hard pastels.
- Crayons: Wax-based pigments which create rich, bold colors; usually associated with children’s drawings but can be used effectively by artists.
- Markers: These come in various types and tips, from fine liners for detail work to broad tips for filling large areas. They are water-based or alcohol-based, influencing the blending capabilities.
The choice of medium depends on the artist’s style, the subject matter, and the desired effect. Experimenting with various mediums is key to developing your drawing skills.
Q 6. Explain your understanding of proportion and scale in drawing.
Proportion and scale are crucial for creating believable and realistic drawings. Proportion refers to the relative size and scale of different parts of a drawing in relation to one another. For instance, the size of a person’s head compared to their body. Scale refers to the ratio between the size of an object in a drawing and its actual size in real life. For example, a 1:10 scale model of a building.
Accurate proportion ensures that all elements of a drawing are harmoniously related, creating a sense of balance and visual coherence. Incorrect proportions make a drawing appear distorted or unrealistic. For example, if a person’s head is drawn too large compared to their body, the figure looks disproportionate. Similarly, using correct scale when drawing a technical object is critical to produce a functional or replicable design.
To ensure accuracy in proportion, artists employ various techniques, such as using measurement tools (rulers, compasses) and establishing a consistent scale throughout the drawing. Visual cues, such as comparing the size of one part to another, can also help.
Mastering proportion and scale involves careful observation, practice, and an understanding of basic geometrical principles.
Q 7. How do you ensure accuracy in your drawings?
Accuracy in drawing relies on a combination of careful observation, technical skills, and appropriate tools. Here’s how I approach it:
- Careful Observation: Before I start drawing, I carefully observe my subject, noting its proportions, shapes, values, and details. I frequently make comparative measurements and use reference images if necessary. A methodical approach to observation is critical for a realistic and accurate representation.
- Using Measurement Tools: Rulers, compasses, and other measuring tools can aid in establishing accurate proportions and angles. This is particularly important for technical drawings or illustrations requiring precision.
- Light Construction Lines: I use light construction lines to establish the basic framework of the drawing, including proportions and perspective guidelines. These lines act as a scaffold for the rest of the drawing process, and are typically erased once the final drawing is complete.
- Reference Images and Grids: When necessary, I use reference images or grids to assist in achieving accurate proportions and perspective. A grid overlay can help transfer proportions accurately from a reference photograph to the drawing paper.
- Step-by-Step Approach: I work through the drawing step-by-step, starting with basic shapes and gradually adding details. This ensures that my initial proportions and construction lines remain consistent throughout the drawing process.
- Regular Checking: Throughout the process, I regularly check for accuracy, comparing my drawing to the subject or reference image. I might step back or look at the drawing in a mirror to detect any inaccuracies or inconsistencies.
By combining these approaches, I aim for accuracy in my drawings, creating results that reflect the reality of the subject, or precisely capture the intended technical design.
Q 8. Describe your experience with different drawing techniques (e.g., hatching, cross-hatching).
Hatching and cross-hatching are fundamental drawing techniques used to create shading and texture. Hatching involves drawing a series of parallel lines to suggest tone; the closer the lines, the darker the area. Cross-hatching builds upon this by adding another layer of lines intersecting the first set, allowing for a wider range of tonal values and a more complex texture.
My experience encompasses a wide range of applications. I’ve used hatching to depict the smooth surface of polished metal, where lines are far apart and subtle, and then used dense cross-hatching to render the rough texture of bark on a tree. The spacing and pressure of the lines are critical; light, sparse hatching will create a delicate shadow while heavy, close hatching can render deep darkness. I frequently experiment with varying line weights and angles to achieve the desired effect and to add visual interest. I also often combine hatching and cross-hatching with other techniques like stippling (dots) for more nuanced shading.
Q 9. How do you handle drawing complex shapes and forms?
Drawing complex shapes and forms requires a breakdown into simpler, manageable parts. I typically start by identifying the basic underlying geometric shapes – spheres, cubes, cylinders, cones – that form the foundation of the more complex form. Think of it like sculpting: you wouldn’t start with a detailed human figure, but rather a basic clay form.
Once these underlying shapes are established, I focus on observing and drawing the relationships between them. How do these basic shapes intersect, overlap, and define the final form’s volume? I pay close attention to perspective, ensuring that the shapes recede and diminish in size accurately. Using light and shadow to define form is crucial. Observing how light interacts with the surface reveals the three-dimensionality of the object and guides the placement of shading.
Q 10. What software programs are you proficient in using for drawing?
My proficiency extends to several digital drawing programs, including Adobe Photoshop, Adobe Illustrator, and Procreate. Photoshop excels in its photo manipulation and painting capabilities, particularly useful for adding detail and refining sketches. Illustrator is fantastic for precise vector graphics and clean lines, ideal for creating logos or illustrations that need to be scaled without loss of quality. Procreate, an iPad app, is excellent for quick sketches and on-the-go digital painting, allowing a more natural feel similar to traditional media.
I’m comfortable using the tools and features within each program to achieve different artistic effects. For instance, in Photoshop, I might use layers and blending modes for complex shading and texture, while in Illustrator I’d rely heavily on precise path creation and vector editing.
Q 11. How do you approach drawing from observation?
Drawing from observation is fundamental to my process. It starts with careful observation – truly seeing the subject. This isn’t just about looking, but about analyzing its structure, proportions, values, and textures. I begin by establishing the basic shapes and proportions, often employing simple geometric forms as a starting point, similar to what I described when tackling complex forms.
Then, I proceed to refine the drawing, adding details incrementally, focusing on accurately depicting values (light and shadow) and textures. I might use a variety of techniques – hatching, cross-hatching, stippling – to convey these aspects. Throughout the process, I continue to observe and compare my drawing to the subject, making adjustments as needed. I often find myself using a combination of measuring, comparing proportions visually and relying on my understanding of perspective to ensure accuracy. A sketchbook and various pencils with different hardnesses are invaluable tools for me during this process.
Q 12. How do you create a sense of movement in your drawings?
Creating a sense of movement in drawings involves understanding how to convey motion through line, implied action, and visual cues. Dynamic lines, curving or sweeping across the page, can suggest speed and fluidity. Blurring or streaking techniques can imply motion, perhaps depicting a flowing river or a fast-moving object.
Implied action is key. Instead of showing a bird mid-flight in a static pose, I might portray the bird slightly off-balance, with wings outstretched, its head angled as if it were changing direction. Its motion becomes implied by its stance and the direction of its implied movement. The composition itself can contribute to the sense of movement; leading lines, for example, can guide the eye along a path, suggesting movement. The strategic use of empty space around a moving subject can create a sense of energy and momentum.
Q 13. Describe your approach to improving your drawing skills.
Improving my drawing skills is an ongoing process. I constantly seek opportunities to challenge myself, both by tackling complex subjects and experimenting with new techniques. This includes regular life drawing sessions from observation; studying the work of master artists to understand their approaches; and actively seeking feedback from peers and mentors.
I maintain a dedicated sketchbook for daily practice. I often incorporate specific exercises into my practice, such as focusing on a particular aspect like perspective or anatomy for a dedicated period, followed by applying these learned skills to more comprehensive projects. Consistent practice and a willingness to learn from mistakes are essential. Analyzing my own work critically and identifying areas for improvement is crucial to my continued growth.
Q 14. How do you use line weight effectively?
Line weight refers to the thickness or thinness of a line. Effective use of line weight dramatically enhances the drawing’s depth, form, and overall impact. Varying the weight allows me to guide the viewer’s eye, emphasize specific elements, and create a sense of three-dimensionality.
For example, thicker lines can define the edges and contours of a form, making it stand out. Thinner lines can be used for internal details, creating a sense of receding depth. Consider a simple still-life drawing of a vase: using thicker lines along the outline of the vase makes the vase stand out, whereas much thinner lines used for shading and subtle details along the surface give it the sense of roundness and depth. Gradual changes in line weight can define curves more effectively and give a subject more definition. The judicious use of line weight isn’t about arbitrary thickness but is instead a purposeful technique to guide the viewer’s eye and enhance comprehension.
Q 15. What are your strengths and weaknesses as a draftsperson?
My greatest strength as a draftsperson lies in my meticulous attention to detail and my ability to accurately translate three-dimensional concepts into two-dimensional representations. I’m proficient in various drawing techniques and possess a strong understanding of perspective and proportion. I’m also adept at using both traditional and digital tools. A weakness I’m actively working on is time management on large, complex projects. While I excel at detail, sometimes I get lost in perfecting small elements and lose sight of the overall deadline.
Career Expert Tips:
- Ace those interviews! Prepare effectively by reviewing the Top 50 Most Common Interview Questions on ResumeGemini.
- Navigate your job search with confidence! Explore a wide range of Career Tips on ResumeGemini. Learn about common challenges and recommendations to overcome them.
- Craft the perfect resume! Master the Art of Resume Writing with ResumeGemini’s guide. Showcase your unique qualifications and achievements effectively.
- Don’t miss out on holiday savings! Build your dream resume with ResumeGemini’s ATS optimized templates.
Q 16. Explain your understanding of composition in a drawing.
Composition in drawing refers to the arrangement of visual elements within a frame to create a balanced and visually appealing image. Think of it like arranging furniture in a room – you want a pleasing and functional layout. Key aspects include:
- Focal Point: The main subject or area of interest that draws the viewer’s eye. This could be emphasized through size, contrast, or placement.
- Balance: The distribution of visual weight within the drawing. This can be symmetrical (equal weight on both sides) or asymmetrical (different weights balanced through contrast and placement).
- Rhythm and Movement: The use of lines, shapes, and values to guide the viewer’s eye through the drawing, creating a sense of flow.
- Unity and Harmony: The overall coherence of the drawing’s elements, creating a sense of completeness.
- Rule of Thirds: A compositional guideline where the image is divided into nine equal parts by two equally-spaced horizontal lines and two equally-spaced vertical lines, and important elements are placed along these lines or their intersections.
For example, in a landscape drawing, the focal point might be a majestic mountain placed at the intersection of two rule-of-thirds lines. The surrounding elements – trees, river, sky – would be arranged to create a sense of balance and lead the viewer’s eye towards the mountain.
Q 17. How do you translate a 3D object into a 2D drawing?
Translating a 3D object into a 2D drawing involves understanding perspective, proportion, and the object’s geometry. Several techniques are crucial:
- Orthographic Projection: Showing multiple views of the object (front, side, top) to fully represent its shape and dimensions. Each view is a perpendicular projection onto a plane.
- Isometric Projection: A type of axonometric projection where the object is viewed from an angle, showing three faces simultaneously. This is useful for technical drawings where dimensions are important.
- Perspective Drawing: Creating the illusion of depth and three-dimensionality on a flat surface. This involves using converging lines to create the effect of distance.
For example, to draw a cube, you would use orthographic projection to show three rectangular faces (front, top, side) with accurate measurements. Alternatively, using isometric projection, you would draw three visible faces, slightly angled, to give a three-dimensional impression. A perspective drawing of a cube would have the far edges appear smaller and converging lines to simulate depth.
Q 18. How do you develop your ideas from concept to final drawing?
My idea development process typically follows these steps:
- Conceptualization: I start by brainstorming ideas, sketching rough concepts, and exploring different possibilities. This often involves quick sketches and exploring various compositions.
- Refinement: I select the strongest concept and refine it through more detailed sketches, paying attention to proportions, perspective, and composition. I might create several variations at this stage.
- Underpainting (if traditional): If I’m working traditionally, I might use a light underpainting to establish values and define the overall form of the drawing.
- Detailed Rendering: This stage involves carefully adding details and refining the lines, values, and textures to achieve the desired level of realism or style. This might involve using different techniques like hatching, cross-hatching, or blending.
- Final Touches: I review the drawing, making any final adjustments to ensure accuracy and visual appeal. This includes checking for proportions, perspective, and overall balance.
For instance, when designing a chair, I’d begin with rough sketches exploring different forms and styles. I’d then refine one design, creating detailed sketches from various angles. Finally, I’d create a finished drawing with accurate proportions and detail, showing textures of the materials.
Q 19. Describe a time you had to redraw something to improve it.
I once completed a detailed technical drawing of a complex mechanical part, but upon review, I noticed a slight inaccuracy in the dimensions of one component. This small error could have led to manufacturing problems. Rather than letting it slide, I redrew the entire section, meticulously double-checking each measurement and referring to the original 3D model to ensure complete accuracy. This additional work was crucial in preventing costly mistakes down the line. The experience reinforced the importance of thoroughness and attention to detail, even in seemingly minor aspects of a drawing.
Q 20. How do you manage your time when drawing under a deadline?
Managing time under a deadline requires careful planning and prioritization. I start by breaking down the project into smaller, manageable tasks, creating a schedule with realistic deadlines for each. I use time-tracking methods to monitor my progress and identify areas where I might be spending too much time or falling behind. If I face delays, I immediately assess the situation, identify the bottleneck, and prioritize the most critical tasks. Flexibility is key; I’m willing to adjust my schedule as needed to meet the deadline without compromising quality.
Q 21. Describe your ability to work independently and collaboratively on drawing projects.
I am comfortable working both independently and collaboratively. When working independently, I am self-motivated and able to manage my time effectively. I take initiative and am proactive in problem-solving. In collaborative settings, I actively participate in team discussions, providing constructive feedback and incorporating input from others. I communicate clearly and effectively, ensuring that everyone is on the same page. My experience working on group projects has honed my ability to contribute effectively while respecting the roles and responsibilities of other team members.
Q 22. How do you handle constructive criticism of your drawings?
Constructive criticism is invaluable for growth in any artistic field. I approach it as an opportunity to learn and improve. I begin by carefully listening to the feedback, separating subjective opinions from objective observations about the drawing’s technical aspects. For example, if someone says “the proportions are off,” that’s an objective observation I can analyze by comparing measurements in the drawing to reference materials. On the other hand, a comment like “I don’t like the color palette,” is subjective and I might consider it only if it aligns with my understanding of color theory and the overall goals of the piece. I then analyze my own work to see if the criticism aligns with my own assessment; even if the feedback points to a weakness I hadn’t noticed, it helps me refine my skills. I actively experiment with different techniques based on the feedback received, document my changes, and track improvements over time. This iterative process is essential for continuous development.
Q 23. What is your preferred method for creating clean line art?
My preferred method for creating clean line art involves a multi-stage process. First, I start with light, loose pencil sketches to establish composition and basic forms. This prevents me from becoming too attached to early details. Next, I refine the sketch, using a slightly harder pencil to create clearer lines and correct any errors. This step is crucial for making sure the basic structure is sound before committing to ink. Then, I use a lightbox or tracing paper to transfer the refined sketch onto clean drawing paper. Finally, I use a fine-liner pen, such as a 0.05 or 0.1 mm, to ink the lines. This allows for precise, consistent strokes, and the lightbox helps maintain a clean and accurate rendering of the pencil sketch. Regular sharpening of the pen is key to consistent line weight. To further refine, I sometimes use a digital inking program to clean up any minor imperfections and add additional details. But the aim is to be as precise as possible during manual inking to minimize digital correction.
Q 24. How experienced are you with using different types of pencils?
I have extensive experience using a range of pencils, from very soft (e.g., 8B) to very hard (e.g., 6H). Soft pencils (B grades) produce dark, rich tones, ideal for shading and creating textures. Hard pencils (H grades) produce light, precise lines, excellent for sketching initial outlines and details. HB pencils sit in the middle, providing a balance of line darkness and precision, suitable for many aspects of drawing. I use the different grades strategically, starting with an HB for initial construction, then transitioning to B grades for shading and softer details, and employing H grades for fine lines and highlights. Understanding how the pencil’s grade affects line weight and value is critical for controlling the overall tone and mood of my work. For instance, when drawing a portrait, I would use a hard pencil to sketch the basic features, a medium pencil for refining them, and a soft pencil to render shadows and subtle skin tones.
Q 25. What is your familiarity with color theory as it applies to drawing?
Color theory is fundamental to my drawing practice. I understand the color wheel, primary, secondary, and tertiary colors, and how they interact. This includes complementary colors (colors opposite each other on the wheel, creating high contrast), analogous colors (colors adjacent to each other, creating harmony), and triad colors (three colors equidistant on the wheel, creating vibrancy). I use this knowledge to create balanced and visually appealing color schemes in my drawings. For instance, understanding complementary colors allows me to create a focal point using a high contrast color pairing while using analogous colors to create harmony within the surrounding areas. I also understand the concepts of hue, saturation, and value (or lightness/darkness), and how adjusting these aspects of a color affects the overall feeling of a piece. For example, a dark, desaturated blue might evoke a sense of mystery, while a bright, saturated yellow might convey energy and joy. These are all important considerations which I put into practice in my work.
Q 26. How do you plan out your work before beginning a drawing project?
Planning is crucial for successful drawing projects. I typically begin with a conceptual phase, where I gather reference material (photos, sketches, etc.), determine the style (realistic, abstract, etc.), and consider the overall composition (placement of elements, focal points, etc.). Then, I create thumbnails—small, quick sketches exploring different compositional arrangements. This helps visualize the main elements and their relationship before committing to a larger drawing. The selected thumbnail undergoes refinement into a more detailed sketch, working out the proportions and perspective before starting the final piece. This planning phase saves time and effort in the long run, ensuring a more cohesive and effective final product. It also allows for adjustments and revisions to be made before substantial work has been done on the final piece.
Q 27. Describe a project where you had to use your drawing skills to solve a problem.
In one project, I was tasked with illustrating a complex scientific diagram for a medical textbook. The challenge was to accurately represent a three-dimensional structure (a specific type of cell) in two dimensions, making it clear and easily understandable for readers. To solve this, I first researched the structure extensively, using 3D models and scientific literature as reference. I then developed a series of simplified diagrams, progressively breaking down the complex structure into its essential components. By focusing on perspective and highlighting key elements strategically, I was able to create a visually accessible representation. The final illustration received positive feedback for its clarity and accuracy, and it successfully conveyed complex scientific information in a visually understandable manner.
Q 28. What are some resources that you use to continue learning and developing your drawing skills?
I utilize several resources for continuous learning. This includes studying the works of master artists, both past and present, analyzing their techniques and approaches. I also regularly participate in online courses and workshops, which allow me to learn from experienced instructors and receive personalized feedback. Books and online tutorials are excellent resources for learning new techniques and expanding my understanding of art theory. Furthermore, I actively seek feedback from other artists, participating in critique sessions and online art communities. Continuous practice and experimentation are also crucial; I regularly dedicate time to sketching from life and exploring new mediums and styles. This multifaceted approach to learning keeps me motivated and ensures consistent progress.
Key Topics to Learn for Basic Knowledge of Drawing Interview
- Fundamentals of Line and Shape: Understanding line weight, texture, and the creation of various shapes (geometric and organic) forms the basis of any drawing. Consider how different lines and shapes evoke different feelings and communicate different ideas.
- Perspective and Proportion: Mastering one-point, two-point, and three-point perspective is crucial for creating realistic and believable drawings. Practice drawing objects in proportion to one another to ensure accuracy and visual appeal. Explore how perspective impacts the overall composition of your artwork.
- Light and Shadow: Learn to use shading techniques (hatching, cross-hatching, blending) to create depth, volume, and realism in your drawings. Understand how light sources affect the form and shape of objects.
- Composition and Layout: Explore the principles of design, including rule of thirds, leading lines, and visual balance, to create visually engaging and impactful drawings. Understand how to effectively arrange elements within your drawing to create a strong focal point.
- Different Drawing Media: Familiarize yourself with various drawing materials (pencils, charcoal, pastels, etc.) and their unique properties. Understand how to select the appropriate medium for different projects and desired effects.
- Basic Anatomy and Figure Drawing: For many roles, understanding basic human anatomy and the ability to sketch figures accurately will be beneficial. Focus on proportions and basic poses.
- Problem-Solving and Creative Thinking: Be prepared to discuss your approach to overcoming challenges in the drawing process. How do you approach a difficult composition or a challenging perspective?
Next Steps
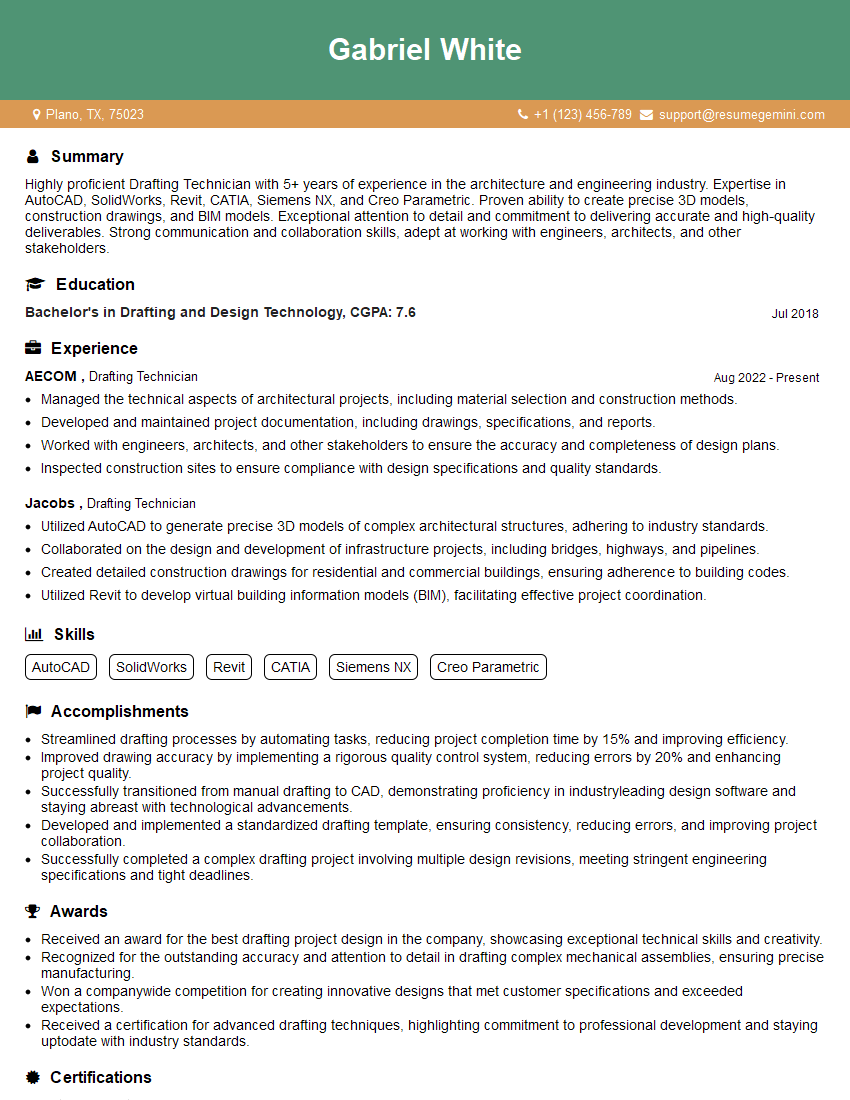
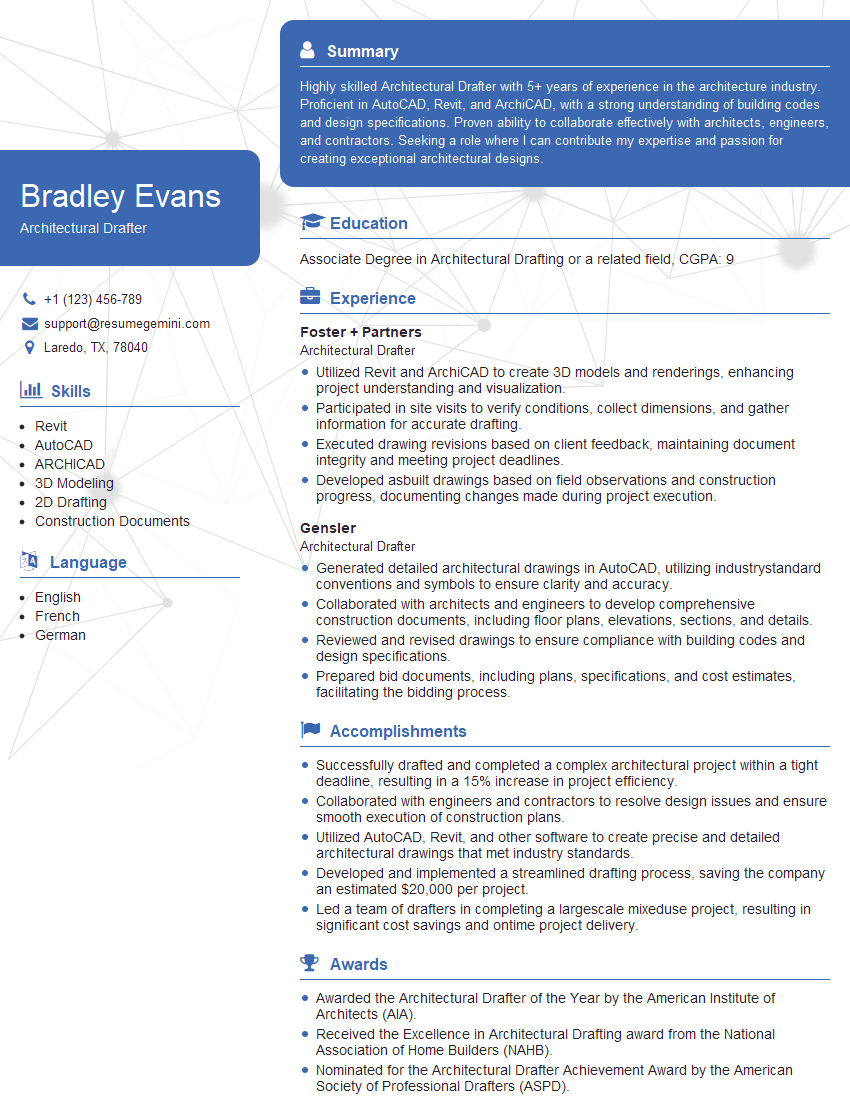
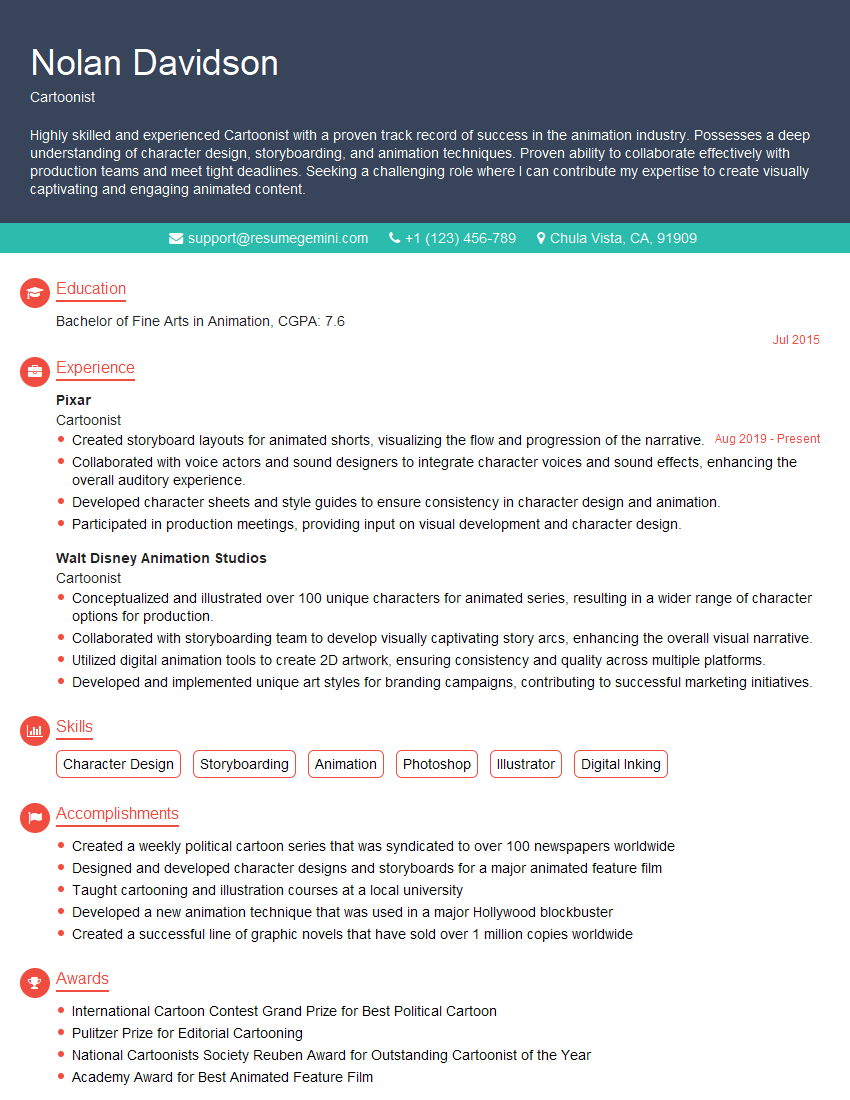
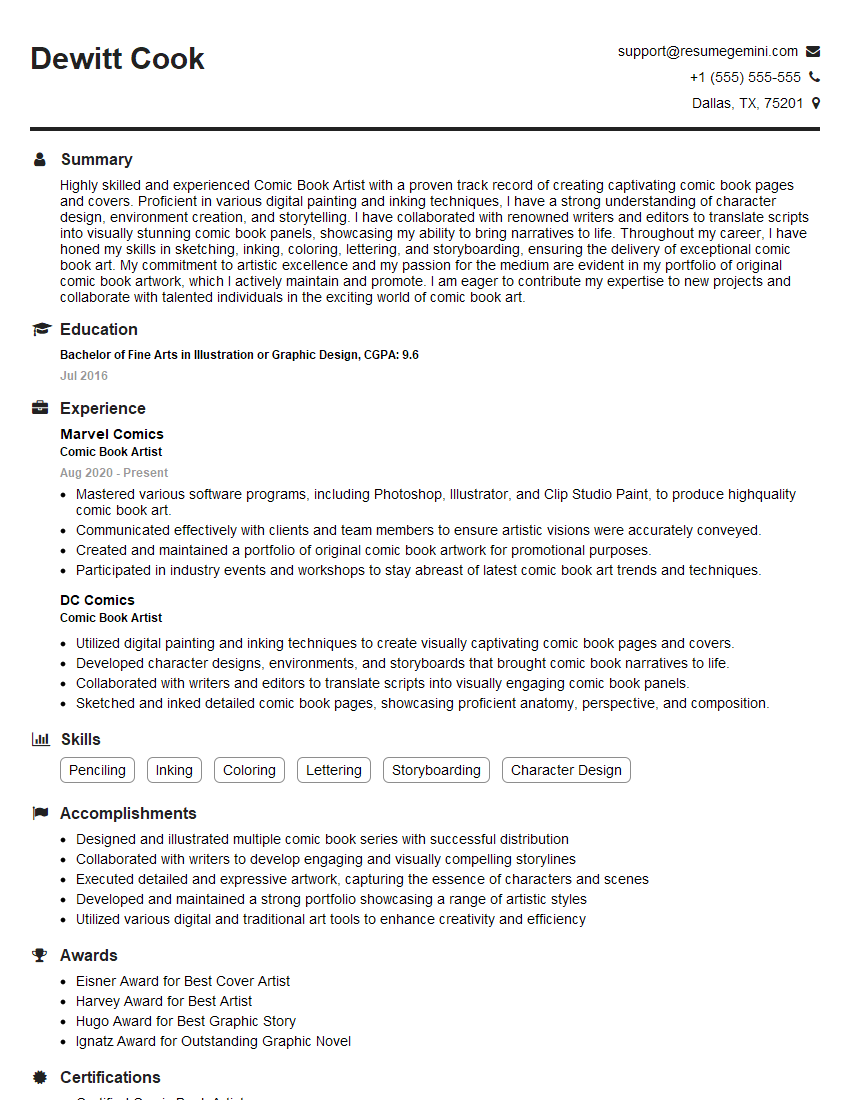
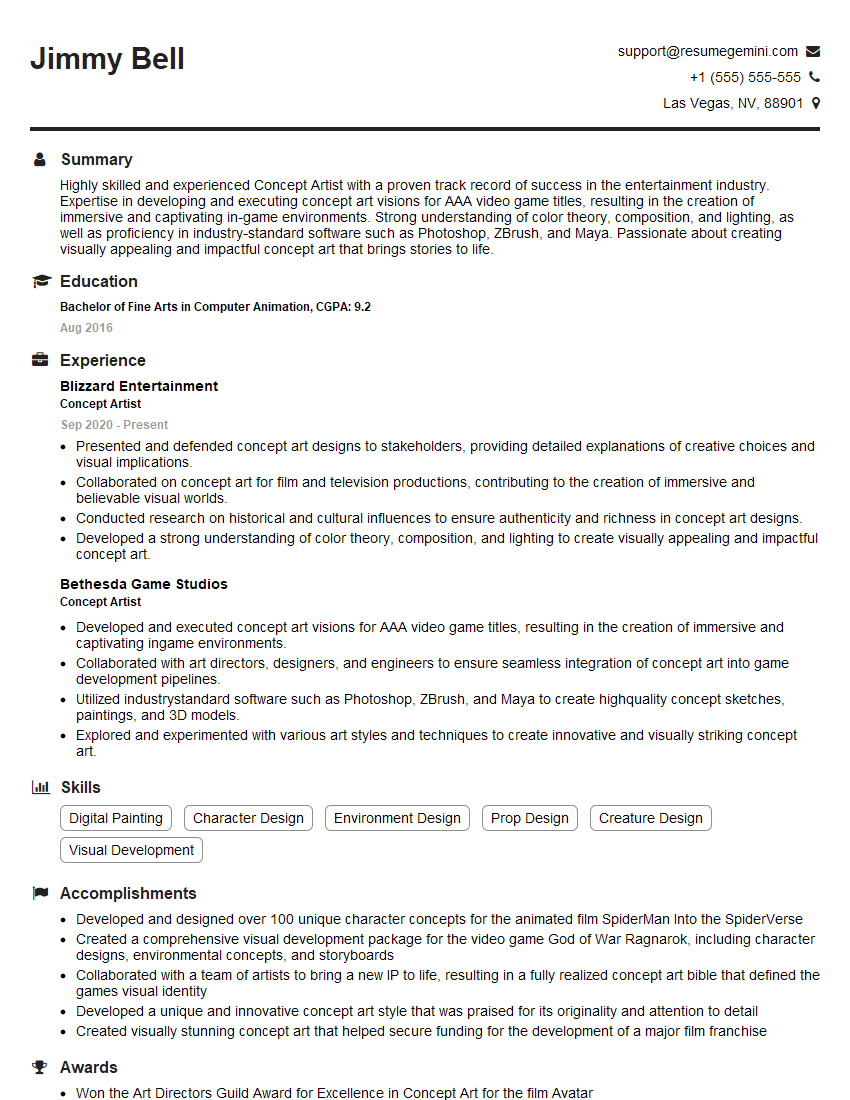
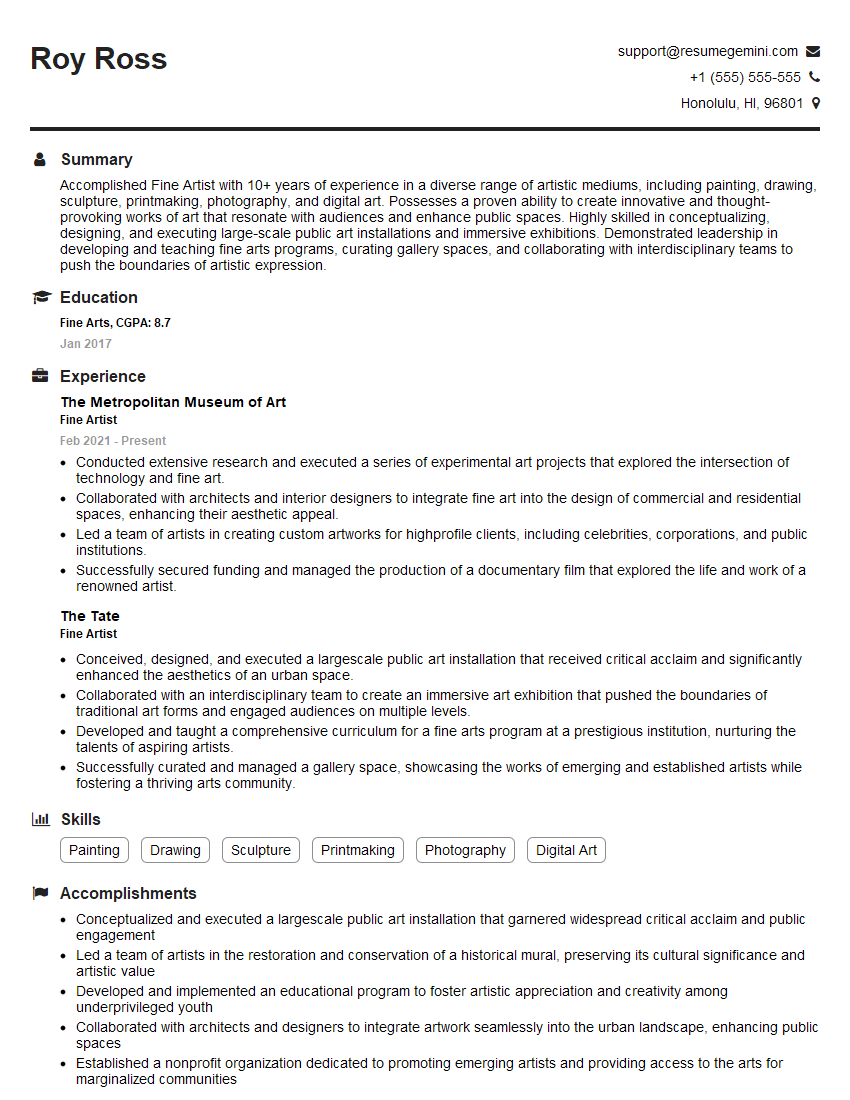
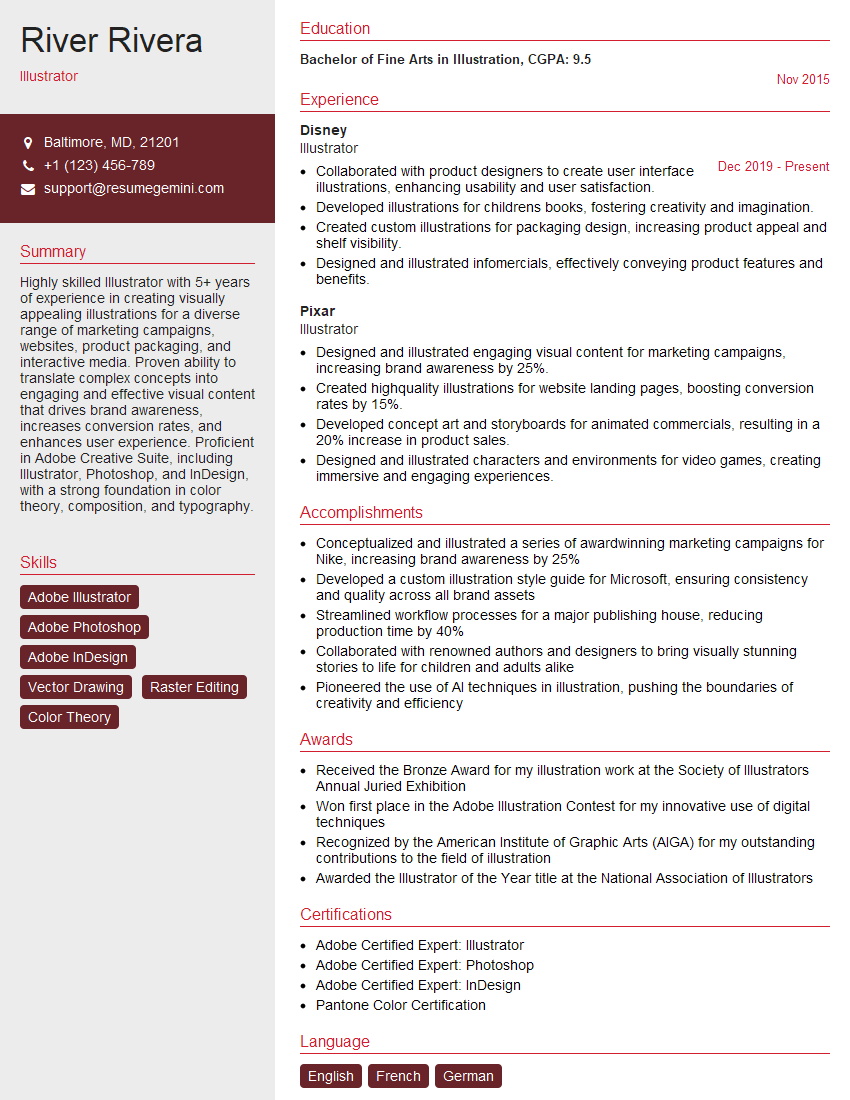
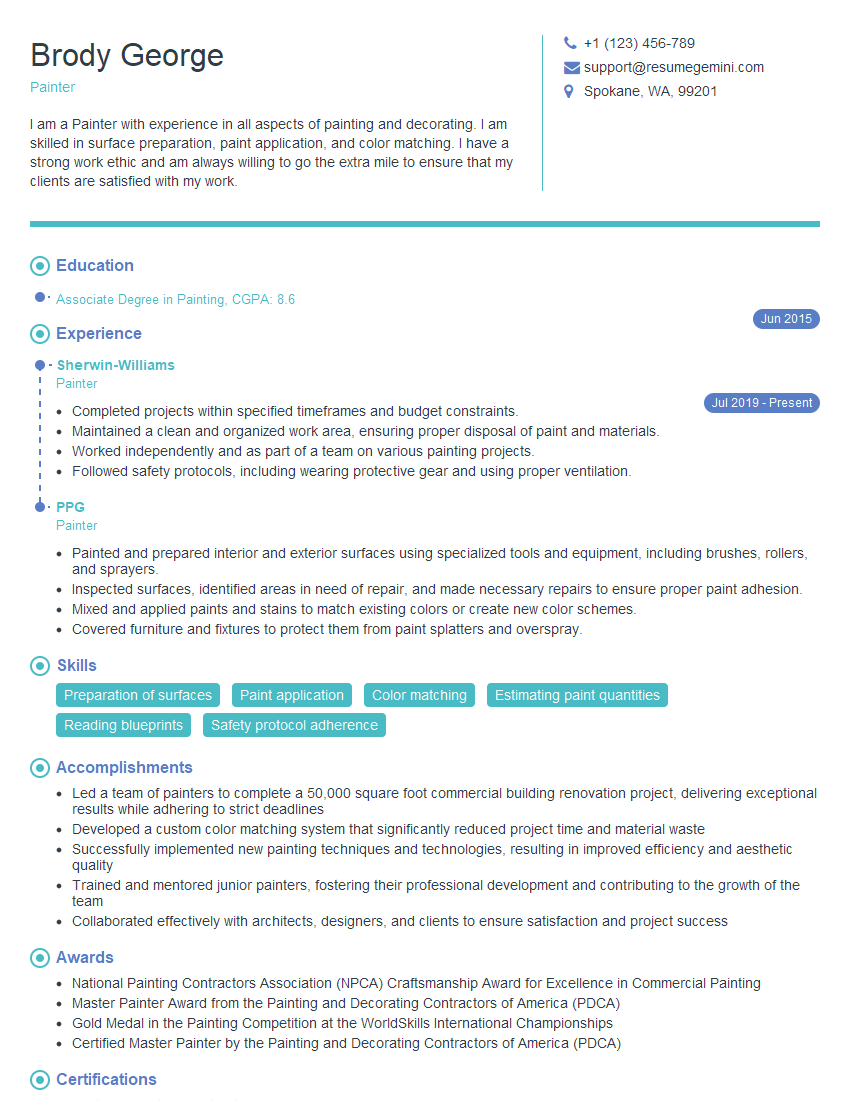
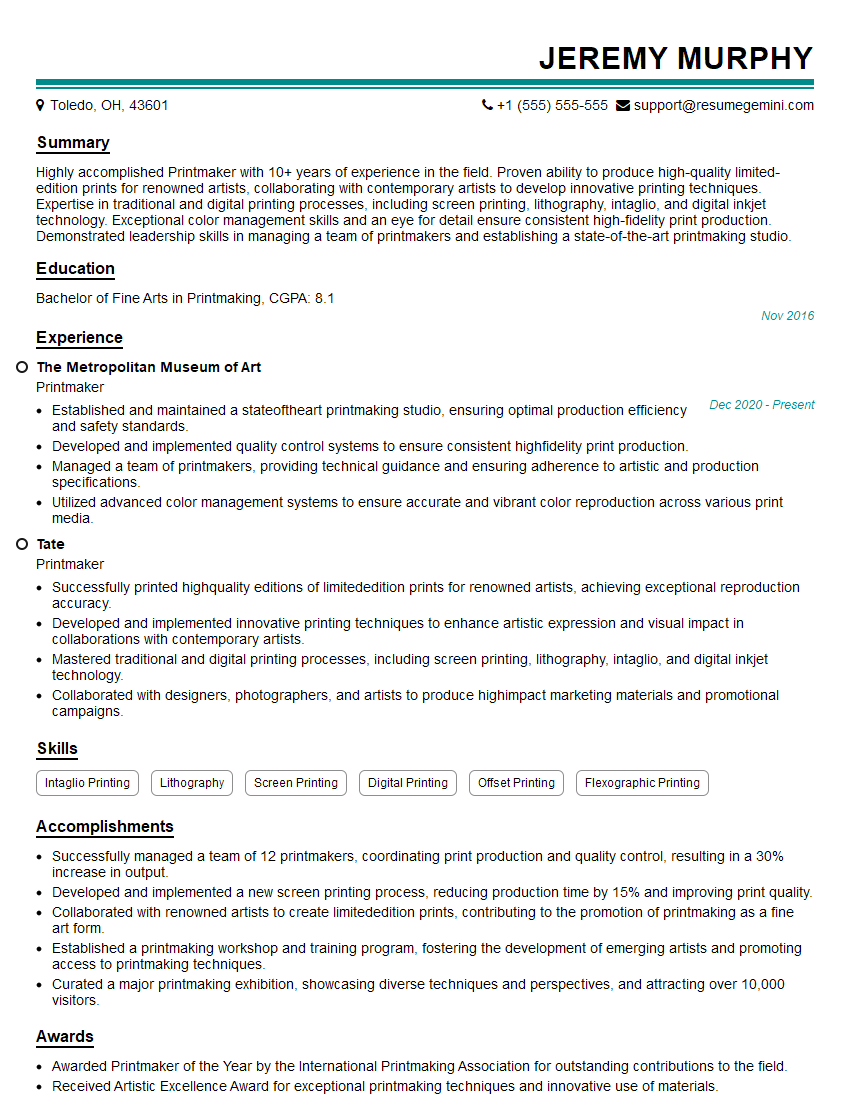
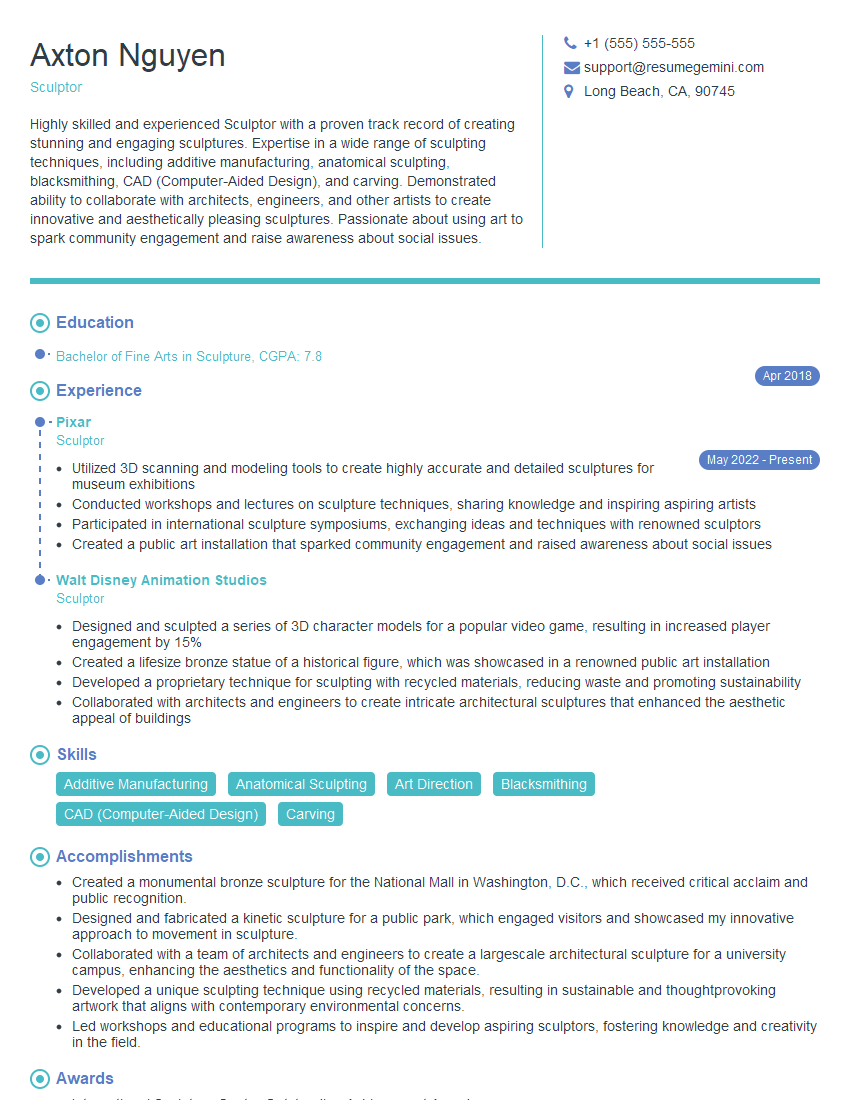
Mastering basic drawing skills opens doors to numerous creative and technical careers. A strong foundation in these principles demonstrates attention to detail, problem-solving abilities, and visual communication skills – all highly valued attributes in the workplace. To maximize your job prospects, creating an ATS-friendly resume is crucial. ResumeGemini is a trusted resource to help you build a professional and impactful resume that highlights your skills effectively. We provide examples of resumes tailored to showcasing expertise in Basic Knowledge of Drawing to help you get started.
Explore more articles
Users Rating of Our Blogs
Share Your Experience
We value your feedback! Please rate our content and share your thoughts (optional).
What Readers Say About Our Blog
Hi, I’m Jay, we have a few potential clients that are interested in your services, thought you might be a good fit. I’d love to talk about the details, when do you have time to talk?
Best,
Jay
Founder | CEO
