Cracking a skill-specific interview, like one for Basic Knowledge of Graphic Design, requires understanding the nuances of the role. In this blog, we present the questions you’re most likely to encounter, along with insights into how to answer them effectively. Let’s ensure you’re ready to make a strong impression.
Questions Asked in Basic Knowledge of Graphic Design Interview
Q 1. What is the difference between RGB and CMYK color modes?
RGB and CMYK are two different color models used in graphic design, each suited for different purposes. RGB (Red, Green, Blue) is an additive color model, meaning colors are created by adding light. It’s used for digital displays like computer screens and smartphones. Think of a television: the pixels emit light in varying intensities of red, green, and blue to create the full spectrum of colors you see. CMYK (Cyan, Magenta, Yellow, Key – black) is a subtractive color model, used for print media. Here, colors are created by subtracting light from white. Ink is applied to paper, absorbing certain wavelengths of light and reflecting others to create the desired color. A key difference is that RGB colors are brighter and more vibrant than their CMYK equivalents because of the additive nature of light. When designing for print, you’ll need to convert your RGB artwork to CMYK to ensure accurate color reproduction. This conversion sometimes results in a slight shift in color, so it’s important to preview and adjust your design in CMYK mode before printing.
Q 2. Explain the principles of Gestalt design.
Gestalt principles are rules of perception that explain how we visually organize elements into groups or patterns. They are crucial in graphic design for creating visually appealing and understandable designs. These principles include:
- Proximity: Elements placed close together are perceived as a group. Think of a menu where items are grouped by category using spacing.
- Similarity: Similar elements are perceived as related. For example, using the same font and color for headings throughout a document creates visual consistency.
- Closure: We tend to complete incomplete shapes or figures. This is often used in logos with negative space creating recognizable shapes.
- Continuity: We perceive elements arranged along a line or curve as related, even if they are not directly connected. Imagine a winding road on a map – our eyes naturally follow the path.
- Figure/Ground: We distinguish between a figure (the focal point) and the ground (the background). A well-designed logo will clearly distinguish the logo itself from its surrounding space.
Understanding Gestalt principles helps designers create layouts that are intuitive and easy to understand, guiding the viewer’s eye through the design effectively.
Q 3. What are some common file formats used in graphic design and their uses?
Several common file formats are used in graphic design, each with its strengths and weaknesses:
- JPEG (.jpg or .jpeg): A lossy format ideal for photographs and images with continuous tones. It compresses files significantly, but some image quality is lost in the process. Not suitable for images with sharp lines or text.
- PNG (.png): A lossless format that supports transparency, making it perfect for logos, illustrations, and images with sharp lines. Larger file sizes than JPEGs but retain all image details.
- GIF (.gif): Supports animation and transparency but has a limited color palette (256 colors). Suitable for simple animations or images with few colors.
- TIFF (.tiff or .tif): A lossless format that preserves high-quality image data. Often used for print production and archiving, but files can be very large.
- PDF (.pdf): A versatile format for sharing and printing documents. Preserves fonts, images, and layout across different platforms. Can be created as vector-based or raster-based.
- AI (.ai): Adobe Illustrator’s native format, storing vector graphics in a scalable and editable format. Ideal for logos, illustrations, and any design requiring crisp lines at any size.
- PSD (.psd): Adobe Photoshop’s native format, capable of saving layers and other editing information, making it excellent for collaborative projects and flexible editing.
The choice of file format depends on the intended use of the design – web, print, or both. Understanding the characteristics of each format allows for optimal file size, quality, and compatibility.
Q 4. Describe your experience with Adobe Photoshop.
I have extensive experience with Adobe Photoshop, using it daily for tasks ranging from image retouching and manipulation to creating composite images and digital painting. I’m proficient in utilizing layers, masks, adjustment layers, and various filters to achieve the desired visual effects. I’ve used Photoshop to create marketing materials, website banners, and social media graphics. A recent project involved retouching product photography for an e-commerce client, requiring careful color correction, blemish removal, and background manipulation to enhance product appeal. I’m comfortable working with both raster and vector graphics within Photoshop and proficient in utilizing actions and scripts to streamline workflows.
Q 5. Describe your experience with Adobe Illustrator.
My proficiency in Adobe Illustrator extends to creating and editing vector graphics, logos, and illustrations. I’m experienced in using various tools, including the pen tool, shape tools, and type tools, to create precise and scalable artwork. I frequently utilize Illustrator for logo design, creating vector illustrations for marketing materials, and preparing artwork for print. For example, I recently designed a brand identity system for a startup, including a logo, brand guidelines, and social media templates. I’m adept at managing complex files and utilizing features like layers, symbols, and styles for efficient workflow. My understanding of vector graphics ensures that my work scales smoothly for various applications, from business cards to billboards.
Q 6. What is the purpose of kerning and tracking?
Kerning and tracking are both methods used to adjust the spacing between letters and words in typography, crucial for creating visually appealing and readable text. Kerning refers to adjusting the space between *individual* letter pairs. For instance, the space between ‘A’ and ‘V’ might be adjusted to prevent them from appearing too far apart or too close. Tracking, on the other hand, refers to adjusting the spacing between *all* the letters in a selected block of text. It’s used to create a consistent overall spacing. Both are essential for improving readability and enhancing the aesthetic quality of text. Poor kerning and tracking can lead to cramped or uneven text, making it difficult to read. Professional designers carefully adjust both to ensure optimal visual balance and readability.
Q 7. Explain the concept of visual hierarchy.
Visual hierarchy is the arrangement of visual elements in a design to guide the viewer’s eye and emphasize important information. It uses size, color, contrast, and placement to create a clear visual path for the audience. For example, a website might use a large, bold headline to grab attention, followed by smaller subheadings and body text for supporting information. A strong visual hierarchy ensures that the most important content is seen first and that the design is easy to navigate. Designers employ techniques like varying font sizes, using contrasting colors, and strategically positioning elements to establish this hierarchy. A well-structured visual hierarchy improves readability and ensures the message is effectively communicated.
Q 8. How do you create a mood board?
Creating a mood board is like painting a picture of the feeling and aesthetic you want to evoke in your design. It’s a crucial first step in any project, helping to define the overall tone and visual direction. I start by gathering inspiration – images, textures, colors, even quotes – that resonate with the project’s brief. This might involve browsing online resources like Pinterest, Behance, Dribbble, or even flipping through magazines.
- Identify the core concepts: What is the main message or feeling the design needs to convey? (e.g., luxury, playfulness, sophistication)
- Gather visual elements: Collect images, textures, patterns, color palettes, and typography examples that reflect those concepts. Think about how these elements interact and tell a story.
- Organize and arrange: Arrange your collected items on a physical board or digitally using a tool like Adobe Photoshop or Milanote. Experiment with different layouts until a cohesive visual narrative emerges. The arrangement itself contributes significantly to the mood.
- Refine and iterate: Mood boards are living documents. As your understanding of the project evolves, you can refine the board, adding or removing elements to better represent the design direction.
For example, if I’m designing a website for a sustainable coffee company, my mood board might include images of coffee beans, lush green landscapes, earthy tones, and fonts that evoke a sense of natural simplicity. The overall aim is to create a visually cohesive representation of the brand’s values and aesthetic.
Q 9. What are your favorite design tools and why?
My go-to design tools are Adobe Photoshop, Illustrator, and InDesign. Each serves a specific purpose and they work beautifully together.
- Photoshop: Ideal for raster-based images, photo editing, and creating rich visuals. I frequently use it for image manipulation, retouching, and creating mockups.
- Illustrator: My vector graphics workhorse. It’s essential for creating logos, illustrations, and scalable designs. The clean lines and precision make it invaluable for maintaining high quality across different resolutions.
- InDesign: InDesign is where I lay out and structure documents, particularly for print materials like brochures or magazines. It’s unmatched for its typographic control and page layout features.
Beyond the Adobe Creative Suite, I also value tools like Figma for collaborative design and prototyping, and Milanote for project organization and mood board creation. The choice of tool always depends on the project’s specific needs and my collaborators’ preferences.
Q 10. Describe your workflow for a typical design project.
My workflow is iterative and generally follows these steps:
- Client Briefing and Research: I begin by thoroughly understanding the client’s needs, goals, and target audience. This often involves detailed discussions, surveys, and competitor analysis.
- Mood Board & Concept Development: As described earlier, I create a mood board to solidify the visual direction. I then develop several design concepts, presenting sketches or low-fidelity mockups to the client for feedback.
- Design Refinement and Iteration: Based on client feedback, I refine the chosen concept, focusing on typography, color palette, imagery, and overall layout. This involves multiple rounds of revisions and iterations.
- Prototype and Testing: For digital projects, I create interactive prototypes to test usability and gather further feedback. This might involve user testing with the target audience.
- Finalization and Delivery: Once the design is finalized and approved, I prepare the assets for production – ensuring appropriate file formats and resolutions – and deliver the project to the client.
This approach allows for flexibility and collaboration, ensuring the final design meets the client’s expectations and effectively communicates their message.
Q 11. How do you handle feedback and revisions?
Handling feedback and revisions is crucial for successful design projects. I approach it as a collaborative process, valuing constructive criticism as an opportunity for improvement.
- Active Listening: I pay close attention to client feedback, asking clarifying questions to fully understand their concerns and suggestions.
- Organized Documentation: I maintain clear records of all revisions and feedback, making it easier to track changes and maintain consistency.
- Iterative Approach: I implement changes iteratively, presenting updates to the client at each stage for approval. This allows for flexibility and minimizes misunderstandings.
- Professional Communication: I communicate clearly and professionally with the client, explaining the rationale behind design decisions and addressing concerns effectively.
Sometimes, feedback might be contradictory or challenging to implement. In those cases, I engage in a constructive dialogue with the client, explaining the potential impact of certain changes and suggesting alternative solutions. The goal is always to find a balance between client preferences and design best practices.
Q 12. Explain the importance of color theory in design.
Color theory is fundamental to effective design. It’s the science of how colors interact to create visual impact and communicate specific messages. Understanding color theory allows you to create designs that are harmonious, balanced, and emotionally resonant.
- Color Harmonies: Different color schemes (e.g., complementary, analogous, triadic) evoke different moods and feelings. Complementary colors create high contrast, while analogous colors provide a sense of calm.
- Color Psychology: Colors have psychological associations. For example, blue is often associated with trust and calmness, while red can evoke excitement or urgency. Understanding these associations helps in choosing colors that align with the brand or message.
- Color Contrast: Sufficient contrast between text and background is crucial for readability and accessibility. Using a tool like a contrast checker ensures that text is easily legible against the background color.
- Color Context: The same color can appear differently depending on its surrounding colors and the lighting conditions. Careful consideration of context is essential for ensuring color consistency and impact.
For instance, a website for a children’s toy company might use bright, playful colors, whereas a website for a law firm would likely opt for more sophisticated and calming tones. Understanding color theory allows designers to make these choices strategically and consciously.
Q 13. What are some different types of fonts and when would you use each?
Fonts are categorized into several families, each with distinct characteristics and applications. Choosing the right font can significantly impact the readability and overall aesthetic of a design.
- Serif Fonts: (e.g., Times New Roman, Garamond) These fonts have small decorative flourishes (serifs) at the ends of their strokes. They are often perceived as classic, elegant, and more readable in large blocks of text (e.g., body text in books or magazines).
- Sans-serif Fonts: (e.g., Arial, Helvetica) These fonts lack serifs and generally appear cleaner and more modern. They are often preferred for headlines, displays, and body text on screens where readability is crucial.
- Script Fonts: (e.g., Edwardian Script, Pacifico) These fonts mimic handwriting and are typically used sparingly, for example, in logos, invitations, or watermarks, to add a personal or elegant touch. They should not be used for large blocks of text as they are hard to read.
- Display Fonts: (e.g., Impact, Bebas Neue) These fonts are highly stylized and designed for impact. They are best used in headlines or titles where their unique character can be fully utilized.
The choice of font depends largely on the context. For instance, a formal invitation might use a serif font, while a modern tech company’s website might use a clean sans-serif font for readability. Balancing readability and aesthetics is key. It is often good practice to limit the number of different font families used in a single design to maintain visual harmony.
Q 14. How do you ensure your designs are accessible?
Accessible design ensures that all users, including those with disabilities, can access and understand the design. This is crucial for inclusivity and user experience.
- Color Contrast: Using sufficient contrast between text and background colors is paramount for users with visual impairments. Web Content Accessibility Guidelines (WCAG) provide specific contrast ratios to meet accessibility standards.
- Font Size and Readability: Using appropriately sized fonts and choosing highly legible typefaces improves readability for all users, particularly those with visual impairments or dyslexia. Allow users to adjust font sizes if needed.
- Alternative Text for Images: Providing descriptive alternative text for images allows screen readers to convey the image content to visually impaired users.
- Keyboard Navigation: Ensuring all interactive elements (buttons, links) are keyboard accessible enables users with motor impairments to navigate the design effectively.
- Captions and Transcripts: Adding captions to videos and transcripts to audio content makes the information accessible to hearing-impaired users.
Designing for accessibility is not just about compliance; it’s about creating a more inclusive and user-friendly experience for everyone. By following accessibility guidelines, designers can ensure that their work is usable and enjoyable by the widest possible audience.
Q 15. What is your experience with design software such as InDesign?
I have extensive experience with Adobe InDesign, utilizing it for a variety of projects, including brochures, multi-page documents, and even interactive PDFs. My proficiency extends beyond basic layout to encompass advanced features like master pages for consistent branding, styles for efficient text formatting, and the creation of complex tables and image placements. For example, I recently used InDesign to design a 20-page marketing booklet for a tech startup, meticulously aligning the visuals with their brand guidelines to create a professional and engaging piece. I’m also comfortable working with imported vector graphics from Illustrator and incorporating interactive elements. My skillset allows me to efficiently produce high-quality print-ready files.
Career Expert Tips:
- Ace those interviews! Prepare effectively by reviewing the Top 50 Most Common Interview Questions on ResumeGemini.
- Navigate your job search with confidence! Explore a wide range of Career Tips on ResumeGemini. Learn about common challenges and recommendations to overcome them.
- Craft the perfect resume! Master the Art of Resume Writing with ResumeGemini’s guide. Showcase your unique qualifications and achievements effectively.
- Don’t miss out on holiday savings! Build your dream resume with ResumeGemini’s ATS optimized templates.
Q 16. How do you stay up-to-date on design trends?
Staying current with design trends is crucial in this ever-evolving field. I actively engage in several methods to keep my knowledge fresh. I regularly browse design-focused websites and blogs like Behance and Dribbble to see the latest work from top designers globally. I also follow prominent designers and design studios on social media platforms like Instagram and Twitter, exposing myself to diverse styles and approaches. Additionally, I attend online webinars and workshops, and participate in design communities where we discuss emerging trends and best practices. Attending industry conferences is another valuable way to stay in the loop. This multi-pronged approach helps me to understand not only the aesthetic trends but also the technological advancements affecting design.
Q 17. Describe your approach to designing for different screen sizes.
Designing for different screen sizes requires a responsive design approach. This means creating layouts that adapt seamlessly to various devices, from large desktop monitors to small smartphones. I accomplish this using a combination of techniques. For websites, this typically involves using flexible grids and CSS media queries. @media (max-width: 768px) { /* styles for smaller screens */ } This code snippet demonstrates a media query that applies specific styles when the screen width is less than 768 pixels. For applications, I utilize adaptable layouts, often employing frameworks like Bootstrap or Tailwind CSS that simplify the responsive design process. Prioritizing mobile-first design helps ensure that the core content is readily accessible on all devices. I also rigorously test designs on various devices and screen sizes to confirm optimal presentation and functionality.
Q 18. How do you balance creativity and client needs?
Balancing creativity and client needs is a fundamental aspect of successful design. I believe the key lies in effective communication and a collaborative approach. First, I thoroughly understand the client’s objectives, target audience, and brand identity. Then, I present design concepts that reflect these parameters while incorporating my creative vision. I often use mood boards and style guides to visually communicate my ideas and to ensure alignment with the client’s expectations. Feedback is paramount; I actively solicit and incorporate client feedback throughout the design process. I find that presenting several options allows the client to participate actively in the decision-making process, leading to a design that both fulfills their needs and reflects a strong aesthetic vision.
Q 19. Explain your understanding of branding and logo design.
Branding and logo design are interconnected elements that establish a company’s visual identity. A strong brand is more than just a logo; it encompasses a complete visual system, including typography, color palette, and imagery, all working together to communicate a consistent message and feeling. The logo, as a central element, should be memorable, versatile (adaptable to various sizes and contexts), and representative of the brand’s values and target audience. For example, a logo for a tech company might use sleek lines and modern typography, conveying innovation and efficiency. Conversely, a logo for a bakery might use warm colors and a handwritten font to evoke feelings of comfort and tradition. I approach logo design by researching the client’s business, competitors, and target audience to create a design that is both unique and effective.
Q 20. What is your understanding of user experience (UX) and user interface (UI) design?
User experience (UX) design focuses on the overall user journey and satisfaction, ensuring the product or service is easy and enjoyable to use. User interface (UI) design, on the other hand, deals with the visual aspects, ensuring the interface is aesthetically pleasing and intuitive to navigate. UX design involves research, wireframing, prototyping, and user testing to create a seamless experience. UI design focuses on the visual elements – typography, color schemes, layout, and interactive elements – creating a beautiful and functional interface. The two are closely intertwined; successful design requires a holistic approach considering both UX and UI elements. For example, intuitive navigation (UX) and a visually appealing layout (UI) are both critical for a successful website.
Q 21. How would you design a website for a small business?
Designing a website for a small business requires a practical and cost-effective approach. I would begin by understanding the business’s goals, target audience, and unique selling proposition (USP). This understanding would inform the site’s structure, content, and overall design. I would focus on creating a clean, easy-to-navigate website with clear calls to action, making it easy for users to find information and contact the business. Essential features would include a compelling homepage showcasing the USP, an ‘About Us’ page, a services or products page, and contact information. High-quality images and a mobile-responsive design are crucial. A simple Content Management System (CMS) like WordPress would be ideal, providing flexibility and ease of maintenance for the client. Ultimately, the website should be visually appealing, user-friendly, and effectively communicate the business’s value proposition to its target audience.
Q 22. How do you approach designing for print versus digital media?
Designing for print and digital media requires distinct approaches due to fundamental differences in output methods and viewing environments. Print design prioritizes high resolution and color accuracy for tangible outputs like brochures or posters. Digital design, on the other hand, emphasizes adaptability across various screen sizes and resolutions, often employing responsive design techniques.
- Print: Consider color profiles (CMYK vs. RGB), bleed areas (the extra space extending beyond the trim line), and the physical limitations of the printing process. Resolution is crucial; a low-resolution image will look pixelated in print. You’ll also account for paper type and its impact on ink absorption. For example, designing a high-quality magazine cover needs precise color calibration and attention to detail, unlike a lower-resolution image used on a website.
- Digital: Focus is on user experience (UX) and responsiveness. Images need to load quickly and scale effectively on various devices. RGB color space is standard, and you’ll work with different screen resolutions and aspect ratios. Consider factors like screen size, web browser compatibility, and how your design adapts to different devices. For example, a website banner must be optimized to appear sharp on large monitors and mobile screens.
In essence, print emphasizes precision and lasting quality in a fixed format, while digital design focuses on adaptability and user engagement across various platforms and screen sizes.
Q 23. Describe your problem-solving skills in a design context.
My problem-solving approach in design is iterative and user-centered. I start by thoroughly understanding the problem, which involves stakeholder interviews, user research (if applicable), and careful analysis of the design brief. I then generate multiple design solutions, considering various approaches and exploring different visual styles. This process often involves sketching, mood boards, and prototyping.
I critically evaluate each solution based on its effectiveness in achieving the design goals, technical feasibility, and user experience. This requires strong analytical skills and the ability to objectively assess both the strengths and weaknesses of different ideas. Feedback from clients and users is incorporated throughout the process, leading to refinement and optimization. For example, if a website design isn’t converting users effectively, I’d analyze user behavior, A/B test different layouts, and refine calls-to-action based on data and feedback. Finally, I meticulously test the final design, ensuring consistent quality across all platforms (if it’s for digital) or print outputs (if print).
Q 24. How do you use design to communicate a specific message?
Design is a powerful communication tool; I leverage it to convey messages through visual hierarchy, color psychology, typography, and imagery. The message dictates the design elements I employ.
- Visual Hierarchy: I arrange elements based on importance. For example, the most crucial information receives the most prominent placement, size, and color contrast.
- Color Psychology: Colors evoke emotions and associations. For instance, using calming blues for a relaxation app or energetic reds for an exciting product launch.
- Typography: Font choices convey tone and style. A serif font may suggest tradition, while a sans-serif font might appear modern and clean.
- Imagery: Images and illustrations communicate instantly. A photograph of a happy family would convey a message of togetherness more powerfully than words alone.
For instance, if I was designing a campaign to promote environmental sustainability, I might use earthy tones, images of nature, and clear, concise typography to convey the message of responsibility and care for the planet.
Q 25. What is your process for creating a design brief?
My process for creating a design brief is collaborative and thorough. It ensures everyone is on the same page before diving into the design phase.
- Project Goals and Objectives: Define the project’s purpose and desired outcomes. What are we trying to achieve with this design? What are the key performance indicators (KPIs)?
- Target Audience: Identify the intended audience. Who are we trying to reach? What are their demographics, interests, and needs?
- Message and Tone: Determine the key message and the overall tone of the design. Should it be playful, serious, informative, or persuasive?
- Visual Style and Branding: If applicable, discuss existing brand guidelines, preferred visual styles (e.g., modern, minimalist, vintage), and color palettes.
- Content and Assets: Gather any existing content (text, images, videos) and identify what additional assets are needed.
- Technical Specifications: Specify dimensions, file formats, and any technical constraints (e.g., print specifications or website platform requirements).
- Timeline and Budget: Establish realistic timelines and budget allocations.
- Review and Approval: The final brief is reviewed and approved by all stakeholders.
This systematic approach helps avoid misunderstandings and ensures the design process remains focused and efficient.
Q 26. What are your strengths and weaknesses as a graphic designer?
My strengths lie in my ability to understand and interpret client needs, translating them into effective and visually appealing designs. I’m proficient in multiple design software and have a keen eye for detail and visual composition. My collaborative nature allows me to work effectively with diverse teams. I also pride myself on my adaptability and willingness to learn new techniques and technologies.
However, like all designers, I have areas for growth. Sometimes, I find it challenging to balance creative freedom with client expectations, and I am actively working on improving my time management skills to handle multiple projects simultaneously more effectively. I consistently seek feedback to address these areas and enhance my overall design process.
Q 27. Explain the importance of whitespace in design.
Whitespace, or negative space, is the area around and between design elements. It’s often overlooked, but it’s crucial for creating visually appealing and functional designs. It’s not just “empty” space; it’s a deliberate design choice.
- Improved Readability: Whitespace improves the readability of text and ensures elements aren’t cramped together. This is vital in print and digital design alike.
- Enhanced Visual Hierarchy: By strategically placing whitespace, designers can draw attention to key elements and create a visual hierarchy, guiding the viewer’s eye.
- Increased Visual Appeal: Whitespace allows elements to breathe, improving the overall aesthetic appeal of a design. It creates a sense of balance and reduces visual clutter.
- Better User Experience (UX): In web design, ample whitespace enhances usability, making it easier for users to navigate and interact with content.
Think of a well-designed minimalist poster—the strategic use of whitespace makes the essential elements stand out and avoids overwhelming the viewer.
Q 28. Describe your experience with vector graphics versus raster graphics.
Vector graphics and raster graphics are fundamentally different types of digital images. Understanding their distinctions is critical for any graphic designer.
- Raster Graphics: These are composed of pixels arranged in a grid. They are best suited for photographic images and designs that require high levels of detail and realism (think photographs, photorealistic paintings). They lose quality when scaled up (enlarged) due to pixelation. Common formats include JPEG, PNG, and GIF.
- Vector Graphics: These are composed of mathematical equations that define shapes and lines. They are resolution-independent, meaning they can be scaled to any size without loss of quality (because they’re not made of pixels). They are ideal for logos, illustrations, and scalable designs. Common formats include SVG, AI, and EPS.
I use raster graphics for images that require photorealism, and vector graphics for logos, illustrations, and designs that need to be scaled without quality loss. For instance, a company logo will always be created in vector format to allow for print on business cards, billboards, and websites—all requiring vastly different sizes.
Key Topics to Learn for a Basic Knowledge of Graphic Design Interview
- Design Principles: Understanding fundamental principles like balance, contrast, proximity, repetition, and alignment. Consider how these principles create visual hierarchy and impact communication.
- Color Theory: Knowledge of color schemes (complementary, analogous, etc.), color psychology, and how color impacts mood and brand perception. Be prepared to discuss practical applications in choosing palettes for different projects.
- Typography: Familiarity with different font types (serif, sans-serif, script), readability, and how typography contributes to overall design effectiveness. Practice analyzing typefaces and justifying your choices.
- Image Manipulation and Editing: Basic skills in software like Photoshop or similar programs, including cropping, resizing, color correction, and basic retouching. Be ready to discuss workflows and problem-solving.
- Layout and Composition: Understanding how to arrange elements effectively on a page or screen, creating visually appealing and user-friendly designs. Think about different layout grids and their applications.
- Design Software Proficiency: Demonstrate familiarity with at least one industry-standard design software (Adobe Creative Suite, Figma, etc.). Highlight your experience with specific tools and features.
- Design Thinking Process: Understanding the iterative design process, including research, ideation, prototyping, and testing. Be able to articulate your approach to problem-solving in a design context.
- Visual Communication: Explain how visual elements convey messages and connect with the audience. How do you use design to effectively communicate a specific idea or brand message?
Next Steps
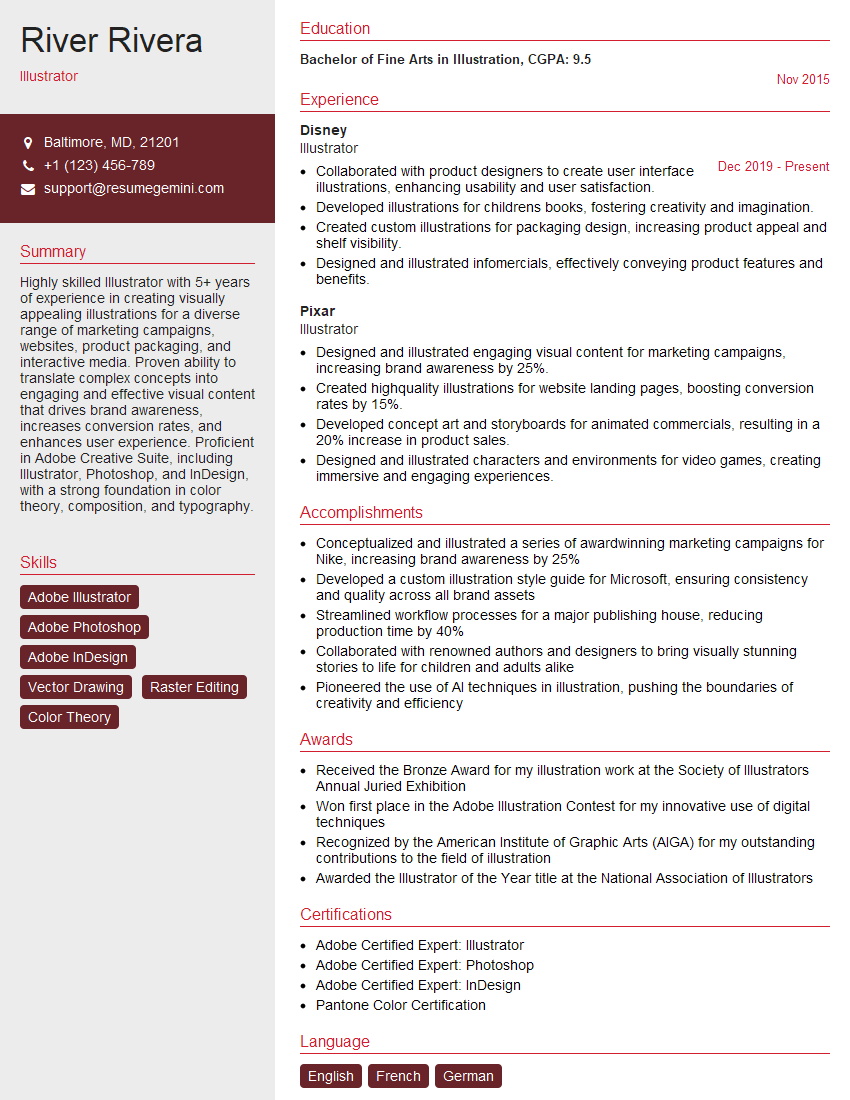
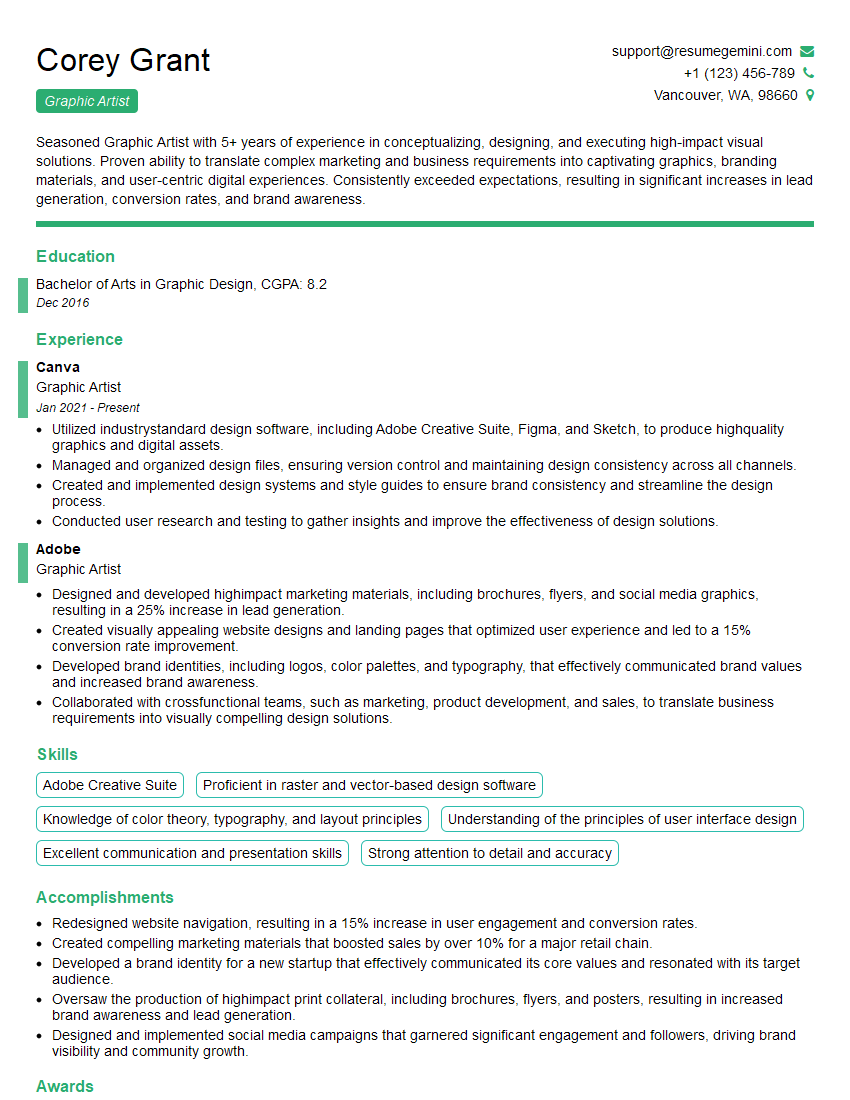
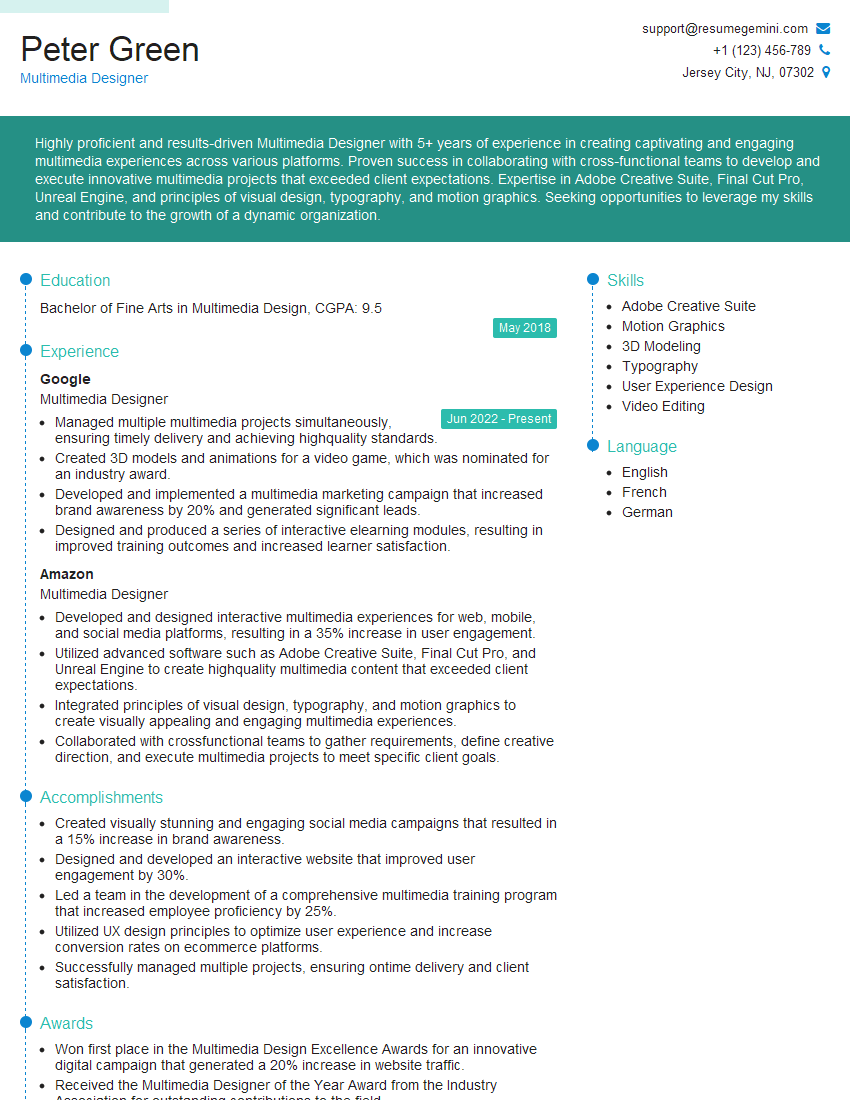
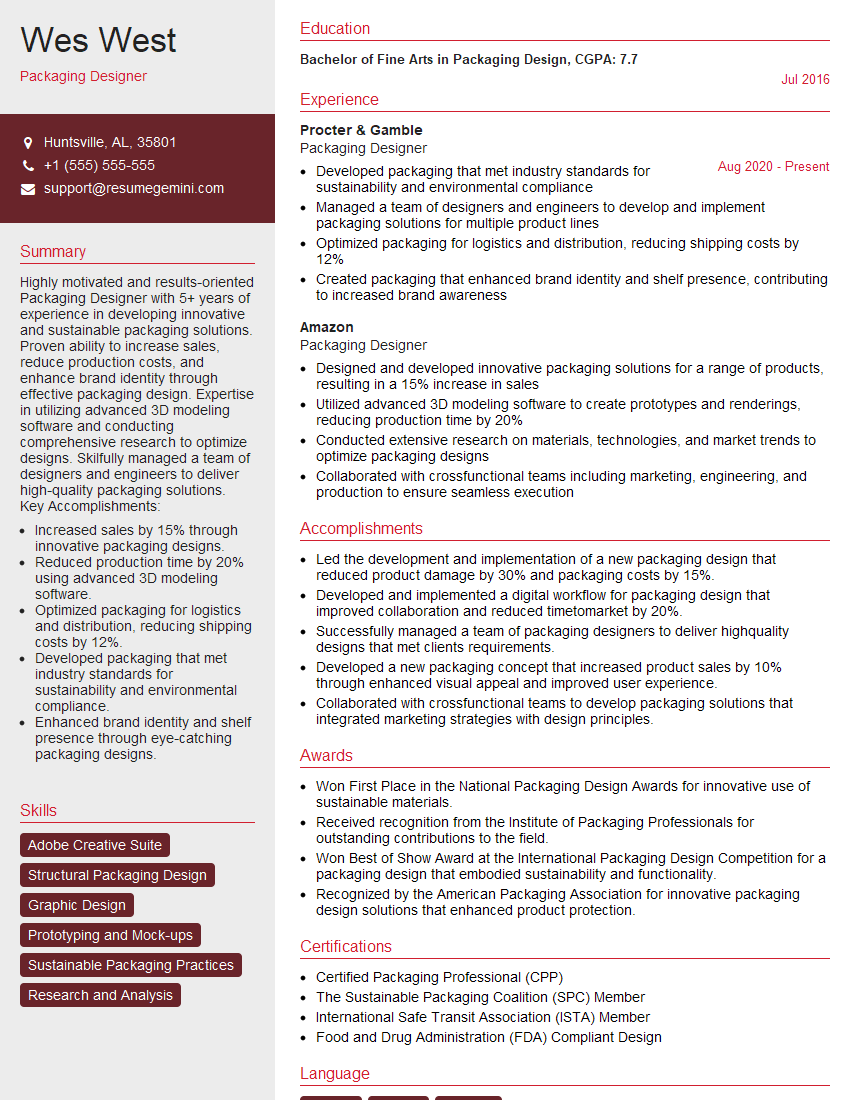
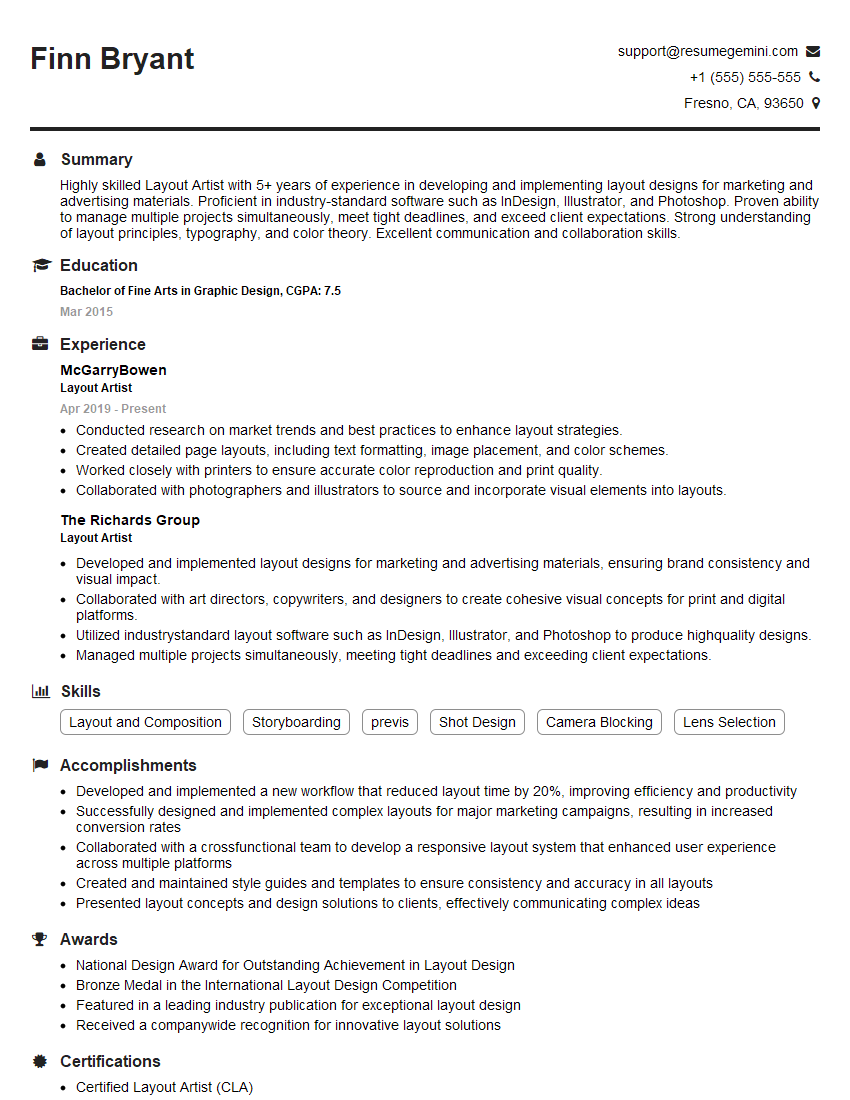
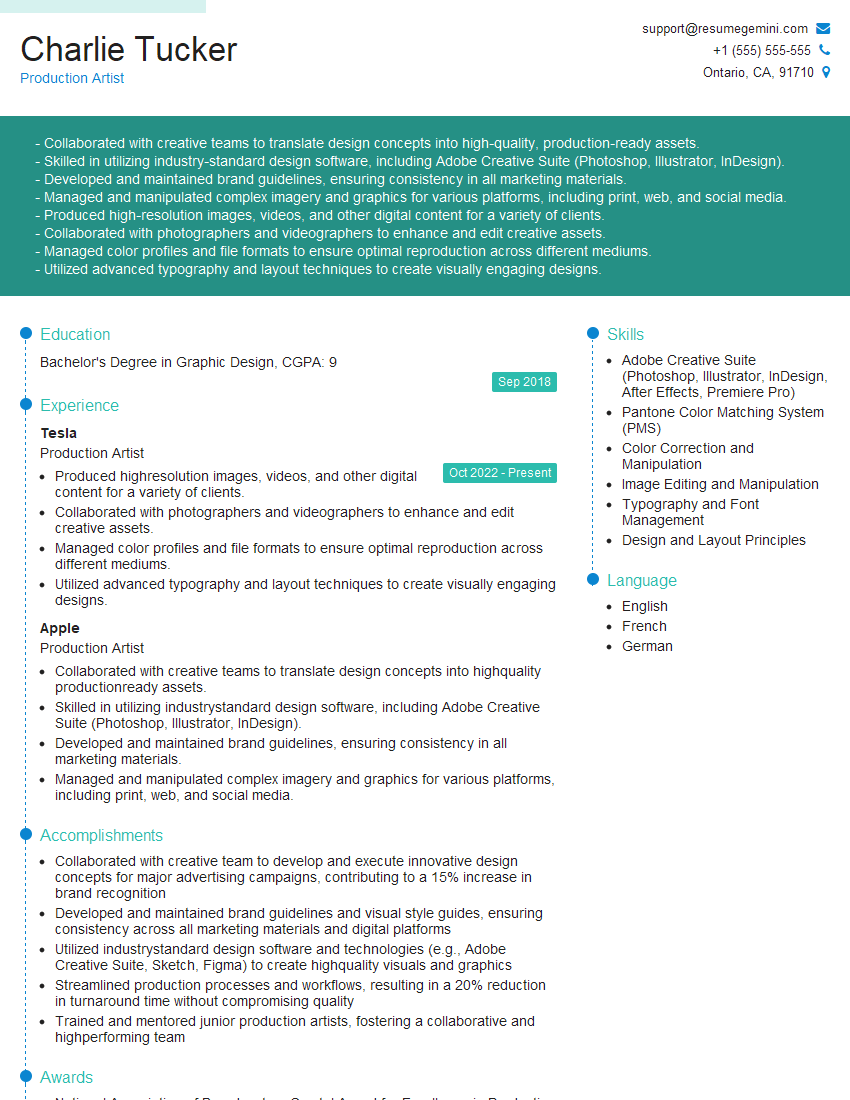
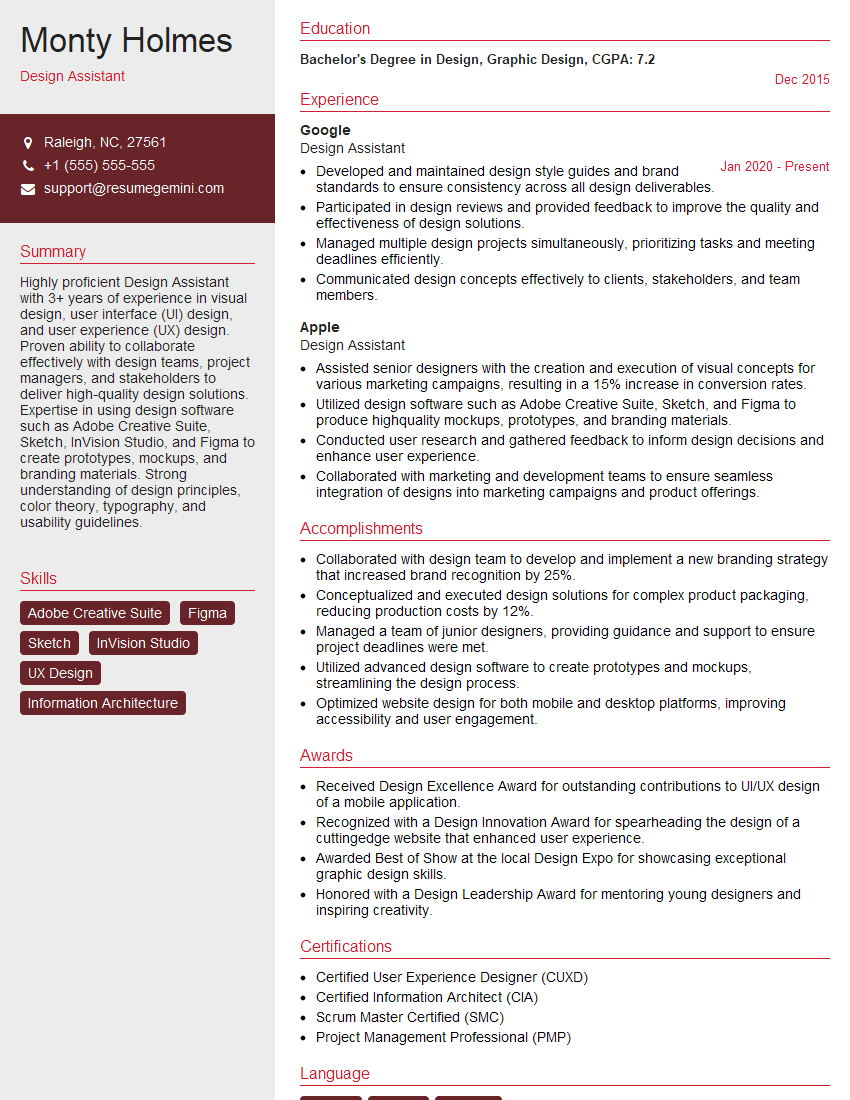
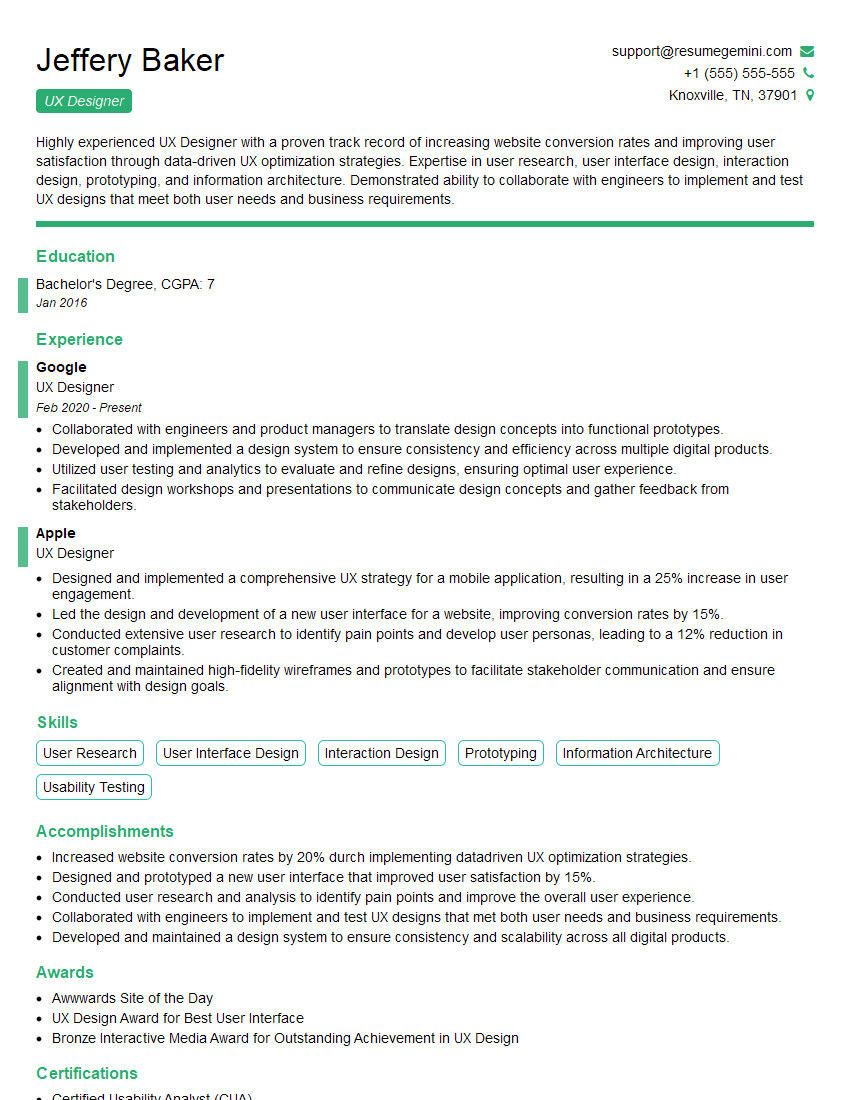
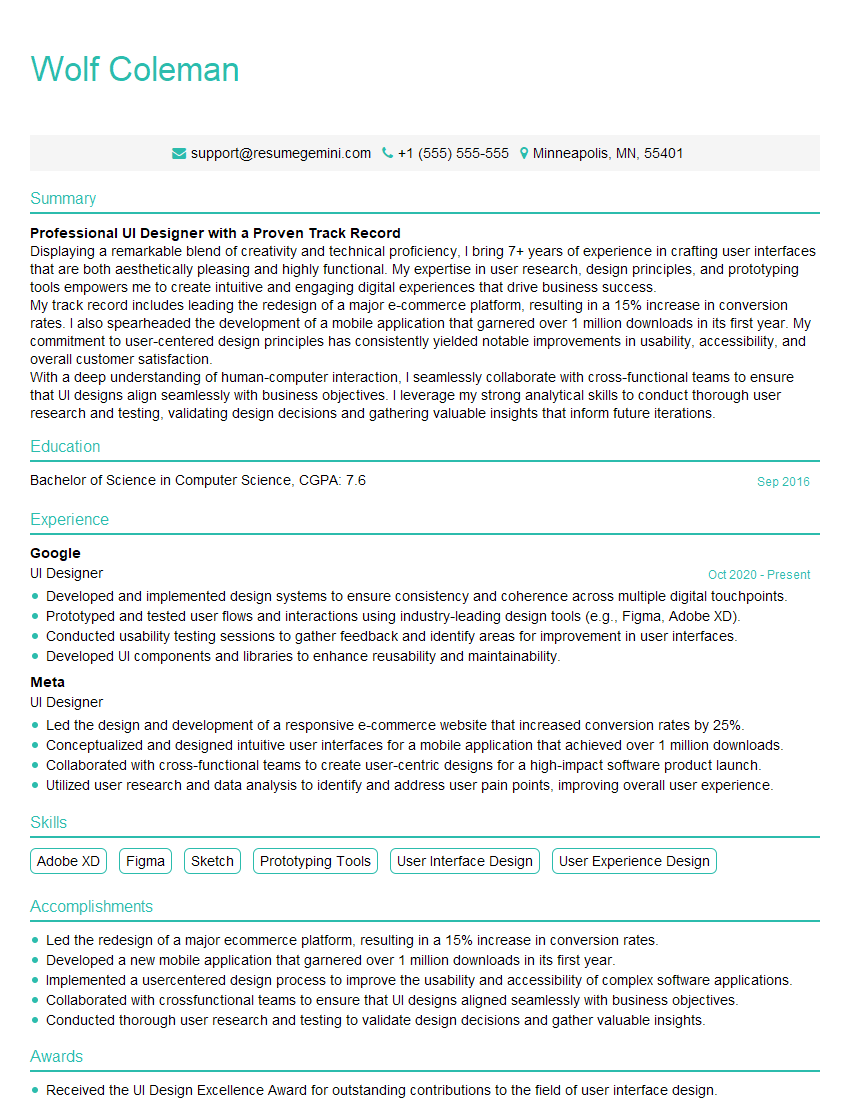
Mastering basic graphic design principles is crucial for career advancement in a competitive market. A strong understanding of these concepts will significantly enhance your job prospects and allow you to effectively communicate your skills to potential employers. Creating an ATS-friendly resume is key to getting your application noticed. We highly recommend using ResumeGemini to build a professional and impactful resume that highlights your skills and experience. ResumeGemini offers examples of resumes tailored to showcasing Basic Knowledge of Graphic Design, providing you with a valuable resource to craft your own compelling application.
Explore more articles
Users Rating of Our Blogs
Share Your Experience
We value your feedback! Please rate our content and share your thoughts (optional).
What Readers Say About Our Blog
Hi, I’m Jay, we have a few potential clients that are interested in your services, thought you might be a good fit. I’d love to talk about the details, when do you have time to talk?
Best,
Jay
Founder | CEO

