The thought of an interview can be nerve-wracking, but the right preparation can make all the difference. Explore this comprehensive guide to Basic Knowledge of Photography interview questions and gain the confidence you need to showcase your abilities and secure the role.
Questions Asked in Basic Knowledge of Photography Interview
Q 1. Explain the exposure triangle (aperture, shutter speed, ISO).
The exposure triangle is a fundamental concept in photography representing the interplay between three key settings: aperture, shutter speed, and ISO. These three elements work together to determine the brightness of your image. Think of it like a three-legged stool – if one leg is weak, the whole thing collapses. A correctly exposed image is balanced across all three.
- Aperture: Measured in f-stops (e.g., f/2.8, f/5.6, f/11), it controls the size of the opening in your lens. A wider aperture (smaller f-number) lets in more light, creating a shallow depth of field (blurry background). A narrower aperture (larger f-number) lets in less light, resulting in a greater depth of field (more in focus).
- Shutter Speed: Measured in seconds or fractions of a second (e.g., 1/200s, 1/60s, 1s), it determines how long the camera’s sensor is exposed to light. Faster shutter speeds freeze motion, while slower shutter speeds blur motion, often creating a sense of movement.
- ISO: This setting measures the sensitivity of your camera’s sensor to light. A lower ISO (e.g., ISO 100) is less sensitive, resulting in cleaner images with less noise (grain), but requires more light. A higher ISO (e.g., ISO 3200) is more sensitive, allowing for shooting in low-light conditions, but introduces more noise.
Example: Imagine you’re photographing a fast-moving sports car. To freeze the motion, you’d use a fast shutter speed (e.g., 1/1000s). To keep the car sharp, you might choose a narrow aperture (e.g., f/8). If it’s a dimly lit stadium, you might need to increase your ISO (e.g., ISO 800) to compensate for the lack of light. The balance of these three factors creates the correctly exposed image.
Q 2. What is depth of field and how do you control it?
Depth of field (DOF) refers to the area of an image that appears acceptably sharp. It’s the distance between the nearest and furthest points that are in focus. A shallow DOF results in a blurry background, drawing focus to your subject, while a deep DOF keeps everything in focus.
Depth of field is primarily controlled by the aperture. A wide aperture (small f-number like f/2.8) creates a shallow DOF, blurring the background and isolating the subject. A narrow aperture (large f-number like f/16) creates a deep DOF, keeping both the foreground and background sharp. Other factors influencing DOF include the focal length of the lens (longer lenses tend to have shallower DOF), the distance to the subject (closer subjects have shallower DOF), and the sensor size (larger sensors tend to have shallower DOF).
Example: A portrait photographer might use a wide aperture (f/1.4) to blur the background and focus attention on the person’s face. A landscape photographer might use a narrow aperture (f/16) to ensure both the foreground flowers and the distant mountains are in focus.
Q 3. Describe the rule of thirds and its application.
The rule of thirds is a composition guideline that suggests placing key elements of your image along imaginary lines that divide the frame into thirds both horizontally and vertically. The intersections of these lines are often considered ideal places to position points of interest.
By following the rule of thirds, you create a more visually appealing and balanced composition. Instead of centering your subject, you offset it, leading the viewer’s eye through the image in a more engaging way. This creates a more dynamic and less static feel. It naturally guides the eye and creates visual interest.
Example: When photographing a landscape, instead of placing the horizon in the center, position it along the upper or lower horizontal third. If you’re taking a portrait, place the person’s eye along one of the intersecting points of the grid, rather than in the exact center of the frame.
Q 4. What are different types of camera lenses and their uses?
Camera lenses come in a variety of types, each serving a specific purpose:
- Wide-angle lenses: These lenses have a short focal length (e.g., 14-35mm) and capture a wide field of view. They are ideal for landscapes, architecture, and group photos.
- Standard lenses: These lenses have a focal length close to the diagonal of the sensor (e.g., 50mm for a full-frame camera), providing a natural perspective similar to human vision. They are versatile and suitable for a wide range of subjects.
- Telephoto lenses: These lenses have long focal lengths (e.g., 70-200mm, or even longer) and magnify distant subjects. They are excellent for wildlife, sports, and portrait photography where a shallow depth of field is desired.
- Macro lenses: These lenses are designed for extreme close-up photography, allowing you to capture incredibly detailed images of small objects like insects or flowers.
- Zoom lenses: These lenses offer a variable focal length, allowing you to zoom in and out without changing lenses. They offer convenience but may not match the image quality of prime lenses (lenses with a fixed focal length) at every focal length.
Example: A wildlife photographer might use a telephoto lens to capture detailed shots of animals from a distance. A real estate photographer might use a wide-angle lens to showcase the spaciousness of a room.
Q 5. Explain the difference between RAW and JPEG image formats.
RAW and JPEG are two common image formats. The key difference lies in how they store image data.
- JPEG: This is a lossy format, meaning some image data is discarded during compression to reduce file size. This results in smaller files but can lead to a loss of image quality, especially with significant editing. It’s a good choice for sharing images online or for situations where file size is a concern.
- RAW: This is a lossless format that stores uncompressed or minimally compressed image data. It contains all the information captured by the sensor, allowing for greater flexibility during post-processing. Editing RAW files allows for significant adjustments to exposure, white balance, and other parameters without significant loss of quality. RAW files are much larger than JPEGs.
Example: If you’re shooting a high-stakes event where image quality is paramount, like a wedding, shooting in RAW provides significantly more editing latitude and ensures that you can correct any exposure or white balance issues in post-processing. If you’re simply taking quick snapshots for social media, JPEG is usually sufficient.
Q 6. How do you achieve proper white balance in photography?
White balance refers to the color temperature of your image. It ensures that white objects appear white in your photos, not tinted blue, orange, or another color. Incorrect white balance can lead to unnatural-looking colors.
You can achieve proper white balance in several ways:
- Auto White Balance (AWB): Your camera’s AWB setting attempts to automatically detect the color temperature of the light source. It works well in many situations but can sometimes be inaccurate.
- Preset White Balance: Most cameras offer preset white balance settings for common light sources like daylight, shade, cloudy, tungsten (incandescent), and fluorescent. Select the setting that best matches the lighting conditions.
- Custom White Balance: For more precise control, you can use a custom white balance setting. This involves taking a photo of a neutral gray or white card under the same lighting conditions as your subject. The camera uses this photo to create a custom profile for accurate white balance.
Example: If you’re shooting outdoors on a sunny day, selecting the ‘daylight’ white balance preset will generally yield accurate colors. If you’re shooting indoors under tungsten lighting, you should use the ‘tungsten’ setting. If you notice a color cast in your images, adjust your white balance settings accordingly.
Q 7. What are some common composition techniques?
Many composition techniques enhance the visual appeal and storytelling potential of your photos:
- Leading lines: Use lines (roads, fences, rivers) to guide the viewer’s eye through the image towards the main subject.
- Symmetry and patterns: Create visually appealing images by using symmetrical elements or repeating patterns.
- Framing: Use elements in the foreground (e.g., branches, arches) to frame the main subject and draw attention to it.
- Negative space: Use empty space around the subject to create a sense of calm or isolation.
- Perspective: Experiment with different viewpoints to create unique and engaging compositions. Get low to the ground, climb higher for a different view.
- Rule of Odds: Arranging subjects in odd numbers (three, five, etc.) is often more visually appealing than even numbers.
Example: A photo of a lone tree standing in a vast field uses negative space effectively to highlight the tree’s isolation. A photograph of a winding road leading towards a mountain uses leading lines to guide the viewer’s eye.
Q 8. Describe your experience with lighting techniques (natural and artificial).
My experience with lighting is extensive, encompassing both natural and artificial sources. Understanding light is paramount in photography; it shapes mood, reveals texture, and dictates the overall aesthetic. With natural light, I’m adept at utilizing the golden hour (the hour after sunrise and before sunset) for warm, soft light ideal for portraits and landscapes. I also understand how to work with diffused light on overcast days, which creates even illumination, minimizing harsh shadows. For artificial lighting, I’m proficient in using various modifiers such as softboxes, umbrellas, and reflectors to control the direction, intensity, and quality of the light. For instance, a softbox diffuses the light, creating a soft and flattering effect on a subject’s face, while a reflector bounces light back into shadows, filling them in and adding depth. I’ve worked extensively with continuous lighting (LEDs) for video and still photography, and strobe lighting for more dramatic and controlled effects, particularly in studio environments. I can carefully balance ambient and artificial light to achieve specific creative outcomes. I regularly experiment with different lighting setups to achieve unique looks and moods.
Q 9. Explain the concept of histogram in photography.
The histogram is a graphical representation of the tonal distribution in your image. Think of it as a visual summary of your photo’s brightness values, ranging from pure black (on the left) to pure white (on the right). The height of each bar represents the number of pixels at a particular brightness level. A histogram helps you assess exposure, contrast, and highlight/shadow detail. For example, a histogram peaking heavily on the left indicates an underexposed image, whereas one heavily on the right indicates overexposure. Ideally, you want a histogram that’s balanced, with a good distribution of tones across the range, preventing blown-out highlights (pure white, lacking detail) and crushed shadows (pure black, lacking detail). Analyzing the histogram allows for on-the-spot adjustments during the shoot or informs post-processing adjustments. A well-balanced histogram is usually a good indicator of a well-exposed photograph, though there are stylistic exceptions.
Q 10. How do you handle challenging lighting conditions?
Challenging lighting conditions often require creative problem-solving. For instance, harsh midday sun can create deep shadows and washed-out highlights. To combat this, I’ll use fill flash to lighten shadows or find shade to soften the light. Backlighting can result in a silhouetted subject; to solve this, I use a reflector to bounce light onto the subject’s face, or I might adjust my camera’s exposure settings to prioritize the subject’s exposure. Low-light situations necessitate increasing the ISO (sensitivity to light), using a wider aperture (lower f-number), and potentially a tripod to avoid camera shake. I’ll often utilize longer exposure times in low-light scenarios, which might require using a tripod to maintain image sharpness. Understanding the light’s direction and quality helps me choose the right approach, whether it’s adjusting camera settings, using light modifiers, or selecting a more suitable time for the shoot.
Q 11. What editing software are you proficient in?
I’m proficient in Adobe Photoshop and Lightroom. Photoshop excels at detailed retouching, advanced compositing, and manipulating individual pixels, while Lightroom is my go-to for non-destructive editing, color grading, and batch processing of large numbers of images. I also have experience with Capture One, a professional-grade RAW processor known for its speed and color accuracy.
Q 12. Describe your workflow from shooting to post-processing.
My workflow begins with meticulous planning, including scouting locations and considering lighting conditions. During the shoot, I prioritize capturing images with proper exposure and composition. Afterward, I import my images into Lightroom for initial culling, basic adjustments (exposure, contrast, white balance), and keywording for easy searching. This non-destructive editing ensures I can always revert to the original file. If necessary, I’ll then move selected images to Photoshop for more extensive retouching or compositing. Finally, I export the images in the appropriate format and size for their intended use, whether it’s for web, print, or client delivery. This efficient process ensures high-quality results while maintaining good organizational practices.
Q 13. How do you manage large image files?
Managing large image files involves a multi-pronged approach. First, I shoot in RAW format, which retains more image data, but also results in larger file sizes. I use a high-capacity external hard drive and cloud storage for archiving purposes, ensuring redundancy. In Lightroom, I utilize smart previews which allow for faster editing without needing access to the original full-resolution files. I also regularly back up my entire library to a secondary hard drive, following the 3-2-1 backup strategy (three copies of data, on two different media, with one copy offsite). This protects against data loss due to hard drive failure or other unforeseen events. For client delivery, I export images at optimized sizes and formats according to their needs, avoiding unnecessarily large files.
Q 14. What is your experience with different types of cameras (DSLR, mirrorless, etc.)?
I have extensive experience with both DSLR and mirrorless cameras. I’ve worked with Canon, Nikon, and Sony systems, understanding their strengths and weaknesses. DSLRs, with their optical viewfinders, provide a direct view of the scene, which can be beneficial in bright sunlight. Mirrorless cameras offer advantages such as live view, silent shooting, and often smaller and lighter bodies. I find that the best camera is the one that best suits the specific project and my personal shooting style. My proficiency extends to understanding the impact of sensor size on image quality, dynamic range, and low-light performance. I am comfortable using various camera features, including manual and aperture priority modes to achieve the desired creative effect.
Q 15. Explain your understanding of focus points and autofocus modes.
Focus points determine where your camera will focus, ensuring the subject is sharp. Autofocus modes dictate how the camera selects those focus points. Think of it like this: focus points are the targets, and autofocus modes are the strategies for hitting those targets.
Focus Points: Most cameras offer multiple focus points, often arranged in a grid across the sensor. You can choose a single point for precise control, ideal for portraits where you want only the eyes in focus. Alternatively, you might use zone focusing (selecting a group of points) for more flexibility in action shots, or even automatic selection where the camera decides which point is best. The more focus points a camera has, the more flexibility you have in choosing your point of focus.
Autofocus Modes: These modes determine how the camera selects and tracks the focus points. Common modes include:
- Single-servo AF (One-Shot AF): Focuses once when you half-press the shutter, ideal for stationary subjects.
- Continuous-servo AF (AI Servo AF/Continuous AF): Continuously adjusts focus as the subject moves, perfect for sports or wildlife photography.
- Auto AF: The camera chooses the best AF mode automatically.
Choosing the right combination of focus points and autofocus mode is crucial for sharp images. For example, shooting a fast-moving car requires continuous-servo AF and likely a wide focus area to account for movement. A portrait might use single-servo AF with a single focus point on the eye.
Career Expert Tips:
- Ace those interviews! Prepare effectively by reviewing the Top 50 Most Common Interview Questions on ResumeGemini.
- Navigate your job search with confidence! Explore a wide range of Career Tips on ResumeGemini. Learn about common challenges and recommendations to overcome them.
- Craft the perfect resume! Master the Art of Resume Writing with ResumeGemini’s guide. Showcase your unique qualifications and achievements effectively.
- Don’t miss out on holiday savings! Build your dream resume with ResumeGemini’s ATS optimized templates.
Q 16. How do you approach storytelling through photography?
Storytelling through photography involves conveying a narrative or emotion through images. It’s not just about taking a technically perfect picture; it’s about evoking a feeling or telling a story to the viewer. This involves careful consideration of composition, lighting, subject matter, and sequencing of photographs, much like chapters in a book.
For instance, photographing a street performer requires more than just a sharp image. To tell a story, you might focus on the interaction between the performer and the audience, perhaps a series of images showing their performance build to a crescendo, or capturing the nuances in their facial expressions. Similarly, photographing a landscape could go beyond simply capturing the beauty of the scene; it could show the vastness of the wilderness, emphasizing scale and distance to create a sense of adventure or solitude. The key is to communicate something beyond the obvious, inviting the viewer to engage with the narrative you’re presenting.
Q 17. Describe a time you had to troubleshoot a technical issue during a photoshoot.
During a wedding shoot, my flash unexpectedly stopped working midway through the reception. The lighting was crucial for the candid shots, and suddenly, my key light source was gone. My first step was to stay calm and assess the situation. I quickly checked the batteries and the flash’s settings, but the problem persisted. Then, I remembered a backup solution: I had a small speedlight that I could mount on my camera.
The speedlight wasn’t as powerful as my primary flash, but it provided sufficient fill light for the remaining shots. I adjusted my camera settings to compensate for the reduced light, increasing the ISO and adjusting the aperture. While the images weren’t as perfectly lit as originally planned, I was able to salvage the shoot and provide the couple with usable images. This experience reinforced the importance of having backup equipment and a plan B, always anticipating potential technical issues.
Q 18. How do you maintain the quality of your images during post-processing?
Maintaining image quality during post-processing requires a careful approach that focuses on non-destructive editing. My workflow prioritizes preserving the original file while making adjustments. I avoid over-sharpening or over-saturation which can result in artificial-looking images.
My process typically involves:
- Careful cropping and straightening: Improving composition without significant loss of resolution.
- Selective adjustments: Using tools like curves and levels to fine-tune exposure, contrast, and color balance, working on specific areas instead of applying global changes.
- Non-destructive editing: Using layers and adjustment layers to make changes that can be easily reversed or modified.
- Minimal noise reduction: Using noise reduction tools sparingly to avoid losing detail.
- Careful sharpening: Employing sharpening techniques with awareness of potential artifacts.
The goal is to enhance the image, not to drastically alter it. A subtle enhancement is usually more effective and preserves the integrity of the original photograph.
Q 19. What are your preferred methods for backing up your images?
Image backup is paramount. I use a multi-layered approach to ensure redundancy and safety. My strategy is based on the 3-2-1 rule: 3 copies of your data on 2 different media, with 1 copy stored offsite.
In practice, this means:
- Copy 1: On my primary hard drive (usually an SSD).
- Copy 2: On an external hard drive (HDD or SSD), stored separately.
- Copy 3: On a cloud storage service (like Backblaze, Google Drive, or similar), acting as an offsite backup.
Regularly verifying backups is critical. I schedule automated backups to occur daily and manually verify the cloud storage periodically. In case of a hard drive failure or accidental deletion, I have multiple backups to ensure the safety of my invaluable images.
Q 20. How familiar are you with different types of photographic printing?
I’m familiar with various photographic printing methods, each offering unique qualities and suitability for different applications.
- Inkjet Printing: Common for fine art prints and home printing, offering vibrant colors and excellent detail. Different ink types (dye-based or pigment-based) affect longevity and print quality. I often use this for personal projects and smaller-scale prints.
- Photographic Paper Prints (Traditional Darkroom): A classic method using light-sensitive paper and chemicals to produce prints. This method allows for precise control over contrast and tonality, though it’s more time-consuming and requires specialized equipment.
- Dye-Sublimation Printing: Often used for prints on specialty materials like mugs or phone cases. It produces vibrant, high-quality results, especially on non-standard surfaces.
- Giclée Printing: A high-quality inkjet printing process that uses archival-quality inks and papers to create prints with exceptional detail and longevity. Often preferred for fine art and gallery prints.
The choice depends on the project’s requirements and budget. For archival prints that need to last, giclée printing is generally preferred. For quick prints or smaller projects, inkjet printing is often sufficient.
Q 21. What is your understanding of color theory and its application in photography?
Color theory is the foundation of photography, impacting mood, emphasis, and overall visual appeal. Understanding color relationships—hue, saturation, and value—is essential for creating effective imagery. The color wheel is a crucial tool, demonstrating complementary, analogous, and triadic color harmonies.
Complementary colors (opposite on the color wheel, like blue and orange) create high contrast and visual excitement. Used judiciously, they draw the viewer’s eye. Analogous colors (adjacent on the wheel, such as blue, blue-green, and green) create a more harmonious and serene feeling. Triadic colors (equally spaced on the color wheel, like red, yellow, and blue) offer a vibrant and balanced palette.
In photography, color theory guides decisions about lighting, editing, and subject selection. For example, a portrait shot with a warm, golden light might evoke feelings of nostalgia, while cooler tones might create a more modern or serious feel. I often use color to emphasize a subject against a background. A red flower against a green field will naturally attract the eye because they are complementary.
Q 22. Explain the importance of copyright and image licensing.
Copyright and image licensing are crucial aspects of photography, protecting your work and defining how others can use it. Copyright, automatically granted upon creation, gives you exclusive rights to reproduce, distribute, display, and create derivative works from your images. Image licensing, on the other hand, allows you to grant specific rights to others for a fee or under specific conditions. For example, a photographer might grant a magazine a one-time right to publish an image in a specific issue under a ‘one-time use’ license. Failing to understand and properly manage these aspects can lead to legal issues and lost revenue.
There are various types of licenses, such as royalty-free (allowing multiple uses for a one-time fee), royalty-based (paying per use), and Creative Commons (offering varying levels of usage rights). Choosing the right license depends on your goals and how you want your work to be utilized. Properly watermarking your images and embedding metadata helps deter unauthorized use. It’s always advisable to consult with a legal professional for complex licensing agreements.
Q 23. How do you adapt your photography style to different clients’ needs?
Adapting my photography style to different clients involves understanding their vision and needs. This requires strong communication and the ability to translate their ideas into compelling visuals. For example, a corporate client might need clean, professional headshots, demanding a neutral background and consistent lighting. In contrast, a wedding photographer needs a more emotive and spontaneous style, capturing candid moments and genuine emotions. I achieve this through careful pre-shoot planning, including mood boards, location scouting, and detailed discussions regarding their desired aesthetic, color palettes, and overall feel.
I always ask questions like: “What is the overall message or feeling you want to convey?”, “What are your favorite images?” or “What are your biggest concerns for the shoot?” This process allows me to understand the client’s objectives and tailor my approach, gear, and post-processing accordingly, ensuring I deliver photos that meet and exceed their expectations.
Q 24. Describe your experience with working with models or clients.
I have extensive experience working with both models and clients, building strong rapport is key to successful shoots. With models, clear communication about poses, expressions, and the overall vision is essential. I create a comfortable and collaborative environment, offering guidance and positive feedback to help them feel confident and relaxed. This helps them naturally express themselves and capture authentic shots. I’ve worked with both experienced and aspiring models, adapting my directing style based on their individual experience levels.
With clients, understanding their needs and expectations is paramount. This includes not just the technical aspects of the photo shoot but also understanding their emotional goals— are they celebrating a milestone, launching a new business, or trying to portray a particular brand image? Building trust through clear communication and professional conduct consistently leads to successful outcomes and positive client testimonials. I always deliver high-quality images and meet deadlines, fostering long-term professional relationships.
Q 25. What is your experience with on-location photography?
On-location photography presents unique challenges and opportunities. My experience includes shoots in diverse environments, from bustling city streets to serene natural landscapes. Preparation is key— I always scout locations beforehand, considering factors like lighting, background clutter, accessibility, and potential permits required. I always have backup plans for unpredictable weather or unforeseen circumstances. Effective communication with the client is essential, so they’re informed about any potential challenges or adjustments during the shoot.
For instance, shooting outdoors requires managing natural light and adapting to its changes throughout the day. I utilize tools like reflectors and diffusers to control lighting and create the desired mood. Safety is also a prime consideration, especially in remote locations. Ensuring appropriate insurance coverage and taking necessary precautions is always a priority. My experience in diverse locations has honed my problem-solving skills and adaptability, helping me deliver excellent results even in unexpected situations.
Q 26. How do you stay up-to-date with new photography techniques and technologies?
Staying current in photography involves continuous learning. I regularly attend workshops and seminars, both online and in-person, to learn new techniques and software updates. I actively follow leading photographers and industry publications to stay abreast of the latest trends and technologies. Experimentation is also crucial. I dedicate time to practicing new techniques and exploring different approaches in my personal projects.
Online resources like photography blogs, tutorials, and online courses provide valuable insights. I also participate in online photography communities to share knowledge and get feedback from fellow photographers. This multifaceted approach keeps my skills sharp and ensures I’m ready to adapt to evolving technological advancements and stylistic changes in the field.
Q 27. What are your strengths and weaknesses as a photographer?
My strengths lie in my ability to connect with clients, understand their vision, and translate it into compelling visuals. I excel at problem-solving and adapting to unexpected challenges during shoots. My attention to detail ensures high-quality images, and I’m proficient in post-processing techniques. I also possess strong communication skills which are vital in building client relationships.
One area for improvement is time management during large-scale projects with many moving parts. Although I’m efficient in individual tasks, streamlining my workflow and optimizing my scheduling strategies would improve overall efficiency. I’m actively working on implementing better project management techniques to address this weakness.
Q 28. Where do you see yourself in 5 years in the field of photography?
In five years, I envision myself having established a strong and reputable brand in photography. I aspire to specialize in a niche area, possibly wedding or fine-art photography, and expand my network of collaborators, including stylists, makeup artists, and other creatives. I plan to explore opportunities in teaching and mentoring aspiring photographers, sharing my knowledge and experience. Continuous learning and adapting to the evolving industry landscape will be my guiding principles as I grow professionally.
My goal is to be recognized for delivering high-quality work while building lasting relationships with my clients. I envision utilizing advanced technology like AI-assisted editing tools to increase efficiency, but still maintaining a focus on the artistic and emotional aspects of photography.
Key Topics to Learn for Your Basic Knowledge of Photography Interview
- Exposure Triangle: Understanding the interplay between aperture, shutter speed, and ISO, and how to adjust them to achieve desired image brightness and depth of field. Practical application: Explain how you would adjust settings for a low-light portrait versus a bright landscape.
- Composition and Framing: Mastering techniques like the rule of thirds, leading lines, and symmetry to create visually appealing and impactful images. Practical application: Describe how you would compose a photograph to emphasize a particular subject or create a sense of movement.
- Lighting: Identifying and utilizing various lighting conditions (natural and artificial) to enhance your photographs. Practical application: Discuss the differences between hard and soft light and how each affects a subject’s appearance.
- Camera Operation and Settings: Demonstrating familiarity with various camera modes (aperture priority, shutter priority, manual) and their appropriate uses. Practical application: Explain when you would choose each mode and why.
- Image Editing Basics: Understanding fundamental image editing techniques for adjustments in brightness, contrast, saturation, and cropping. Practical application: Describe your workflow for post-processing images, and the software you’re familiar with.
- File Formats and Storage: Understanding the differences between RAW and JPEG formats and best practices for organizing and storing digital photographs. Practical application: Explain the advantages and disadvantages of each format.
- Photography Genres: Demonstrating knowledge of different photography styles (e.g., portrait, landscape, street, product) and their specific techniques. Practical application: Discuss your experience or interest in particular genres.
Next Steps
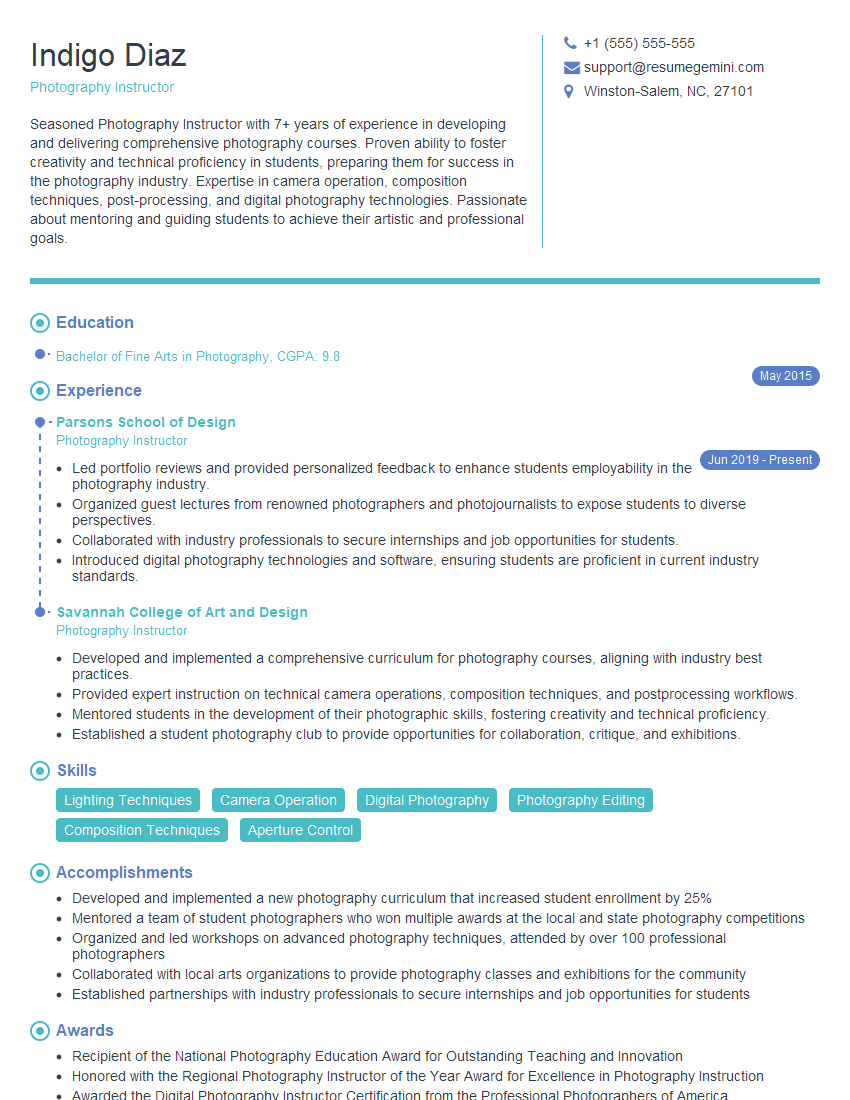
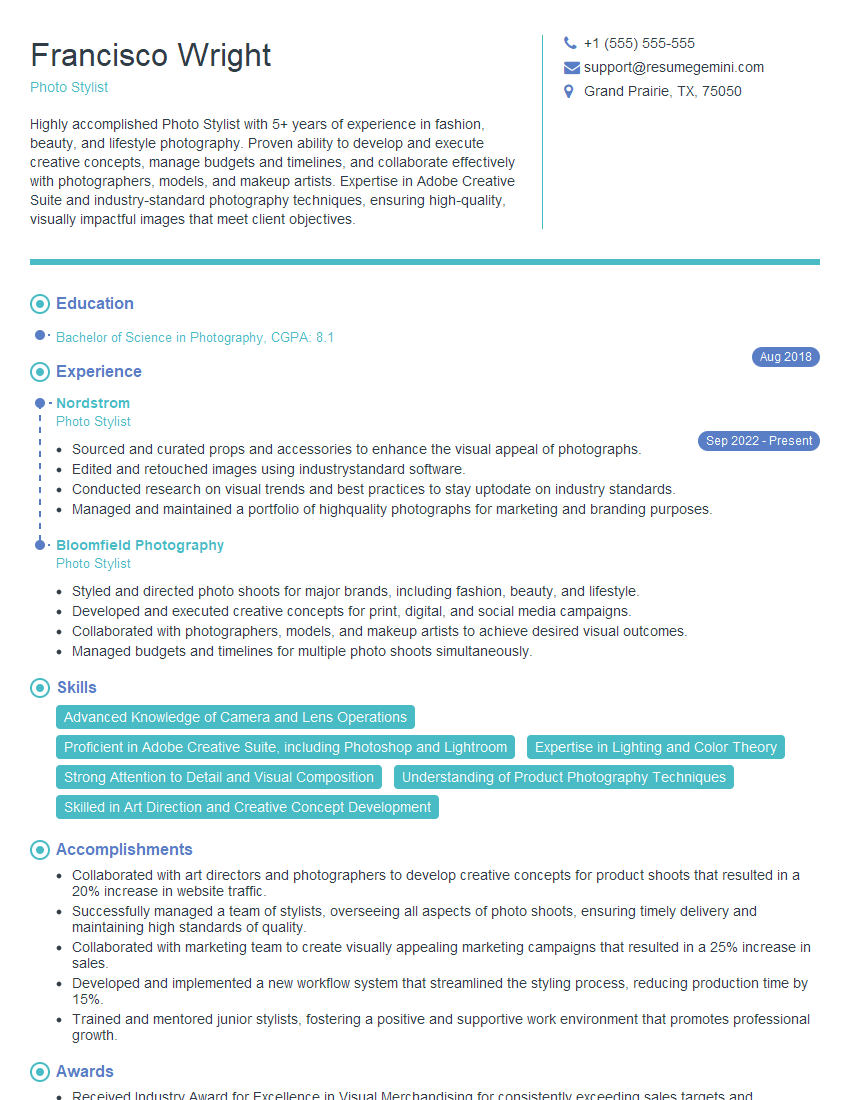
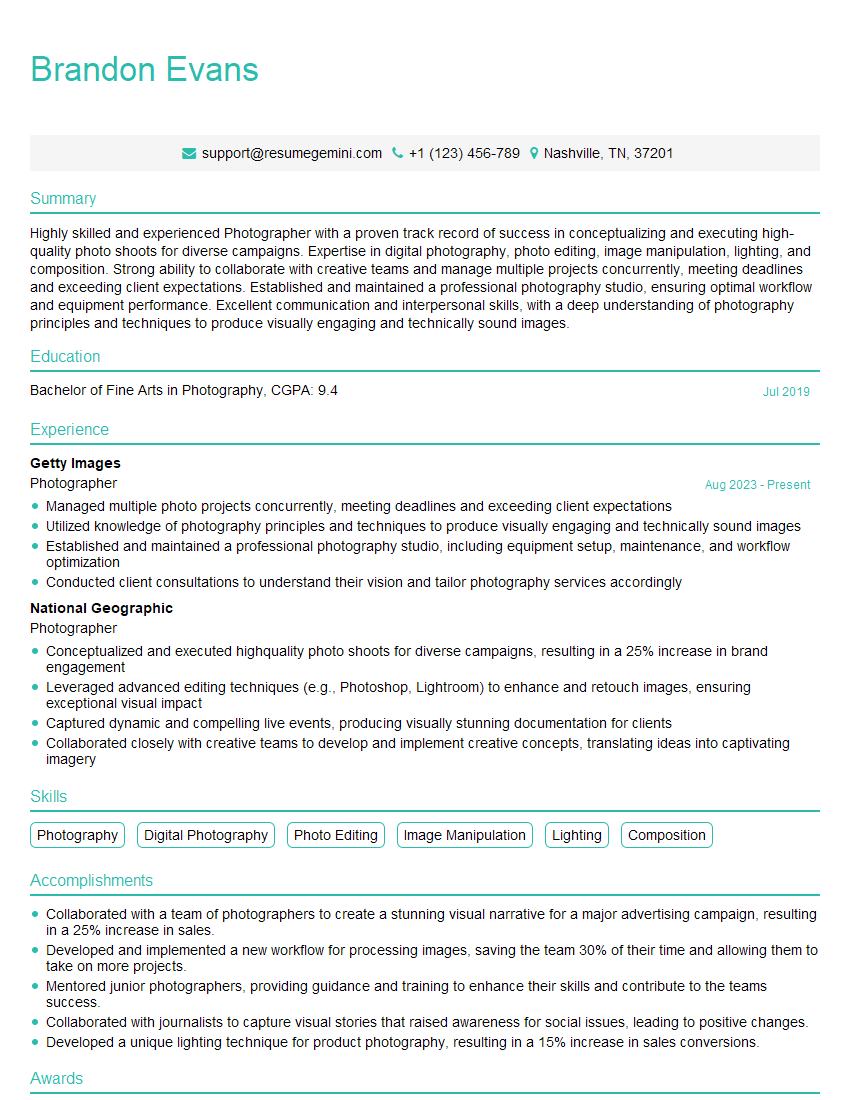
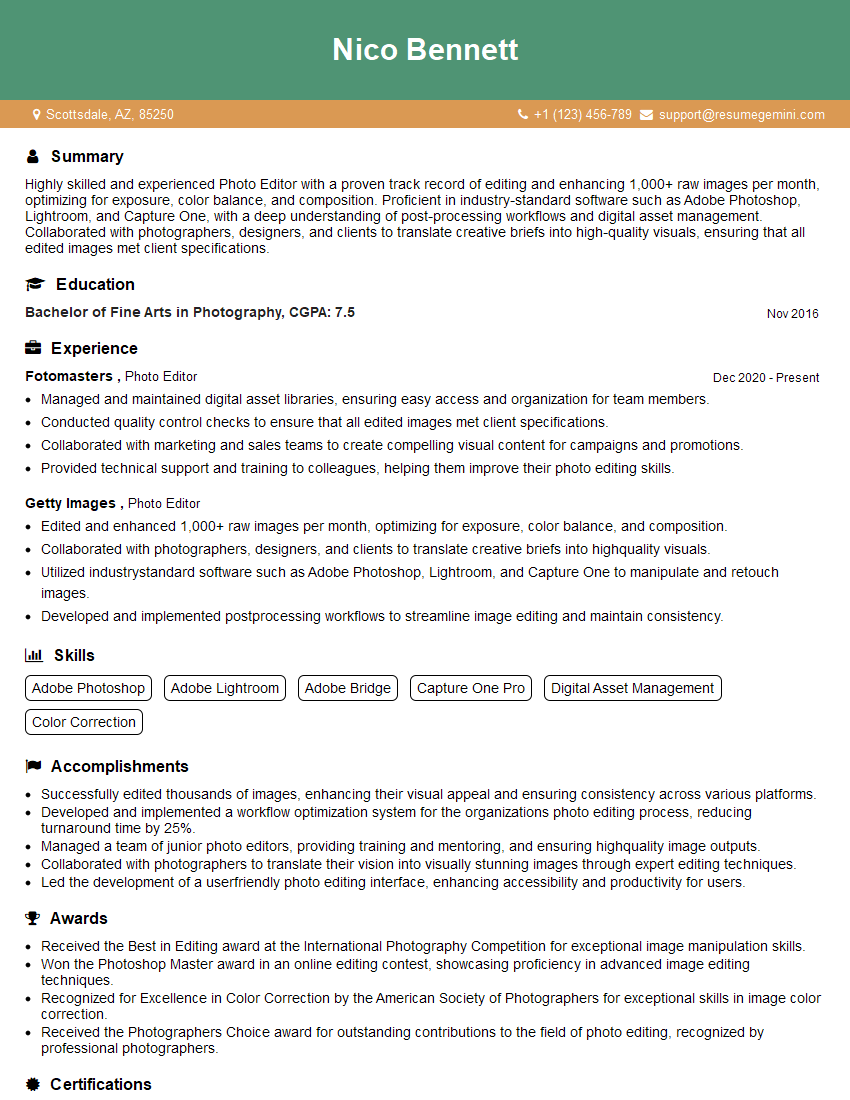
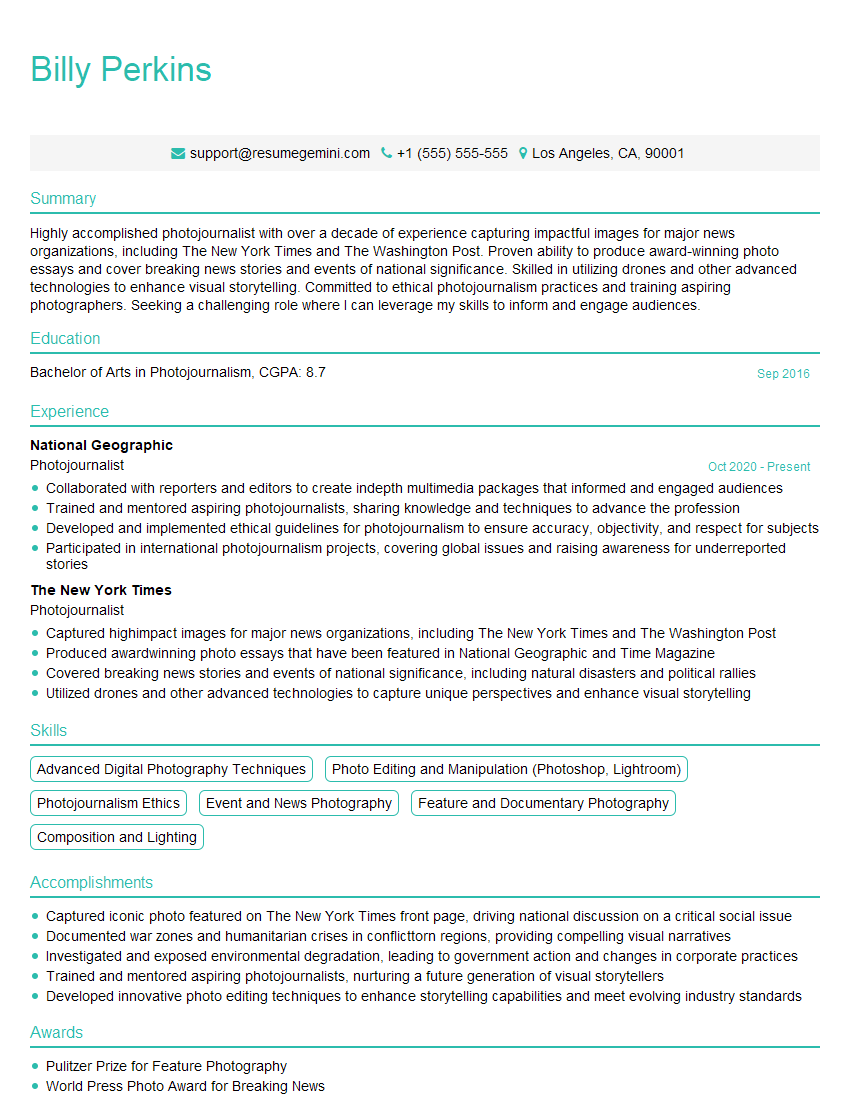
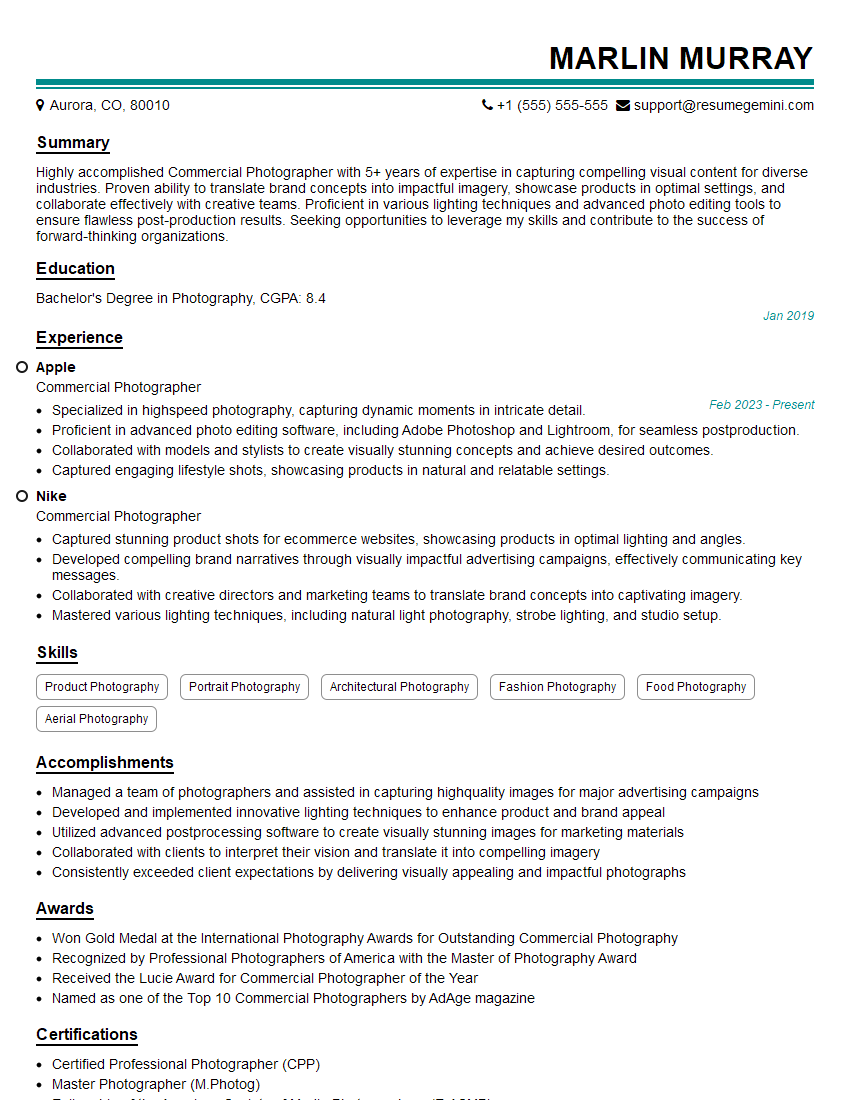
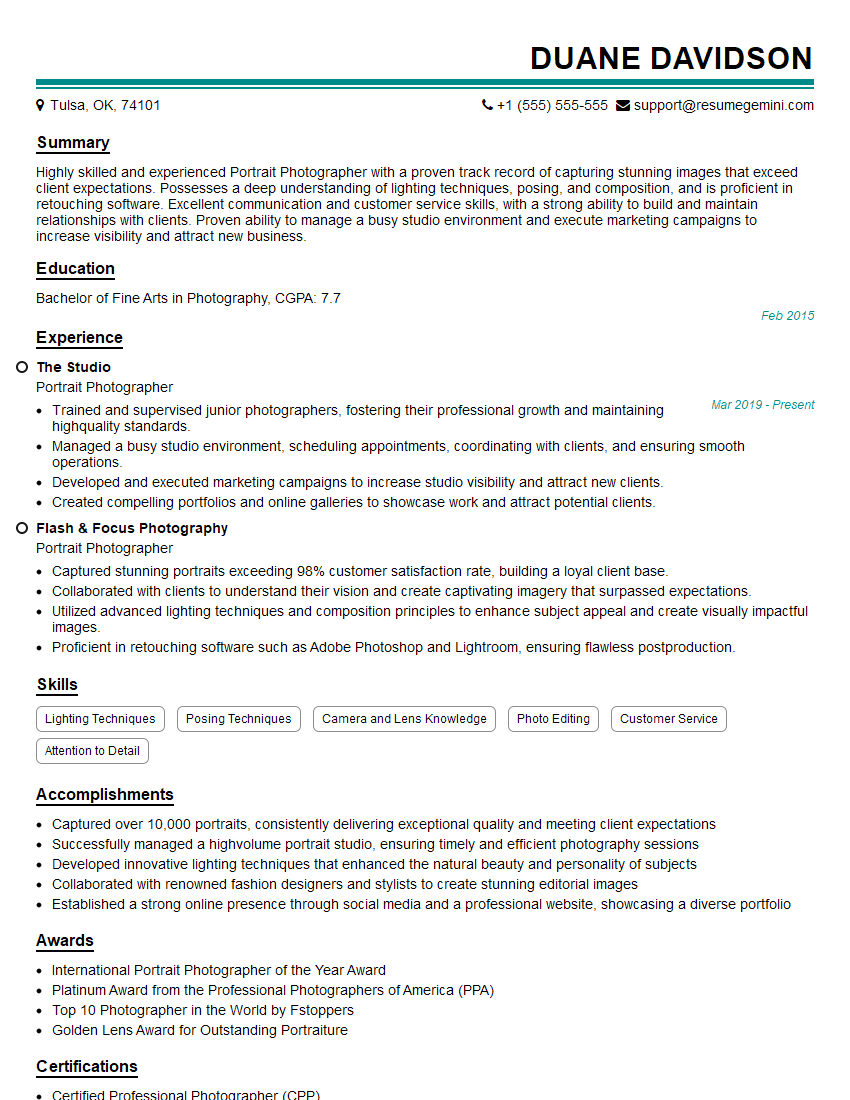
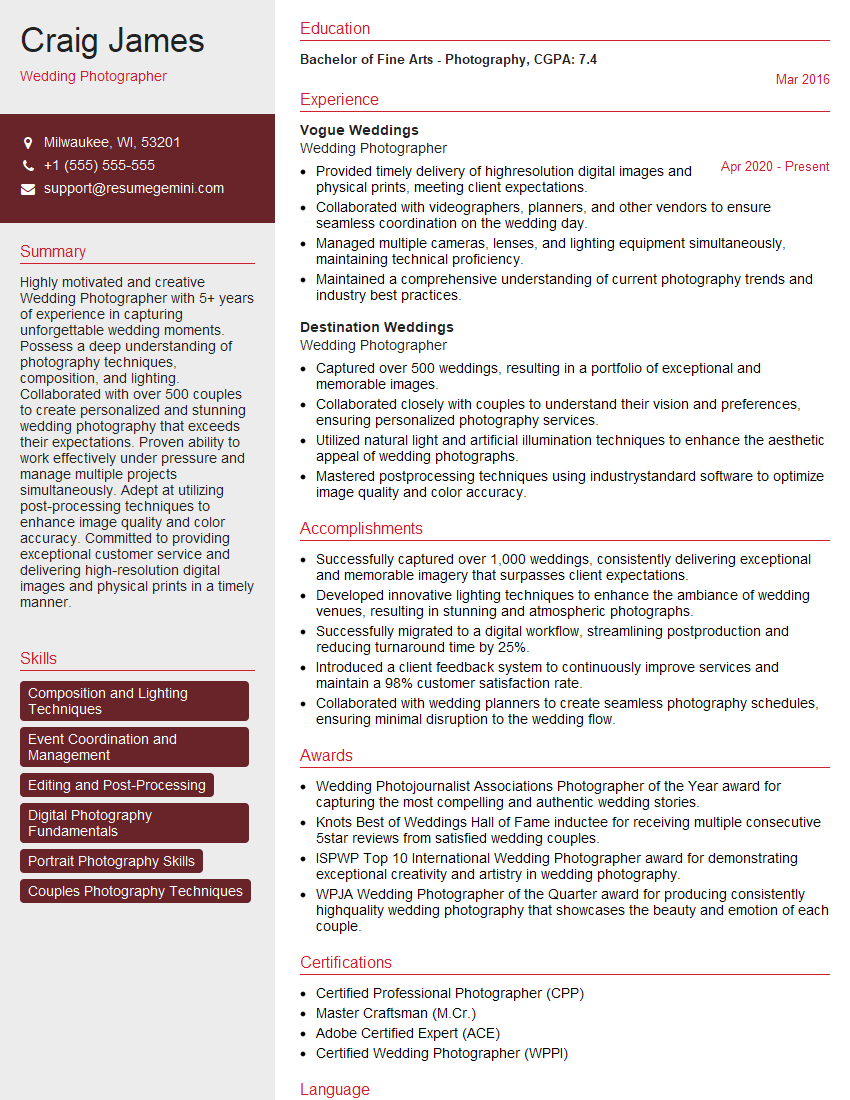
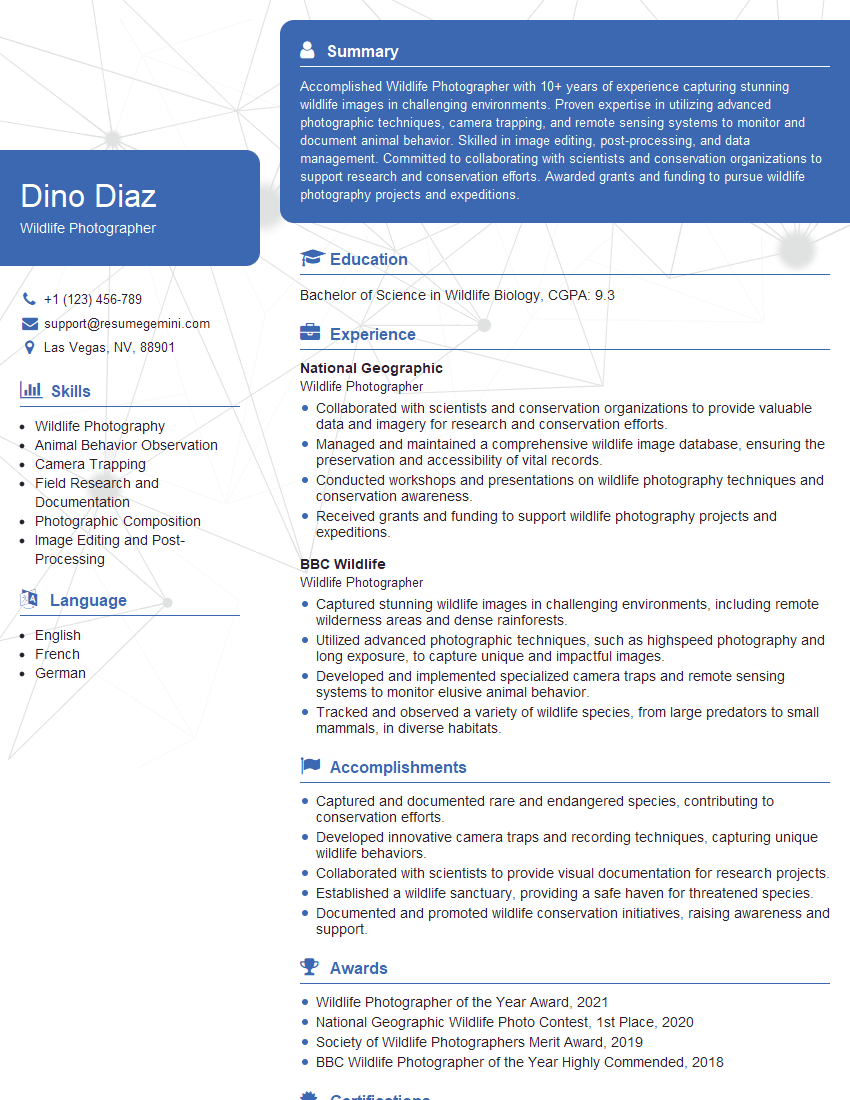
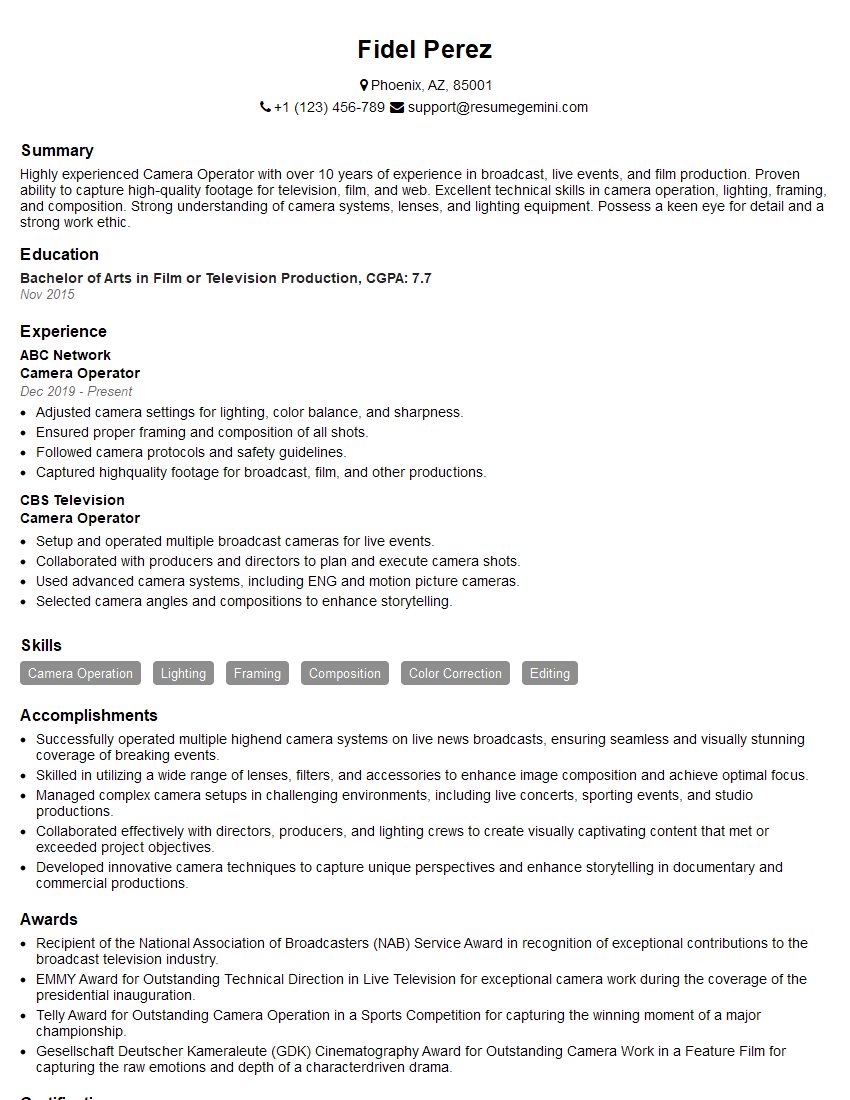
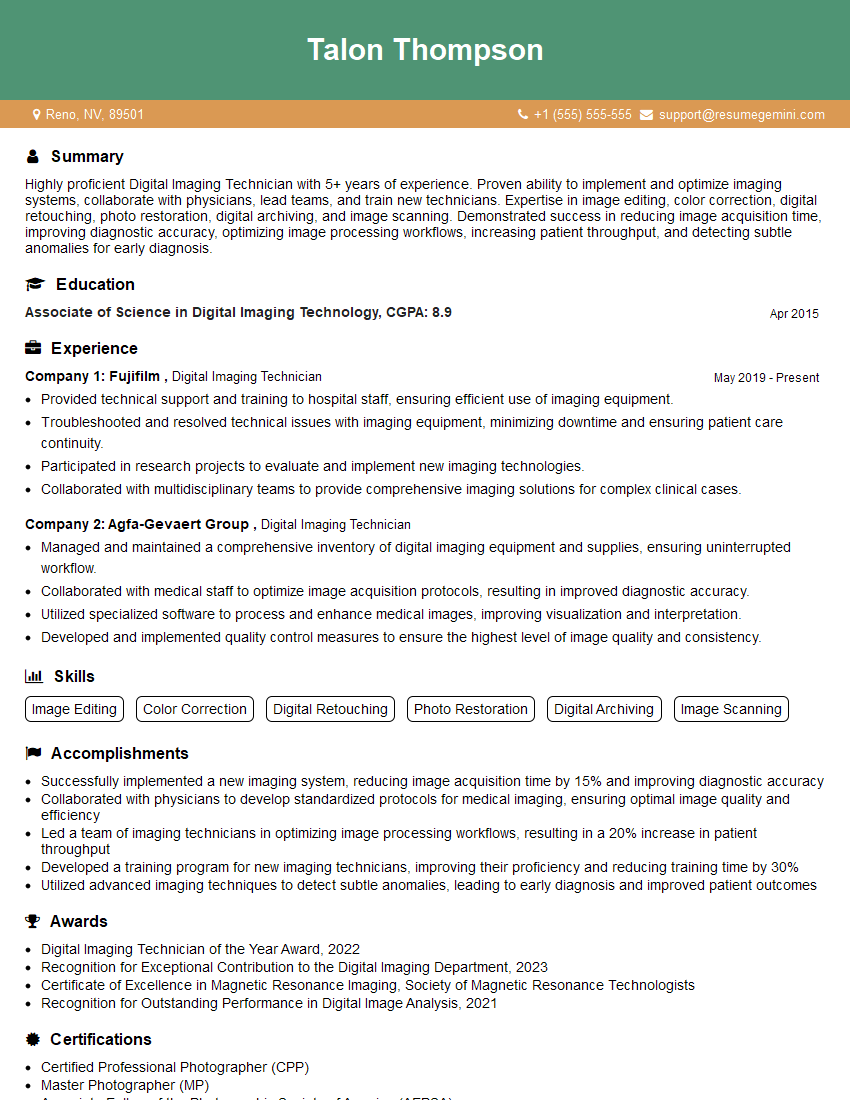
Mastering the basic knowledge of photography is crucial for career advancement in many creative fields. A strong understanding of these principles will significantly improve your chances of landing your dream role. To stand out, create an ATS-friendly resume that effectively highlights your skills and experience. ResumeGemini is a trusted resource that can help you build a professional and impactful resume tailored to the photography industry. Examples of resumes tailored to Basic Knowledge of Photography are available to guide you. Invest the time to create a compelling resume; it’s your first impression and a key to unlocking your career potential.
Explore more articles
Users Rating of Our Blogs
Share Your Experience
We value your feedback! Please rate our content and share your thoughts (optional).
What Readers Say About Our Blog
Hi, I’m Jay, we have a few potential clients that are interested in your services, thought you might be a good fit. I’d love to talk about the details, when do you have time to talk?
Best,
Jay
Founder | CEO
