Are you ready to stand out in your next interview? Understanding and preparing for Bike assembly interview questions is a game-changer. In this blog, we’ve compiled key questions and expert advice to help you showcase your skills with confidence and precision. Let’s get started on your journey to acing the interview.
Questions Asked in Bike assembly Interview
Q 1. What are the essential tools required for efficient bike assembly?
Efficient bike assembly requires a well-stocked toolkit. The essentials vary slightly depending on the bike type, but a comprehensive set should include:
- Allen wrenches (hex keys): A set covering sizes from 2mm to 6mm is crucial for most components.
- Screwdrivers: Both Phillips and flathead screwdrivers in various sizes are needed for various fasteners.
- Pedal wrench: This specialized wrench prevents damage when installing or removing pedals.
- Chain tool: Essential for connecting and disconnecting the bicycle chain. A master link pliers is also beneficial.
- Tire levers: These help mount and dismount tires without damaging the rims or tires.
- Torque wrench (optional but recommended): Ensures components are tightened to the manufacturer’s specifications, preventing damage.
- Grease and lubricant: Essential for smooth operation and to prevent premature wear and tear on moving parts.
- Cable cutters (optional): Used for cutting brake and derailleur cables to the correct length.
For example, I once had to assemble a bike with a seized bottom bracket. Having a quality set of Allen wrenches and a lubricant made the difference between a successful and frustrating assembly.
Q 2. Explain the process of assembling a bicycle wheel.
Assembling a bicycle wheel involves several steps, all demanding precision. First, ensure the wheel is true (not bent). Then:
- Install the tire: Use tire levers to carefully seat the tire onto the rim, ensuring the bead is properly seated in the rim channel. Inflate slightly to check the seat.
- Install the tube: Carefully insert the inner tube into the tire, making sure no valve stem gets pinched.
- Finish seating the tire: Continue seating the tire bead around the entire rim.
- Inflate the tire: Inflate to the pressure recommended on the tire sidewall.
- Check for proper seating: Inspect the tire bead thoroughly to ensure it’s correctly seated.
- Mount the wheel onto the frame: Align the wheel with the dropouts (the slots on the frame) and insert the quick release skewer or axle.
- Tighten securely: Ensure the wheel is tightly fastened without over-tightening.
Remember to check the tire pressure regularly. Incorrect inflation can cause premature wear or even failure.
Q 3. How do you ensure proper alignment of the brakes and gears during assembly?
Proper alignment of brakes and gears is critical for both safety and performance. For brakes:
- Caliper alignment: Ensure the brake calipers are equidistant from the rim and that the brake pads contact the rim evenly. Adjust using the barrel adjusters and caliper alignment screws.
- Cable tension: The brake cables should have appropriate tension—enough to engage the brakes fully but not so tight that the levers feel overly stiff or the brakes drag.
For gears:
- Derailleur alignment: Make sure the derailleurs (front and rear) are properly aligned with the cassette and chainrings. This involves adjusting the limit screws and cable tension. A slight adjustment may be necessary to eliminate chain rub.
- Cable tension: Proper cable tension is essential for accurate shifting. Adjust this using the barrel adjusters on the shifters and derailleurs.
- Indexing: Fine-tune the shifting by adjusting the cable tension so each gear shift is crisp and precise. Most modern derailleurs have easy indexing mechanisms.
Improper alignment and tension can lead to poor braking and shifting performance, sometimes leading to dangerous situations. A careful and systematic approach is key.
Q 4. Describe your experience with different types of bicycle frames (e.g., steel, aluminum, carbon fiber).
My experience spans across various bicycle frame materials. Each has unique properties:
- Steel: Offers a classic ride, known for durability, compliance (flexibility), and repairability. However, it’s heavier than other materials.
- Aluminum: Lightweight and stiff, making it ideal for performance-oriented bikes. It can be prone to fatigue if overstressed.
- Carbon fiber: The lightest and stiffest option, offering high performance and aerodynamic efficiency. However, carbon fiber frames are generally more expensive and require specialized repair techniques.
I’ve worked with many frames, each requiring a slightly different approach to assembly. For example, carbon fiber frames require extra care to prevent damage during assembly, using only appropriate torque wrenches and careful handling.
Q 5. How do you troubleshoot common issues encountered during bike assembly?
Troubleshooting is a common part of bike assembly. Some frequent issues include:
- Squeaky brakes: Usually solved by lubricating the brake pads or cables.
- Poor shifting: Often due to incorrect cable tension, derailleur alignment, or worn components, requiring cable adjustments and/or replacement of parts.
- Loose components: Tightening loose bolts or nuts usually rectifies this.
- Flat tires: Caused by punctures. Requires tire removal, tube replacement, and tire reinstallation.
- Wheel trueness: If a wheel is out of true (bent), it needs to be professionally trued or replaced.
My approach is systematic: I start with the simplest solution, progressing to more complex ones if necessary. Careful observation and a methodical process are essential.
Q 6. What safety precautions do you follow when assembling a bicycle?
Safety is paramount during bicycle assembly. My precautions include:
- Always wear safety glasses: To protect eyes from flying debris or sharp objects.
- Use the appropriate tools: Using the wrong tool can lead to injury or damage to components.
- Work in a well-lit and organized area: This minimizes the risk of accidents.
- Follow torque specifications: Over-tightening can strip threads or damage components.
- Never force components: If something doesn’t fit easily, there’s likely a problem—investigate before forcing it.
- Clean up after assembly: Discard broken components and dispose of waste properly.
One time, I neglected to wear safety glasses while removing a stubborn bolt, and a small piece of metal flew into my eye. It was a painful reminder of why safety precautions are indispensable.
Q 7. Describe your experience with different types of drivetrains (e.g., derailleur, internal hub).
I have experience with various drivetrain systems:
- Derailleur drivetrains: These are the most common type, using derailleurs to shift the chain between different gears. They offer a wide range of gears and are relatively easy to maintain.
- Internal hub drivetrains: The gears are housed within the rear hub. They are low-maintenance, offering clean shifting, and resistance to damage from the elements, but usually have a narrower gear range than derailleur systems.
Each system has its advantages and disadvantages. Derailleurs provide greater gear range, while internal hubs offer greater durability and simplicity. The best choice depends on the bike’s intended use and user preferences.
Q 8. How do you ensure that all components are properly tightened and secure?
Proper tightening is crucial for a safe and functional bike. It’s not just about making things snug; it’s about applying the correct torque to each component. Over-tightening can strip threads or damage parts, while under-tightening leads to looseness and potential failure. I use torque wrenches calibrated to the manufacturer’s specifications for each fastener. This ensures that every bolt, nut, and screw is secured to the precise tension recommended by the component manufacturer.
For example, a seatpost clamp might require 14 Nm of torque. Using a torque wrench prevents me from unintentionally over-tightening and damaging the carbon fiber seatpost. Similarly, I use different torque wrenches based on the size of the bolt and the material of the parts. For example, a smaller torque wrench might be used for delicate carbon parts, while a more robust one is used for steel components. I always double-check my work after completing assembly.
- Torque Wrench: The most important tool for ensuring proper tightening.
- Manufacturer Specifications: Always consult the manufacturer’s instructions for torque values.
- Double-Checking: A final visual inspection ensures all components are securely fastened.
Q 9. What is your experience with assembling different types of bicycles (e.g., road bikes, mountain bikes, hybrid bikes)?
My experience encompasses a wide range of bicycle types, including road bikes, mountain bikes, hybrid bikes, and even some specialized models like gravel bikes and cyclocross bikes. Each type presents unique challenges and requires specific knowledge of component compatibility and assembly techniques. Road bikes, for instance, emphasize lightweight components and precise shifting, while mountain bikes need robust construction to withstand rough terrain.
For example, assembling a road bike involves carefully adjusting derailleurs for smooth and precise shifting, while a mountain bike demands attention to suspension fork and shock setup, and requires knowledge of different brake systems. Hybrid bikes often blend features from both road and mountain bikes, requiring a balanced approach. This experience has taught me the importance of adapting my techniques to different frame geometries, component types, and intended use.
Q 10. How do you handle a situation where a part is damaged or missing during assembly?
Discovering a damaged or missing part during assembly requires a methodical approach. First, I carefully document the issue, noting the specific part, its condition (if damaged), and its location in the assembly process. Then, I consult the bike’s documentation and the manufacturer’s website to identify the exact part number and specifications. This is important because it avoids compatibility issues. If it’s a minor issue like a scratched part with no impact on functionality, I’d proceed with assembly after carefully assessing the cosmetic damage.
However, if the part is critical (like a broken derailleur hanger), or missing, I immediately halt the assembly process. I then contact the retailer or manufacturer to initiate a replacement or repair. In the case of replacement, it’s vital to use the identical part to maintain the intended functionality of the bicycle. I would explain the issue to the customer, setting clear expectations for the repair or replacement time.
Q 11. Explain your experience with installing and adjusting bicycle brakes (e.g., rim brakes, disc brakes).
I’m proficient in installing and adjusting both rim brakes and disc brakes. Rim brakes require precise alignment and cable tension adjustment for optimal braking performance and to avoid rim wear. This involves adjusting the brake calipers to ensure even pad contact with the wheel rims. Disc brakes require more attention to the rotor alignment and hydraulic system. For disc brakes, I need to be able to bleed the lines to remove air bubbles and ensure optimal braking force. Bleeding is a critical skill and requires specific tools and patience.
For example, if a customer’s rim brakes were squeaking, I would assess the pad alignment, check for any debris between the pads and the rim, and then adjust the cable tension. With disc brakes, if there is a lack of braking force, I would check for air in the hydraulic line and then bleed the system using the appropriate tools and procedures.
- Rim Brakes: Cable tension, pad alignment, and even contact are key.
- Disc Brakes: Hydraulic system bleeding and rotor alignment are critical.
Q 12. How familiar are you with different types of bicycle tires and their installation?
I’m very familiar with various bicycle tire types, including clincher, tubular, and tubeless tires. Each type has its own installation procedure and requires specific tools and techniques. Clincher tires are the most common type and are relatively easy to install and remove. Tubular tires require special glue and skill to mount, and tubeless tires need a special air pump and sealant. It is important to consider the intended use of the bicycle. Mountain bikes for instance will use more robust tires.
Understanding tire pressure is also key. Over-inflation can lead to pinch flats, and under-inflation reduces rolling efficiency and increases the risk of punctures. I always advise customers on the correct tire pressure for their weight, riding style, and terrain. Knowing how to correctly seat a bead on a rim is crucial, I have experience resolving tricky bead seating issues, often requiring specialized tire levers and techniques.
Q 13. How do you determine the correct size and type of bicycle components for a specific frame?
Determining the correct size and type of components for a specific frame involves careful consideration of several factors. First, I consult the frame’s manufacturer specifications. This usually includes the details about the correct type of bottom bracket, headset, seatpost diameter, and other specifications. I then cross-reference this information with the component manufacturer’s specifications to ensure compatibility. For example, a bottom bracket needs to match both the frame’s shell width and the crankset’s spindle length.
Component selection also depends on the intended use of the bike. A mountain bike frame might require a longer travel suspension fork than a road bike frame. Similarly, the choice of groupset (derailleurs, shifters, brakes) depends on the rider’s preferences and budget. Finally, I always consider the rider’s dimensions (height and inseam) to select appropriate size components like the frame itself, handlebars, and seatpost.
Q 14. What is your experience with using specialized tools for bike assembly (e.g., bottom bracket press, headset press)?
I have extensive experience with specialized tools used in bike assembly, including bottom bracket presses, headset presses, and various specialized wrenches. These tools are essential for precise and damage-free installation of critical components. For instance, using a bottom bracket press ensures that the bottom bracket is properly seated without damaging the frame or the bottom bracket itself. Improper installation could lead to creaking or even frame damage.
Similarly, a headset press ensures the correct installation of the headset components, ensuring smooth steering. Using these tools correctly is crucial for both mechanical function and safety. I am also proficient with various specialized wrenches for tasks like tightening cassette sprockets. I always prioritize using the right tool for the job to minimize the risk of damage or incorrect installation.
Q 15. Explain your process for inspecting a completed bicycle assembly for quality control.
My quality control process for a completed bicycle assembly is meticulous and follows a structured checklist. It’s like performing a pre-flight check on an airplane – every detail matters. I begin with a visual inspection, checking for any obvious defects or damage to the frame, components, and paintwork. Then, I move to a functional check. This involves:
- Wheel trueness: I spin each wheel and check for lateral and radial wobble using a truing stand. Any significant wobble needs correction.
- Brake function: I test both front and rear brakes, ensuring they engage properly and provide adequate stopping power. I check for brake pad wear and alignment.
- Gear shifting: I test the gear shifting mechanism, ensuring smooth and precise shifting through all gears. I check for cable tension and derailleur adjustment.
- Steering and headset: I check for play in the headset and handlebar, ensuring smooth and precise steering.
- Tire pressure: I inflate tires to the manufacturer’s recommended pressure, verifying no leaks.
- Bolt tightness: I use a torque wrench to ensure all critical bolts are tightened to the manufacturer’s specifications to prevent looseness or damage. This is crucial for safety.
Finally, I perform a test ride to evaluate the overall performance and handling of the bicycle. This final check allows me to identify any subtle issues that might have been missed during the static inspection. A thorough inspection ensures customer satisfaction and, most importantly, safety.
Career Expert Tips:
- Ace those interviews! Prepare effectively by reviewing the Top 50 Most Common Interview Questions on ResumeGemini.
- Navigate your job search with confidence! Explore a wide range of Career Tips on ResumeGemini. Learn about common challenges and recommendations to overcome them.
- Craft the perfect resume! Master the Art of Resume Writing with ResumeGemini’s guide. Showcase your unique qualifications and achievements effectively.
- Don’t miss out on holiday savings! Build your dream resume with ResumeGemini’s ATS optimized templates.
Q 16. How do you handle customer complaints or issues related to assembled bicycles?
Handling customer complaints is paramount. My approach is centered around empathy, understanding, and finding a swift resolution. I start by actively listening to the customer’s concerns, asking clarifying questions to fully grasp the issue. I then carefully examine the bicycle to pinpoint the problem. This could involve anything from a simple adjustment to a more complex repair.
For example, if a customer reports difficulty shifting gears, I’d check cable tension, derailleur alignment, and the condition of the shifter itself. If the problem is a faulty component, I initiate the repair or replacement process, ensuring the customer is kept informed every step of the way. I always aim for a quick turnaround and to exceed the customer’s expectations. In the rare case of a manufacturing defect, I liaise with the supplier to initiate a warranty claim. Excellent communication and a commitment to solving the problem promptly are vital to maintaining customer loyalty and building trust.
Q 17. Describe your experience with repairing or replacing bicycle components.
My experience with repairing and replacing bicycle components is extensive. I’m proficient in working on all major components, including wheels, brakes, derailleurs, groupsets, and bottom brackets. I’ve tackled everything from simple tube replacements to complex drivetrain overhauls. My approach is methodical and systematic. I start by diagnosing the issue precisely before undertaking any repair.
For instance, if a wheel is damaged, I would assess the extent of the damage before deciding on repair or replacement. Minor spoke damage might be fixable by truing the wheel, while a severely damaged rim would require a replacement. I utilize specialized tools to perform the repairs accurately and efficiently. This includes truing stands, spoke wrenches, torque wrenches, and various specialized tools for different component systems. Safety is always my top priority, and I adhere to strict safety procedures during all repair tasks.
Q 18. What is your experience with working on e-bikes and their specific components?
I have significant experience working on e-bikes, understanding their unique challenges and components. While the basic bicycle assembly principles remain the same, e-bikes introduce the complexity of the electrical system. My knowledge encompasses:
- Battery systems: I’m familiar with various battery types, charging procedures, and troubleshooting battery-related issues. This includes diagnosing issues with charging, battery performance and safety.
- Motor systems: I can diagnose and repair issues related to the motor, controller, and wiring harness, understanding the nuances of different motor types (hub motors, mid-drive motors).
- Display units: I can troubleshoot and resolve issues with the e-bike’s display unit, understanding the interactions between the different electronic components.
- Software and firmware: I’m familiar with updating firmware and diagnostics via specialized software for e-bike systems.
Working with e-bikes requires a high level of understanding of both mechanical and electrical systems. Safety is particularly critical due to the electrical aspects, so I strictly adhere to appropriate safety precautions.
Q 19. Explain your understanding of bicycle geometry and its impact on the assembly process.
Bicycle geometry is fundamental to a comfortable and efficient ride and directly impacts the assembly process. It refers to the angles and dimensions of the frame, which influence handling, stability, and rider fit. Understanding geometry is crucial for proper component installation and achieving optimal performance.
For example, the head tube angle affects steering responsiveness: a steeper angle leads to quicker handling, while a more relaxed angle offers more stability. Similarly, the chainstay length impacts wheelbase and handling, affecting agility and stability. During assembly, I ensure components such as the stem, handlebars, and seatpost are installed according to the manufacturer’s specifications and the bike’s geometry chart. Incorrect installation can lead to poor handling, discomfort, and even safety issues. It’s about meticulously following the manufacturer’s blueprint to guarantee optimal performance and rider experience.
Q 20. How do you stay updated on the latest advancements in bicycle technology and components?
Staying updated on advancements in bicycle technology and components is essential for any professional bike mechanic. I regularly utilize various methods to enhance my knowledge:
- Industry publications and websites: I follow leading cycling publications and online resources to stay abreast of new component releases, technological advancements, and industry trends.
- Manufacturer training: I participate in training sessions and workshops offered by major component manufacturers to deepen my understanding of their products and repair procedures.
- Professional networks: I actively engage with professional cycling mechanics through online forums and industry events, exchanging knowledge and insights.
- Hands-on experience: The best learning comes from hands-on experience. I continuously strive to work on diverse bicycle models and components, expanding my practical expertise.
By actively seeking out new information and hands-on practice, I can ensure I maintain a high level of proficiency and provide the best service possible. The cycling industry is constantly evolving, and continuous learning is crucial for providing optimal service.
Q 21. What is your experience with different bicycle assembly techniques?
My experience encompasses various bicycle assembly techniques, adapted to different frame types and component specifications. This includes:
- Traditional assembly: This is the foundational method, involving careful installation and adjustment of components following the manufacturer’s instructions. It forms the basis of all other techniques.
- Press-fit bottom brackets: I’m proficient in installing and servicing press-fit bottom brackets, using appropriate tools to ensure a secure and accurate fit.
- Thru-axle systems: I’m experienced in installing and adjusting wheels and components using thru-axle systems.
- Cable routing: I’m skilled in efficiently and neatly routing cables and housings, which are critical for performance and appearance.
- Electronic shifting systems: I’m capable of installing and troubleshooting electronic groupsets, understanding their complexities and unique requirements.
Each technique requires specialized knowledge and tools, ensuring optimal functionality and longevity. My adaptability across these techniques makes me a versatile and effective bicycle mechanic.
Q 22. Describe a time you encountered a challenging bike assembly problem and how you solved it.
One of the most challenging assemblies I faced involved a high-end carbon fiber road bike with electronic shifting. The problem arose during the installation of the bottom bracket. The press-fit bottom bracket refused to seat correctly, despite multiple attempts with the appropriate tools and techniques. I suspected a slight imperfection in the carbon fiber frame’s bottom bracket shell.
My solution involved a systematic approach. First, I carefully inspected the frame for any irregularities or defects in the bottom bracket area, using magnification to rule out any minute discrepancies. I then meticulously cleaned the bottom bracket shell and the bottom bracket itself, ensuring there was no debris or interference. After several more attempts with even pressure applied, I carefully checked the fit again. I realised there was a minor misalignment. Using a specialized bottom bracket insertion tool with controlled pressure, I eventually managed to seat the bottom bracket perfectly. The key was patience, attention to detail, and the use of the correct tools.
Q 23. What is your preferred method for torque wrench usage during assembly?
My preferred method for torque wrench usage is always to calibrate it before each use and to utilize a torque wrench with a click mechanism. This provides precise, audible feedback when the specified torque has been reached, preventing over-tightening and damage to components. For each fastener, I refer to the manufacturer’s specifications, noting any specific requirements. I also make it a point to always clean the bolt threads and seating areas before tightening. This ensures an accurate torque reading and prevents stripping or damage.
For example, when assembling a stem, the specified torque will usually be between 4-6 Nm. If I’m using a 5 Nm setting, the wrench will click precisely when this value is achieved, indicating it’s correctly tightened. Failure to use the correct torque can lead to a loose stem (unsafe) or a cracked stem (potentially catastrophic).
Q 24. How do you ensure proper cable routing during bicycle assembly?
Proper cable routing is crucial for smooth shifting and braking performance. My process starts with reviewing the frame’s cable routing diagram. This is especially important for internally routed frames. Then I carefully thread the cables, ensuring they’re not kinked or pinched anywhere. I use cable guides where necessary, especially in areas with tight bends or sharp turns. I pull the cables taut but not excessively, ensuring a clean run. Finally, I adjust the cable tension at the derailleurs or brakes to achieve optimum performance.
Think of it like laying down railway tracks. You wouldn’t want curves or bumps in the tracks; the same applies to cables. Smooth, clean routing prevents friction, improves efficiency and prolongs cable lifespan.
Q 25. What are the common mistakes to avoid when assembling a bicycle?
Several common mistakes plague bicycle assembly. One is neglecting to properly lubricate threads before tightening components. This increases the chances of stripping threads or seizing fasteners. Another common mistake is over-tightening components. Using a torque wrench to the correct specification is crucial to avoid this. Also, not cleaning components before assembly can lead to dirt or debris interfering with proper function and causing premature wear.
- Over-tightening: Leads to stripped threads or damaged parts.
- Incorrect cable routing: Causes poor shifting or braking performance.
- Improper wheel installation: Can result in the wheel being off-center or rubbing against the brake pads.
- Forgetting to check wheel trueness: Can lead to poor handling and wheel failure.
Addressing these points thoroughly ensures a safe and reliable bicycle assembly.
Q 26. How familiar are you with different bicycle standards (e.g., ISO, EN)?
I’m familiar with various bicycle standards, including ISO and EN standards that relate to bicycle components and safety. These standards dictate requirements for things like frame strength, component compatibility, and brake performance. Understanding these standards is essential for ensuring the assembled bicycle meets safety regulations and performs reliably. For example, ISO 4210 covers bicycle safety and defines requirements for frame strength, whereas EN standards often focus on specific components such as brakes or pedals.
Knowing these standards helps me select appropriate parts and ensures compliance during the assembly process, ultimately leading to safer and better-performing bicycles.
Q 27. Describe your experience with working in a fast-paced bicycle assembly environment.
I have significant experience working in fast-paced bicycle assembly environments, such as during peak seasons or in high-volume production facilities. In these settings, efficiency and accuracy are paramount. I’ve developed strong organizational skills, including efficient workflow processes, and the ability to maintain high-quality assembly under pressure. My focus is on consistently delivering high-quality work within the allotted timeframe. Teamwork and effective communication are key to success in these environments, and I thrive in collaborative settings.
Think of it like an orchestra—each member has a specific role, and everyone needs to work together seamlessly to produce a beautiful, harmonious whole. The same is true for a bike assembly team.
Q 28. Explain your understanding of the importance of maintaining proper torque specifications during assembly.
Maintaining proper torque specifications during assembly is critically important for the safety and longevity of the bicycle. Over-tightening can easily strip threads, crack frames or components, and lead to premature failure. Under-tightening, on the other hand, can result in loose components and lead to unpredictable failures, which can result in accidents. For instance, a loose headset can lead to instability and a loss of control.
Adhering to torque specifications ensures all components are securely fastened to their design strength. This maximizes the lifespan of the parts, while significantly improving the safety and performance of the finished bike.
Key Topics to Learn for Your Bike Assembly Interview
- Bike Frame Assembly: Understanding different frame types (e.g., mountain, road, hybrid), proper alignment techniques, and torque specifications for optimal strength and safety.
- Component Installation: Practical application of installing wheels, handlebars, seats, derailleurs, brakes, and other components, ensuring correct alignment and functionality. This includes understanding the various types of components and their compatibility.
- Drivetrain Setup: Mastering chain installation, derailleur adjustment (both front and rear), and gear indexing for smooth and efficient shifting. Troubleshooting common drivetrain issues.
- Brake System Knowledge: Familiarity with different brake types (e.g., rim brakes, disc brakes), proper installation, bleeding procedures (if applicable), and adjustment for optimal stopping power and safety.
- Wheel Building (Advanced): For senior roles, a deeper understanding of wheel truing, spoke tensioning, and hub maintenance. This showcases a higher level of expertise and problem-solving.
- Troubleshooting and Repair: Developing proficiency in identifying and resolving common bike assembly and repair issues. This includes understanding the tools and techniques needed for efficient repairs.
- Safety Procedures and Best Practices: Demonstrating awareness of workplace safety regulations, proper tool usage, and efficient assembly techniques to ensure a high-quality product.
Next Steps
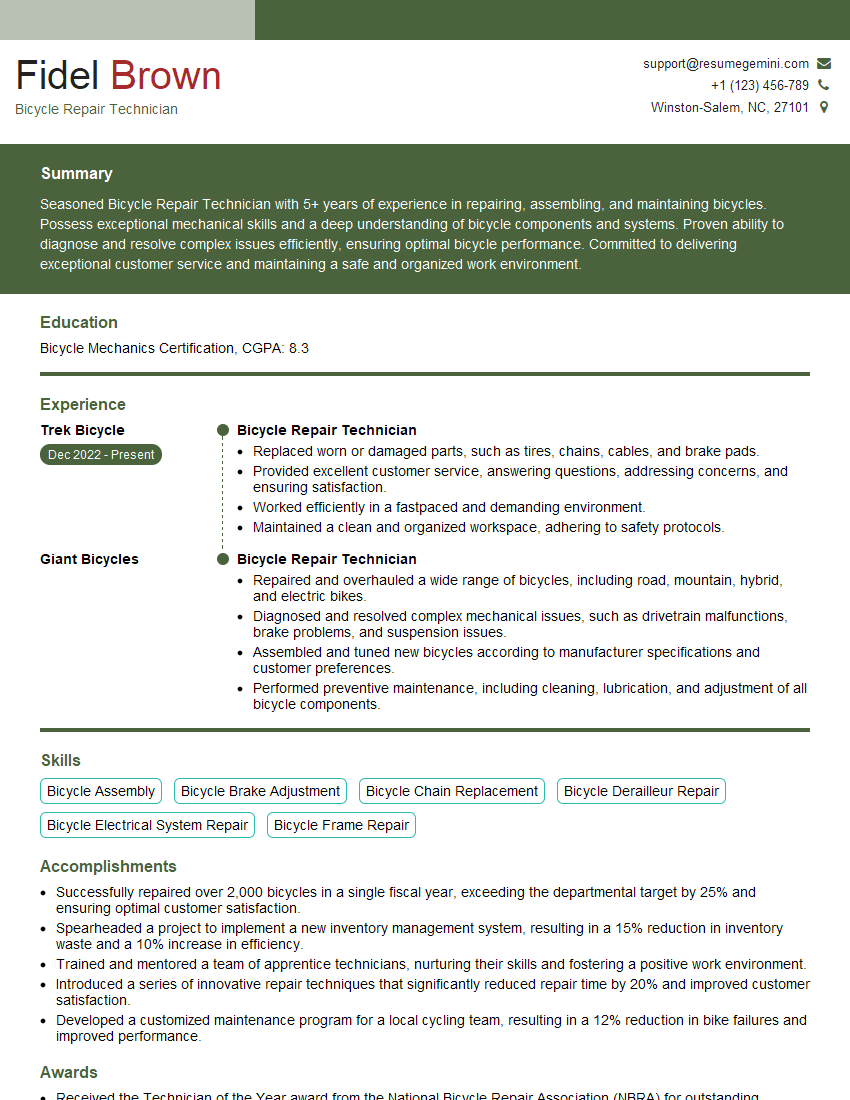
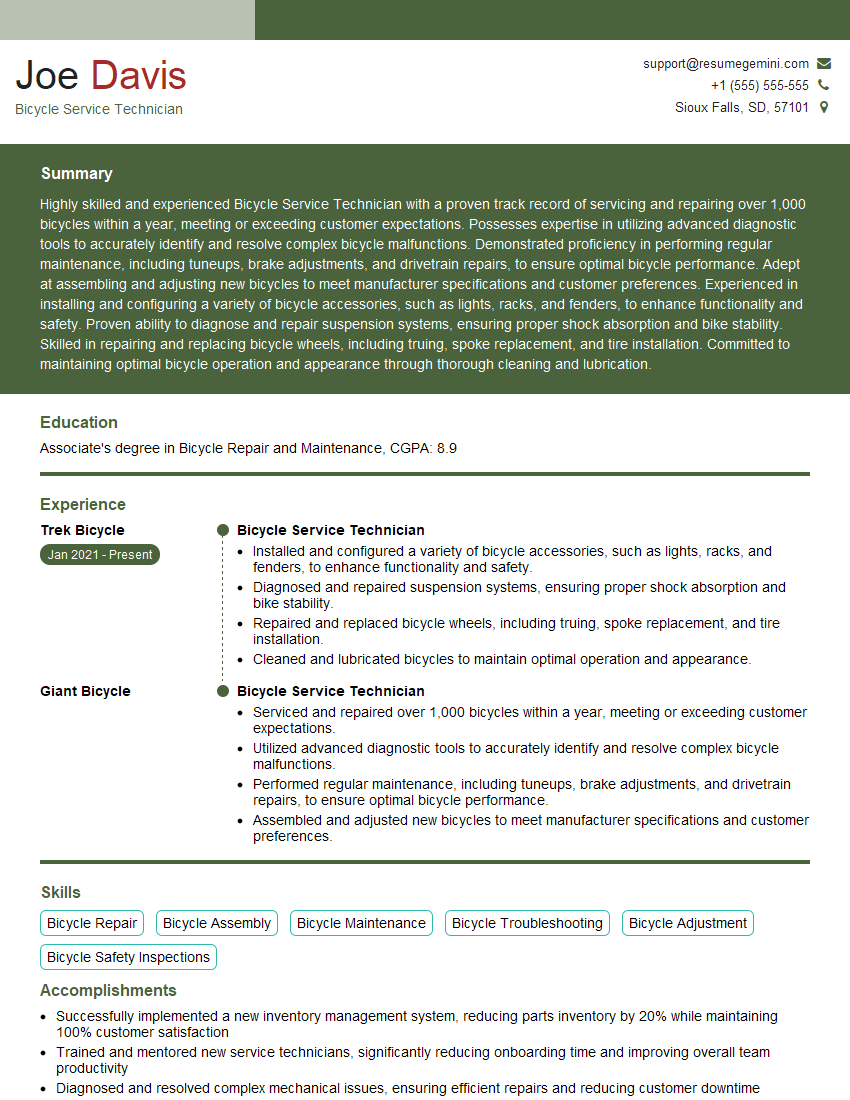
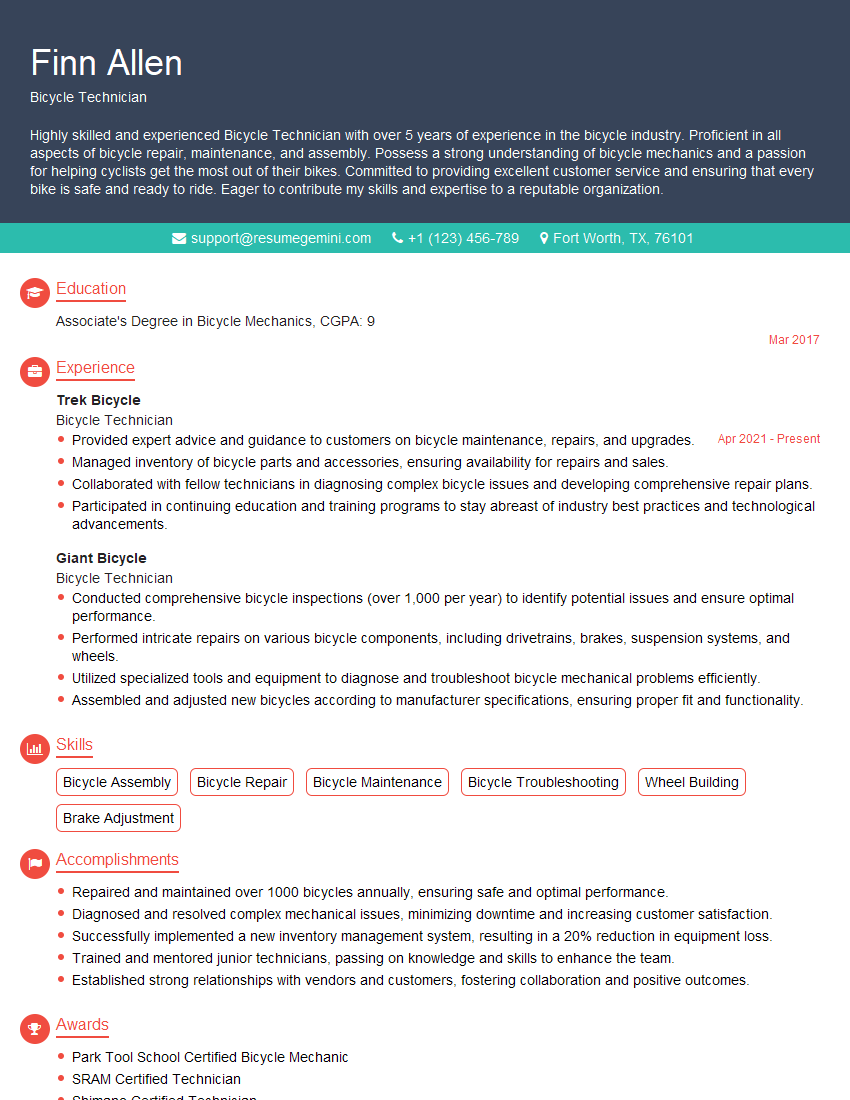
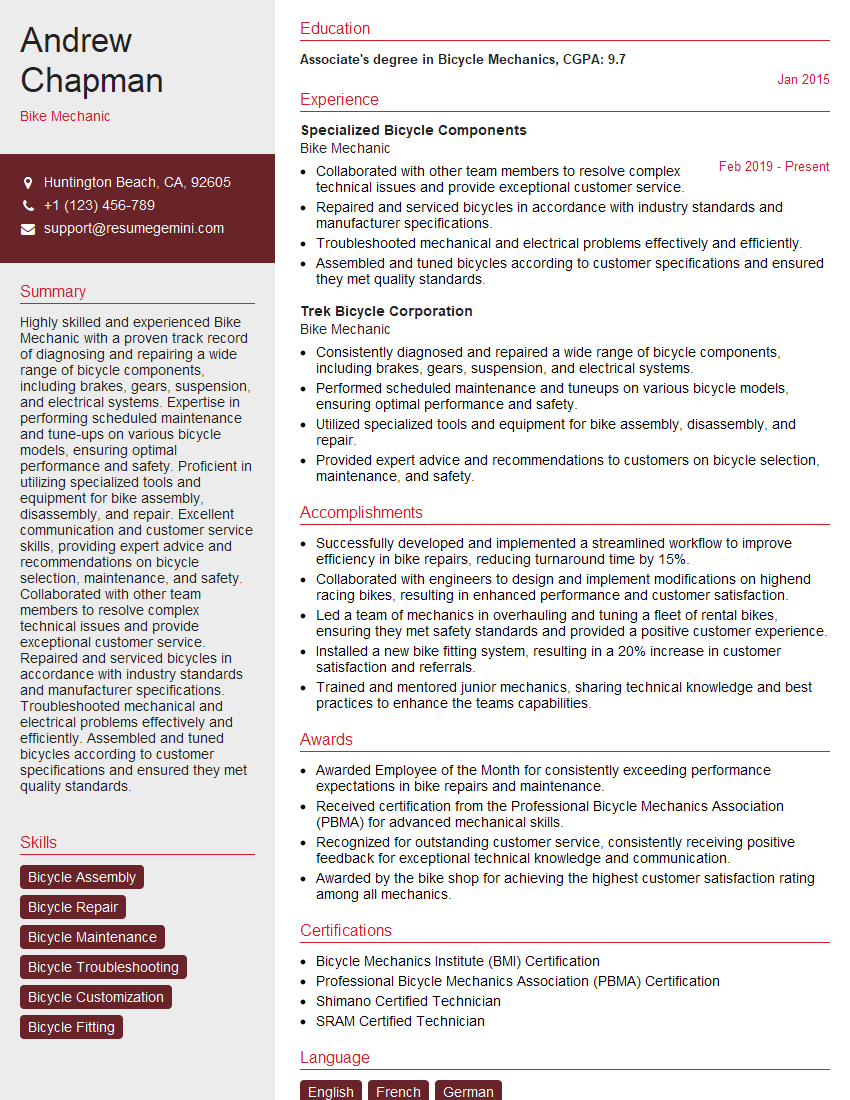
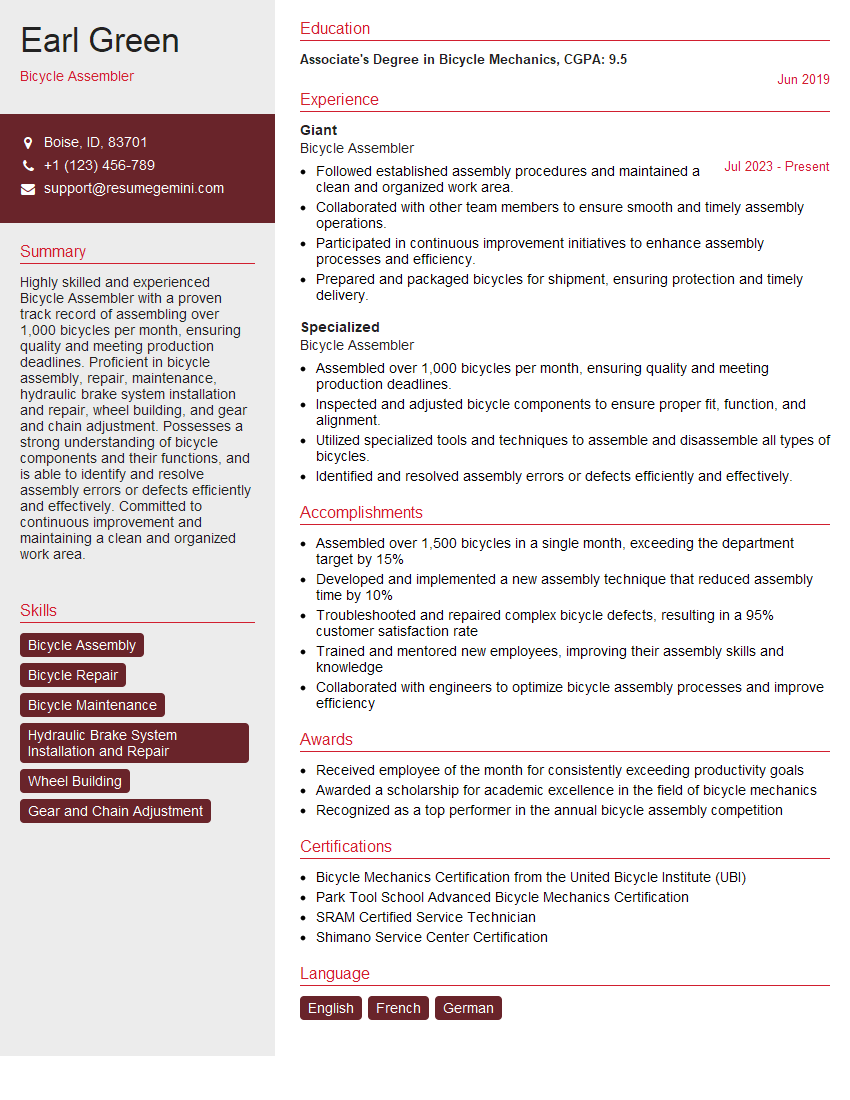
Mastering bike assembly opens doors to a rewarding career with opportunities for growth and specialization. A strong understanding of these technical skills is crucial for success. To maximize your job prospects, invest time in creating an ATS-friendly resume that effectively highlights your abilities. ResumeGemini is a trusted resource that can help you build a professional and impactful resume tailored to the bike assembly industry. Examples of resumes specifically tailored for bike assembly positions are available to guide you.
Explore more articles
Users Rating of Our Blogs
Share Your Experience
We value your feedback! Please rate our content and share your thoughts (optional).
What Readers Say About Our Blog
Hi, I’m Jay, we have a few potential clients that are interested in your services, thought you might be a good fit. I’d love to talk about the details, when do you have time to talk?
Best,
Jay
Founder | CEO
