Every successful interview starts with knowing what to expect. In this blog, we’ll take you through the top Bindery and Finishing Operations interview questions, breaking them down with expert tips to help you deliver impactful answers. Step into your next interview fully prepared and ready to succeed.
Questions Asked in Bindery and Finishing Operations Interview
Q 1. Explain the difference between perfect binding and saddle stitching.
Perfect binding and saddle stitching are two common bookbinding methods, but they differ significantly in their approach and the resulting product. Think of it like this: perfect binding is like gluing a stack of papers together to form a book, while saddle stitching is like stapling a booklet.
Perfect Binding: This method involves gluing the edges of folded sheets together to create a block, then applying a cover. This is ideal for books with a substantial number of pages, as it creates a strong, durable spine. Imagine a typical paperback novel – that’s almost certainly perfect bound. The spine is often square and allows for a wider variety of cover materials and designs.
Saddle Stitching: This involves folding sheets of paper in half and then stapling them through the fold line in the center. This is best suited for smaller publications, brochures, or booklets with a lower page count. Think of magazines or pamphlets; these are often saddle-stitched. The spine is thin and generally only allows for a single folded cover.
- Page Count: Perfect binding is better for higher page counts; saddle stitching is limited by the stapler’s capacity.
- Spine: Perfect binding has a thicker, glued spine; saddle stitching has a thinner, stapled spine.
- Cost: Saddle stitching is generally cheaper than perfect binding, especially for low page counts.
Q 2. Describe the process of three-knife trimming.
Three-knife trimming is a crucial finishing process that uses three synchronized blades to precisely cut stacks of printed sheets to their final size. Imagine it as a super-precise guillotine, but with three blades working together for exceptional accuracy and speed.
The process begins by placing a precisely aligned stack of sheets into the trimming machine. Each blade is positioned to cut one edge of the sheet. The first blade cuts the leading edge (the edge that leads into the machine), the second cuts the trailing edge, and the third cuts one of the side edges. They operate simultaneously to create clean, square cuts. This approach minimizes waste and ensures all sheets are trimmed to the exact same dimensions, crucial for consistent finishing and binding. The precision is vital because any slight misalignment can affect the final product’s appearance and functionality.
Importance: Consistent trimming is vital because misaligned edges can lead to binding problems, poor aesthetics, and create an unprofessional look. The three-knife method provides a highly efficient and precise solution for mass production.
Q 3. What are the common causes of jams in a folding machine?
Jams in folding machines, frustrating as they are, often stem from a few key culprits. Think of it like a carefully choreographed dance; if one element is out of sync, the whole thing breaks down.
- Paper Misfeeds: This is the most common cause. Problems like wrinkled or damaged paper, incorrect paper weight for the machine settings, or static cling can all cause misfeeds. Imagine a dancer tripping on their own feet.
- Incorrect Folding Settings: If the machine isn’t correctly set up for the type and size of paper being folded, it’s likely to jam. This is like the dancers not knowing the steps of the choreography.
- Accumulated Dust and Debris: Over time, dust and small pieces of paper can accumulate within the folding mechanism, obstructing the paper’s path. Think of it as the dance floor getting cluttered with debris.
- Mechanical Issues: Worn parts, broken rollers, or improperly aligned components can all lead to jams. This is like a malfunctioning prop in a stage play.
- Paper Path Obstructions: Anything blocking the paper’s path through the machine, like loose paper or incorrectly loaded trays, can cause jams. Think of a dancer being tripped by a misplaced prop.
Regular maintenance, cleaning, and properly trained operators can drastically reduce the frequency of jams.
Q 4. How do you ensure accurate imposition for different binding methods?
Accurate imposition is paramount for efficient and successful bindery operations. Think of it as creating a perfectly planned blueprint for your final product. Getting it wrong means wasted time and materials.
Imposition is the arrangement of pages on a printing sheet so that they’ll be in the correct order after printing, folding, and binding. The method used depends entirely on the intended binding type.
- Perfect Binding: Pages are arranged in ‘signatures’ (sets of folded sheets) in an order that allows them to be glued together correctly to form the book block. Specialized imposition software is often used to calculate the most efficient layout.
- Saddle Stitching: Pages are arranged such that when the sheet is folded, they fall in the correct sequence. This is usually simpler than perfect binding imposition.
- Wire-O Binding: Pages are imposed to allow for the holes to be punched uniformly and align neatly when bound. This is generally done in multiples of the pages per signature.
Software like Adobe InDesign or specialized prepress programs are used to create imposition layouts. These programs calculate the perfect arrangement for various page counts and binding methods, minimizing waste and ensuring accurate page sequencing.
Q 5. What safety precautions are essential when operating bindery equipment?
Safety is paramount in the bindery and finishing environment; the machinery is powerful and potentially dangerous. Think of this as the number one priority – always err on the side of caution.
- Personal Protective Equipment (PPE): Always wear appropriate PPE, including safety glasses, hearing protection, and cut-resistant gloves. Never take shortcuts on safety equipment.
- Machine Guards: Ensure all machine guards are in place and functioning correctly before operating any equipment. This prevents accidental contact with moving parts.
- Lockout/Tagout Procedures: Follow strict lockout/tagout procedures when performing maintenance or repairs. This prevents accidental starts and potential injuries.
- Proper Training: All operators must receive thorough training on the safe operation and maintenance of all bindery equipment. This ensures they understand all potential hazards.
- Housekeeping: Maintain a clean and organized work area. Cluttered workspaces increase the risk of accidents.
- Emergency Procedures: Be familiar with emergency procedures and the location of emergency equipment (like fire extinguishers and first-aid kits).
Remember, safety isn’t just a guideline; it’s a non-negotiable requirement.
Q 6. Explain the importance of quality control in bindery and finishing.
Quality control in bindery and finishing is crucial because it directly impacts the final product’s quality and customer satisfaction. Think of it as the final ‘quality check’ before a product goes to the customer; getting it wrong can be expensive.
Quality control involves inspecting every step of the process, from checking the accuracy of paper cutting and folding to verifying the quality of binding and cover application. Any defects identified early on can help to prevent significant rework or costly waste. A thorough quality check includes:
- Visual Inspection: Checking for misaligned pages, crooked cuts, damaged covers, or any other visible defects.
- Binding Integrity: Checking the strength and durability of the binding to ensure pages won’t fall out easily.
- Cover Adherence: Making sure the cover is properly attached and doesn’t peel off easily.
- Dimensional Accuracy: Verifying the dimensions of the finished product meet the specifications.
Implementing robust quality control procedures not only improves the final product but also enhances the reputation of the bindery and builds customer trust.
Q 7. How do you troubleshoot common issues with a perfect binding machine?
Troubleshooting a perfect binding machine requires a systematic approach. Think of it like diagnosing a car problem – you need to systematically find the root cause.
Common issues include:
- Glue Problems: Incorrect glue temperature, insufficient glue application, or a clogged glue system can lead to pages falling out. Check the glue temperature and viscosity, and clean the glue system if necessary.
- Jaw Alignment Issues: Improper jaw alignment can result in uneven glue application or pages not being held securely during the process. Adjust the jaw alignment and test with a sample to ensure proper alignment.
- Spine Preparation Problems: If the book block isn’t properly prepared (e.g., not properly trimmed or folded), binding problems can result. Check the pre-binding steps for alignment and make sure the paper is of an acceptable quality to minimize issues.
- Mechanical Issues: Worn parts or damaged components can cause malfunction. Inspect the machine for any mechanical issues and consult a technician if necessary.
It’s essential to consult the machine’s manual for detailed troubleshooting steps and always to prioritize safety during any maintenance or repair.
Q 8. Describe your experience with different types of lamination.
Lamination is a crucial finishing process that enhances the durability and visual appeal of printed materials. I have extensive experience with various types, including gloss, matte, and UV lamination.
- Gloss Lamination: Provides a high-shine finish, ideal for projects requiring a luxurious look, such as brochures or product packaging. Think of it like adding a protective, shiny coat of varnish. It also protects against scratches and moisture.
- Matte Lamination: Offers a smooth, non-reflective finish, perfect for projects needing a sophisticated and less glaring appearance, like corporate reports or high-end photography books. It’s similar to a satin finish.
- UV (Ultraviolet) Curing Lamination: This uses UV light to cure a specialized coating, creating an incredibly durable and scratch-resistant layer. It’s often used for items that require robust protection, like outdoor signage or frequently handled menus. Think of it as a tough, clear plastic shield.
My experience includes selecting the appropriate lamination type based on the substrate (paper type), budget, and desired aesthetic. For example, I recently used UV lamination for a client’s outdoor advertising campaign to ensure longevity, and matte lamination for their annual report to give it a refined look.
Q 9. What are the various types of paper finishes and their applications?
Paper finishes greatly influence the tactile and visual qualities of a printed piece. They’re chosen strategically to complement the project’s design and intended use.
- Coated Paper: Offers a smooth, glossy or matte surface, ideal for high-resolution images and vibrant colors. Think of magazine pages.
- Uncoated Paper: Has a natural, slightly textured feel. It’s more absorbent and suitable for projects requiring a rustic look or better ink absorption, such as invitations or letterheads.
- Textured Paper: Adds tactile interest through various patterns like linen or felt. This provides a unique, luxurious feel, often used in high-end packaging or artistic pieces.
- Embossed Paper: Creates raised designs on the paper’s surface, adding depth and texture. This is perfect for adding elegance and sophistication, commonly used for invitations or business cards.
Choosing the right finish is crucial. For instance, glossy coated paper is perfect for showcasing vibrant photography, while uncoated paper might be preferred for a wedding invitation to provide a more elegant, classic feel.
Q 10. How do you handle rush jobs and tight deadlines in the bindery?
Handling rush jobs requires efficient communication, prioritization, and teamwork. My approach involves:
- Immediate Assessment: Quickly assess the job’s scope and requirements, identify potential bottlenecks, and communicate realistic timelines to the client.
- Prioritization & Resource Allocation: Prioritize the rush job and allocate the necessary personnel and equipment. This often involves adjusting other schedules and potentially requiring overtime.
- Streamlined Processes: We utilize efficient workflows, eliminate unnecessary steps, and carefully monitor progress to ensure timely completion.
- Open Communication: I maintain constant communication with the client and team members, providing regular updates and addressing any issues promptly.
I remember once needing to finish 5000 brochures within 24 hours. By streamlining our process, working overtime and effectively communicating with the team, we successfully completed the project and avoided impacting other orders.
Q 11. Explain your experience with die-cutting and embossing processes.
Die-cutting and embossing are specialized finishing techniques that add unique visual and tactile elements to printed materials.
- Die-cutting: This process uses a custom-made steel rule die to cut intricate shapes or patterns from paper or cardstock. Think of creating unique shapes for business cards or packaging.
- Embossing: This technique creates raised or indented designs on the paper’s surface using pressure and a heated die. It adds a three-dimensional effect, enhancing the product’s visual appeal and texture. Think of the raised lettering on a luxury invitation.
My experience includes operating and maintaining the die-cutting and embossing equipment, creating and setting up dies, and ensuring accurate and consistent results. I have worked on many projects ranging from simple shapes to complex, intricate designs.
Q 12. Describe your experience with different types of folding techniques.
Folding is a fundamental bindery operation with various techniques to suit different needs.
- Half Fold: The simplest method, folding a sheet in half.
- Letter Fold: Folding a sheet in thirds to create a letter-sized document.
- Gate Fold: Folding a sheet twice in a specific way to create a double panel. Often used for brochures or cards.
- Roll Fold: Used for longer sheets, folding them repeatedly from one edge.
Choosing the right folding technique depends heavily on the document’s design and size. For example, a gate fold is ideal for a brochure requiring multiple panels, while a half fold might suffice for a simple flyer. My experience ensures I select the most appropriate and efficient folding technique for any given project.
Q 13. How do you maintain and clean bindery equipment?
Regular maintenance and cleaning are vital for optimal performance and longevity of bindery equipment. My routine includes:
- Daily Cleaning: Removing paper scraps, dust, and debris from machines. This prevents jams and ensures consistent output.
- Weekly Inspections: Checking for wear and tear on parts, lubricating moving parts, and tightening loose screws.
- Monthly Servicing: More thorough cleaning, including cleaning rollers, belts, and other internal components.
- Preventative Maintenance: Following manufacturer’s recommendations for scheduled maintenance to avoid costly repairs.
This approach ensures our equipment remains in top condition, minimizing downtime and maximizing productivity. It’s a proactive approach that saves time and money in the long run.
Q 14. What are the different types of adhesives used in binding?
Several adhesives are used in binding, each suited for specific applications.
- Hot Melt Glue: A fast-drying, thermoplastic adhesive used for a variety of binding applications. It’s commonly used for perfect binding and saddle stitching.
- PUR (Polyurethane Reactive) Adhesive: A strong, flexible adhesive offering excellent durability. It’s favored for high-quality bookbinding and case binding, enabling the creation of very strong and long lasting bindings.
- EVA (Ethylene Vinyl Acetate) Adhesive: A more economical option, suitable for simpler binding methods, often used in perfect binding applications where high flexibility isn’t critical.
- Case Binding Adhesive: Specific adhesives designed for attaching covers to books. They need to offer strong holding capabilities while maintaining flexibility to withstand repeated use.
The selection of adhesive depends on the type of binding, the paper stock, the required durability, and the budget. My expertise allows me to make informed choices that ensure a quality, durable finish.
Q 15. How do you calculate the cost of different finishing operations?
Calculating the cost of finishing operations requires a meticulous breakdown of all contributing factors. It’s not simply the cost of the machine or labor; it encompasses materials, setup time, machine downtime, and potential waste. Think of it like baking a cake – the flour and sugar are your materials, the oven is your machine, and the baker’s time is your labor. Each slice (finished product) has a cost based on the total ingredients and effort invested.
Here’s a structured approach:
- Material Costs: This includes paper, board, adhesives (like PUR or EVA), thread, plastic combs, wire-o, and any cover stock. Accurate pricing depends on material type, quantity purchased, and supplier negotiations.
- Labor Costs: Determine the labor rate for each operator. Calculate the time spent on setup, operation (per unit), and cleanup. Consider efficiency factors; experienced operators are usually faster and more efficient.
- Machine Costs: Include depreciation, maintenance, and power consumption for each machine. The cost per hour needs to be divided across all jobs using that machine.
- Overhead Costs: Include rent, utilities, insurance, and administrative costs. This is usually calculated as a percentage of labor and machine costs.
- Waste Factor: Account for potential material waste, misprints, and machine jams. A percentage is typically added to cover unexpected losses.
Example: Let’s say a particular booklet requires $1 in materials, 15 minutes of labor at $20/hour (=$5), and 5 minutes of machine time at $50/hour (=$4.17). With a 10% overhead and 5% waste factor, the total cost per booklet would be approximately $1 + $5 + $4.17 + ($10.17 * 0.10) + ($10.17 * 0.05) = ~$11.20
Career Expert Tips:
- Ace those interviews! Prepare effectively by reviewing the Top 50 Most Common Interview Questions on ResumeGemini.
- Navigate your job search with confidence! Explore a wide range of Career Tips on ResumeGemini. Learn about common challenges and recommendations to overcome them.
- Craft the perfect resume! Master the Art of Resume Writing with ResumeGemini’s guide. Showcase your unique qualifications and achievements effectively.
- Don’t miss out on holiday savings! Build your dream resume with ResumeGemini’s ATS optimized templates.
Q 16. Describe your experience with automated bindery systems.
My experience with automated bindery systems spans several years and various manufacturers. I’ve worked extensively with high-speed saddlestitchers, perfect binders, and automated booklet makers. The key benefit is increased throughput and consistency, compared to manual processes. I’m proficient in programming and troubleshooting these systems, including diagnosing mechanical issues and optimizing production parameters for maximum efficiency.
For instance, I’ve implemented automated quality checks on a perfect binder using integrated sensors that detect misaligned sections or insufficient adhesive application, automatically rejecting faulty products. This improved our output quality significantly and reduced waste. I’m also familiar with the various software interfaces for controlling these machines and integrating them into a larger workflow system.
Furthermore, I understand the importance of preventative maintenance schedules and operator training to ensure the long-term reliability and safety of these complex systems. I’ve led training sessions for operators on proper operation, safety procedures, and basic troubleshooting.
Q 17. How do you ensure consistent quality throughout the finishing process?
Maintaining consistent quality throughout the finishing process requires a multi-pronged approach focusing on standardization, process monitoring, and continuous improvement. It’s like orchestrating a symphony – every instrument (process) needs to play in harmony to create a perfect piece.
- Standardized Operating Procedures (SOPs): Detailed SOPs for each machine and process ensure everyone follows the same methods, minimizing variations. These should include setup instructions, quality checks at each stage, and troubleshooting guides.
- Regular Quality Checks: Implement regular in-process checks at various points in the finishing line. This could involve visual inspections, dimensional measurements, and testing of binding strength. Statistical Process Control (SPC) charts can track key metrics over time to identify trends and potential problems.
- Machine Calibration and Maintenance: Regular calibration and preventative maintenance are crucial for maintaining machine accuracy and reducing downtime. Proper lubrication and timely part replacements contribute to consistent output.
- Operator Training: Well-trained operators are key to quality control. They must understand the intricacies of each machine and the importance of following SOPs and promptly reporting any anomalies.
- Material Quality Control: Consistent material quality is paramount. Regularly inspect incoming materials for defects and adhere to supplier specifications to ensure uniformity.
Q 18. What is your experience with different types of covers (e.g., hardcovers, softcovers)?
My experience encompasses a broad range of cover types, including hardcovers, softcovers (perfect bound, saddle stitched, wire-o), and specialty covers like case-bound books and loose-leaf binders. I understand the distinct requirements of each type, from material selection and finishing techniques to cost considerations.
Hardcovers: I’m familiar with the entire hardcover process, from casemaking (covering boards) to attaching the text block and applying endpapers. This includes working with various cover boards, cloth materials, and foil stamping or embossing techniques. I understand the challenges of accurate spine measurements and proper adhesive application to ensure a durable and aesthetically pleasing binding.
Softcovers: My experience includes perfect binding (adhesive binding), saddle stitching (stapling), and wire-o binding, each suitable for different types of publications and quantities. I understand the nuances of each technique, including choosing appropriate paper weights and adhesives. For example, perfect binding requires careful trimming and text block preparation to ensure a smooth spine and accurate cover alignment.
I’ve also worked with different cover finishing techniques, including lamination, UV coating, and spot UV for enhancing cover aesthetics and durability.
Q 19. Describe your experience with wire-o and coil binding.
Wire-O and coil binding are two popular methods for creating booklets and documents that allow for easy page turning and lay-flat functionality. I have extensive experience with both.
Wire-O Binding: This method involves punching a series of holes along the spine and inserting metal wire or wire staples. It creates a professional look, especially suitable for calendars, notebooks, and high-quality documents. I’m skilled in selecting appropriate wire gauge and hole pitch based on the document thickness and desired durability. I understand how to adjust the machine’s settings for optimal wire insertion and closure.
Coil Binding: Coil binding uses plastic combs or coils inserted through pre-punched holes. It’s a less expensive and faster option than wire-O but might not be as durable for high-usage documents. My experience includes working with various coil sizes and colors, selecting the appropriate coil based on the document thickness and customer preferences. I’m also adept at troubleshooting issues such as misaligned holes or jammed coils.
In both cases, I ensure accurate hole punching, consistent binding, and a professional finish, paying attention to details like cover alignment and overall aesthetics.
Q 20. How do you manage inventory of finishing materials?
Efficient inventory management of finishing materials is crucial for smooth operations and cost control. This involves a combination of careful planning, accurate tracking, and regular stock reviews. Think of it as running a well-stocked kitchen – you wouldn’t want to run out of key ingredients mid-recipe!
- Inventory Tracking System: I prefer using a computerized inventory management system to track stock levels in real-time. This helps monitor usage, identify low stock items, and predict future needs.
- Regular Stock Checks: Regular physical stock checks are essential to verify inventory levels against the system. This helps identify discrepancies and ensure accuracy.
- Minimum Stock Levels: Setting minimum stock levels for each item ensures we have enough material on hand to prevent production delays. These levels are adjusted based on usage patterns and lead times from suppliers.
- Supplier Relationships: Maintaining strong relationships with reliable suppliers is crucial for timely deliveries and competitive pricing. This includes negotiating favorable payment terms and delivery schedules.
- Waste Reduction: Implementing strategies to minimize material waste, like optimizing cutting patterns and reusing scrap materials where possible, contributes to cost savings.
Q 21. What is your experience with pre-flighting files for bindery operations?
Preflighting files for bindery operations is a critical step that prevents costly errors and production delays. It’s like a pre-flight checklist for an airplane – you don’t want to discover a problem mid-flight! It involves meticulously checking the files for issues that could impact the finishing process.
My preflighting process typically includes:
- Checking bleed and margins: Ensuring sufficient bleed for trimming and correct margins to avoid content loss during finishing.
- Verifying imposition: Confirming the correct arrangement of pages for binding and printing. Incorrect imposition can lead to significant problems during finishing.
- Inspecting color profiles and resolution: Ensuring consistent color throughout and sufficient resolution for sharp images.
- Checking for missing fonts or embedded links: Identifying and resolving any missing elements that could cause errors during printing or processing.
- Reviewing the document structure: Ensuring correct page numbers, section breaks, and other structural elements that are crucial for accurate binding.
I typically use preflighting software (like PitStop or Acrobat Pro) to automate much of this process. These tools automatically check for common errors and generate detailed reports to ensure a smooth workflow and optimal print quality.
Q 22. How do you handle discrepancies between print specifications and finished product?
Discrepancies between print specifications and the finished product are unfortunately common in bindery and finishing. My approach involves a systematic process to identify the root cause and implement corrective action. First, I meticulously compare the final product against the pre-press specifications, paying close attention to details like trim size, bleeds, folding patterns, and binding type. This often involves using calibrated measuring tools and visual inspection under standardized lighting.
If a discrepancy is found, I investigate potential sources: Was there an error in the initial design file? Did the press settings deviate from the specifications? Did a bindery machine malfunction cause the issue? Or, was there perhaps a miscommunication during the handover between departments? Documenting each step is crucial for tracking and preventing future errors. I then work collaboratively with the print and pre-press teams to determine responsibility and implement corrective measures, which might involve re-running the job or making adjustments to the machines. For instance, if the trim size is off, we’ll investigate the cutting machine settings and blade sharpness. If the fold is incorrect, we’ll review the folding machine’s settings and the design’s folding instructions.
Finally, I communicate transparently with the client about the discrepancy, explaining the cause, the corrective action taken, and the revised timeline if necessary. Client satisfaction is paramount, and open communication helps maintain trust and confidence in our work.
Q 23. Describe your problem-solving skills in relation to a bindery machine malfunction.
My problem-solving approach to bindery machine malfunctions is methodical and data-driven. I begin by assessing the situation safely, turning off the machine and ensuring the area is secure. Next, I systematically observe the malfunction, noting any unusual noises, vibrations, or error messages displayed on the machine’s control panel. I might check relevant logs or maintenance records.
Troubleshooting often involves checking common issues first, such as power supply, jammed paper, or incorrect settings. I use my knowledge of the machine’s components to isolate the problem. For example, if a saddle stitcher is malfunctioning, I might first check the needle alignment, then the chain delivery system, and then the stapling mechanism. If the problem persists, I consult the machine’s manual and any relevant online resources. I might also consult colleagues or contact the manufacturer’s technical support.
Once I’ve identified the cause, I prioritize safety, ensuring all necessary precautions are taken before attempting any repairs or adjustments. I carefully document the repair process, including the problem, the solution, and any preventative measures taken to avoid future recurrences. This allows us to continuously improve our maintenance procedures and minimize downtime.
Q 24. What are the common causes of paper jams in a cutting machine?
Paper jams in a cutting machine are a common occurrence, often stemming from several key sources. First, the most prevalent cause is improper paper feeding. If the paper stack isn’t aligned correctly, if sheets are sticking together, or if the paper is too damp or too dry, jams are virtually guaranteed.
Secondly, the condition of the cutting machine itself is crucial. A dull blade can cause sheets to tear or bunch up, leading to jams. Similarly, worn-out rollers or grippers can’t properly feed the paper accurately.
Thirdly, the type of paper being cut also plays a significant role. Thick or unusually textured stock can be challenging to process, especially if the machine isn’t properly adjusted for the weight and type of paper. Finally, and often overlooked, is proper machine maintenance. Regularly cleaning the machine’s components and lubricating moving parts prevent buildup and friction, reducing jamming.
Q 25. Explain your experience working with different types of paper weights and stocks.
My experience encompasses a wide range of paper weights and stocks, from lightweight papers used for brochures and flyers (e.g., 60 lb text) to heavier stocks used for book covers and packaging (e.g., 100 lb cover). Understanding the properties of different papers is crucial for choosing appropriate finishing techniques.
Lightweight papers tend to be more delicate and are susceptible to creasing or tearing during folding or cutting. Heavier stocks require more robust machinery and techniques. I’ve worked with various paper types such as coated, uncoated, matte, gloss, textured, and recycled, each with unique characteristics affecting the finishing process. For instance, coated papers typically require a different blade setting on the cutting machine compared to uncoated papers to avoid scratching or tearing.
I’ve also dealt with specialty papers, like those with metallic finishes or embossed textures. These require specific handling and machine adjustments to prevent damage and ensure a high-quality finish. The weight and type of paper directly influence choices regarding binding, folding, and other finishing operations, making careful consideration of these factors essential for a successful final product.
Q 26. How do you prioritize tasks in a busy bindery environment?
Prioritizing tasks in a busy bindery environment necessitates a strategic approach. I typically employ a combination of methods to ensure efficiency and meet deadlines.
- Urgency and Due Dates: Jobs with the closest deadlines are prioritized first. This involves checking job tickets and coordinating with the printing department.
- Job Complexity: Complex jobs requiring specialized equipment or techniques are often scheduled strategically to maximize equipment utilization and minimize downtime.
- Client Requirements: Client deadlines and their specific requirements often take precedence. Expedited orders will always be prioritized to meet client needs.
- Material Availability: Jobs needing available materials are prioritized over those awaiting materials. This often includes coordinating with our procurement department.
- Workflow Efficiency: Sequencing jobs to optimize machine utilization is important. For example, jobs with similar finishing requirements may be grouped together to minimize machine setup time.
Communication is vital in this process. Regular meetings with the team help to coordinate efforts and prevent conflicts. I utilize project management software to track tasks and provide timely updates to clients.
Q 27. What software or systems are you familiar with for managing bindery workflow?
My experience includes working with various software and systems for managing bindery workflows. I am proficient with MIS (Management Information Systems) software packages that integrate pre-press, printing, and bindery data. These systems allow for efficient job tracking, scheduling, and cost estimation. Specific examples include [mention specific software used e.g., Prinergy, EFI PrintSmith Vision].
Beyond this, I am comfortable using various ERP (Enterprise Resource Planning) systems for managing inventory, tracking materials, and generating reports. I also leverage project management tools like [mention specific software used e.g., Asana, Trello] to collaborate effectively with team members and clients, ensuring transparency and smooth workflow. I am adept at using spreadsheets (e.g., Microsoft Excel, Google Sheets) for analyzing production data, creating reports, and tracking costs.
Q 28. Describe your experience working with clients to meet their finishing specifications.
Working with clients to meet their finishing specifications requires clear communication, attention to detail, and proactive problem-solving. I begin by carefully reviewing the client’s specifications, clarifying any ambiguities or potential issues early in the process.
This often involves a thorough discussion regarding paper selection, binding methods, finishing options (e.g., die-cutting, embossing, laminating), and quality expectations. I might provide recommendations based on my expertise, suggesting alternative solutions that meet the client’s needs more efficiently or cost-effectively.
Regular updates and open communication throughout the production process are essential. I keep the client informed of progress, potential delays, and any necessary adjustments. If unforeseen problems arise, I promptly discuss the options with the client, proposing solutions and working collaboratively to find a mutually acceptable outcome. Building a strong rapport with clients based on trust and reliability is key to ensuring a positive experience and delivering high-quality results.
Key Topics to Learn for Bindery and Finishing Operations Interview
- Pre-Press Preparation: Understanding file preparation, imposition, and color management for efficient bindery processes. Practical application: Troubleshooting issues arising from incorrect file setups.
- Folding and Gathering: Different folding techniques (e.g., parallel, right-angle), types of gathering equipment, and troubleshooting common jams or misfeeds. Practical application: Optimizing folding and gathering sequences for speed and accuracy.
- Binding Methods: In-depth knowledge of various binding options (e.g., perfect binding, saddle stitch, wire-O, spiral binding) including their strengths, weaknesses, and suitable applications. Practical application: Recommending the most appropriate binding method based on project specifications.
- Cutting and Trimming: Understanding guillotine cutters, three-knife trimmers, and other cutting equipment. Practical application: Calculating trim sizes and ensuring accurate cutting for a professional finish.
- Finishing Techniques: Familiarity with various finishing techniques such as die-cutting, embossing, laminating, and UV coating. Practical application: Selecting the right finishing techniques to enhance the product’s aesthetic appeal and durability.
- Quality Control and Troubleshooting: Identifying and resolving common issues in bindery and finishing operations, including quality checks at each stage. Practical application: Implementing preventative measures to minimize errors and ensure consistent quality.
- Safety Procedures and Equipment Operation: Understanding and adhering to safety protocols when operating bindery and finishing equipment. Practical application: Demonstrating safe and efficient operation of various machines.
- Workflow and Production Planning: Understanding the overall workflow in a bindery and finishing operation, including scheduling, prioritization, and resource management. Practical application: Optimizing production flow for maximum efficiency.
Next Steps
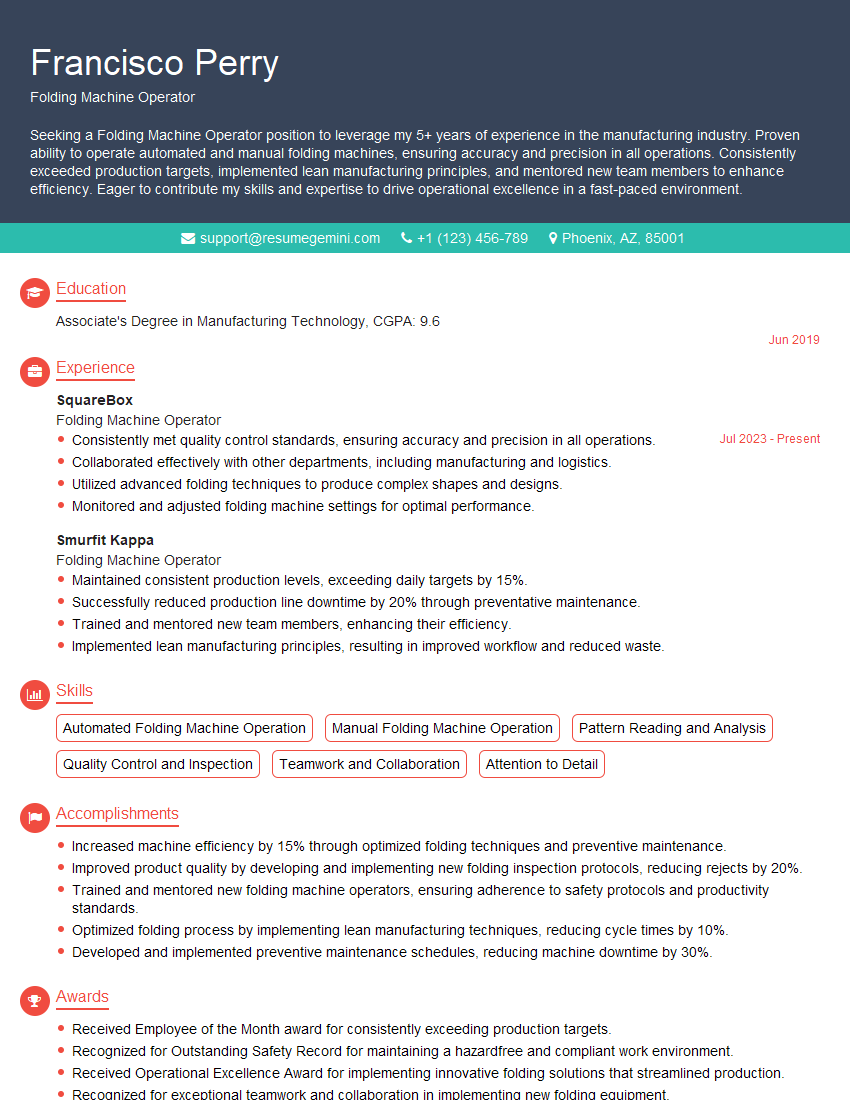
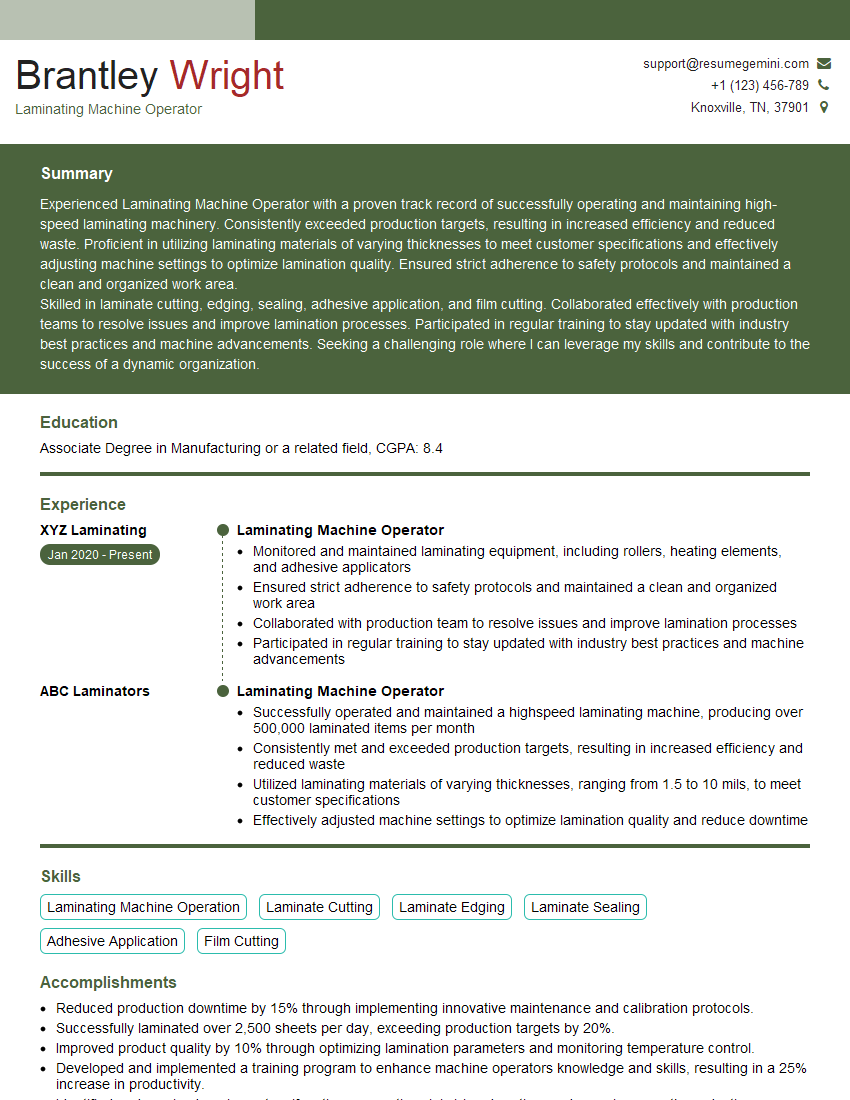
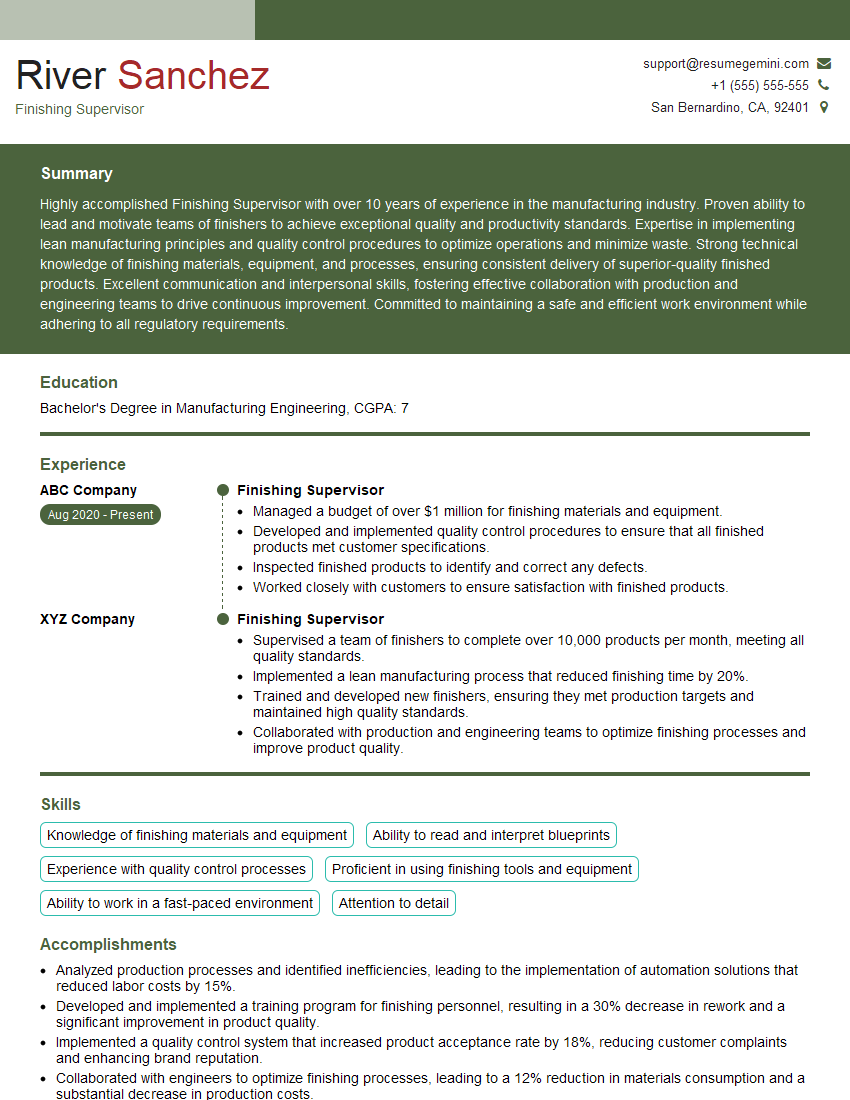
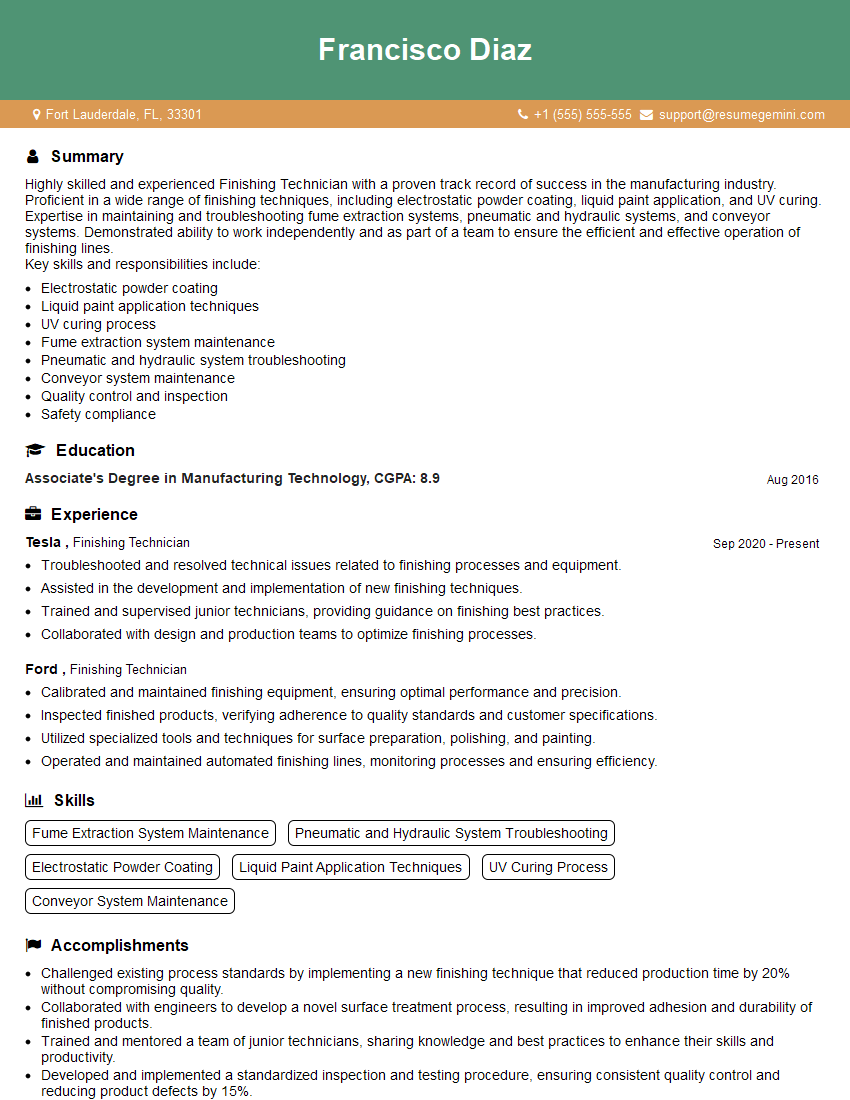
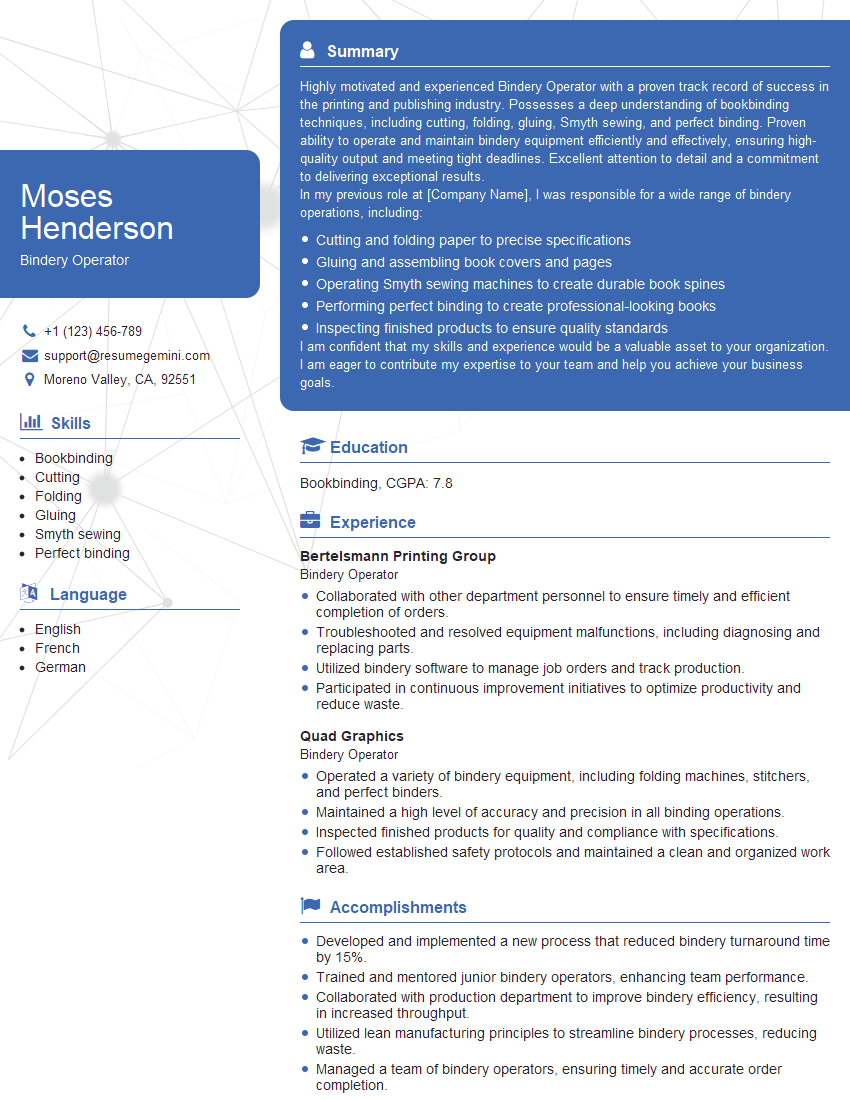
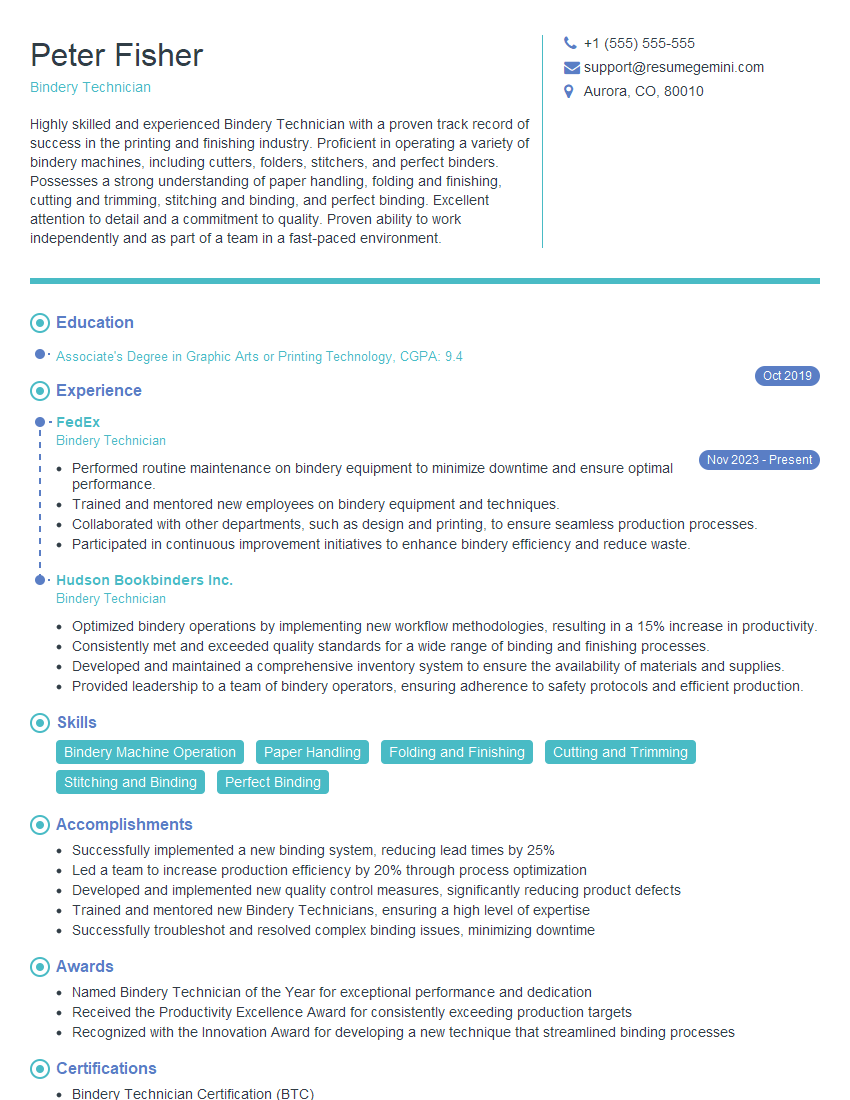
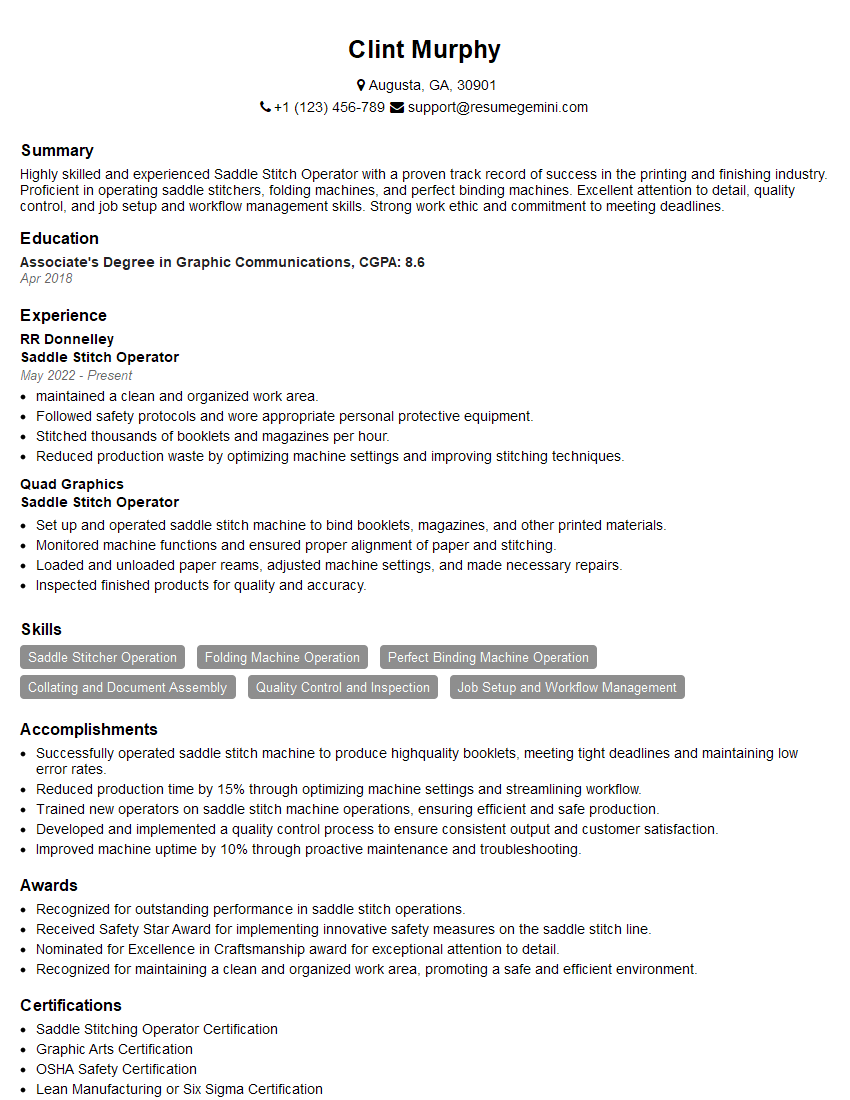
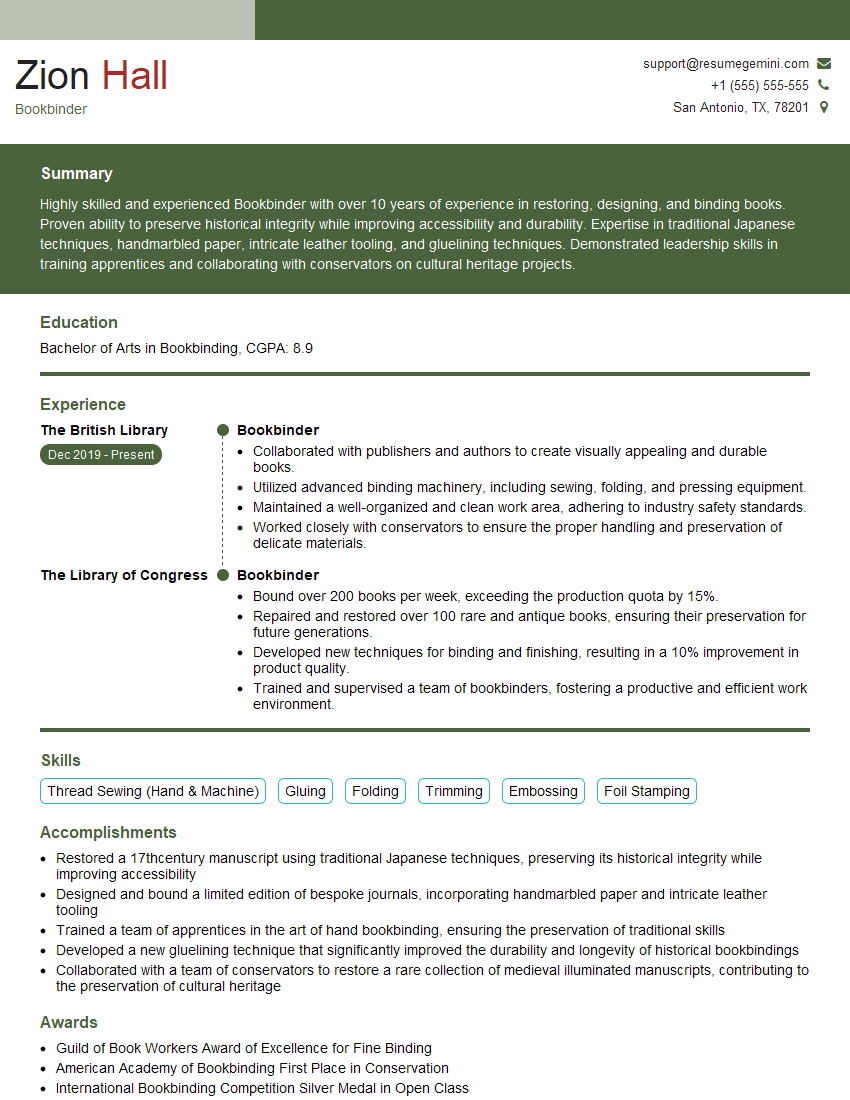
Mastering Bindery and Finishing Operations is crucial for career advancement in the printing and publishing industries. A strong understanding of these processes demonstrates valuable technical skills and problem-solving abilities, leading to greater responsibility and higher earning potential. To maximize your job prospects, create an ATS-friendly resume that highlights your skills and experience effectively. ResumeGemini is a trusted resource that can help you build a professional and impactful resume. Examples of resumes tailored to Bindery and Finishing Operations are available to guide you.
Explore more articles
Users Rating of Our Blogs
Share Your Experience
We value your feedback! Please rate our content and share your thoughts (optional).
What Readers Say About Our Blog
Hi, I’m Jay, we have a few potential clients that are interested in your services, thought you might be a good fit. I’d love to talk about the details, when do you have time to talk?
Best,
Jay
Founder | CEO
