Preparation is the key to success in any interview. In this post, we’ll explore crucial Boat Maintenance and Repair interview questions and equip you with strategies to craft impactful answers. Whether you’re a beginner or a pro, these tips will elevate your preparation.
Questions Asked in Boat Maintenance and Repair Interview
Q 1. Describe your experience with outboard motor maintenance.
Outboard motor maintenance is crucial for ensuring reliable performance and longevity. My experience spans over 15 years, encompassing routine servicing, major repairs, and troubleshooting various issues across different outboard brands and models, from small dinghy engines to larger, high-horsepower units. This includes regular tasks like oil changes, spark plug replacements, fuel filter cleaning, lower unit lubrication, and impeller replacement. I’m also proficient in diagnosing and repairing more complex problems such as carburetor issues, fuel system leaks, and electrical system faults within the outboard motor itself.
For instance, I once diagnosed a seemingly simple ‘no-start’ issue on a customer’s outboard that turned out to be a corroded connection within the starter solenoid. A simple cleaning and tightening resolved the problem, avoiding a costly unnecessary replacement of the entire starter motor.
I regularly perform winterization procedures to protect the engine from damage during periods of inactivity, ensuring optimal performance when the boating season resumes. This meticulous approach has earned me a strong reputation for providing timely, effective, and cost-efficient solutions.
Q 2. Explain the process of troubleshooting a malfunctioning marine engine.
Troubleshooting a malfunctioning marine engine requires a systematic approach. I typically start by gathering information from the boat owner, noting the symptoms, when the problem started, and any preceding events. Then I follow a methodical process:
- Visual Inspection: Checking for obvious problems like loose connections, fuel leaks, damaged belts, or obstructions.
- System Checks: Testing individual systems systematically. For example, I’ll check the fuel system for proper flow and pressure, the ignition system for spark, and the cooling system for proper water circulation.
- Diagnostic Tools: Employing diagnostic tools such as compression testers, fuel pressure gauges, and multimeter to identify specific issues. Modern engines often have onboard diagnostic systems (OBD) which provide error codes that greatly assist in pinpointing the problem.
- Testing Procedures: Conducting specific tests depending on the suspected problem area. For example, if the problem seems electrical, I’ll use a multimeter to check voltage and continuity. If the problem is fuel-related, I’ll check fuel pressure and flow.
- Component Replacement/Repair: Once the fault is identified, the necessary repair or component replacement is carried out.
For example, I recently worked on an engine experiencing poor performance. By using a compression tester, I discovered low compression in one cylinder, leading to the identification and replacement of a faulty piston ring. A methodical approach prevents unnecessary repairs and ensures a swift and accurate solution.
Q 3. How do you diagnose and repair fiberglass cracks in a boat hull?
Diagnosing and repairing fiberglass cracks requires careful attention to detail and the right materials. The process involves several steps:
- Assessment: Determining the crack’s size, depth, and location. Is it a hairline crack, or something more substantial? Does it penetrate the gel coat, or reach the fiberglass layers beneath?
- Preparation: Thoroughly cleaning the area around the crack with a suitable solvent to remove dirt, grease, or old sealant.
- Repair: For minor cracks, filling with a suitable epoxy resin and hardener. For larger cracks, using a woven fiberglass cloth to reinforce the area before filling. Multiple layers may be needed for structural integrity. Proper curing time is critical to ensure a strong bond.
- Finishing: Once cured, sanding the repair area smooth and applying a gel coat to match the boat’s existing finish. This restores the original aesthetic look of the hull.
It’s crucial to use appropriate marine-grade materials designed to withstand the harsh marine environment. I’ve had instances where improper repair techniques led to the crack reappearing, highlighting the importance of professional-grade materials and techniques. For significant hull damage, consultation with a structural engineer might be necessary.
Q 4. What are the common causes of engine overheating in marine engines?
Engine overheating in marine engines is a serious issue that can lead to significant damage. Common causes include:
- Insufficient Water Flow: A clogged water intake, faulty impeller, or damaged raw water pump can restrict water flow through the engine’s cooling system.
- Thermostat Malfunction: A stuck thermostat can prevent proper coolant flow, causing overheating.
- Corrosion or Scale Buildup: Corrosion or mineral deposits in the cooling system can restrict water flow and reduce cooling efficiency.
- Low Coolant Level: Insufficient coolant in the system reduces its capacity to absorb heat.
- Faulty Exhaust System: A blocked or damaged exhaust system can trap heat within the engine.
- Improper Engine Alignment: Misalignment can lead to unequal pressure and heat stress on components.
Identifying the exact cause often involves using a combination of visual inspection, pressure testing of the cooling system, and checking the water flow through the engine’s cooling passages. Ignoring overheating warnings can result in significant engine damage, potentially leading to costly repairs or even engine failure.
Q 5. Describe your experience with marine electrical systems repair.
My experience with marine electrical systems repair is extensive. I’m comfortable working with 12V and 24V DC systems, including wiring harnesses, batteries, alternators, switches, circuit breakers, and various electrical accessories. I understand the unique challenges of a marine environment, such as corrosion and the need for waterproof connections. I regularly troubleshoot problems like faulty wiring, shorted circuits, battery issues, and problems with onboard systems like navigation lights, bilge pumps, and fish finders.
One memorable instance involved tracing a mysterious electrical drain on a customer’s boat. After careful testing and inspection, I found a corroded connection in a poorly-sealed junction box under the deck, causing the drain. The solution was simple: cleaning the connection and reinstalling the box with proper sealant. Solving the issue effectively, saving the customer from a potentially costly component replacement.
I prioritize safety when working with marine electrical systems, always ensuring that the power is disconnected before starting any repair work, and following best practices to prevent electrical shock or fire hazards.
Q 6. How familiar are you with different types of boat propellers and their maintenance?
I am very familiar with various types of boat propellers, including their maintenance requirements. Different propeller designs – such as three-blade, four-blade, or those with different pitch – are optimized for different boat types and applications. Understanding the nuances of propeller selection is crucial for efficient performance and optimal fuel economy.
Regular propeller maintenance is essential. This includes:
- Inspection: Checking for damage, such as bent blades, nicks, or corrosion.
- Cleaning: Removing marine growth and debris that can reduce efficiency and damage the propeller.
- Balancing: Ensuring the propeller is properly balanced to minimize vibrations and prevent damage to the engine and drive shaft. An unbalanced propeller can cause significant vibrations and damage to the engine.
- Repair/Replacement: Repairing minor damage or replacing severely damaged propellers.
Improper propeller selection or lack of maintenance can significantly impact the boat’s performance and fuel consumption. A damaged or poorly maintained propeller can lead to cavitation, reduced speed, and increased wear on the engine. Therefore, routine inspection and maintenance are essential.
Q 7. Explain the procedure for performing a routine boat maintenance check.
A routine boat maintenance check is crucial for preventing problems and ensuring safe operation. My standard procedure includes:
- Visual Inspection: Checking the hull for any signs of damage, cracks, or corrosion. Inspecting the deck, railings, and other structural components.
- Engine Check: Checking engine oil levels, coolant levels, and fuel levels. Inspecting belts, hoses, and other critical components.
- Electrical Systems Check: Testing navigation lights, bilge pumps, and other electrical systems. Checking battery terminals for corrosion.
- Safety Equipment Check: Ensuring all safety equipment, such as life jackets, flares, and fire extinguishers, is present, in good working order, and readily accessible.
- Hull Cleaning: Removing marine growth from the hull to reduce drag and improve fuel efficiency.
- Documentation: Maintaining detailed records of all maintenance performed and noting any issues or repairs needed.
This routine check, performed regularly, greatly increases the longevity and safety of a vessel. Regular checks prevent small problems from becoming costly repairs and ensure that the boat is always seaworthy.
Q 8. How do you identify and repair a leaking hull?
Identifying a hull leak requires a systematic approach. First, you visually inspect the hull, looking for obvious signs like cracks, punctures, or delamination. Pay close attention to areas prone to impact, like the keel, bow, and stern. Next, you might use a dye test, where a non-toxic dye is introduced into the bilge; if a leak is present, the dye will reveal the entry point. For more subtle leaks, a pressure test can pinpoint the exact location. This involves pressurizing the hull with air and listening for escaping air or using specialized leak detection equipment.
Repairing a hull leak depends on its severity and location. Small punctures or cracks can often be repaired with marine-grade epoxy and fiberglass cloth. Larger holes might require more extensive patching, possibly using a segmented repair or even professional welding for metal hulls. Before any repair, the area must be completely dry and cleaned. Remember, proper preparation is key for a lasting repair.
For example, I once worked on a sailboat with a small leak near the keel. A simple dye test revealed the source, and a localized repair with epoxy and cloth completely sealed the leak. However, a different vessel required a more extensive repair involving cutting away damaged fiberglass and replacing a section of the hull using a mold and new material.
Q 9. Describe your experience with marine diesel engine maintenance.
My experience with marine diesel engine maintenance spans over 15 years, encompassing various engine types and sizes. I’m proficient in all aspects, from routine maintenance like oil changes and filter replacements to more complex tasks like fuel system overhauls, injector servicing, and turbocharger maintenance. I’m familiar with troubleshooting common engine problems, including starting difficulties, overheating, and loss of power. I’ve worked on both inboard and outboard engines, and I’m adept at interpreting diagnostic codes and using specialized tools. My experience includes working on various makes and models, allowing me to adapt my skills to different engine designs.
For instance, I recently diagnosed and repaired a faulty fuel injection pump on a 40-foot trawler. This involved meticulously testing components, identifying the failing part, and sourcing a suitable replacement. The repair required patience and attention to detail to ensure proper reassembly and function. My experience also extends to engine alignment, ensuring optimal performance and longevity.
Q 10. What safety precautions do you take when working on boat engines?
Safety is paramount when working on boat engines. I always start by disconnecting the battery’s negative terminal to prevent accidental electric shocks. I wear appropriate personal protective equipment (PPE), including safety glasses, gloves, and hearing protection. I ensure adequate ventilation to avoid inhaling harmful fumes, especially when working with fuel or lubricants. When handling engine fluids, I take precautions to prevent spills and skin contact. I’m also mindful of hot surfaces and moving parts, always exercising caution during operation and maintenance. Finally, I never work alone on engine repairs – a second person can assist and provide a safety net.
For example, I always use designated containers for spent engine oil and other fluids, disposing of them properly according to environmental regulations. I regularly inspect my tools and equipment to make sure they’re in good working order and safe to use.
Q 11. How do you troubleshoot a malfunctioning bilge pump?
Troubleshooting a malfunctioning bilge pump involves a methodical process. First, check the power supply: Is the breaker tripped or is there sufficient voltage at the pump? Next, examine the pump itself: Is it clogged with debris? Check the impeller to make sure it’s not damaged or worn out. Also, inspect the float switch to confirm it’s properly activating. If the float switch appears to be working correctly, but the pump is not activating, the problem may lie within the pump motor itself, possibly requiring replacement.
Sometimes, the issue isn’t with the pump at all but with the drainage system itself. A blockage in the bilge lines can prevent water from reaching the pump. A simple solution could be clearing the blockage using a pressure washer or a drain snake.
For instance, on a recent job, a bilge pump wasn’t activating despite a full bilge. It turned out to be a simple case of a tripped breaker. However, another time, I discovered a large amount of debris had clogged the inlet to the bilge pump, requiring a thorough cleaning before the pump would function correctly.
Q 12. Explain your experience with marine plumbing systems.
My experience with marine plumbing systems encompasses various aspects of design, installation, maintenance and repair. I’m comfortable working with different materials such as PVC, ABS, and stainless steel. I understand the importance of proper sizing, fitting selection, and pressure testing to ensure leak-free operation. I’m familiar with the various components of a marine plumbing system, including water tanks, pumps, hoses, valves, and fixtures. I understand the principles of water distribution, drainage, and sanitation systems. Troubleshooting issues like leaks, low water pressure, or clogged lines is also part of my expertise.
For example, I recently replaced a deteriorated section of waterline on a yacht. This involved carefully cutting out the damaged section and replacing it with new, appropriately sized, and correctly joined pipe. I then performed a pressure test to verify the integrity of the repair. Another time, I located a persistent leak in a freshwater system through a combination of careful observation and pressure testing.
Q 13. What are the common causes of steering system failures?
Common causes of steering system failures include cable breakage or corrosion, fluid leaks in hydraulic systems, damage to the steering gear (like the quadrant or helm pump), and issues with the steering cables themselves. Improper lubrication, lack of routine maintenance, and impacts are also important factors. In hydraulic systems, problems can range from a simple fluid leak to more serious internal component failure in the hydraulic ram or pump. In cable-driven systems, corrosion and wear from salt spray and exposure to the elements can lead to cable fraying and eventual breakage.
For instance, a damaged steering cable can lead to sluggish response or complete loss of steering control; a hydraulic fluid leak would reduce pressure and impact steering capability. Regular inspection and maintenance are crucial to prevent these failures, checking for wear, corrosion, and leaks.
Q 14. How do you perform a sea trial and what are you looking for?
A sea trial is a crucial step in verifying the proper functioning of a boat’s systems after repairs or maintenance. It involves a thorough test under various conditions to check for problems. Before the trial, I ensure all systems (engine, steering, bilge pumps, navigation equipment) are checked. During the sea trial, I test the engine at various speeds, monitoring its performance, checking for unusual vibrations or noise. I carefully evaluate the steering response, making sure it’s smooth and responsive at all speeds. I also test the bilge pumps, navigation lights, and other essential systems under different conditions. I note any unusual behavior or noises that may indicate a problem. Finally, I document my findings and recommendations.
For example, during a recent sea trial, I discovered a slight vibration at high speed, indicating a possible propeller imbalance. A subsequent inspection confirmed this, and the propeller was balanced. Another trial, I discovered a minor leak in the stern tube seal which needed addressing.
Q 15. Describe your experience with boat painting and finishing techniques.
Boat painting and finishing is a multi-step process requiring precision and attention to detail. It’s about more than just aesthetics; a properly applied finish protects the hull from the elements, extending the boat’s lifespan. My experience encompasses various techniques, from prepping the surface – which includes cleaning, sanding, and priming – to applying multiple coats of paint or varnish, and finally, meticulous polishing for a flawless finish.
I’ve worked with a variety of paints, including epoxy, polyurethane, and acrylic-based systems, each suited to different substrates and desired finishes. For example, epoxy paints are known for their durability and resistance to osmosis, making them ideal for underwater hulls. Polyurethane paints provide a high-gloss finish, often preferred for above-water surfaces. I’ve also mastered techniques like wet-on-wet application for a seamless finish and spray application for even coverage on larger surfaces. I always meticulously follow manufacturer’s instructions for optimal results and longevity.
One project that stands out involved refinishing a classic wooden sailboat. The meticulous preparation, using various grades of sandpaper to achieve a perfectly smooth surface, and the multiple coats of varnish required, demonstrated my commitment to achieving a historically accurate and high-quality finish. The end result was stunning, and the client was thrilled with the restoration.
Career Expert Tips:
- Ace those interviews! Prepare effectively by reviewing the Top 50 Most Common Interview Questions on ResumeGemini.
- Navigate your job search with confidence! Explore a wide range of Career Tips on ResumeGemini. Learn about common challenges and recommendations to overcome them.
- Craft the perfect resume! Master the Art of Resume Writing with ResumeGemini’s guide. Showcase your unique qualifications and achievements effectively.
- Don’t miss out on holiday savings! Build your dream resume with ResumeGemini’s ATS optimized templates.
Q 16. How do you repair a damaged boat canvas or upholstery?
Repairing damaged boat canvas or upholstery involves a careful assessment of the damage, selection of appropriate materials, and precise stitching or patching. The first step is always thorough cleaning to remove any dirt, mildew, or salt deposits.
For minor tears or punctures in canvas, I typically use a high-quality marine-grade thread and a specialized sewing machine, applying a patch from the underside to reinforce the area. Larger tears may require more extensive patching or even replacement sections. For upholstery repairs, the process is similar, but the choice of materials will depend on the type of fabric. I might use vinyl repair kits for vinyl upholstery, or source matching fabric for fabric repairs.
I also utilize specialized adhesives and sealants, ensuring that the repair is both strong and watertight. For example, I’ve successfully repaired sun-damaged bimini tops by applying a protective sealant and patching the affected areas. In another instance, I reupholstered worn-out cockpit seats using durable marine-grade fabric, improving both comfort and aesthetics.
Q 17. How familiar are you with different types of boat fuel systems?
I’m familiar with various boat fuel systems, from simple gravity-fed systems in smaller boats to more complex systems with electric fuel pumps, filters, and pressure gauges found in larger vessels. Understanding the intricacies of each system is crucial for safety and efficiency.
I’m experienced in diagnosing and troubleshooting issues like fuel leaks, clogged fuel filters, and faulty fuel pumps. I know the importance of proper ventilation to prevent fuel vapor buildup and understand the different types of fuel tanks—from fiberglass to stainless steel—and their associated maintenance needs.
For instance, I once diagnosed a problem with a boat experiencing erratic engine performance. After a thorough inspection, I identified a clogged fuel filter, which I replaced, resolving the issue. My familiarity with different fuel injection systems, carburetors, and fuel lines enables me to effectively address fuel-related problems.
Q 18. What are the common problems associated with marine batteries?
Common problems with marine batteries include corrosion, sulfation, low charge, and parasitic drain. Corrosion develops on battery terminals due to exposure to saltwater and causes poor electrical connections, leading to reduced performance or failure to start the engine. Sulfation occurs when the battery isn’t fully charged regularly, leading to a buildup of lead sulfate crystals that reduce battery capacity.
A low charge is often the result of insufficient charging from the alternator or solar panel, or excessive usage. Parasitic drain happens when components draw power from the battery even when the boat isn’t in use. This can be caused by faulty wiring or devices left on.
I’ve used various methods to diagnose and solve these issues, including load testing batteries to assess their capacity and using a multimeter to check voltage and current. Cleaning corroded terminals and using a battery tender to maintain a full charge are standard procedures. Pinpointing the source of a parasitic drain often involves systematic testing of individual circuits to identify the faulty component.
Q 19. How do you diagnose and repair a faulty marine GPS system?
Diagnosing and repairing a faulty marine GPS system involves a methodical approach. First, I’d check the obvious – is the GPS receiver powered on and receiving a satellite signal? A weak or nonexistent signal could indicate a faulty antenna, obstruction (like a poorly placed radar arch), or interference.
Next, I’d verify the GPS data is correctly interpreted and displayed by the chartplotter. If the issue is with the display, the problem might be with the chartplotter itself, requiring potential software updates, hardware troubleshooting, or even replacement. Often, the issue lies with the connection between the GPS receiver and the chartplotter. Loose or faulty cables are common culprits.
I’ve encountered several instances of faulty GPS systems. One involved a faulty connection cable, and another was due to outdated software on the chartplotter. My experience helps me quickly determine whether a problem lies with the antenna, wiring, or the display unit itself, allowing for efficient repair or replacement.
Q 20. What are the different types of marine antifouling paints and their application?
Marine antifouling paints prevent the accumulation of marine organisms like barnacles and algae on the hull, reducing drag and improving fuel efficiency. Several types exist, each with its own characteristics and application methods.
- Ablative paints: These paints gradually erode over time, releasing biocides that prevent fouling. They are easy to apply but require more frequent repainting.
- Hard antifouling paints: These paints form a hard, durable surface that resists fouling. They last longer than ablative paints but require more thorough preparation and cleaning before repainting.
- Copper-based paints: These contain copper compounds that are toxic to marine organisms. They are effective but can be environmentally damaging. Many modern formulations use less copper to reduce environmental impact.
- Silicone-based paints: These are smooth and hard and often incorporated into multi-layer systems, designed for high-performance vessels. They are very effective and reduce frictional drag.
Proper application involves thorough cleaning of the hull, followed by priming and multiple coats of antifouling paint. The number of coats and drying time depend on the specific paint and environmental conditions. I always follow manufacturer’s instructions and ensure proper ventilation during application.
Q 21. Explain your experience with the maintenance of sailboats vs. powerboats.
Maintaining sailboats and powerboats involves some overlapping tasks but also presents unique challenges. Both require regular cleaning, engine maintenance (if applicable), and hull inspection for damage. However, the specifics differ significantly.
Sailboats require more attention to rigging, sails, and running gear. Regular checks of standing and running rigging for wear and tear are crucial. Sail maintenance, including cleaning, repairing rips, and storage, is a significant aspect. Powerboats, on the other hand, demand more focus on engine maintenance, including oil changes, fuel system checks, and regular servicing. Hull cleaning and polishing are also crucial on both types of vessels.
My experience includes working on both types of boats. I’ve overseen the complete refit of a classic wooden sailboat, involving extensive hull work, rigging repairs, and sail maintenance. I’ve also maintained and repaired several high-performance powerboats, focusing on engine performance, fuel efficiency, and electrical systems. This varied experience provides me with a well-rounded skillset in marine maintenance and repair.
Q 22. Describe your experience with winterizing boat engines.
Winterizing a boat engine is crucial to prevent damage from freezing temperatures. It involves protecting the engine’s internal components from water expansion during freezing. The process is similar across various engine types but specifics depend on the engine’s design and manufacturer’s recommendations.
- Step 1: Flush the Cooling System: I always begin by thoroughly flushing the engine’s cooling system with fresh water to remove any salt or corrosive elements. This prevents corrosion and helps prolong the engine’s life. I use a specific flushing solution to ensure the system is completely clean.
- Step 2: Drain the Engine Blocks: Next, I drain all water from the engine block, manifolds, and other components. This involves opening specific drain plugs and ensuring complete drainage. I check all the drain points multiple times to ensure there’s no residual water.
- Step 3: Add Antifreeze: After draining, I add RV antifreeze (propylene glycol-based, as it’s less toxic than ethylene glycol) to the cooling system. I run the engine briefly to circulate the antifreeze throughout all components, ensuring complete coverage and protection.
- Step 4: Protect Other Components: Beyond the cooling system, I also protect other vulnerable areas. This includes spraying fogging oil into the cylinders to prevent corrosion and lubricating moving parts, such as the outdrive, if applicable. I always refer to the manufacturer’s manual for specific instructions and recommendations.
For example, I recently winterized a 200 HP Mercruiser inboard/outboard engine. The process took about 2 hours, and involved careful attention to detail to ensure all components were fully protected.
Q 23. How do you address issues related to hull osmosis?
Hull osmosis is a process where water enters a fiberglass hull through microscopic pores, causing blistering and structural damage. Addressing it requires a multi-step approach depending on the severity.
- Assessment: I begin with a thorough inspection to determine the extent of the damage. This involves checking for blisters, measuring their size, and assessing the hull’s overall condition.
- Minor Osmosis: For minor cases, a simple surface repair might suffice. This involves grinding away the affected areas, applying an epoxy resin to seal the pores, and then fairing and repainting the hull.
- Severe Osmosis: If the osmosis is extensive, a more invasive repair is needed. This could involve drilling holes to drain excess moisture, applying an osmotic barrier (e.g., epoxy resin), and then completing extensive repairs, which can be very costly.
- Prevention: Preventing osmosis is essential. Regularly inspecting the hull, using a quality antifouling paint, keeping the hull clean, and storing the boat in a dry environment help to minimize the risk.
I once worked on a sailboat that had severe osmosis. The repair was a significant undertaking, involving multiple weeks of work and substantial expense, highlighting the importance of early detection and preventative maintenance.
Q 24. What are the common issues with marine transmissions?
Marine transmissions, whether manual or automatic, experience unique challenges due to the harsh marine environment. Common issues include:
- Fluid Leaks: Leaks in seals, gaskets, or the transmission case itself are very common. These leaks can lead to transmission failure and require prompt attention. The cause needs to be diagnosed to ensure that it is effectively addressed.
- Gear Shifting Problems: Difficulty shifting gears, slipping gears, or grinding noises can indicate problems within the transmission itself, like worn-out parts or internal damage. This often requires a detailed inspection and potentially rebuilding or replacing components.
- Overheating: Overheating can result from low fluid levels, clogged coolers, or insufficient lubrication, leading to damage to internal components. Regular fluid checks and cooling system maintenance are essential.
- Corrosion: Saltwater corrosion is a major concern for marine transmissions. Regular cleaning and lubrication help mitigate this issue. The use of corrosion inhibitors in the transmission fluid can also be beneficial.
Troubleshooting often involves checking fluid levels, inspecting for leaks, and listening for unusual noises. I’ve had to replace worn-out clutches, rebuild gearboxes and replace seals, depending on the nature of the issue.
Q 25. How do you maintain and repair marine air conditioning systems?
Maintaining and repairing marine air conditioning systems requires expertise in both refrigeration and electrical systems. It’s important to remember safety and the use of specialized equipment.
- Regular Maintenance: This includes checking refrigerant levels, cleaning condenser coils (both inside and outside), cleaning the air filters and inspecting the compressor for any issues. Regular maintenance prevents major problems.
- Troubleshooting: Troubleshooting problems often involves using a manifold gauge set to check pressures, identifying leaks using leak detectors and checking electrical components and connections for faults.
- Repairing Leaks: Leaks in the refrigerant lines or compressor can require specialized repair techniques, potentially including brazing or replacing components. Often, proper evacuation and recharging of the system is required.
- Electrical Issues: Electrical issues like faulty compressors, failed capacitors, or problems with the control system can often be addressed by checking voltage, and replacing faulty components. Sometimes, a qualified electrician may be needed for more complex electrical issues.
I once worked on a yacht’s air conditioning system where a faulty compressor was causing the system to malfunction. Replacing the compressor resolved the issue, restoring the system to full functionality.
Q 26. Explain your experience working with various types of boat rigging.
I have experience working with various types of boat rigging, from simple sailboat standing rigging to complex racing yacht setups. Understanding the materials, construction techniques, and safety standards is crucial. I have worked with:
- Standing Rigging: This includes wire ropes (stainless steel), turnbuckles, and associated fittings. Regular inspections are essential, looking for corrosion, wear, and chafing. I have replaced worn-out wire ropes and turnbuckles and performed many rigging checks.
- Running Rigging: This consists of halyards, sheets, control lines, and blocks. Proper maintenance involves lubrication, inspection for fraying or damage, and replacement as needed. I often use different rope types for various purposes, depending on the application and load.
- Different Rig Types: My experience covers various rigs, including sloop, cutter, ketch, and schooner rigs, each with unique rigging challenges and maintenance requirements.
For instance, I recently helped to inspect and replace a wire stay on a large sailing yacht, ensuring it met all safety standards. This involved careful measurement, proper fitting, and tensioning using specialized equipment.
Q 27. Describe your experience in troubleshooting and repairing marine sanitation systems.
Marine sanitation systems, whether holding tanks or macerators, require regular maintenance to prevent blockages and unpleasant odors. I have experience troubleshooting a range of issues.
- Holding Tanks: These require regular pumping out and occasional cleaning to prevent the buildup of waste and odors. Blockages often require the use of a specialized auger or pump to clear the lines.
- Macerators: These can become clogged with debris or damaged impeller blades, reducing efficiency. Troubleshooting macerator issues often involves checking the impeller, removing obstructions, and inspecting the electrical connections.
- Plumbing Issues: Leaks in the plumbing system or clogs in the discharge lines are common problems. Locating leaks may require pressure testing, while clogs may require specialized tools to clear.
- Sensors and Gauges: Issues with level sensors, gauge readings, and other electronic components can be addressed through electrical diagnostics and component replacement.
Recently, I helped to resolve a blockage in a boat’s holding tank using a high-pressure water jet, and afterward, I performed preventative maintenance by adding the correct chemicals to minimize future clogs.
Q 28. How do you handle emergency situations during boat maintenance or repair?
Handling emergency situations during boat maintenance or repair prioritizes safety. My approach involves:
- Assessment: Quickly assess the situation, identifying the immediate danger and potential hazards. This might involve a fire, electrical shock, or injury.
- Safety First: Prioritize personal safety and the safety of others. This often involves using appropriate safety equipment, like gloves, eye protection, and potentially respirators.
- Emergency Procedures: Knowing and following appropriate emergency procedures, such as fire suppression or first aid, is essential. I’m trained in first aid and CPR.
- Communication: In serious emergencies, contacting emergency services (coast guard, fire department, etc.) is critical.
- Control & Containment: Attempt to control the situation and contain the hazard to prevent further damage or injury. This could include isolating electrical systems, ventilating areas, or stopping fuel leaks.
Once I dealt with a situation where a fuel line sprang a leak during engine work. I immediately shut off the fuel supply, contained the spill with absorbent materials, and then contacted the harbormaster for assistance in cleaning up the spill, ensuring safe disposal practices were followed.
Key Topics to Learn for Boat Maintenance and Repair Interview
- Hull Maintenance: Understanding fiberglass repair, gelcoat maintenance, osmosis prevention and treatment. Practical application: Diagnosing and repairing hull damage, applying antifouling paint.
- Engine Systems: Inboard/outboard engine operation, troubleshooting common engine problems (e.g., starting issues, overheating), preventative maintenance schedules. Practical application: Performing routine engine checks, diagnosing and repairing fuel system issues.
- Electrical Systems: Wiring diagrams, battery maintenance, troubleshooting electrical faults (e.g., lighting, navigation equipment). Practical application: Replacing faulty components, tracing and repairing electrical circuits.
- Plumbing Systems: Understanding freshwater and saltwater systems, pump operation, leak detection and repair. Practical application: Troubleshooting leaks, repairing plumbing fittings, maintaining water tanks.
- Safety Equipment: Life jackets, fire extinguishers, flares, navigation lights, emergency procedures. Practical application: Inspecting and maintaining safety equipment, understanding regulatory requirements.
- Preventive Maintenance: Developing and implementing maintenance schedules, recognizing signs of wear and tear, proactive repairs. Practical application: Creating a maintenance plan for a specific boat type, prioritizing maintenance tasks.
- Troubleshooting and Problem-Solving: Systematic approaches to diagnosing and resolving mechanical and electrical issues, using diagnostic tools effectively. Practical application: Applying a logical troubleshooting methodology to a complex engine problem.
- Materials and Tools: Familiarity with common boat repair materials (e.g., fiberglass resin, marine sealant), and the proper use of tools (e.g., grinders, welders). Practical application: Selecting the appropriate materials and tools for a specific repair task.
Next Steps
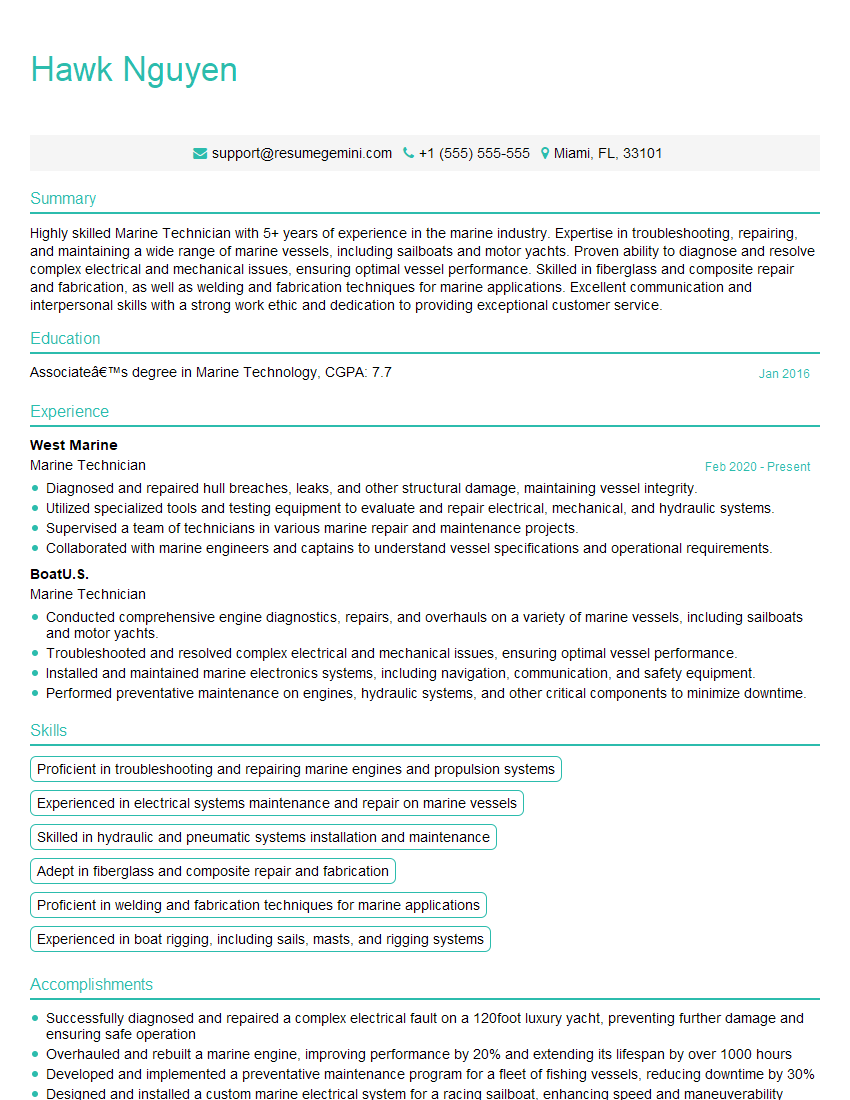
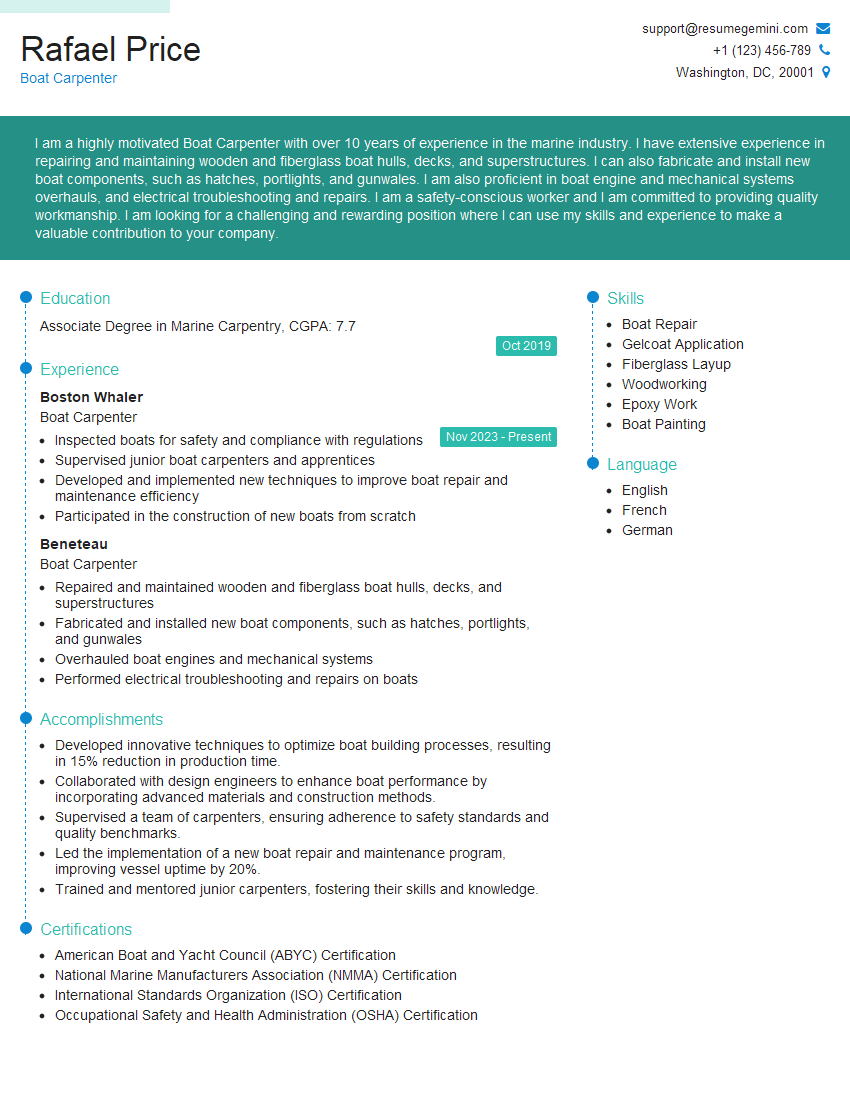
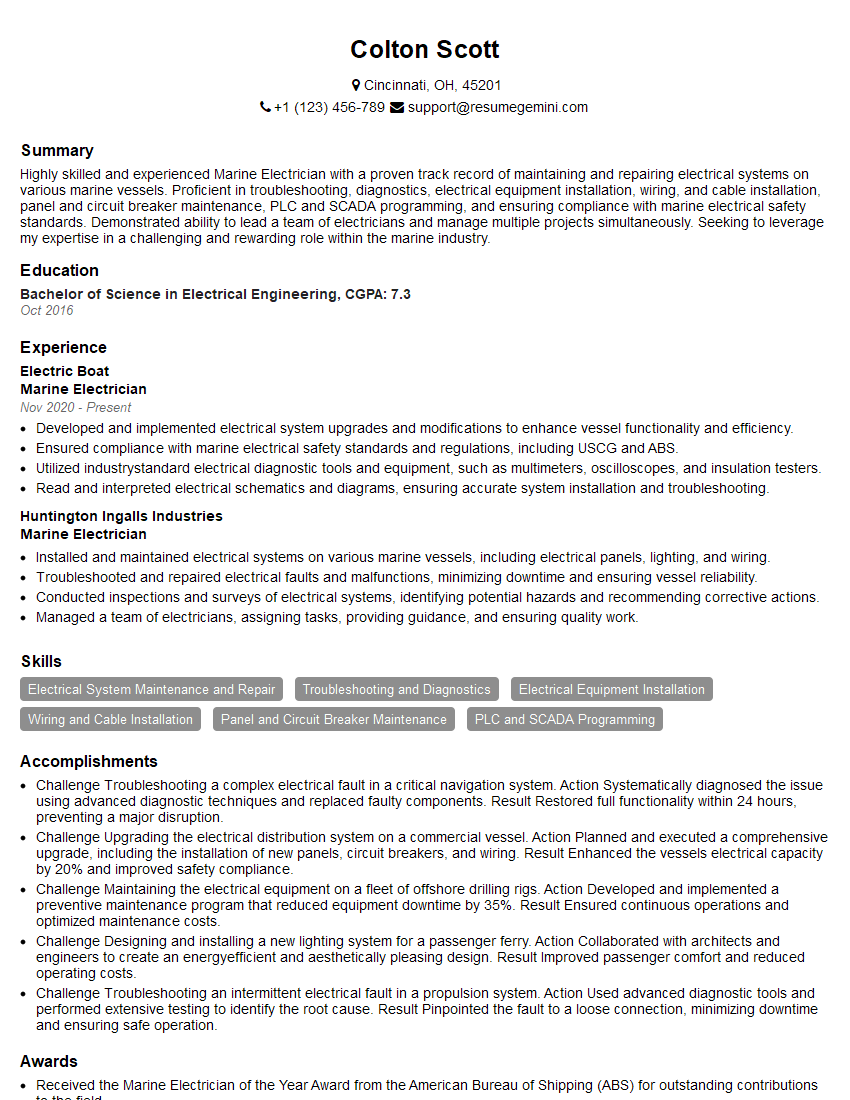
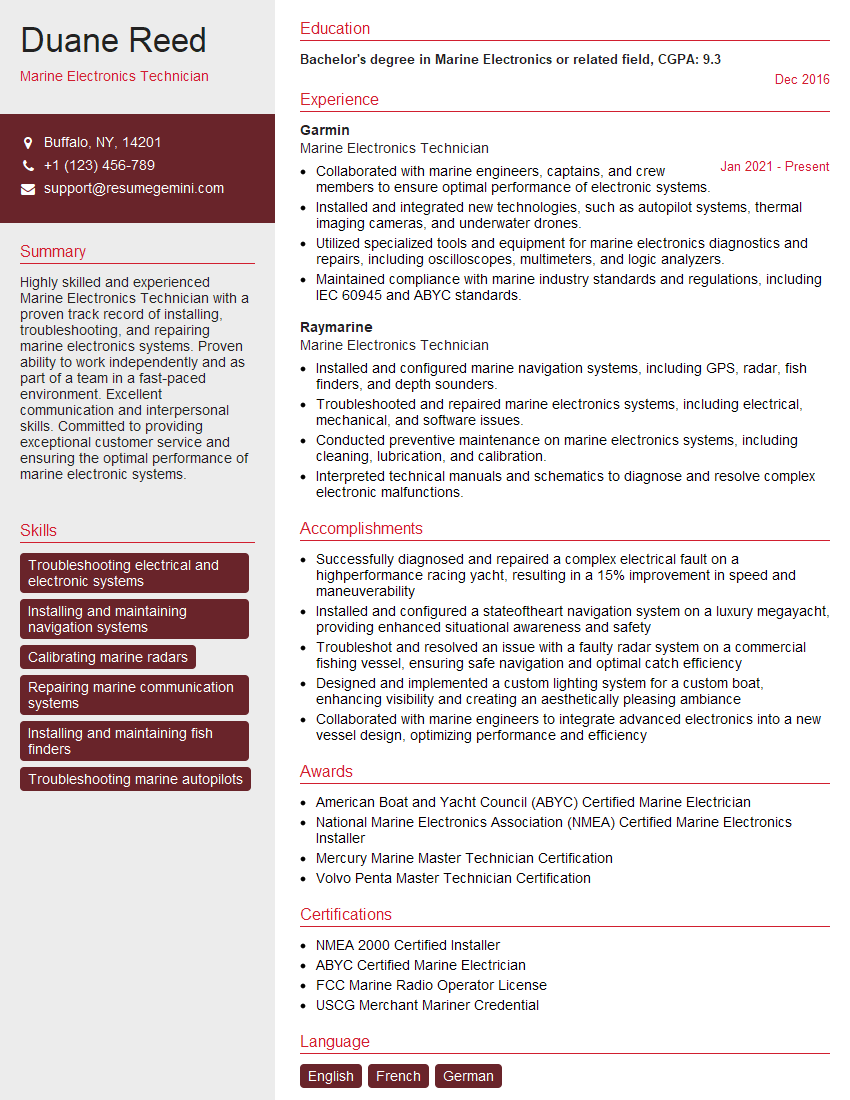
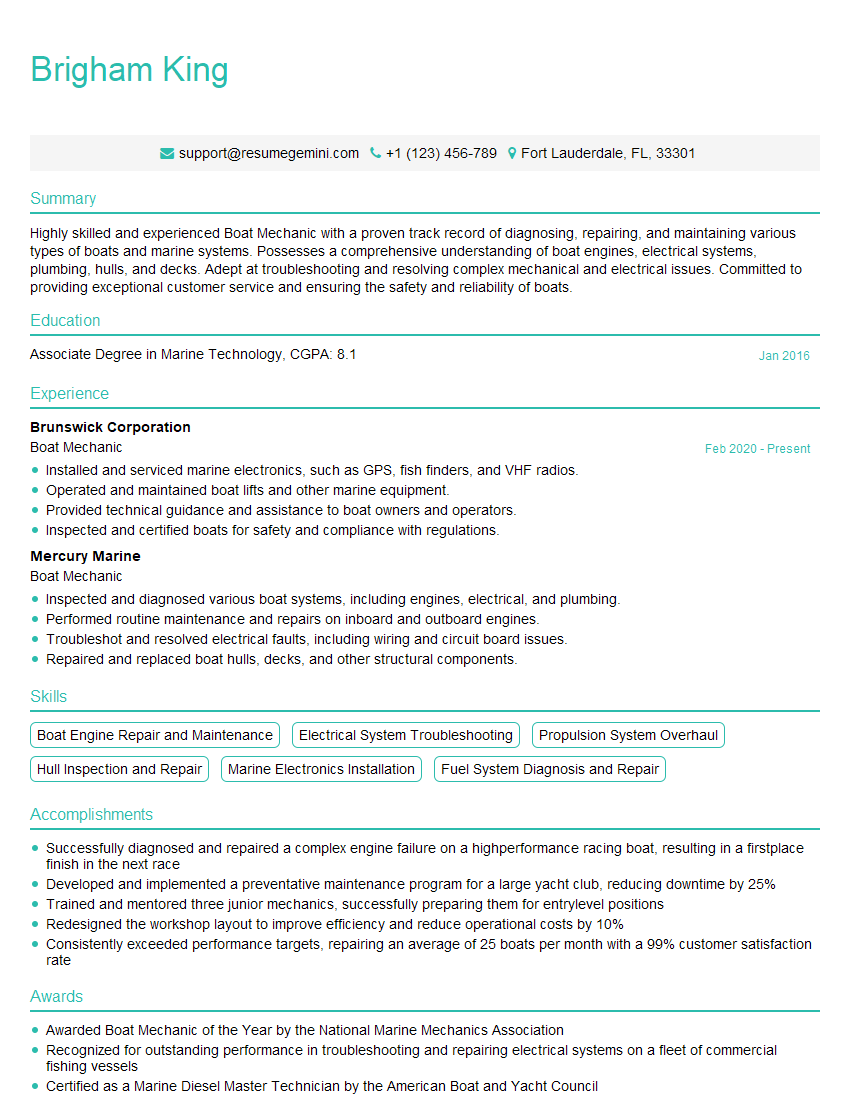
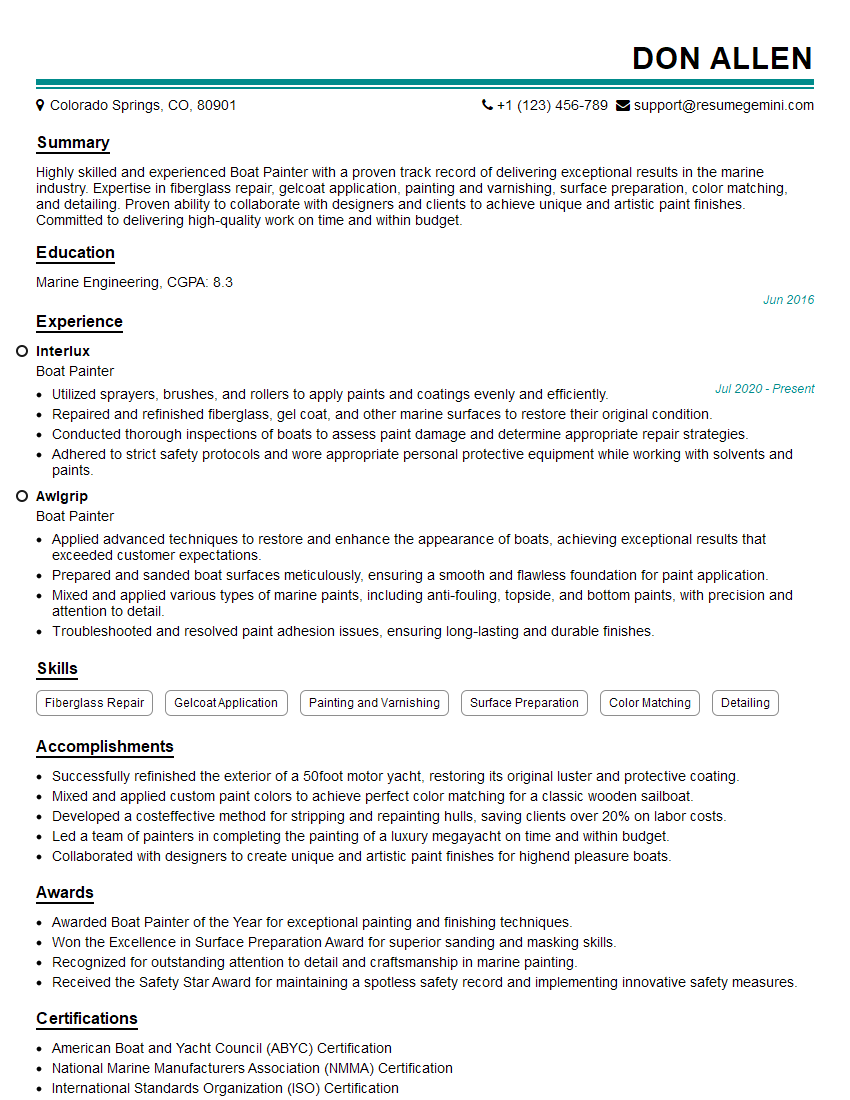
Mastering Boat Maintenance and Repair opens doors to a rewarding career with diverse opportunities for growth, from independent contractor to management positions within marinas or boatyards. To significantly boost your job prospects, crafting an ATS-friendly resume is crucial. ResumeGemini is a trusted resource that can help you build a professional and effective resume tailored to the specific requirements of the Boat Maintenance and Repair field. Examples of resumes tailored to this profession are available to help you get started. Invest time in creating a standout resume – it’s your first impression and a key to unlocking your career potential.
Explore more articles
Users Rating of Our Blogs
Share Your Experience
We value your feedback! Please rate our content and share your thoughts (optional).
What Readers Say About Our Blog
Hi, I’m Jay, we have a few potential clients that are interested in your services, thought you might be a good fit. I’d love to talk about the details, when do you have time to talk?
Best,
Jay
Founder | CEO
