Unlock your full potential by mastering the most common Brake Replacement interview questions. This blog offers a deep dive into the critical topics, ensuring you’re not only prepared to answer but to excel. With these insights, you’ll approach your interview with clarity and confidence.
Questions Asked in Brake Replacement Interview
Q 1. Describe the different types of brake systems.
Brake systems are broadly categorized into two main types: drum brakes and disc brakes. Both utilize friction to slow or stop a vehicle, but they achieve this differently.
- Drum Brakes: These are older technology, typically found on older vehicles or on the rear wheels of some modern cars. They consist of a brake drum, brake shoes, and wheel cylinders. When the brake pedal is pressed, hydraulic pressure pushes the brake shoes outward against the rotating drum, creating friction and slowing the wheel. Think of it like a shoe inside a drum, rubbing against the inside.
- Disc Brakes: More common in modern vehicles, disc brakes use a rotor (a spinning disc) and brake calipers. The calipers contain brake pads that squeeze against the rotor when the brake pedal is pressed, generating friction to slow the vehicle. This system offers superior heat dissipation, leading to better braking performance, especially during heavy use. Think of it as a clamp squeezing a spinning plate.
Some vehicles utilize a combination of both systems, with disc brakes at the front for better stopping power and drum brakes at the rear, often for cost-effectiveness.
Q 2. Explain the process of replacing brake pads.
Replacing brake pads is a relatively straightforward process, but safety is paramount. Always use safety glasses and work gloves. Here’s a step-by-step guide:
- Secure the vehicle: Use a jack and jack stands to safely lift the vehicle and secure the wheel you’re working on.
- Remove the wheel: Unscrew the lug nuts and remove the wheel.
- Remove the caliper: Depending on the vehicle, you may need to compress the caliper piston using a C-clamp or specialized tool. This creates space for the new, thicker brake pads.
- Remove the old brake pads: Carefully remove the worn-out brake pads. Inspect the caliper slide pins and clean/lubricate them if necessary.
- Install the new brake pads: Insert the new brake pads into their designated slots.
- Reinstall the caliper: Carefully re-attach the caliper to the brake bracket.
- Reinstall the wheel: Put the wheel back on and tighten the lug nuts to the manufacturer’s specified torque.
- Lower the vehicle: Slowly lower the vehicle to the ground.
- Test the brakes: Gently test the brakes to ensure they’re working correctly.
Important Note: If you’re not comfortable performing this task, it’s best to leave it to a qualified mechanic.
Q 3. How do you inspect brake rotors for wear and tear?
Inspecting brake rotors is crucial for safety. Look for several indicators of wear and tear:
- Thickness: Use a brake rotor thickness gauge to measure the rotor’s thickness. Compare this to the manufacturer’s minimum thickness specification found in your vehicle’s repair manual. If it’s below the minimum, the rotor needs replacement.
- Scoring/Grooving: Examine the rotor surface for deep grooves or scoring. These indicate significant wear and potential braking issues.
- Warping/Runout: Use a dial indicator or a rotor runout tool to check for rotor warping. Warped rotors can cause brake pulsation or vibration while braking.
- Rust/Corrosion: Excessive rust or corrosion can affect braking performance. While surface rust is often acceptable, severe corrosion demands attention.
If any of these issues are present, replacing the rotors is recommended for optimal braking safety and performance.
Q 4. What are the signs of a failing brake caliper?
A failing brake caliper can manifest in several ways:
- Brake dragging: One wheel might feel hot after driving, indicating the caliper isn’t releasing properly.
- Uneven brake pad wear: Inspecting the brake pads can reveal uneven wear on one side, a sign of a sticking caliper.
- Pulling to one side during braking: The vehicle might pull towards the side with the failing caliper.
- Reduced braking effectiveness: Overall braking performance may be compromised.
- Fluid leaks: Visible fluid leakage around the caliper indicates a possible seal failure.
If you notice any of these signs, it’s essential to have the brake caliper inspected and potentially replaced by a professional.
Q 5. How do you bleed brake lines?
Bleeding brake lines removes air bubbles from the hydraulic brake system, ensuring proper brake pedal feel and effectiveness. This process typically involves two people:
- Open the bleeder valve: Locate the bleeder valve at each caliper. This is usually a small valve with a hexagonal shape.
- Attach a hose: Attach a clear hose to the bleeder valve, submersing the other end in a container of brake fluid.
- Press the brake pedal: Have someone firmly press the brake pedal while you open the bleeder valve, allowing air bubbles to escape.
- Close the bleeder valve: Close the bleeder valve before the brake pedal is released.
- Repeat: Repeat this process until no more air bubbles are visible in the fluid.
- Check fluid level: Regularly check and maintain the proper brake fluid level in the master cylinder throughout the process.
Important Note: Always use the correct type of brake fluid specified for your vehicle.
Q 6. What tools are essential for brake replacement?
The essential tools for brake replacement vary depending on the specific job, but a basic set includes:
- Jack and jack stands: For safely lifting and supporting the vehicle.
- Lug wrench: To remove and install the wheels.
- Wheel chocks: To secure the vehicle.
- Socket wrench set: For removing and installing caliper bolts and other fasteners.
- C-clamp or caliper piston compressor: To compress the caliper piston.
- Brake caliper tool (if necessary): Some calipers require special tools for removal and installation.
- Brake cleaner: For cleaning brake components.
- Torque wrench: To properly tighten lug nuts and other bolts to the manufacturer’s specifications.
- Brake pad thickness gauge: To measure brake rotor thickness.
- Gloves and safety glasses: For protection.
This list provides a foundation; additional specialized tools may be needed depending on the vehicle and the complexity of the repair.
Q 7. How do you diagnose brake squealing?
Brake squealing is a common issue with several potential causes. Diagnosing it involves a systematic approach:
- Worn brake pads: This is the most frequent cause. Worn pads can create metal-on-metal contact, leading to high-pitched squeals.
- Contaminated brake pads: Brake pads contaminated with oil or grease can cause squealing.
- Damaged or missing shims: Shims are small metal plates designed to reduce noise and vibration. Damage or missing shims can contribute to squealing.
- Loose or worn caliper components: Issues with the caliper hardware, such as worn pins or guide bushings, can cause squealing.
- Warped brake rotors: Warped rotors can induce vibration that leads to squealing.
To diagnose, visually inspect the brake pads, rotors, and calipers for wear, damage, or contamination. If the cause isn’t immediately apparent, it’s best to consult a professional mechanic for a more thorough diagnosis and repair.
Q 8. Explain the importance of proper torque specifications during brake replacement.
Proper torque specifications are absolutely crucial during brake replacement because they ensure the components are tightened to the manufacturer’s recommended level. This prevents both under-tightening, which could lead to loose components and brake failure, and over-tightening, which can strip threads, crack components, or cause premature wear.
Think of it like this: If you’re building a house, you wouldn’t use a hammer to tighten a screw, nor would you tighten it too much and strip the head. Similarly, using the correct torque wrench and the specified torque value ensures every part of your brake system is securely fastened, preventing catastrophic failure. Failure to adhere to torque specs can result in dangerous brake performance and potential accidents.
Torque values are usually found in a repair manual specific to the vehicle’s make, model, and year. Always consult this manual before beginning any brake work.
Q 9. What safety precautions are crucial when working on brake systems?
Safety is paramount when working on brake systems. One mistake can have devastating consequences. Here are some crucial safety precautions:
- Always use jack stands: Never rely solely on a jack to support the vehicle. Jack stands provide a stable and secure base.
- Engage the parking brake: This helps prevent the vehicle from rolling.
- Wear safety glasses: Prevent eye injury from flying debris.
- Wear gloves: Protect your hands from grease, dirt, and potential cuts.
- Use a proper torque wrench: Ensure components are tightened correctly.
- Bleed the brake system properly: Remove all air bubbles from the system to ensure effective braking.
- Never work on brakes while the engine is running: This is extremely dangerous.
- Dispose of brake fluid properly: Brake fluid is corrosive and harmful to the environment. Follow local regulations for proper disposal.
Remember, if you’re not comfortable performing brake work, it’s best to have a qualified mechanic do it. Your safety and the safety of others is worth the investment.
Q 10. How do you identify different types of brake fluid?
Brake fluids are categorized by their DOT (Department of Transportation) number, which indicates their boiling point and performance characteristics. The most common types are DOT 3, DOT 4, and DOT 5.1. DOT 5 is silicone-based and is not compatible with most brake systems, so it’s crucial to use the correct type. You can usually identify the type of brake fluid by checking the fluid’s reservoir cap or consulting your vehicle’s owner’s manual.
DOT 3 is generally found in older vehicles, while DOT 4 is more common in modern vehicles. DOT 5.1 offers a higher boiling point than DOT 4, improving brake performance under high-stress conditions. Never mix different types of brake fluid. Doing so can compromise the brake system’s integrity and lead to failure.
Q 11. Describe the process of replacing brake drums.
Replacing brake drums involves several steps:
- Secure the vehicle: Use jack stands and engage the parking brake.
- Remove the wheel and tire: This provides access to the brake drum.
- Remove the wheel cylinder or caliper: This step varies depending on the vehicle’s design.
- Remove the brake drum: Sometimes, it might be necessary to use a drum puller to remove it.
- Inspect the brake shoes: Check for wear and tear and replace them if necessary.
- Inspect the brake drum: Check for scoring, cracks, or excessive wear. Replace if damaged.
- Clean and lubricate components: Use appropriate brake grease where necessary.
- Reassemble the components: Ensure the brake shoes are correctly adjusted.
- Reinstall the wheel cylinder or caliper.
- Reinstall the wheel and tire.
- Test the brakes: After reassembly, always test the brakes thoroughly before driving.
Remember to always consult a repair manual specific to your vehicle for detailed instructions and torque specifications.
Q 12. How do you inspect brake hoses and lines for damage?
Inspecting brake hoses and lines is critical for maintaining safe braking performance. Look for:
- Leaks: Look for any signs of brake fluid leaks, which can indicate a crack or damage.
- Bulges or swelling: Bulges or swelling indicate internal damage that weakens the hose and increases the risk of failure.
- Cracks or abrasions: Cracks or abrasions weaken the hose and make it prone to bursting.
- Corrosion: Rust or corrosion can weaken the lines and hoses.
- Kinks or bends: Sharp bends restrict brake fluid flow and can cause damage over time.
When inspecting hoses and lines, carefully examine their entire length, including the connections. If any damage is found, the hose or line should be replaced immediately. Don’t compromise on safety; replace damaged parts.
Q 13. What are the common causes of brake failure?
Brake failure can stem from various causes:
- Worn brake pads or shoes: This is the most common cause, leading to reduced braking power.
- Low brake fluid: Low fluid levels reduce hydraulic pressure, leading to diminished braking.
- Leaking brake lines or hoses: Leaks result in a loss of brake fluid pressure.
- Failed master cylinder: A malfunctioning master cylinder can’t effectively transmit pressure to the brakes.
- Faulty wheel cylinders or calipers: These components can leak or seize, causing brake failure.
- Air in the brake lines: Air in the brake lines reduces braking efficiency and can make the pedal spongy.
- Contaminated brake fluid: Contamination reduces the fluid’s effectiveness.
- Worn or damaged brake rotors or drums: Excessive wear or damage can affect braking performance.
Regular brake inspections and maintenance are vital to preventing brake failure. Listen for unusual noises, check for fluid leaks, and pay attention to the feel of the brake pedal. Any sign of concern warrants immediate attention.
Q 14. How do you determine if a brake master cylinder needs replacement?
Several indicators suggest a failing brake master cylinder:
- Spongy or soft brake pedal: A spongy pedal indicates air in the brake lines or a failing master cylinder.
- Brake pedal going to the floor: This is a critical sign of a complete master cylinder failure.
- Brake fluid leaks: Leaks from the master cylinder are a clear sign of failure.
- Unusual noises from the master cylinder area: Grinding or squealing noises could signal internal problems.
- Consistent brake fade: Noticeable reduction in braking performance after repeated braking.
If you notice any of these symptoms, have your brake master cylinder inspected immediately by a qualified mechanic. Driving with a failing master cylinder is extremely dangerous. It is a critical component of your braking system; don’t compromise safety.
Q 15. Explain the function of an Anti-lock Braking System (ABS).
An Anti-lock Braking System (ABS) is a safety feature designed to prevent wheel lockup during braking. Imagine you’re driving on a slippery surface and slam on the brakes. Without ABS, your wheels would lock, causing you to lose steering control and potentially skid. ABS prevents this by rapidly pumping the brakes, allowing the wheels to maintain some rotation even under hard braking. This keeps you in control, enabling you to steer around obstacles while braking.
Essentially, ABS uses sensors to monitor wheel speed. If a wheel starts to lock up, the system reduces braking pressure to that specific wheel, allowing it to regain rotation. This process happens very quickly, often multiple times per second, so you might feel a pulsing sensation in the brake pedal. This pulsing is a normal sign of the ABS functioning correctly.
Career Expert Tips:
- Ace those interviews! Prepare effectively by reviewing the Top 50 Most Common Interview Questions on ResumeGemini.
- Navigate your job search with confidence! Explore a wide range of Career Tips on ResumeGemini. Learn about common challenges and recommendations to overcome them.
- Craft the perfect resume! Master the Art of Resume Writing with ResumeGemini’s guide. Showcase your unique qualifications and achievements effectively.
- Don’t miss out on holiday savings! Build your dream resume with ResumeGemini’s ATS optimized templates.
Q 16. How do you test an ABS system?
Testing an ABS system involves several steps and ideally, uses a scan tool capable of reading ABS codes. However, a basic visual and functional check can be performed. First, you visually inspect the ABS sensors for damage or debris. They’re usually located near the wheel hubs. Look for any signs of wear, corrosion, or misalignment. Next, a road test is crucial. Find a safe, empty area where you can perform a controlled braking test.
Apply firm, steady pressure to the brake pedal at a moderate speed. If the ABS activates, you’ll feel the characteristic pulsing in the pedal, and you may notice a slight decrease in braking force. This pulsing confirms the system is functioning. If there’s no pulsing, or the ABS warning light is illuminated, a more thorough diagnostic test with a scan tool is necessary to pinpoint the problem. This tool can retrieve diagnostic trouble codes (DTCs), providing a more precise identification of the malfunctioning component.
Q 17. What are the differences between disc and drum brakes?
Disc and drum brakes are two different mechanisms used to slow or stop a vehicle. Disc brakes, commonly found on the front wheels of most modern vehicles, use calipers that squeeze brake pads against a rotating disc. Think of it like a clamp squeezing a spinning plate. Drum brakes, more common on older vehicles or on the rear wheels, use brake shoes that press against the inside of a rotating drum. This is like shoes expanding inside a cylinder to create friction.
- Disc Brakes: Generally provide better braking performance, especially in wet conditions, due to better heat dissipation. They also tend to require less maintenance.
- Drum Brakes: Are simpler in design and often less expensive to manufacture. They can be more prone to overheating and less effective in wet conditions. They also tend to require more frequent maintenance, such as adjustment.
The choice between disc and drum brakes depends on factors like vehicle type, cost considerations, and performance requirements. Many modern vehicles utilize disc brakes on all four wheels for superior braking performance and safety.
Q 18. Describe the procedure for replacing a wheel cylinder.
Replacing a wheel cylinder, a component in drum brake systems, requires careful attention to detail. First, you need to jack up the vehicle and secure it safely on jack stands. Then, remove the wheel and tire. Next, you carefully remove the brake drum. This may require gently tapping it with a mallet. Once the drum is off, you’ll see the wheel cylinder, which is typically bolted onto the backing plate. You then carefully disconnect the brake lines and bleed the brake system to release the pressure. Use a wrench to remove the wheel cylinder’s mounting bolts.
Install the new wheel cylinder ensuring correct orientation and carefully connect the brake lines. Afterward, you need to bleed the brake system to remove any air trapped in the lines. This is typically done by opening the bleeder valve on the caliper or wheel cylinder while pumping the brake pedal. You then reinstall the brake drum and the wheel and tire. A final check for leaks and a road test are crucial to ensure the repair is successful. Remember to always follow the manufacturer’s specifications and use the correct tools and techniques during the repair process.
Q 19. How do you check brake fluid levels?
Checking brake fluid levels is a simple but vital maintenance task. Most vehicles have a brake fluid reservoir, usually a clear plastic container, located under the hood. It’s often marked with minimum and maximum fill lines.
To check the fluid level, simply open the hood and locate the brake fluid reservoir. Wipe any dirt or grime away to ensure a clear view. Check the fluid level against the minimum and maximum markings. The level should be between those markings. Low fluid indicates a leak or wear of brake components which necessitates immediate attention. Never open the reservoir cap while the brakes are hot; allow them to cool to avoid potential burns from hot vapor.
Q 20. What are the symptoms of low brake fluid?
Low brake fluid is a serious issue indicating a potential problem in your braking system. The most obvious symptom is a low fluid level in the reservoir. However, other warning signs might include a spongy or soft brake pedal, a longer-than-usual stopping distance, and a grinding or squealing noise from the brakes. In some cases, the brake warning light on the dashboard may illuminate.
These symptoms suggest a leak in the system, possibly from a worn brake hose, damaged caliper seal, or a leaking wheel cylinder (in drum brakes). Ignoring low brake fluid can lead to complete brake failure, resulting in a dangerous driving situation. Addressing the issue promptly is critical for safety.
Q 21. Explain the importance of using the correct brake fluid type.
Using the correct brake fluid type is paramount for the proper functioning and longevity of your braking system. Different brake fluids have different boiling points and chemical properties. Mixing incompatible brake fluids can lead to brake failure. Brake fluid is hygroscopic, meaning it absorbs moisture from the air, which lowers its boiling point. Using the wrong type or old, contaminated fluid can lead to vapor lock, a condition where the brake fluid boils under high heat, causing a loss of braking pressure.
Always refer to your vehicle’s owner’s manual to determine the correct brake fluid type. The type is usually specified by a DOT (Department of Transportation) number, such as DOT 3, DOT 4, or DOT 5.1. Never mix different types of brake fluids. Regularly flushing and replacing your brake fluid according to manufacturer’s recommendations is essential to maintaining optimal braking performance and safety.
Q 22. How do you diagnose a brake leak?
Diagnosing a brake leak involves a systematic approach combining visual inspection and pressure testing. First, visually inspect the brake lines, calipers, wheel cylinders, and master cylinder for any signs of fluid leakage – look for wet spots, dripping fluid, or corrosion around these components. Brake fluid is typically a dark, oily liquid. Next, carefully check the brake fluid level in the master cylinder reservoir. A low level often indicates a leak somewhere in the system. Finally, for a more thorough diagnosis, a pressure test might be necessary. A pressure tester connects to the brake system and applies pressure; a drop in pressure over time pinpoints the leak location.
Example: Imagine you notice a small puddle of dark fluid under your car. Following the trail, you discover it’s coming from a corroded section of brake line near the wheel. This visual inspection indicates a brake line leak.
Q 23. What are the potential consequences of ignoring brake problems?
Ignoring brake problems is incredibly dangerous and can lead to catastrophic consequences. Reduced braking power is the most immediate risk – you’ll need a longer stopping distance, increasing the chance of an accident, especially in emergency situations. Complete brake failure is a worst-case scenario, leaving you with no ability to stop the vehicle. Furthermore, damage to other brake components can occur due to prolonged malfunction, leading to more extensive and costly repairs. For example, a seized caliper due to low brake fluid can severely damage the rotor or pad.
Example: A driver ignoring a gradual brake fluid leak might experience progressively longer stopping distances. Eventually, they could experience complete brake failure, resulting in a serious accident.
Q 24. Describe the process of replacing a brake booster.
Replacing a brake booster requires careful attention to detail and safety precautions. First, disconnect the battery’s negative terminal to prevent electrical shorts. Then, carefully remove the vacuum hose from the booster and any other connected lines. Next, remove the nuts or bolts securing the booster to the firewall or master cylinder. This often involves maneuvering in a tight space. After removing the booster, be careful to note the position of any mounting brackets. Install the new booster following the reverse procedure, making sure all connections are secure and tight. Finally, bleed the brake system to remove any trapped air, ensuring proper brake function.
Important Note: This procedure varies slightly depending on the vehicle make and model. Always consult a repair manual specific to your vehicle.
Q 25. How do you inspect brake lines for leaks?
Inspecting brake lines for leaks involves a thorough visual examination and sometimes a pressure test. Start by carefully inspecting each section of brake line, paying close attention to bends, connections, and areas near the frame or suspension components. Look for any signs of rust, corrosion, or damage that could compromise the integrity of the line. Feel along the lines for any damp or wet spots which indicate a leak. If visual inspection is inconclusive, a pressure test can pinpoint a leak’s location. Apply pressure to the brake system and observe for pressure loss, indicating a leak.
Safety Tip: Always wear safety glasses and gloves when working with brake lines as brake fluid can irritate the skin and eyes.
Q 26. What are the common causes of brake pulsation?
Brake pulsation, a vibration felt in the brake pedal during braking, has several common causes. Worn or warped brake rotors are a frequent culprit. Over time, rotors can become unevenly worn or warped due to heat and friction. Another cause is uneven pad wear, where one brake pad wears faster than others. A seized or sticking brake caliper can also cause pulsation because it applies uneven braking force. In some cases, issues within the ABS system can contribute to pulsation. A thorough inspection of the braking system, including calipers, rotors, and pads, is necessary for diagnosis.
Example: A noticeable pulsing in the brake pedal during braking often suggests warped rotors. Machine resurfacing or rotor replacement is typically the solution.
Q 27. How do you diagnose and repair a seized brake caliper?
Diagnosing a seized brake caliper involves checking for stiffness and resistance in the caliper piston. Try moving the caliper piston manually; a seized caliper will feel stiff and difficult to move. Visual inspection might also reveal rust or corrosion. To repair a seized caliper, you may attempt to free the piston using a specialized tool and penetrating oil. If this fails, it will likely require replacement. A new caliper should be correctly installed, properly lubricated, and the brake system bled to ensure proper function.
Important Note: Never attempt to forcefully move a seized caliper piston without using the proper tools, as you risk damage to the caliper or brake lines.
Q 28. Describe the procedure for replacing a parking brake cable.
Replacing a parking brake cable requires careful attention to its routing and attachment points. Begin by releasing the parking brake mechanism. Then, trace the cable from the parking brake lever to the rear brake calipers or shoes, noting how it is routed and attached. Disconnect the cable from its attachments, often involving clips, brackets, and adjusters. Install the new cable, making sure it is correctly routed and attached to all the correct points. Test the parking brake functionality after installation. Ensure that the parking brake engages and disengages smoothly and effectively. An improperly adjusted cable might cause inefficient parking brake operation.
Safety Tip: Properly supporting the vehicle is crucial when working under the car to ensure safety.
Key Topics to Learn for Brake Replacement Interview
- Brake System Components: Understanding the function and interaction of calipers, rotors, pads, drums, shoes, master cylinder, ABS system, and brake lines is fundamental. Be prepared to discuss their individual roles and how failures in one component can impact the entire system.
- Diagnosis and Troubleshooting: Practice explaining your process for diagnosing brake problems. This includes identifying symptoms (noise, vibration, spongy pedal), using diagnostic tools, and pinpointing the root cause of brake failure.
- Safe Repair Procedures: Demonstrate your knowledge of safe working practices, including proper vehicle jacking and securing, use of personal protective equipment (PPE), and disposal of hazardous materials.
- Brake Pad and Rotor Replacement: Detail the step-by-step process for replacing brake pads and rotors, including torque specifications, proper lubrication, and quality control checks.
- Caliper and Wheel Cylinder Repair/Replacement: Explain the procedures for servicing or replacing brake calipers and wheel cylinders, including bleeding the brake lines effectively.
- Brake Fluid Flushing and Bleeding: Discuss the importance of proper brake fluid maintenance, the process of flushing old fluid, and the techniques for effectively bleeding air from the brake lines.
- Safety and Compliance: Highlight your understanding of relevant safety regulations and compliance standards related to brake repair and maintenance.
- Problem-Solving and Critical Thinking: Be prepared to discuss how you approach complex brake system issues, your ability to identify potential risks, and your methodical approach to resolving problems.
Next Steps
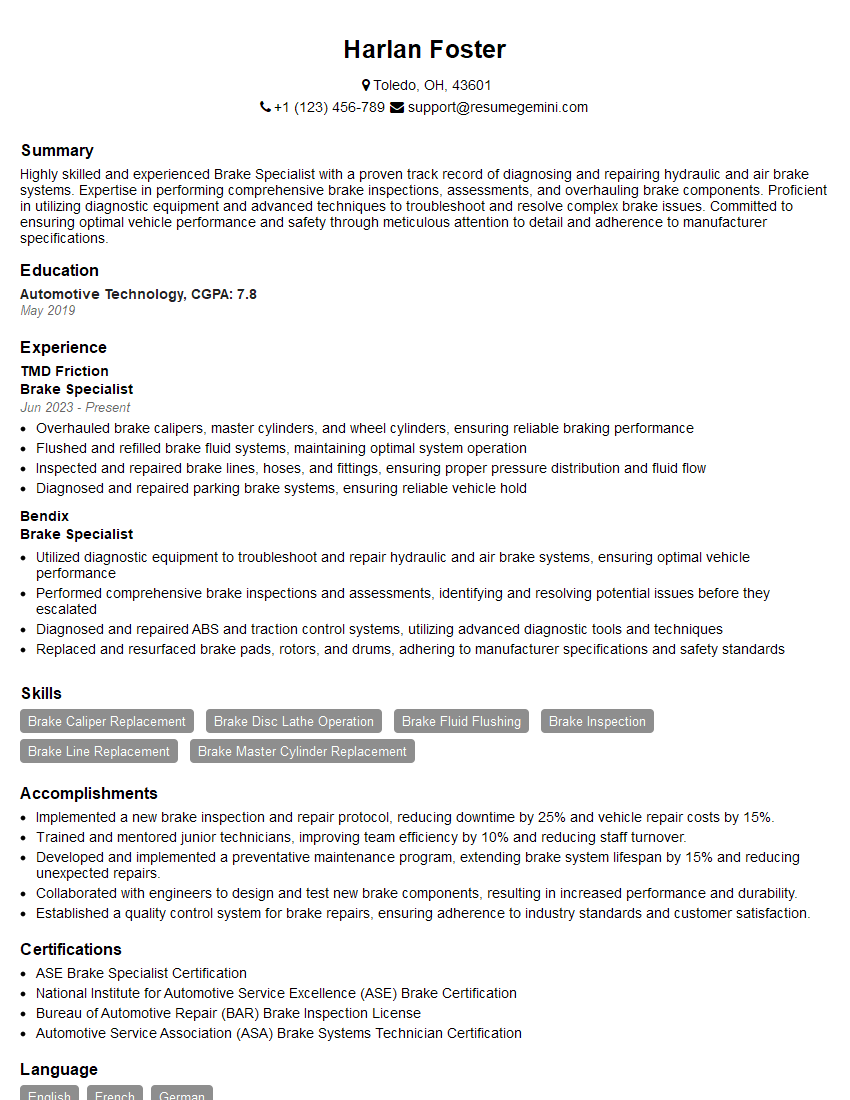
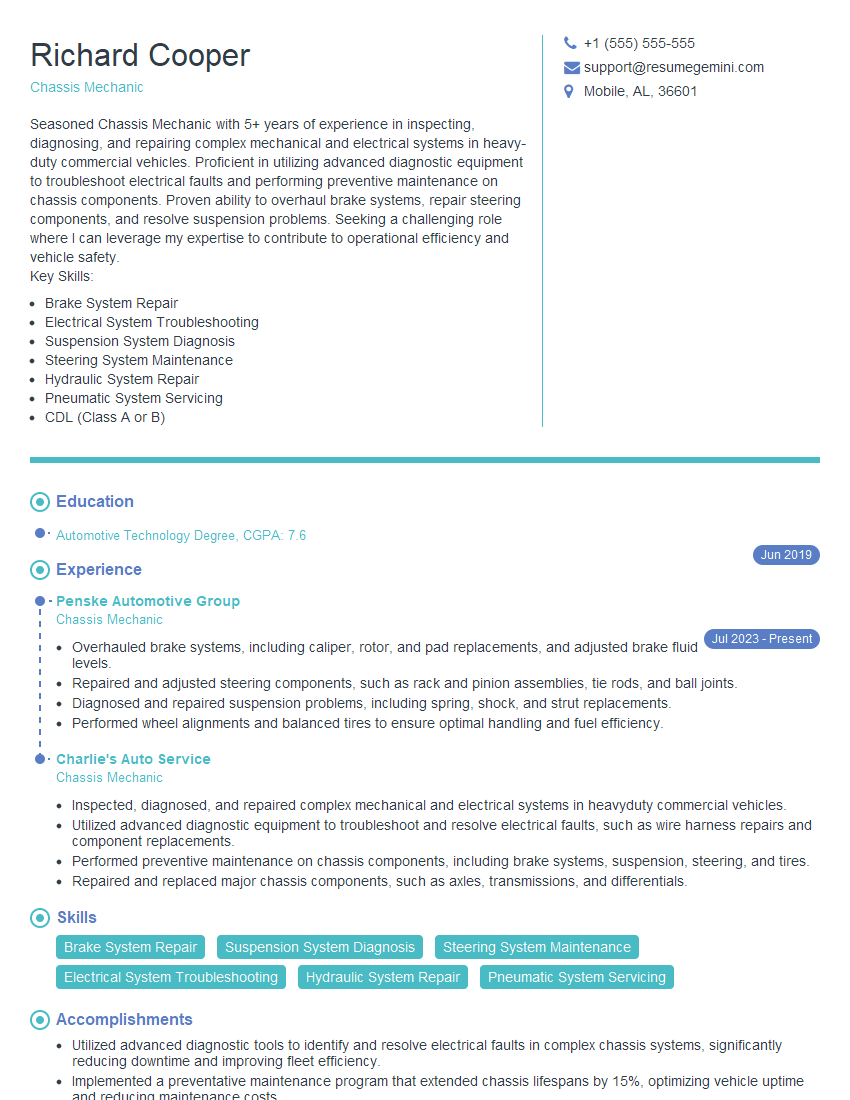
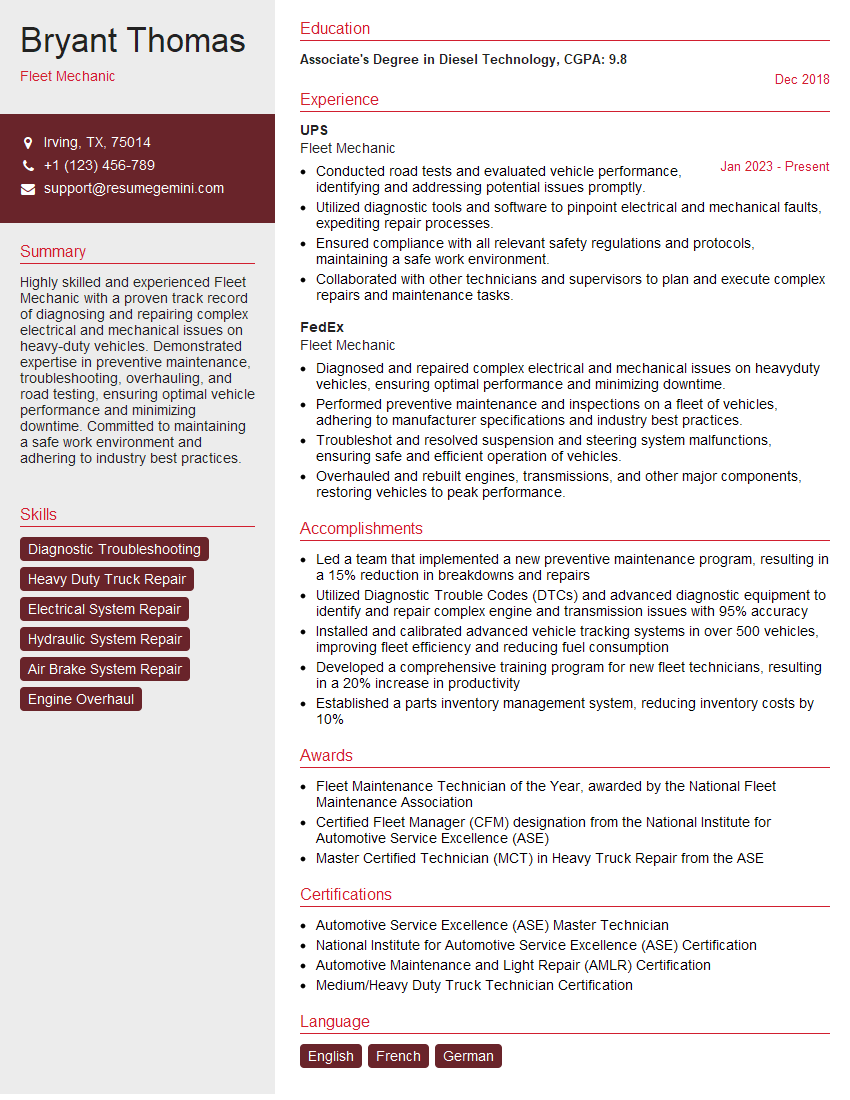
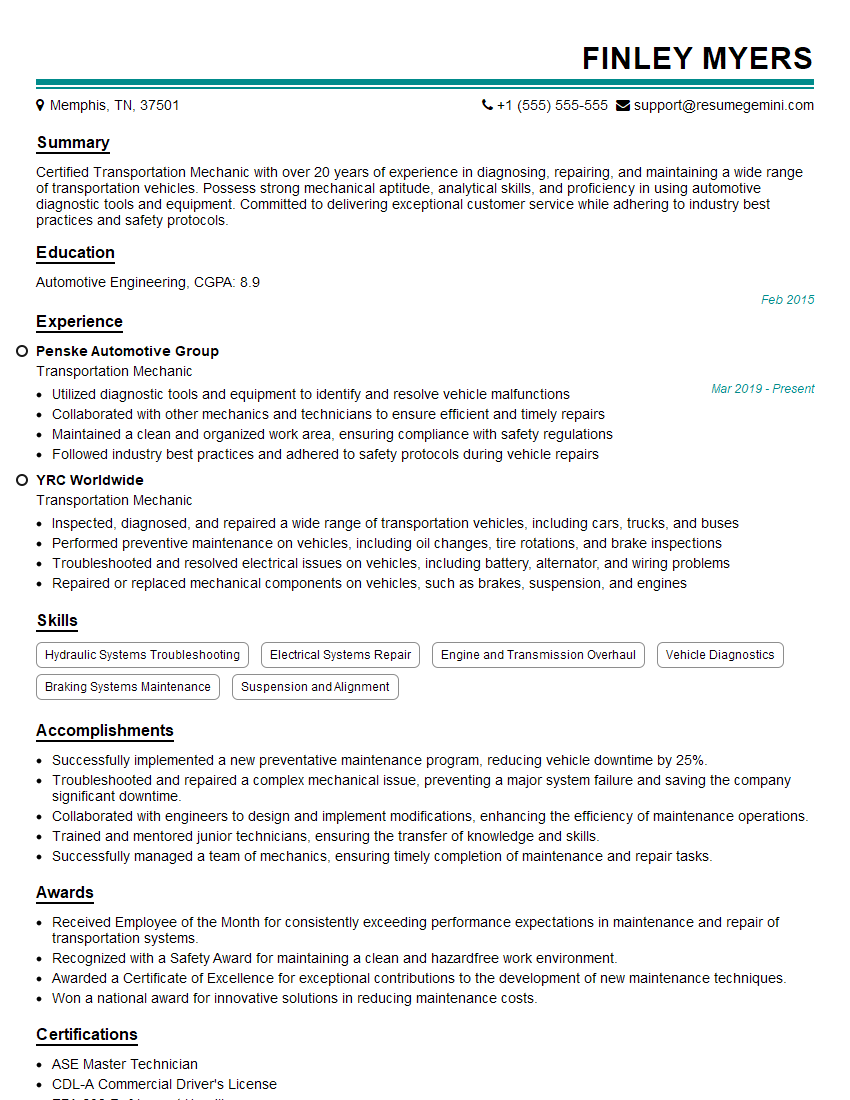
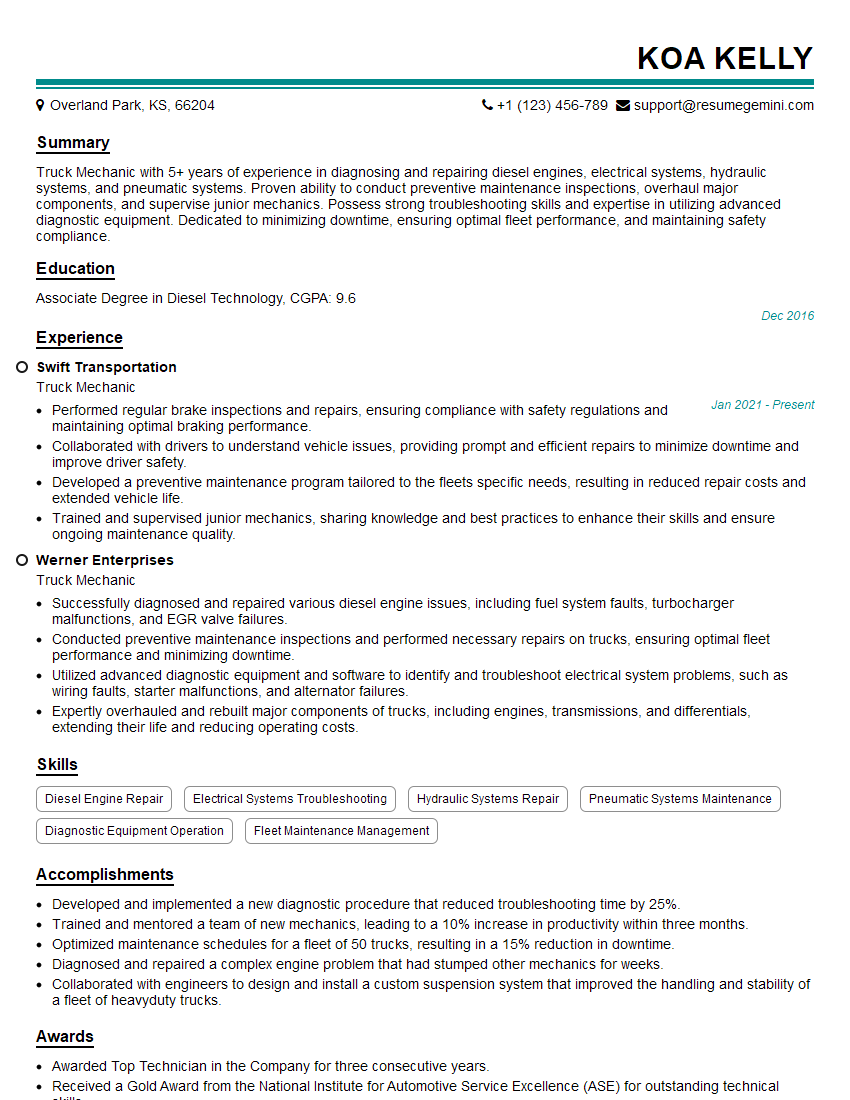
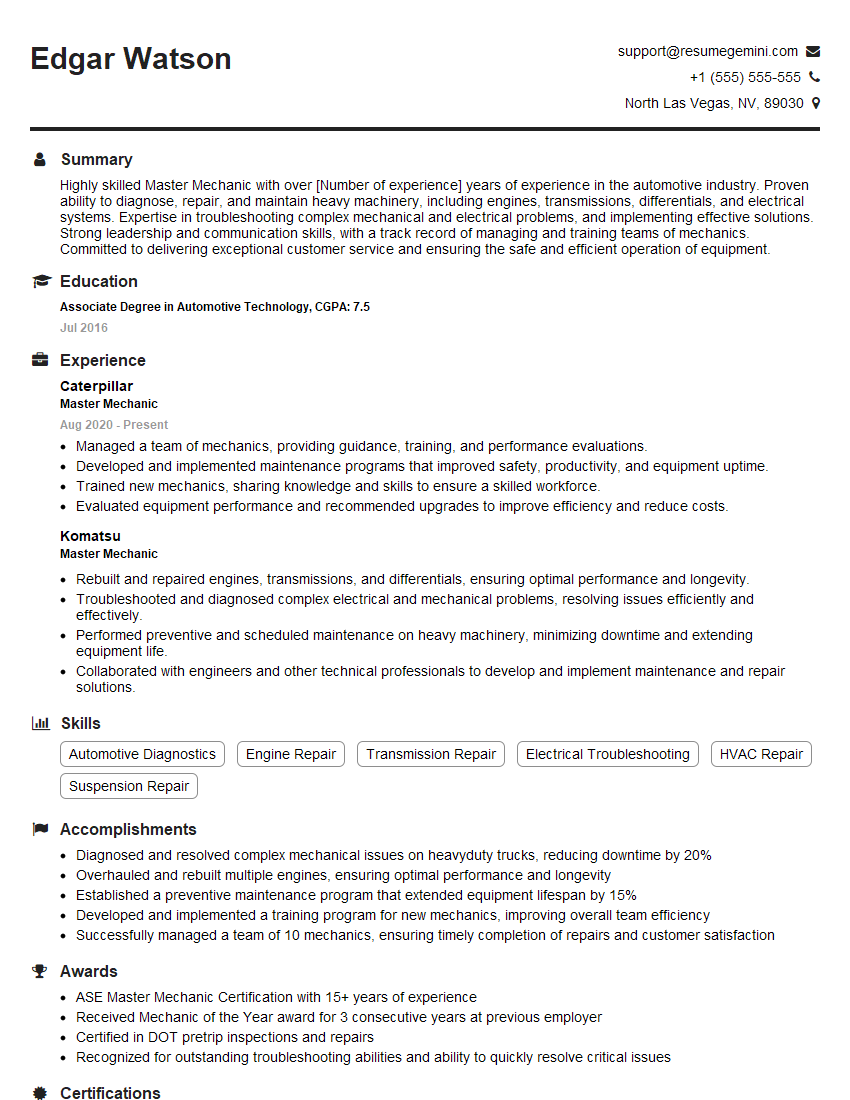
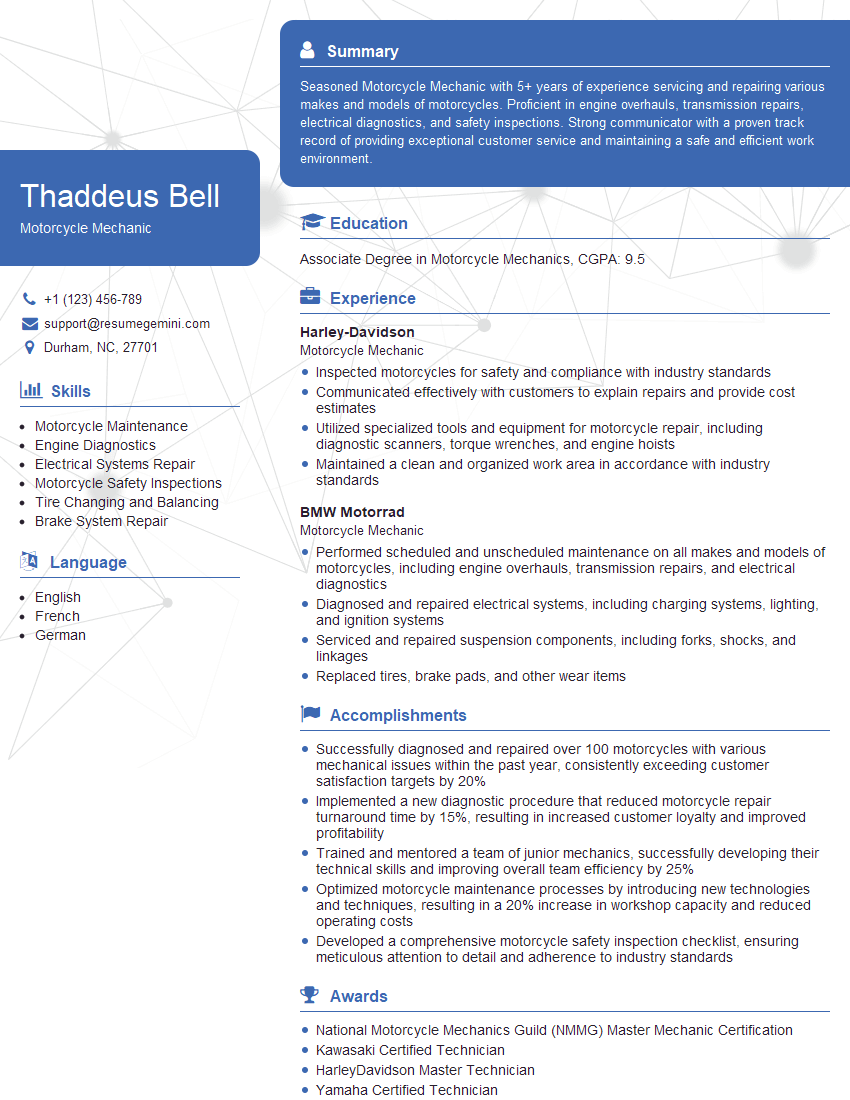
Mastering brake replacement significantly enhances your value as a skilled technician, opening doors to higher-paying positions and specialized roles within the automotive industry. To maximize your job prospects, crafting a compelling and ATS-friendly resume is crucial. ResumeGemini offers a trusted platform to build a professional resume that highlights your skills and experience effectively. Examples of resumes tailored specifically to Brake Replacement positions are available within ResumeGemini to help guide you.
Explore more articles
Users Rating of Our Blogs
Share Your Experience
We value your feedback! Please rate our content and share your thoughts (optional).
What Readers Say About Our Blog
Hi, I’m Jay, we have a few potential clients that are interested in your services, thought you might be a good fit. I’d love to talk about the details, when do you have time to talk?
Best,
Jay
Founder | CEO

