The right preparation can turn an interview into an opportunity to showcase your expertise. This guide to Brush, roller, and spray painting techniques interview questions is your ultimate resource, providing key insights and tips to help you ace your responses and stand out as a top candidate.
Questions Asked in Brush, roller, and spray painting techniques Interview
Q 1. What are the advantages and disadvantages of brush, roller, and spray painting?
Choosing between brush, roller, and spray painting depends heavily on the project’s scale, desired finish, and your skill level. Each method has its strengths and weaknesses.
Brush Painting:
- Advantages: Excellent control for intricate details, good for small areas, relatively inexpensive setup.
- Disadvantages: Labor-intensive, can leave brush strokes visible, slower application rate.
Roller Painting:
- Advantages: Faster coverage than brushes, ideal for large, flat surfaces, relatively smooth finish.
- Disadvantages: Less control than brushes, difficulty reaching corners and edges, may require multiple coats for full opacity.
Spray Painting:
- Advantages: Fastest application method, even finish, excellent for reaching hard-to-access areas.
- Disadvantages: Requires specialized equipment, higher initial cost, risk of overspray and environmental concerns, potential for uneven application if not done properly.
For instance, I recently used a brush to paint delicate trim details on a client’s Victorian-era house, achieving a superior level of precision. For a large fence, however, I opted for a roller, balancing speed and a satisfactory finish. Spray painting was perfect for the uniform coat needed on a metal shed.
Q 2. Describe the different types of paint and their appropriate applications.
Different paints cater to various needs and surfaces. Selecting the right paint is crucial for a successful project.
- Oil-based paints: Durable, offer excellent water resistance and adhesion, often preferred for exterior applications and trim work, but have strong odors and require solvents for cleanup.
- Water-based (latex) paints: Easier cleanup with water, low odor, quicker drying time, suitable for interior and exterior use. They generally provide good durability, although it may be less than oil-based paints in some cases.
- Acrylic paints: Versatile, water-based, excellent for both interior and exterior applications. They are known for their fast drying time and vibrant colors.
- Enamels: High-gloss, hard-wearing paints that are often used for trim and cabinet work, offering a smooth, very durable surface.
- Specialty paints: These include paints designed for specific surfaces such as masonry, metal, or even fabrics. For example, Rust-Oleum’s specialized paints are excellent for protecting metal surfaces from corrosion.
For example, when painting a bathroom, a mildew-resistant latex paint is essential. For outdoor furniture exposed to harsh weather, an oil-based or high-quality acrylic paint is recommended.
Q 3. Explain the process of surface preparation before painting.
Surface preparation is arguably the most critical step, determining the longevity and quality of the paint job. A poorly prepared surface leads to peeling, chipping, and an uneven finish.
- Cleaning: Remove dirt, dust, grease, and any loose or flaking paint using a suitable cleaner (such as TSP for interior surfaces).
- Repairing: Fill holes and cracks with spackle or wood filler, allowing it to dry and sand smooth.
- Sanding: Gently sand the surface to create a smooth, even base for the paint to adhere to. Use progressively finer grits of sandpaper.
- Priming: Applying a primer is crucial, particularly on bare wood or metal, ensuring better paint adhesion, hiding imperfections, and creating a uniform surface color. The type of primer depends on the surface and paint type.
- Caulking: Caulk gaps and cracks around windows and trim to seal the areas and prevent water damage.
I always emphasize thorough surface preparation to my clients. I’ve seen firsthand the difference a well-prepared surface makes, resulting in paint jobs that last for years.
Q 4. How do you determine the appropriate paint viscosity for different application methods?
Paint viscosity, or thickness, significantly impacts application. Different methods require different consistencies.
- Brush painting: Requires a slightly thicker consistency to avoid excessive dripping and to allow for good brush strokes.
- Roller painting: Needs a medium viscosity to allow for even coverage without dripping. Too thin, and you’ll need many coats; too thick, and the roller won’t distribute it properly.
- Spray painting: Requires a thinner consistency to allow the paint to atomize properly and produce a fine, even mist. This is often achieved by thinning the paint with the appropriate thinner according to the manufacturer’s instructions.
I typically check paint viscosity by dipping a stick or a small tool into the paint and observing how quickly it drips back. Experience helps develop a feel for the correct consistency. If it’s too thick, I add a small amount of thinner, always mixing thoroughly, checking viscosity before applying the paint to the surface.
Q 5. What are the safety precautions for using spray painting equipment?
Spray painting presents unique safety hazards demanding careful attention.
- Respiratory protection: Always wear a respirator designed for paint fumes to prevent inhalation of harmful particles.
- Eye protection: Safety glasses or goggles are essential to protect your eyes from overspray and potential irritants.
- Ventilation: Work in a well-ventilated area or use a respirator with appropriate filters. This reduces exposure to potentially harmful solvents and fumes.
- Flammable materials: Many spray paints are flammable. Keep them away from open flames, sparks, and heat sources. Always follow the manufacturer’s instructions and safety precautions.
- Proper clothing: Wear protective clothing such as long sleeves and pants to minimize skin contact. Avoid wearing synthetic fabrics that could melt from the heat of the spray.
- Disposal: Dispose of empty cans and used materials properly according to local regulations. Never puncture or incinerate spray cans.
Ignoring these precautions can lead to serious health problems and even fires. Safety is paramount when handling spray painting equipment.
Q 6. How do you achieve a smooth, even finish with each painting method?
Achieving a smooth, even finish requires technique and attention to detail for each method.
- Brush painting: Use smooth, even strokes, overlapping slightly with each pass. Avoid dabbing or scrubbing. Multiple thin coats are better than one thick coat.
- Roller painting: Use a high-quality roller with a nap size appropriate for the surface. Maintain a wet edge, ensuring each stroke overlaps the previous one. Don’t overload the roller.
- Spray painting: Maintain a consistent distance from the surface and use smooth, even movements. Avoid spraying in one place for too long, and apply multiple thin coats. Proper preparation of the paint with the right thinning agent is key.
In all methods, light sanding between coats can help create a perfectly smooth finish, if needed. Proper thinning of the paint also plays a key role in minimizing brush strokes or imperfections.
Q 7. Describe your experience with different types of paint rollers and brushes.
My experience encompasses a wide variety of brushes and rollers, selecting the right tool for the specific application.
- Brushes: I have experience with natural bristle brushes (for oil-based paints), synthetic bristle brushes (for water-based paints), and various shapes and sizes, from fine detail brushes to wider sash brushes for larger surfaces.
- Rollers: I’ve worked with different nap lengths (the thickness of the fibers), understanding that longer naps are better for textured surfaces, while shorter naps are ideal for smooth surfaces. I’ve used various roller covers, including microfiber, foam, and sheepskin, each having its properties that cater to specific paint types and surface textures.
Recently, I worked on a project that required using a specialized brush with angled bristles to reach into tight corners, avoiding noticeable lap marks, and another project using a high-pile roller to create a textured finish on a stucco wall. The choice of brush or roller is an integral part of a successful project.
Q 8. How do you handle different types of paint spills and clean-up?
Handling paint spills efficiently depends on the type of paint and the surface it’s spilled on. For water-based paints, immediate action is key. Blot up excess paint with absorbent cloths or paper towels, avoiding spreading the spill. Then, clean the area with soapy water and rinse thoroughly. For oil-based paints, you’ll need a solvent like mineral spirits. Again, blot first, then apply the solvent sparingly, working from the outside of the spill inwards to prevent further spreading. Always follow the manufacturer’s instructions on the paint can for specific cleaning recommendations. Remember to wear appropriate safety gear, including gloves and eye protection, during the cleanup process. For larger spills on porous surfaces like concrete, you might need a specialized paint remover.
Example: I once had a large can of latex paint tip over on a wood floor. I immediately grabbed absorbent cloths and blotted the spill, working quickly to prevent it from soaking into the wood. Then I cleaned the area with soapy water and let it dry. The quick response saved the floor from significant damage.
Q 9. What techniques do you use to avoid lap marks when painting?
Lap marks, those unsightly streaks where paint applications overlap, are a common painting problem. The key to avoiding them is to maintain a wet edge. This means consistently overlapping each stroke before the previous one dries. Work in manageable sections, applying paint evenly and smoothly in a consistent direction. For large areas, I often use a technique called ‘cutting in’, painting around edges first, before using a roller to fill in the middle. With spray painting, maintaining consistent distance and speed prevents banding. The paint should be well-mixed and of the correct consistency for the applicator being used. The right paint application technique for the chosen tool is crucial in eliminating lap marks.
Example: When painting a wall, I’ll start in a corner and work my way across, ensuring each roller stroke overlaps the previous one by about 3-4 inches. I’ll also keep a wet edge by continuously reloading my roller tray and working quickly. The speed and consistent overlap are key.
Q 10. How do you maintain your painting equipment?
Proper maintenance of painting equipment extends its lifespan and ensures consistent results. After each use, brushes and rollers should be thoroughly cleaned. Water-based paints require soap and water, while oil-based paints need mineral spirits or a specialized paint thinner. I always ensure that the brushes are completely cleaned and rinsed until the water runs clear. Then, I reshape the bristles and allow them to dry completely before storing them. Spray equipment requires more attention; nozzles need to be cleaned regularly, and the entire system should be flushed with the appropriate solvent after each use to prevent clogging. Storage is key – store brushes and rollers handle up and spray equipment in a clean, dry place.
Example: I meticulously clean my brushes after every project. I’ve had some brushes last for years due to this care and attention.
Q 11. Explain the concept of back rolling.
Back rolling is a technique primarily used with rollers, particularly when applying paint to large surfaces. It involves using a second roller to ‘back roll’ over the freshly applied paint immediately after it has been applied with the first roller. The purpose is to even out the paint application, eliminating streaks and ensuring a consistent finish. It helps distribute the paint evenly and reduces the chances of lap marks or brush strokes showing. Essentially, you have a primary roller applying the paint, and a back-roller following up to create a uniform coat. This technique is especially useful for larger walls or ceilings where a uniform, professional look is required.
Example: When painting a large wall, one person might use a large roller to quickly apply the paint, while a second person follows immediately behind, back rolling to ensure consistent coverage and prevent any streaking.
Q 12. How do you determine the correct amount of paint needed for a project?
Determining the correct amount of paint requires careful calculation. First, measure the area to be painted. For walls, this involves calculating the wall’s height and width, subtracting the area of windows and doors. The paint can usually provides coverage in square feet or square meters per gallon or liter. Divide the total area to be painted by the coverage rate specified on the paint can to determine the number of gallons or liters needed. It is always best to buy a little extra to account for potential spills or uneven application. Consider the number of coats needed – two coats are typically required for complete coverage, and sometimes even more depending on the color or surface.
Example: If a wall is 10 feet high and 15 feet wide, its area is 150 square feet. If the paint covers 350 square feet per gallon and you need two coats, you’ll need approximately 1 gallon of paint (150 sq ft * 2 coats / 350 sq ft/gallon).
Q 13. Describe your experience with HVLP spray systems.
High-Volume, Low-Pressure (HVLP) spray systems are my preferred choice for large-scale projects and achieving a high-quality finish. They offer several advantages over traditional spray systems: they atomize the paint into a fine mist with less overspray, reducing waste and improving the efficiency of material usage. The low pressure means less cleanup time is necessary as there’s less paint being thrown everywhere, resulting in a far cleaner job. It’s more efficient with regard to material usage, saving money in the long run. The fine finish minimizes the need for sanding and finishing, saving time and labor. The consistent spray pattern offers a much higher quality finish, perfect for cabinetry or fine woodwork. HVLP systems are more environmentally friendly due to reduced overspray.
Example: I’ve used HVLP spray systems extensively for projects involving large areas like fences and house exteriors and have found them to be faster and more efficient and environmentally friendly than conventional spray systems. The resulting finish is significantly superior.
Q 14. What are the different types of spray nozzles and their uses?
Spray nozzles come in various types, each suited for different applications. The most common types include:
- Fan nozzles: These produce a wide, flat spray pattern ideal for covering large areas quickly and efficiently, common in most HVLP systems.
- Round nozzles: Produce a circular spray pattern, suited for detail work, touch-ups, or reaching tight corners. Used in many airless sprayers.
- Flat nozzles: Produce a very thin, wide spray, perfect for applications requiring a smooth, even finish and thin coats.
- Adjustable nozzles: Offer variable spray patterns, allowing for versatility across different tasks. You can switch between a wide fan or a more concentrated spray.
The choice of nozzle depends on the specific project requirements. For instance, a fan nozzle is perfect for walls, while a round nozzle is better for trim work.
Q 15. How do you adjust the spray pattern for different surfaces?
Adjusting the spray pattern is crucial for achieving a smooth, even finish. Most spray guns offer adjustable fan width and fluid control. For larger, flat surfaces like walls, a wider fan pattern is ideal, covering more area with each pass. For smaller, intricate areas or curves, a narrower pattern provides more precision, preventing overspray and ensuring even coverage. Think of it like using a wide brush for a wall and a fine-tipped brush for detailing. The fluid control adjusts the amount of paint released; a lighter flow is perfect for delicate work, while a heavier flow is suitable for faster coverage on large surfaces. Always practice on a scrap piece of the same material before tackling your project to find the optimal settings.
Example: When painting a car, you’d use a wider fan pattern for the body panels and switch to a narrower pattern for the door handles and mirrors.
Career Expert Tips:
- Ace those interviews! Prepare effectively by reviewing the Top 50 Most Common Interview Questions on ResumeGemini.
- Navigate your job search with confidence! Explore a wide range of Career Tips on ResumeGemini. Learn about common challenges and recommendations to overcome them.
- Craft the perfect resume! Master the Art of Resume Writing with ResumeGemini’s guide. Showcase your unique qualifications and achievements effectively.
- Don’t miss out on holiday savings! Build your dream resume with ResumeGemini’s ATS optimized templates.
Q 16. What is the importance of proper ventilation when spray painting?
Proper ventilation is paramount when spray painting because the overspray contains volatile organic compounds (VOCs), which are harmful to your health and the environment. These chemicals can cause respiratory problems, headaches, and eye irritation. Adequate ventilation removes these harmful vapors, preventing you from inhaling them and creating a safer working environment. This means working in a well-ventilated area, ideally outdoors or in a space with exhaust fans capable of efficiently removing airborne particles. If working indoors, open all windows and doors, and consider using respirators with appropriate filters to further protect yourself.
Example: I always work in my well-ventilated garage with the door open when spray painting. For larger projects, I might even rent an industrial-grade air filtration system.
Q 17. How do you handle different types of paint finishes (gloss, satin, matte)?
Different paint finishes require slightly different application techniques. Gloss finishes tend to show imperfections more readily, so meticulous preparation is key. Multiple thin coats are better than one thick coat to prevent runs and sags. Satin finishes offer a balance between durability and a less-reflective surface. Matte finishes are more forgiving of imperfections due to their low sheen, but still require even application. The key is to follow the manufacturer’s instructions for each specific paint, as drying times and application methods can vary.
Example: When painting kitchen cabinets, a semi-gloss finish is often preferred for its durability and easy cleaning, requiring careful application to avoid visible imperfections. A matte finish on a bedroom wall is more forgiving of minor inconsistencies.
Q 18. What techniques do you use to paint intricate details?
Painting intricate details requires precision and the right tools. For spray painting, a low-pressure airbrush or a spray gun with a fine nozzle adjustment is crucial for controlled application. For brush painting, using fine-tipped brushes, such as detail brushes or liner brushes, is essential. Masking tape can help protect surrounding areas. Patience and a steady hand are key; take your time and focus on achieving smooth, even coverage in each small section. Multiple thin coats are also advisable to avoid build-up and potential drips in delicate areas.
Example: When painting intricate floral designs on furniture, I use a combination of fine-tipped brushes and stencils to ensure precise application. For smaller details on a model, I use an airbrush.
Q 19. How do you deal with uneven surfaces before painting?
Uneven surfaces need to be addressed before painting for an optimal finish. The process depends on the type of unevenness. For minor imperfections like small cracks or nail holes, wood filler or spackle is appropriate. After it dries, lightly sand the area smooth. For larger imperfections, you might need to use a drywall compound or even replace sections of the surface entirely. Always prime the repaired areas to ensure proper adhesion and prevent the primer or paint from being absorbed unevenly, which can lead to an uneven finish. Sanding between coats is crucial for ensuring a smooth finish.
Example: Before painting a wall with noticeable bumps and cracks, I’d use a drywall compound to smooth the surface and then sand it to create a uniform texture, followed by a thorough priming.
Q 20. What is your experience with different types of primers?
Primers are essential for creating a uniform surface and ensuring proper paint adhesion. Different primers are designed for specific purposes. For instance, stain-blocking primer is ideal for covering up dark stains or knots in wood, while oil-based primers provide better adhesion for slick surfaces like metal or glossy surfaces. Sheen primers can enhance the final paint’s appearance by creating a better base. Choosing the right primer is crucial for long-lasting results. Always refer to the manufacturer’s instructions for specific application guidance.
Example: When painting over a dark-stained wooden door, I’d always use a stain-blocking primer to prevent the stain from bleeding through the topcoat.
Q 21. How do you calculate the coverage area of a paint?
Calculating paint coverage involves considering several factors. First, check the paint can for the manufacturer’s stated coverage per gallon or liter (e.g., 400 square feet per gallon). Next, measure the area you’re planning to paint. This might involve calculating the area of walls, ceilings, or other surfaces. Subtract the area of windows and doors from the total surface area. Finally, divide the total paintable area by the coverage per unit of paint to determine the number of units needed. Always round up to ensure you have enough paint. Consider purchasing an extra quart or liter to account for variations in surface texture or uneven absorption.
Example: To paint a wall measuring 10 feet by 12 feet, the area is 120 square feet. If the paint covers 350 square feet per gallon, you’ll need around 0.34 gallons, but I’d buy a whole gallon to be safe.
Q 22. Explain the process of masking and protecting areas during painting.
Masking and protection are crucial for achieving clean, professional paint jobs. Think of it like surgery – you need to carefully isolate the area you’re working on to prevent unwanted paint from getting where it shouldn’t.
My process begins with a thorough assessment of the area. I identify all surfaces that need protection – adjacent walls, windows, floors, fixtures, etc. Then, I select the appropriate masking materials. For sharp lines, I use painter’s tape, carefully pressing it down to ensure a good seal. For larger areas or more complex shapes, I might use drop cloths, plastic sheeting, or even specialized masking films.
- Painter’s Tape: Essential for precise masking. Different types exist for varying surface textures and paint types. I always choose a tape designed for the specific paint I’m using to avoid lifting or residue.
- Drop Cloths: I prefer canvas drop cloths over plastic; they’re less likely to slip and offer better protection from spills.
- Plastic Sheeting: Useful for protecting large areas or delicate surfaces, often secured with tape or weighted down.
- Masking Film: A great choice for complex shapes or large windows. It adheres well, allowing for precise masking and easy removal.
After masking, I conduct a final check to ensure complete coverage and that no gaps exist. This meticulous approach minimizes cleanup time and ensures a professional result. For example, on a recent project painting trim in a kitchen, I used a combination of painter’s tape for precise edges and plastic sheeting to protect the countertops and cabinets. The result was a flawless finish with no clean-up hassles.
Q 23. What are your methods for achieving consistent color matching?
Consistent color matching is paramount. It’s not just about aesthetics; it shows professionalism and attention to detail. My approach is multi-faceted.
- Using the Same Batch: Whenever possible, I use paint from the same batch to ensure uniformity. Color variations can occur even within the same color code from different batches.
- Color Matching Systems: I utilize professional color matching systems, often employing a spectrophotometer to precisely measure the color and generate a formula for the desired paint. This ensures accurate replication, even for complex or custom colors.
- Test Patches: Before committing to a large surface, I always apply test patches in an inconspicuous area. This allows me to assess the color under various lighting conditions and make adjustments if necessary. It’s better to correct a small mistake than to repaint a whole wall!
- Mixing Thoroughly: Once I have the correct color, I ensure I mix the paint thoroughly using a stirring stick to avoid color gradients.
On a recent project repainting a series of rooms, I used a spectrophotometer to match the existing color in the hallway. By meticulously following the generated formula, and applying test patches, I ensured consistent color throughout all the rooms, leading to a seamless and cohesive look.
Q 24. Describe your experience with various types of paint thinners and solvents.
My experience with paint thinners and solvents is extensive. Understanding their properties is crucial for both safety and achieving the desired finish. Incorrect use can ruin a paint job or create health hazards.
- Mineral Spirits: A common thinner for oil-based paints, used for cleaning brushes and thinning the paint to improve flow. It’s important to use adequate ventilation because of its fumes.
- Lacquer Thinner: Used for lacquer-based paints, it evaporates quickly and requires careful handling due to its flammability. Always work in a well-ventilated area and wear appropriate safety equipment.
- Water: The simplest thinner for water-based paints (latex), but even with water-based paints, it’s vital not to over-thin, as it weakens the paint’s durability and finish.
- Specialty Solvents: Certain paints might require specialty solvents for cleaning brushes or thinning. It’s always important to consult the paint’s data sheet for proper recommendations.
Safety is my top priority. I always work in a well-ventilated area, wear appropriate personal protective equipment (PPE), including gloves and eye protection. I dispose of used thinners and solvents responsibly according to local regulations. For example, I never mix different types of thinners, as this could cause dangerous reactions.
Q 25. What troubleshooting steps do you take when encountering painting problems?
Troubleshooting is an essential skill. Painting problems can range from simple issues to more complex ones. My approach is systematic:
- Identify the Problem: Precisely define the issue – is it brush strokes, uneven coverage, discoloration, peeling, or something else?
- Analyze the Cause: Consider the paint’s quality, the surface preparation, the application technique, environmental factors (temperature, humidity), and the type of paint used.
- Test Solutions: Try minor adjustments before major interventions. For example, if there are brush strokes, try using a smoother technique or a different brush. If the coverage is uneven, adjust the paint consistency or application method.
- Seek Expert Advice: If the problem persists, consulting a paint manufacturer or a professional paint consultant can provide valuable insight.
- Document the Process: Keep notes on the troubleshooting steps to aid in future problem solving.
For instance, I once encountered a problem with latex paint not adhering properly to a previously painted surface. After analysis, I determined the prior coat wasn’t properly cleaned, and the existing paint was glossy. I addressed the issue by thoroughly cleaning and lightly sanding the surface, followed by applying a primer suitable for glossy surfaces. The problem was solved, and the new paint adhered perfectly.
Q 26. How do you manage your time efficiently when working on large painting projects?
Efficient time management on large projects relies on planning and organization. I employ several strategies:
- Detailed Project Plan: Before starting, I create a comprehensive plan that breaks down the project into smaller, manageable tasks. This includes material estimation, scheduling, and resource allocation.
- Prioritization: I prioritize tasks based on their dependency and urgency, focusing on critical paths to maintain momentum.
- Batching Similar Tasks: I group similar tasks together, like all the priming, or all the cutting in, to minimize switching between tools and materials.
- Teamwork (if applicable): On larger projects, I coordinate effectively with my team, assigning tasks according to skillsets and ensuring smooth workflow.
- Regular Evaluation: I regularly evaluate progress against the plan, adjusting as needed to stay on schedule and within budget.
On a recent large commercial project, I meticulously planned the painting sequence, assigning different crew members to different areas based on their expertise. We completed the project ahead of schedule and within budget due to effective time management and teamwork.
Q 27. Explain your experience with working from blueprints or specifications.
Working from blueprints or specifications is a standard practice. It allows for accurate and efficient execution, especially on large or complex projects. My experience includes interpreting architectural drawings, understanding color codes and specifications, and ensuring the final product matches the design intent.
I meticulously review the plans to understand the scope of work, identify materials required, and anticipate any potential challenges. I pay attention to details such as surface types, paint finishes specified, and color codes mentioned. I often create my own detailed checklist referencing the blueprint specifications, so nothing gets missed.
For example, on a recent project involving a multi-unit apartment complex, I closely followed the architect’s specifications regarding colors for each unit and type of paint to be used for different surfaces – walls, trims, and doors. This ensured consistency across all units and satisfied the client’s requirements completely.
Q 28. Describe a time you had to adapt your painting techniques to overcome a challenge.
I once faced a challenge where we needed to paint a complex curved ceiling with a high-gloss finish. Traditional methods like rollers were not ideal for achieving a smooth, streak-free finish on such a surface. After some brainstorming, we opted for a specialized airless sprayer with a fine nozzle and low pressure setting.
The initial attempts resulted in some runs and uneven coverage, but we experimented with different spray patterns, techniques, and paint viscosities. We gradually adjusted the settings to minimize overspray and maintain a steady flow. We also experimented with using a different type of high-gloss paint that was better suited for airless spray application. Through trial and error and careful adjustments, we finally achieved a flawless, high-gloss finish on the curved ceiling, demonstrating adaptability and problem-solving skills.
Key Topics to Learn for Brush, Roller, and Spray Painting Techniques Interview
- Brush Painting Techniques: Understanding different brush types (natural bristle, synthetic), their appropriate uses (e.g., fine detail vs. large areas), paint loading techniques, and achieving smooth, even coverage. Explore the importance of proper brush cleaning and maintenance.
- Roller Painting Techniques: Selecting the correct roller nap for different surfaces (e.g., smooth walls, textured ceilings), proper paint loading and application methods to avoid streaks and roller marks, efficient painting techniques for large areas, and the importance of using extension poles for high reach.
- Spray Painting Techniques: Understanding different spray equipment (HVLP, airless), adjusting pressure and nozzle settings for various materials and surfaces, achieving uniform coverage, controlling overspray, safety procedures related to spray painting (respiratory protection, ventilation), and cleaning and maintenance of spray equipment.
- Surface Preparation: This is crucial for all three techniques. Learn about cleaning, sanding, priming, and repairing surfaces before painting to ensure optimal adhesion and a professional finish. Understand different priming techniques for various substrates (wood, metal, drywall).
- Paint Selection and Application: Knowing different paint types (e.g., latex, oil-based, acrylic), their properties, and appropriate application techniques for each. Understand color matching, mixing, and tinting processes.
- Troubleshooting Common Issues: Learn how to identify and resolve common painting problems like uneven coverage, drips, runs, roller marks, and orange peel. Understanding the causes and solutions is vital.
- Health and Safety: Familiarize yourself with relevant safety regulations, personal protective equipment (PPE), and proper disposal of paint and solvents.
Next Steps
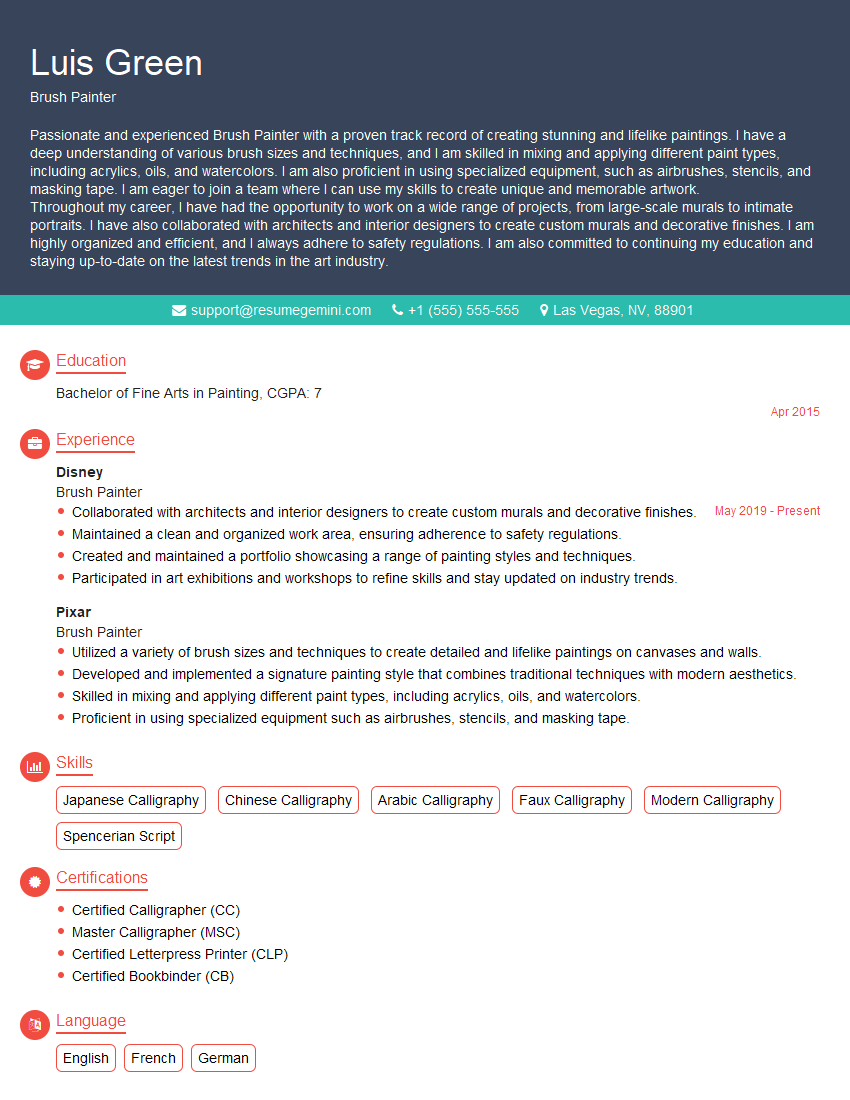
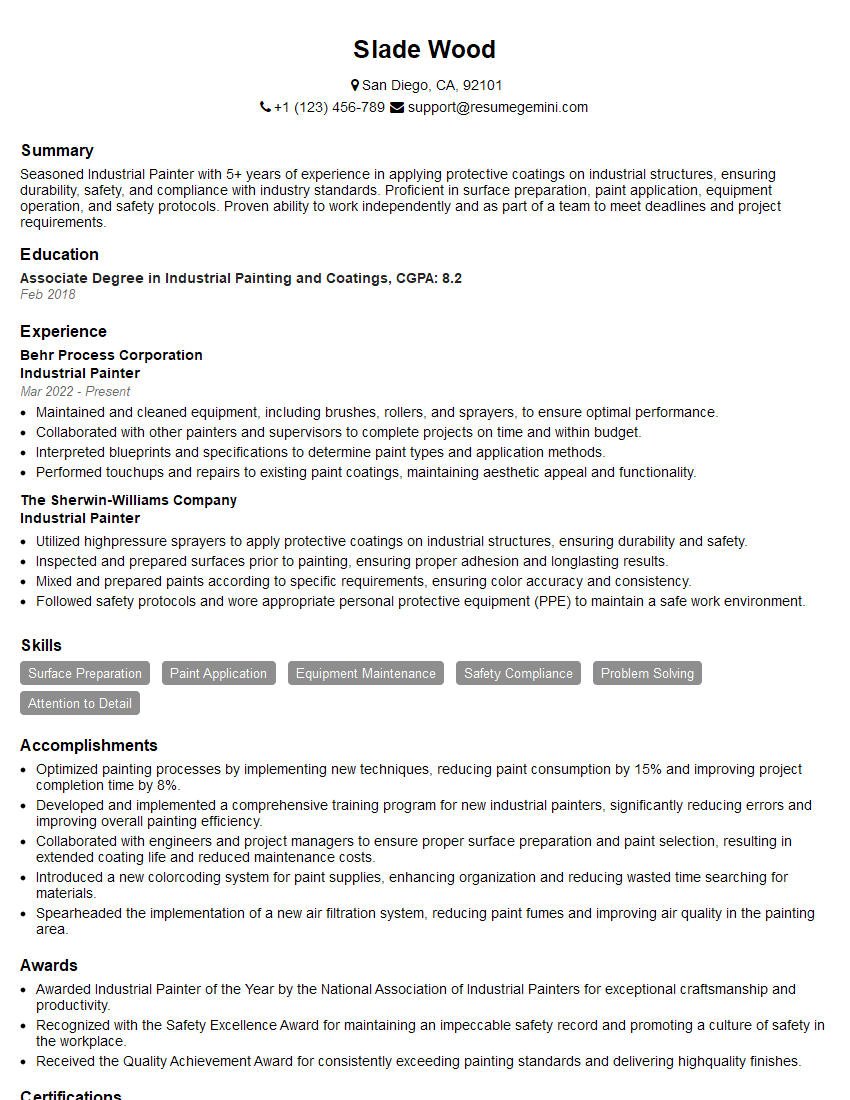
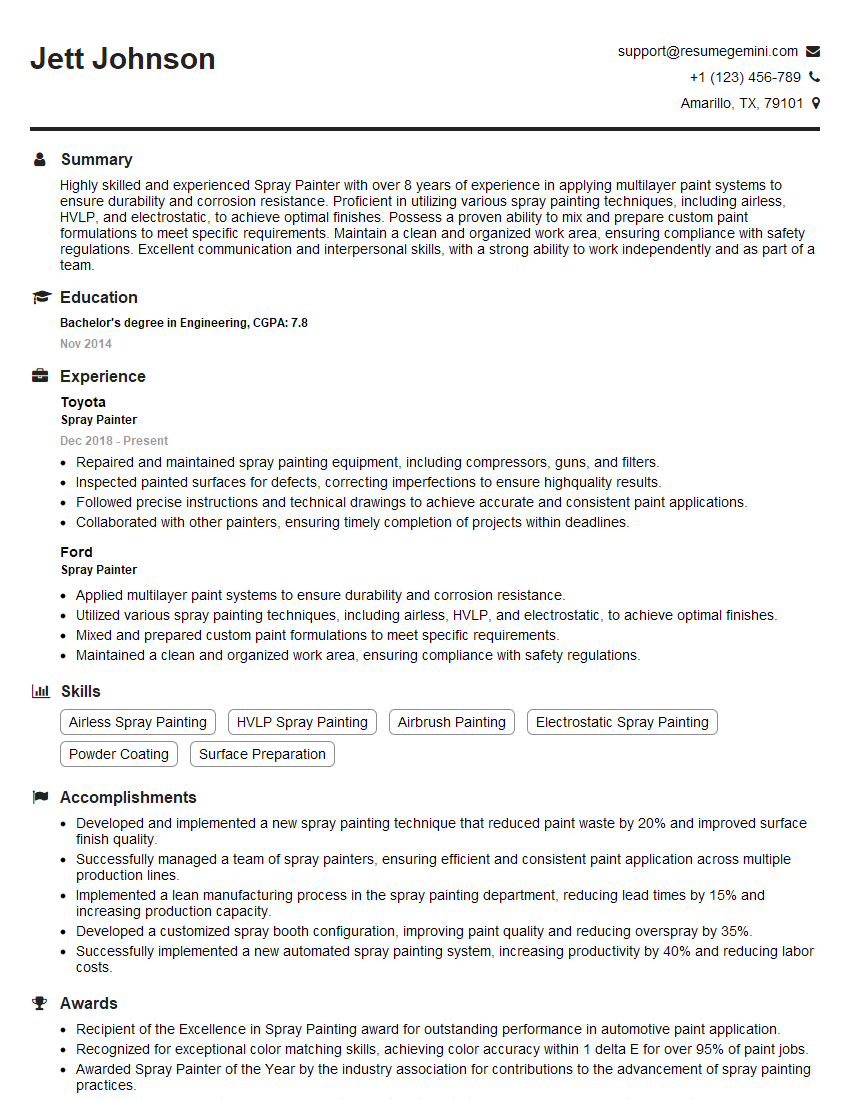
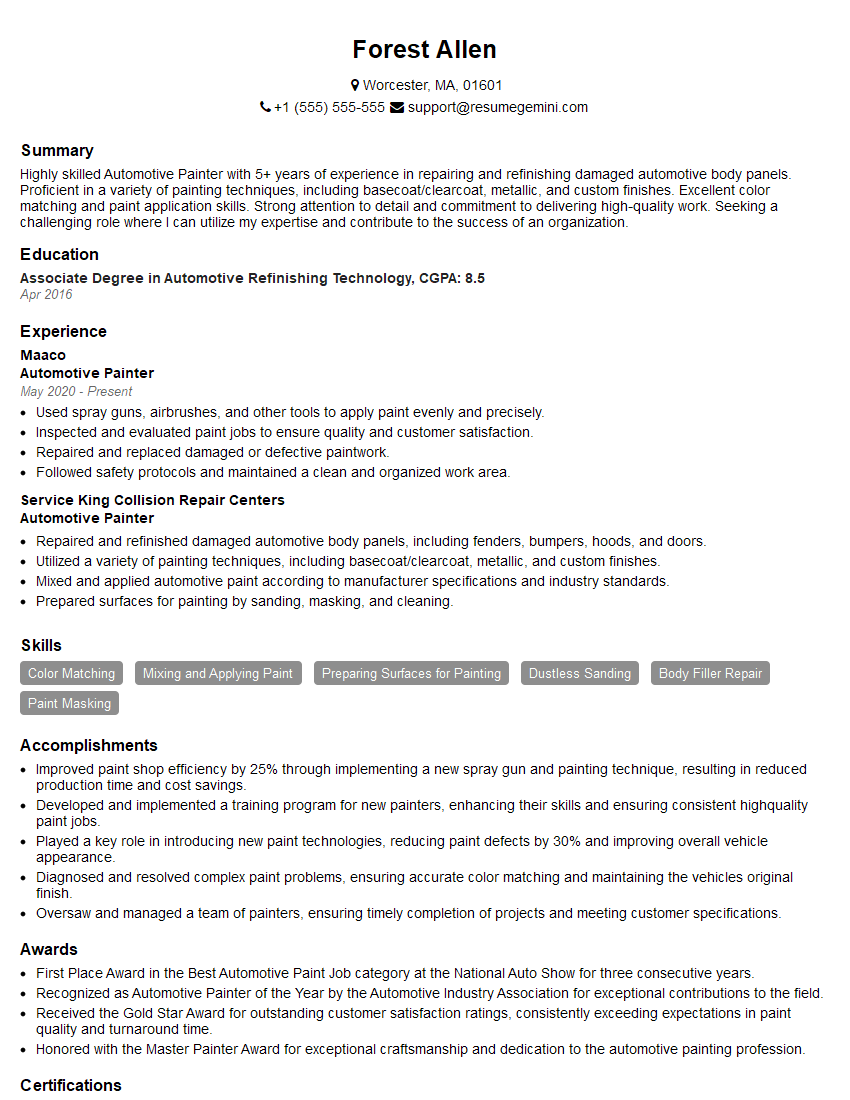
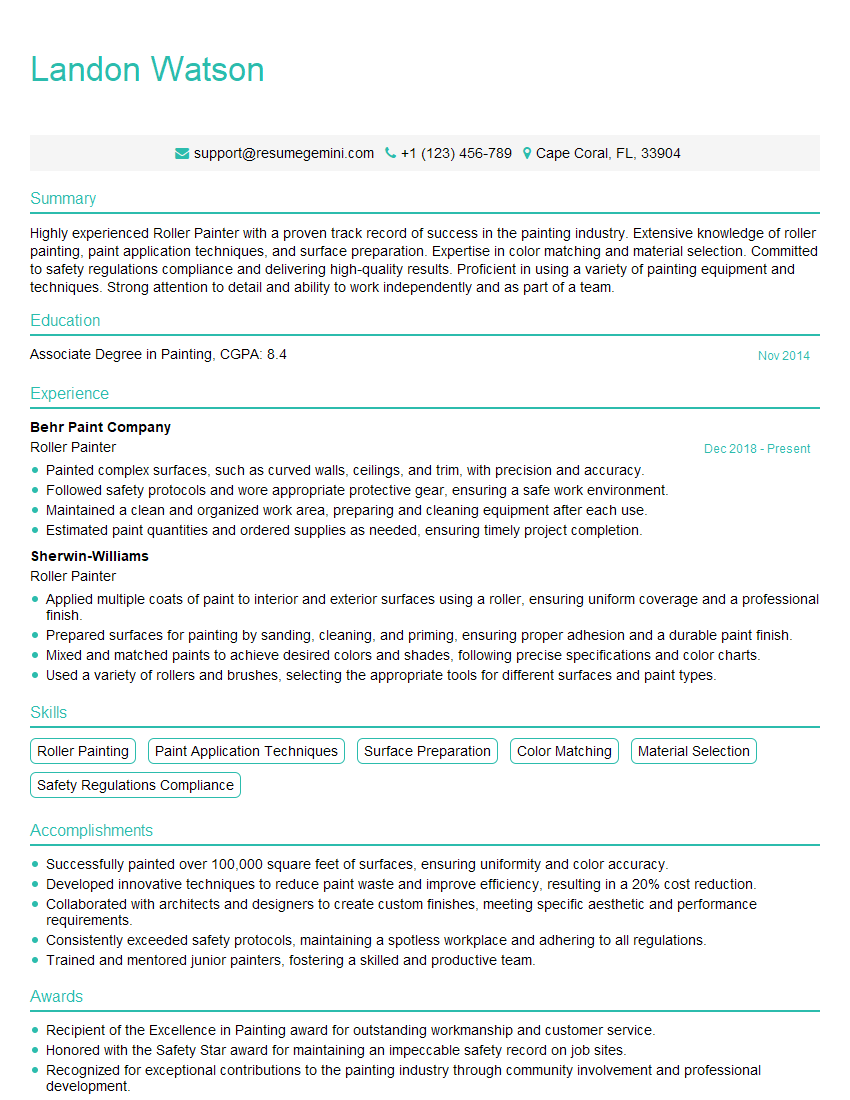
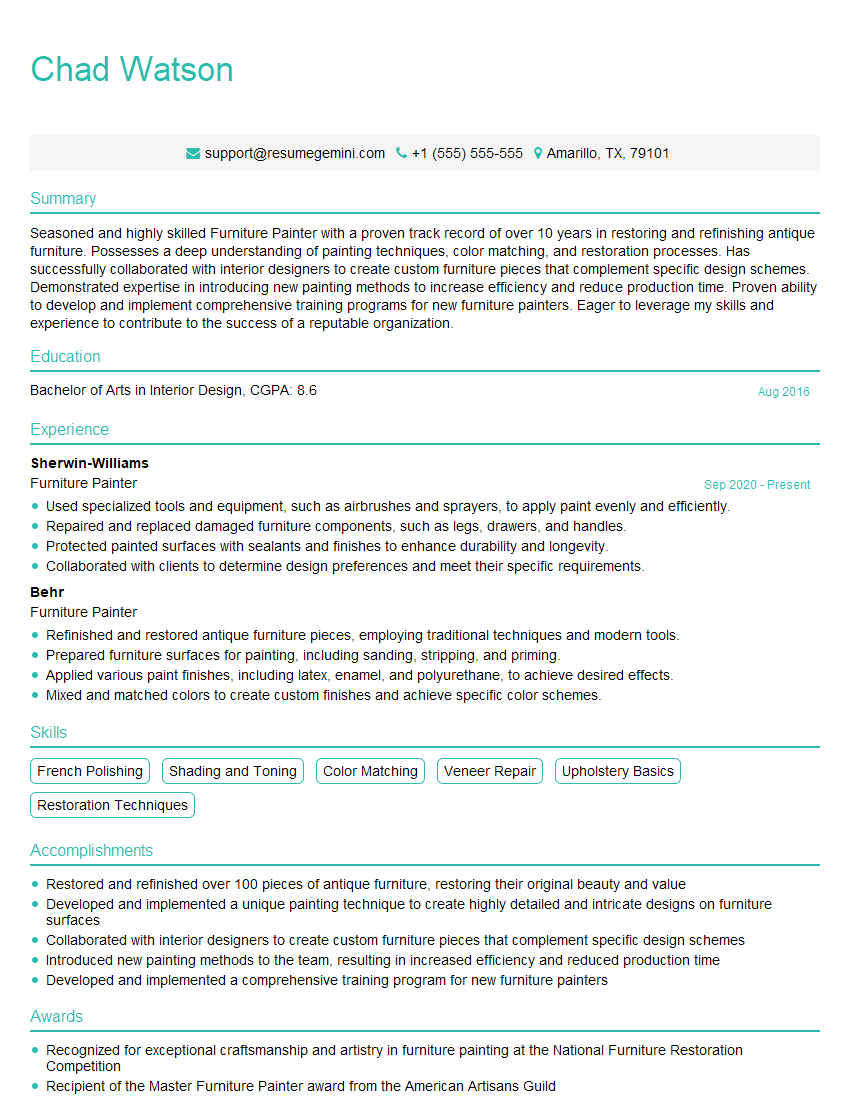
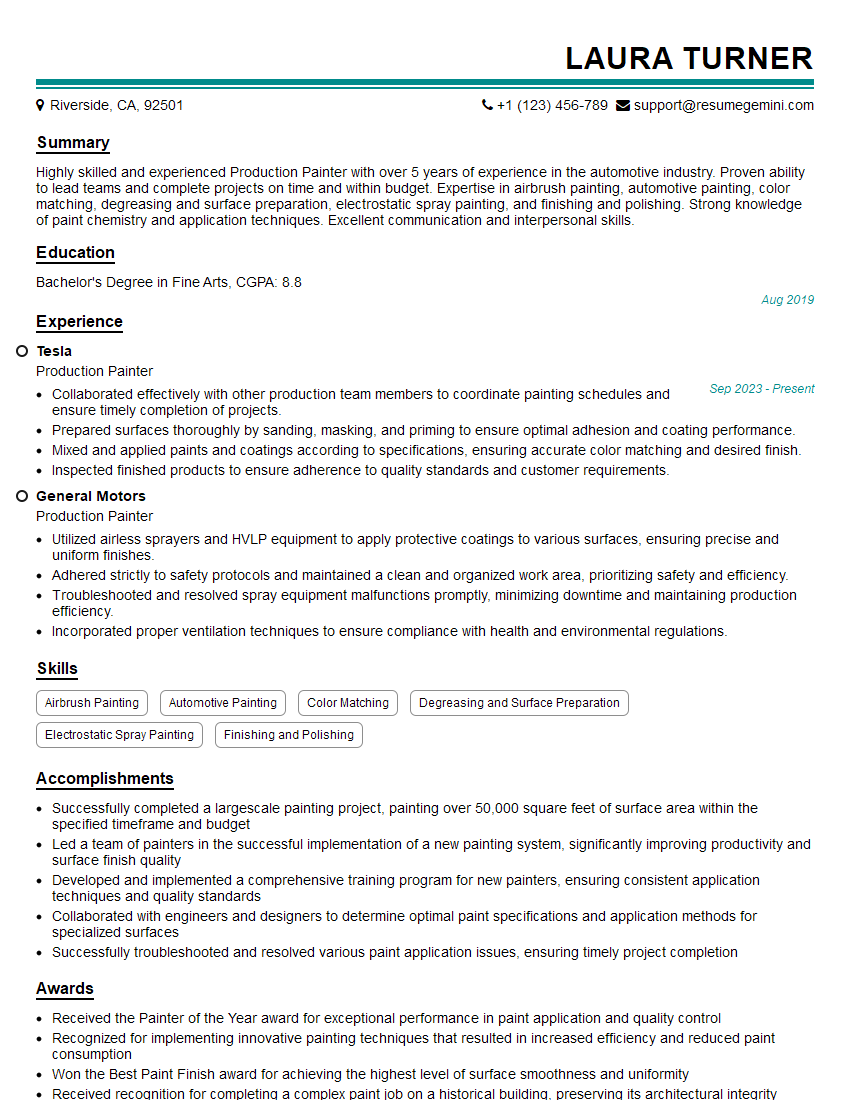
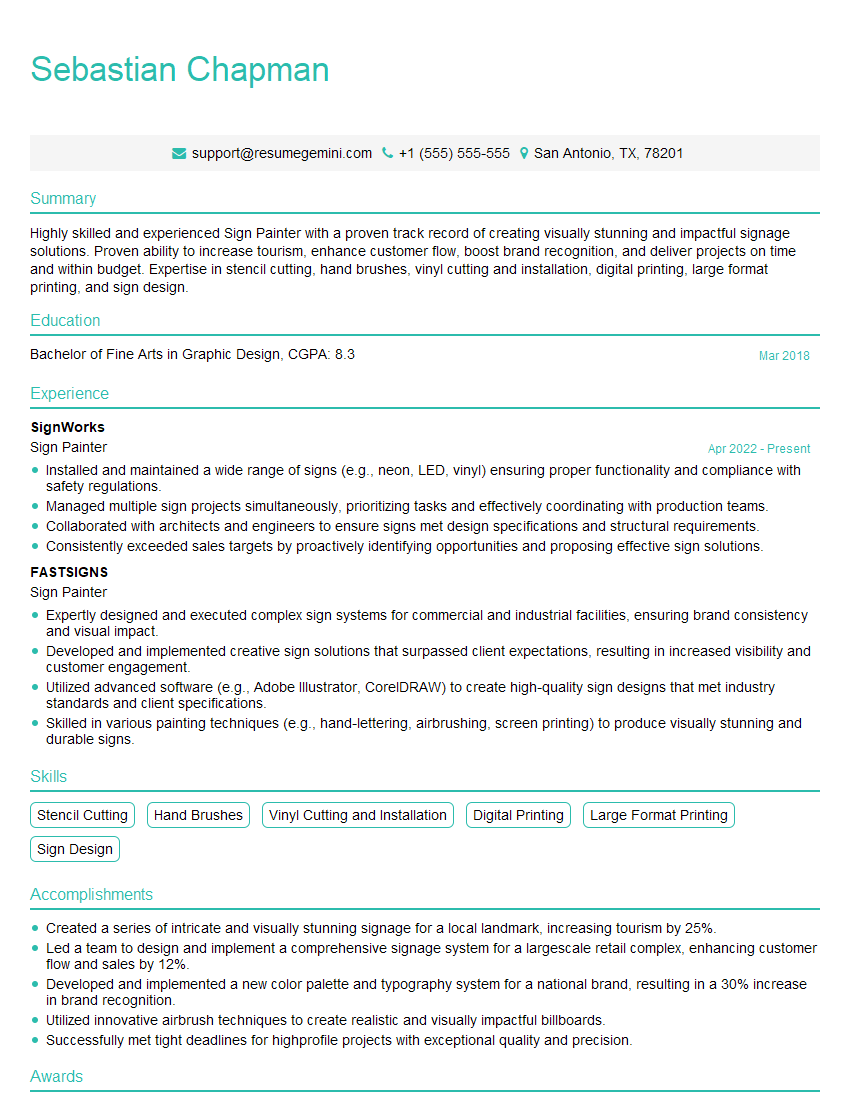
Mastering brush, roller, and spray painting techniques significantly enhances your skillset and opens doors to diverse career opportunities within the painting and construction industries. A strong grasp of these techniques demonstrates professionalism and attention to detail, making you a highly sought-after candidate. To increase your job prospects, focus on creating a compelling and ATS-friendly resume that highlights your skills and experience. ResumeGemini is a trusted resource to help you build a professional resume that effectively showcases your qualifications. Examples of resumes tailored to brush, roller, and spray painting techniques are available to guide you. Invest in your resume and confidently present yourself as the ideal candidate.
Explore more articles
Users Rating of Our Blogs
Share Your Experience
We value your feedback! Please rate our content and share your thoughts (optional).
What Readers Say About Our Blog
There are no reviews yet. Be the first one to write one.

