Are you ready to stand out in your next interview? Understanding and preparing for Component Assembly and Inspection interview questions is a game-changer. In this blog, we’ve compiled key questions and expert advice to help you showcase your skills with confidence and precision. Let’s get started on your journey to acing the interview.
Questions Asked in Component Assembly and Inspection Interview
Q 1. Describe your experience with different assembly techniques (e.g., soldering, crimping, adhesive bonding).
My experience encompasses a wide range of assembly techniques, crucial for creating robust and reliable products. I’m proficient in soldering, both surface mount (SMT) and through-hole, understanding the importance of proper temperature control and flux application to prevent cold solder joints and bridging. I’ve also extensively used crimping for connecting wires and terminals, ensuring secure and consistent connections with the right crimp tool and die for the specific wire gauge. Finally, I’m experienced with adhesive bonding, using various types of adhesives—epoxies, cyanoacrylates (super glue), and UV-curable adhesives—selecting the appropriate one based on the materials being bonded, the required strength, and the environmental conditions. For instance, in assembling a delicate sensor, I’d opt for a low-viscosity epoxy for precise application and minimal stress on the components. In contrast, assembling a heavy-duty motor might require a high-strength epoxy.
- Soldering: I’ve worked with different solder types, including lead-free and leaded, and am familiar with techniques like reflow soldering for SMT components and wave soldering for through-hole components.
- Crimping: My experience includes working with various crimp tools and dies to ensure proper crimps for different wire gauges and connector types. I always verify the crimp quality using visual inspection and pull tests.
- Adhesive Bonding: I’ve applied different adhesives, considering factors like curing time, temperature resistance, and chemical compatibility. I meticulously prepare surfaces to ensure good adhesion.
Q 2. Explain your understanding of quality control procedures and documentation.
Quality control is paramount in component assembly. My understanding involves a multi-faceted approach encompassing process control, inspection, and meticulous documentation. We follow established procedures, starting with incoming inspection of components to ensure they meet specifications (often using statistical sampling). During assembly, we incorporate in-process checks at critical stages, using control charts to track key parameters like solder joint quality or adhesive bond strength. Post-assembly, we conduct rigorous inspections using various tools (discussed in a later question). All this is meticulously documented, including the use of check sheets, inspection reports, and potentially a quality management system (QMS) like ISO 9001 to ensure traceability and compliance. For example, in one project, we identified a trend of higher-than-acceptable defect rates using control charts, enabling us to adjust our process parameters (like soldering temperature) before the problem escalated.
Q 3. How do you identify and handle defective components during assembly?
Identifying and handling defective components is a critical part of maintaining quality. This starts with visual inspection—using magnification tools if necessary—to spot obvious defects like cracked components, bent leads, or damaged packaging. Beyond visual inspection, functional testing might be required, using dedicated equipment depending on the component. Defective components are clearly marked, segregated, and documented. Depending on the company’s policy and the nature of the defect, they might be repaired (if possible), returned to the supplier, or scrapped. The root cause of the defect is then investigated to prevent recurrence. For example, if we repeatedly encounter damaged capacitors, we’d investigate the supplier, packaging methods, and handling procedures to address the problem at its source. A detailed report of the defect, its cause, and corrective actions is crucial for continuous improvement.
Q 4. What are the common causes of assembly errors, and how do you prevent them?
Assembly errors stem from various sources. Improper tooling, insufficient training, inadequate process documentation, and environmental factors (e.g., static electricity, temperature variations) are common culprits. Operator errors, like incorrect component placement or insufficient solder, are also frequent. Preventing these errors involves a multifaceted approach. Proper training ensures operators understand procedures and safety precautions. Standardized work instructions, clear engineering drawings, and visual aids minimize ambiguity. Implementing visual controls, such as poka-yoke (mistake-proofing) techniques (e.g., using jigs or fixtures to guide component placement) is key. Regular maintenance of equipment and a clean working environment are also essential. A documented 5S system (Sort, Set in Order, Shine, Standardize, Sustain) helps maintain a clean and organized workspace, reducing errors from misplaced tools or parts. Furthermore, continuous monitoring through control charts helps detect developing issues early on.
Q 5. Describe your experience with various inspection tools and equipment (e.g., microscopes, calipers, gauges).
My experience includes using a variety of inspection tools. Optical microscopes are essential for examining fine details, like solder joints, especially in surface mount technology (SMT). Calipers and micrometers ensure precise measurements of dimensions, verifying component sizes and clearances. Gauges, both fixed and adjustable, are used to inspect specific features, like hole sizes or shaft diameters. Digital multimeters are used to test the functionality of electronic components. Other specialized equipment, depending on the project, might include X-ray inspection systems for identifying internal defects or automated optical inspection (AOI) systems for high-volume production. Each tool is chosen based on the component and its specifications. For example, a microscope is indispensable when inspecting the fine pitch soldering of a microchip.
Q 6. How do you interpret engineering drawings and specifications?
Interpreting engineering drawings and specifications is fundamental. I’m proficient in reading both 2D and 3D drawings, understanding symbols, tolerances, and annotations. I pay close attention to details like component placement, orientation, and dimensions. Specifications detail materials, finishes, and performance requirements. Understanding these ensures that the assembled components conform to the design requirements. For example, an engineering drawing might specify a specific type of solder, a particular tolerance for a hole diameter, or the use of a specific type of adhesive. These specifications must be followed precisely to ensure proper functionality and reliability. A good understanding of Geometric Dimensioning and Tolerancing (GD&T) is crucial to ensuring components meet the required design tolerances.
Q 7. Explain your process for troubleshooting assembly problems.
Troubleshooting assembly problems is systematic. I start by gathering information: documenting the nature of the problem, the frequency of occurrence, and related symptoms. Then, I thoroughly inspect the affected assemblies, using appropriate tools. If the problem relates to a specific component, I might repeat the functional testing to isolate the faulty part. I review the assembly process and check for deviations from the standard procedure. If the problem persists, I consult the engineering drawings and specifications to identify potential design flaws. The process involves a systematic elimination of possibilities, often involving collaboration with engineers and other technicians. Documentation of the problem, investigative steps, and corrective actions is crucial for preventing recurrences. This systematic approach helped us quickly resolve an issue where faulty components from a specific batch caused intermittent system failures in a previous project, reducing downtime significantly.
Q 8. How do you ensure compliance with safety regulations during assembly and inspection?
Ensuring safety compliance during assembly and inspection is paramount. It’s not just about following regulations; it’s about fostering a safety-conscious culture. This involves a multi-pronged approach.
- Pre-assembly planning: We begin by thoroughly reviewing the safety data sheets (SDS) for all materials and components, identifying potential hazards like flammability, toxicity, or sharp edges. We select appropriate personal protective equipment (PPE) – gloves, safety glasses, hearing protection – based on these assessments. Work instructions also explicitly detail safety procedures for each step.
- Ergonomics and workspace setup: The workspace is designed to minimize risks of musculoskeletal injuries. This includes proper lighting, comfortable seating, and the strategic placement of tools and materials to reduce unnecessary reaching or strain. We use anti-fatigue mats where appropriate to reduce strain on workers’ legs and feet.
- Regular safety training: All team members receive comprehensive training on relevant safety regulations, emergency procedures (e.g., fire drills, chemical spills), and the proper use of machinery and tools. We conduct regular refresher training to reinforce these practices.
- Continuous monitoring and reporting: We use checklists to ensure all safety procedures are followed consistently. Any incidents, near misses, or unsafe practices are immediately reported and investigated, with corrective actions implemented to prevent recurrence. We maintain meticulous records of all safety training and incidents.
- Compliance audits: We conduct regular internal audits to ensure ongoing adherence to safety regulations and best practices. These audits highlight areas for improvement and help maintain a proactive safety culture.
For instance, in a recent project involving the assembly of a complex electronic device, we identified a potential risk of electrostatic discharge (ESD) damage. We implemented strict ESD control measures, including the use of anti-static mats, wrist straps, and appropriate packaging, preventing potential damage and ensuring product reliability.
Q 9. What is your experience with statistical process control (SPC)?
Statistical Process Control (SPC) is crucial for maintaining consistent product quality and identifying potential problems before they escalate. My experience involves using SPC methods to monitor various assembly processes.
- Control Charts: I’m proficient in using various control charts, such as X-bar and R charts, to track key process parameters like component dimensions, assembly time, and defect rates. For example, I used an X-bar and R chart to monitor the diameter of a critical shaft during assembly. By plotting the data, we quickly identified a trend indicating a gradual increase in diameter, allowing us to adjust the machining process before producing a large number of non-conforming parts.
- Process Capability Analysis: I’ve conducted process capability analyses (Cpk, PpK) to determine if a process is capable of meeting specified tolerances. This involves analyzing historical data to determine process variability and comparing it to the required specifications. This informed decisions on process improvements and equipment upgrades.
- Data Analysis and Interpretation: I am comfortable interpreting control chart patterns and identifying assignable causes of variation. This includes understanding the difference between common cause and special cause variation and taking appropriate corrective actions. If a control chart showed an out-of-control point, a thorough investigation was conducted to pinpoint the root cause – a faulty tool, improper training, or a materials issue – and implement corrective actions.
SPC isn’t just about reacting to problems; it’s a proactive approach to quality management. It allows us to optimize processes, reduce waste, and increase efficiency, ultimately delivering superior product quality and customer satisfaction.
Q 10. Describe your experience with different types of inspection methods (e.g., visual, dimensional, functional).
My experience encompasses a range of inspection methods, each tailored to the specific characteristics of the components and the assembly process.
- Visual Inspection: This is often the first step, involving a thorough visual examination for surface defects (scratches, dents, discoloration), misalignment of parts, or missing components. This method is critical for detecting obvious defects quickly and efficiently.
- Dimensional Inspection: For precise measurements, we utilize various tools like calipers, micrometers, and coordinate measuring machines (CMMs). Dimensional inspection verifies that components meet specified tolerances, ensuring proper fit and function. For example, in assembling a mechanical gear system, precise measurements are vital to ensure smooth operation and prevent premature wear.
- Functional Inspection: This involves testing the assembled component or system to verify that it functions as intended. This can range from simple operational tests to complex performance evaluations, utilizing specialized equipment to simulate real-world conditions.
- Non-destructive Testing (NDT): In some instances, NDT methods are employed to detect internal flaws without damaging the component. Techniques like X-ray inspection, ultrasonic testing, and dye penetrant testing are used to ensure the integrity of critical parts. This is particularly important for applications where failure could have significant safety consequences.
The choice of inspection method depends on factors like the complexity of the component, the required level of precision, and cost considerations. Often, a combination of these methods provides the most comprehensive quality assurance.
Q 11. How do you maintain a clean and organized workspace?
Maintaining a clean and organized workspace is crucial for both safety and efficiency. It’s about creating a systematic approach to organization.
- 5S Methodology: I apply the 5S methodology (Sort, Set in Order, Shine, Standardize, Sustain) to organize the workspace. This involves regularly clearing away unnecessary items, organizing tools and materials logically, cleaning the area thoroughly, standardizing work procedures, and maintaining this organized state over time. This makes it easier to locate tools and parts, reduces the risk of accidents, and improves overall efficiency.
- Designated Storage: Tools and materials are stored in designated locations, clearly labeled and easily accessible. This avoids clutter and wasted time searching for items. We use shadow boards for tools to make their location clear and ensure they are returned after use.
- Regular Cleaning: We have a regular cleaning schedule, ensuring that the workspace is cleaned at the end of each shift. This eliminates the buildup of dust, debris, and potential hazards.
- Waste Management: Proper waste disposal procedures are followed, separating different types of waste (e.g., recyclable materials, hazardous waste). This not only keeps the workspace clean, but also protects the environment.
A well-organized workspace isn’t just aesthetically pleasing; it significantly boosts productivity by reducing wasted time and improving safety.
Q 12. Describe your experience with using hand tools and power tools.
I have extensive experience using both hand tools and power tools, always prioritizing safety and precision.
- Hand Tools: I am proficient with a variety of hand tools, including screwdrivers, pliers, wrenches, hammers, and measuring instruments. Accuracy and dexterity are vital when using hand tools, especially when assembling delicate components. I’m used to selecting the right tool for the job to avoid damaging parts.
- Power Tools: I am experienced in operating various power tools, such as drills, saws, grinders, and sanders. Safety is paramount here, requiring proper training and adherence to safety protocols – including the use of PPE, such as safety glasses and hearing protection. Regular maintenance of power tools is vital for ensuring optimal performance and preventing accidents.
- Tool Maintenance: Proper maintenance of all tools is essential to extend their lifespan and ensure accuracy. This includes regular cleaning, lubrication, and sharpening, as appropriate.
For example, when assembling a cabinet, I would use various hand tools (screwdrivers, wrenches) for precise assembly and a drill/driver for quicker and more efficient screw insertion. Safety is always paramount: ensuring power tools are correctly grounded and wearing appropriate PPE.
Q 13. How do you handle discrepancies between assembly instructions and actual components?
Discrepancies between assembly instructions and actual components are a potential source of errors that must be addressed promptly and systematically.
- Verification and Documentation: When such discrepancies are identified, the first step is to carefully verify the assembly instructions and the components. This may involve cross-referencing with other documentation, like part numbers and specifications. All findings are meticulously documented.
- Escalation and Communication: If the discrepancy is confirmed, it’s essential to communicate the issue to the appropriate personnel – supervisors, engineers, or procurement – to determine the best course of action. This may involve seeking clarification on the instructions, requesting replacement parts, or revising the assembly procedures. This clear communication is crucial to prevent further mistakes.
- Corrective Actions: Based on the findings, appropriate corrective actions are implemented. This may include modifying the assembly instructions, replacing incorrect components, or halting assembly until the issue is resolved. The goal is to prevent the error from being repeated.
- Root Cause Analysis: A root cause analysis is conducted to understand the underlying reason for the discrepancy. This could involve investigating potential errors in the design, manufacturing, or documentation process. This proactive approach helps prevent similar issues in the future.
For instance, during the assembly of a motor, I discovered a mismatch between the bolt size specified in the instructions and the actual bolt holes on the motor housing. I documented the discrepancy, informed my supervisor, and obtained revised instructions and the correct components. This prevented potential damage and ensured the assembly was completed correctly.
Q 14. What is your experience with lean manufacturing principles?
Lean manufacturing principles focus on eliminating waste and maximizing efficiency. My experience incorporating these principles into component assembly and inspection includes:
- Value Stream Mapping: I’ve participated in value stream mapping exercises to identify and eliminate non-value-added steps in the assembly process. This helps to streamline workflows and reduce lead times. By visualizing the entire process, we pinpointed bottlenecks and areas where improvements could be made, such as optimizing material flow or reducing unnecessary handling.
- Kaizen Events: I’ve been involved in Kaizen events (continuous improvement activities) aimed at improving efficiency and reducing waste. This involves collaborative brainstorming sessions to identify small, incremental improvements that add up to significant gains in productivity and quality. For example, a simple change like repositioning tools reduced assembly time by several minutes per unit.
- 5S Implementation: As mentioned earlier, the 5S methodology is a core component of lean manufacturing. Implementing and maintaining a clean and organized workplace eliminates waste related to searching for tools or materials, improving efficiency and reducing the likelihood of errors.
- Kanban Systems: In some projects, we utilized Kanban systems to manage the flow of materials and work. This visual system provides a clear picture of work in progress, aiding in better resource allocation and preventing overproduction.
Lean principles aren’t just about cost reduction; they improve quality, reduce lead times, and enhance employee engagement by empowering them to participate in process improvements.
Q 15. Describe your experience with root cause analysis.
Root cause analysis (RCA) is a systematic process for identifying the underlying causes of problems, not just the symptoms. My approach involves a structured methodology, often employing techniques like the 5 Whys, fishbone diagrams (Ishikawa diagrams), and fault tree analysis.
For example, if we repeatedly find a component failing after assembly, I wouldn’t just replace the faulty parts. I’d use the 5 Whys to drill down: Why did it fail? (Poor soldering). Why was the soldering poor? (Insufficient training). Why was the training insufficient? (Lack of updated procedures). Why weren’t procedures updated? (No dedicated time for process improvement). This reveals a systemic issue, not just a single component defect.
I also utilize fault tree analysis for complex issues, mapping out potential failure points and their contributing factors to pinpoint the root cause efficiently. This ensures we address the problem comprehensively and prevent recurrence.
Career Expert Tips:
- Ace those interviews! Prepare effectively by reviewing the Top 50 Most Common Interview Questions on ResumeGemini.
- Navigate your job search with confidence! Explore a wide range of Career Tips on ResumeGemini. Learn about common challenges and recommendations to overcome them.
- Craft the perfect resume! Master the Art of Resume Writing with ResumeGemini’s guide. Showcase your unique qualifications and achievements effectively.
- Don’t miss out on holiday savings! Build your dream resume with ResumeGemini’s ATS optimized templates.
Q 16. How do you prioritize tasks in a fast-paced assembly environment?
Prioritization in a fast-paced assembly environment hinges on a clear understanding of dependencies and critical path analysis. I use a combination of methods:
- Urgency and Importance Matrix: I categorize tasks based on their urgency (deadline proximity) and importance (impact on overall project). Urgent and important tasks get immediate attention, while less urgent/important tasks are scheduled accordingly.
- Kanban or Lean Principles: Visualizing workflow with Kanban boards helps to identify bottlenecks and prioritize tasks impacting throughput. Limiting work in progress (WIP) prevents overwhelming the team.
- Communication and Collaboration: Open communication with team members and stakeholders is essential. Regular updates and collaborative problem-solving allow for flexible adjustments to the priority list based on unforeseen issues.
Think of it like a conductor leading an orchestra. Each musician (task) is crucial, but the conductor prioritizes actions to achieve the best overall performance (on-time delivery of quality assemblies).
Q 17. How do you document inspection findings?
Inspection findings are meticulously documented using a standardized format, ensuring consistency and traceability. This usually involves a combination of:
- Inspection reports: Detailed reports include the date, inspector’s name, component ID, specific defects found, their severity (using a defined scale like minor, major, critical), and photographic or video evidence.
- Defect tracking system: This system allows for efficient recording and analysis of defects, enabling identification of trends and potential root causes. It can integrate with ERP systems for streamlined data management.
- Non-conformance reports (NCRs): For critical defects, NCRs are issued, initiating a formal process to investigate, resolve, and prevent recurrence. They provide a complete audit trail of the issue.
Maintaining clear documentation is not just about record-keeping; it’s about proactively identifying and resolving issues to improve the overall quality and efficiency of the assembly process.
Q 18. What is your understanding of tolerance and dimensional control?
Tolerance refers to the permissible variation in a component’s dimensions or characteristics from its nominal value. Dimensional control ensures that components are manufactured and assembled within these specified tolerances.
For instance, a bolt might have a nominal diameter of 10mm, with a tolerance of ±0.1mm. This means acceptable diameters range from 9.9mm to 10.1mm. If components fall outside these tolerances, they might not fit correctly, leading to assembly issues or functional failures. Dimensional control involves using precise measurement tools (e.g., calipers, micrometers), statistical process control (SPC) charts, and regular calibration of equipment to ensure consistency.
Poor dimensional control can cause significant problems, such as misalignment, improper fit, and even catastrophic failures in the final assembled product. Therefore, robust dimensional control is paramount throughout the entire assembly process.
Q 19. How do you handle pressure and deadlines?
Handling pressure and deadlines effectively requires a structured and proactive approach. I prioritize tasks based on urgency and importance, as described earlier.
I also rely on strong organizational skills, meticulous planning, and effective time management techniques. This includes breaking down large tasks into smaller, manageable steps, setting realistic deadlines for each step, and using project management tools (like Gantt charts) to track progress. Open communication with team members and stakeholders is essential to ensure everyone is on the same page and aware of potential challenges.
Beyond organizational tools, maintaining a positive and calm demeanor under pressure is crucial. I focus on problem-solving, rather than panicking, and encourage collaboration within the team to share workload and overcome challenges together.
Q 20. Describe your experience with automated assembly equipment.
I have extensive experience with automated assembly equipment, including robotic arms, automated guided vehicles (AGVs), and computer numerical control (CNC) machines. My experience encompasses both operation and troubleshooting of such equipment.
For example, I’ve worked with robotic arms programmed for precise placement of components onto circuit boards. My role involved ensuring the proper setup, programming, and maintenance of these robots, as well as troubleshooting any malfunctions. I’m proficient in understanding and interpreting programming logic (e.g., PLC programming) and identifying mechanical or electrical faults. Furthermore, I’m familiar with safety protocols and regulations related to operating and maintaining automated assembly equipment.
Automation significantly improves efficiency and accuracy in assembly, but requires specialized knowledge for both setup and maintenance. My hands-on experience ensures I can effectively manage and optimize automated processes within an assembly line.
Q 21. What is your proficiency with relevant software (e.g., ERP systems, quality management software)?
I’m proficient in several software systems relevant to component assembly and inspection. My experience includes:
- ERP Systems (e.g., SAP, Oracle): I can use these systems to manage inventory, track production schedules, and analyze production data.
- Quality Management Software (e.g., ISO 9001 compliant software): I am familiar with using software for tracking defects, managing non-conformance reports (NCRs), and conducting root cause analysis. This allows for data-driven decision-making to improve quality and efficiency.
- Statistical Process Control (SPC) Software: I have experience using SPC software for monitoring and controlling critical process parameters, ensuring that components are within the required tolerances.
- CAD Software (e.g., AutoCAD, SolidWorks): While not directly involved in daily assembly operations, understanding CAD drawings is crucial for interpreting component specifications and troubleshooting assembly issues.
My software skills are not just about using individual applications; it’s about leveraging data from various sources to drive continuous improvement in the assembly and inspection processes.
Q 22. How do you contribute to a team environment?
I believe in collaborative teamwork, actively contributing my expertise in component assembly and inspection while fostering a supportive environment for my colleagues. I actively participate in brainstorming sessions, offering solutions and insights based on my experience. I’m also a strong advocate for clear communication, ensuring everyone is informed and aligned on project goals and progress. For instance, on a recent project involving a complex robotic arm assembly, I proactively shared my knowledge of efficient assembly techniques with newer team members, resulting in a faster and error-free process. Furthermore, I’m always willing to assist colleagues facing challenges, providing support and guidance to ensure overall team success.
Q 23. Describe a time you had to resolve a difficult assembly or inspection challenge.
During the assembly of a precision optical instrument, we encountered a recurring issue with misalignment of a critical lens component. Initial troubleshooting suggested a problem with the component itself, leading to costly replacements. However, I suspected a problem with the assembly jig. By carefully analyzing the jig’s tolerances and the assembly procedure, I discovered a minute imperfection causing the misalignment. I proposed a simple yet effective modification to the jig, involving a precisely machined spacer. This resolved the issue, preventing further wasted components and significantly reducing the overall assembly time. This experience reinforced the importance of thorough investigation and critical thinking, often focusing less on the obvious suspects and more on the potential influence of seemingly insignificant elements.
Q 24. Explain your understanding of different types of assembly processes.
My understanding of assembly processes encompasses a range of methods, each suited to different products and production volumes. These include:
- Manual Assembly: This involves hand-assembling components, ideal for low-volume, high-precision products where automation isn’t cost-effective. For example, assembling intricate watches or high-end electronics often requires manual dexterity and skilled labor.
- Semi-Automated Assembly: This combines manual tasks with automated processes, offering a balance between precision and efficiency. Imagine a system where a robot places components, and a human operator performs fine adjustments and quality checks.
- Automated Assembly: This uses robots and automated machinery to perform the entire assembly process. This is highly efficient for high-volume production of standardized products, such as automotive parts or consumer electronics. Think of assembly lines in car manufacturing.
- Hybrid Assembly: This is a flexible approach that combines different methods within a single assembly process, adapting to various product features and production needs.
Understanding the advantages and disadvantages of each method allows for optimized production processes based on specific project requirements.
Q 25. How do you ensure traceability of components throughout the assembly process?
Traceability is critical for quality control and efficient problem-solving. We employ a robust system that utilizes unique identification numbers (serial numbers or barcodes) assigned to each component upon arrival. These numbers are tracked through every stage of the assembly process, from initial receipt through each workstation to final product. We leverage software systems that record the specific component ID, the assembly station, the date and time of assembly, and the operator involved. This detailed record allows for seamless identification of components used in specific products and facilitates swift investigation of any issues. In the event of a faulty product, the trace record helps pinpoint the root cause quickly and efficiently, minimizing downtime and reducing potential risks.
Q 26. What is your experience with Six Sigma methodologies?
I have extensive experience with Six Sigma methodologies, specifically in DMAIC (Define, Measure, Analyze, Improve, Control). I’ve successfully applied these techniques to improve assembly line efficiency and reduce defect rates. For example, in one project, we used the DMAIC framework to address high rates of component defects during automated assembly. Through data analysis, we identified a variation in the supply of a key component. Subsequent process improvements involved stricter quality control at the supplier end and modifications to our assembly line to accommodate variations in component dimensions. This led to a significant reduction in defects, cost savings, and improvements in overall product quality.
Q 27. What are your salary expectations?
Based on my experience and the requirements of this role, my salary expectations are in the range of $ [Insert Salary Range] annually. However, I am open to discussing this further based on the specific details of the compensation package.
Q 28. Do you have any questions for me?
Yes, I have a few questions. I’m very interested in learning more about the company’s current assembly processes and any ongoing initiatives to improve efficiency. I’d also like to understand the team structure and the opportunities for professional development within the organization.
Key Topics to Learn for Component Assembly and Inspection Interview
- Understanding Assembly Drawings and Specifications: Interpreting technical drawings, BOMs (Bill of Materials), and assembly instructions to understand the required components and assembly sequence.
- Component Handling and Preparation: Proper techniques for handling delicate components, preventing damage, and ensuring cleanliness to maintain quality standards. This includes ESD (Electrostatic Discharge) safety procedures where applicable.
- Assembly Techniques and Processes: Mastering various assembly methods (e.g., soldering, crimping, fastening) and understanding the importance of precision and consistency. Practical experience with different tools and equipment will be beneficial.
- Inspection Methods and Quality Control: Familiarize yourself with various inspection techniques (visual inspection, dimensional checks, functional testing) and understanding quality control standards (e.g., ISO 9001). Knowing how to document inspection results accurately is crucial.
- Troubleshooting and Problem-Solving: Develop your ability to identify and resolve assembly issues, including identifying faulty components or incorrect assembly procedures. Understanding root cause analysis techniques is highly valuable.
- Safety Procedures and Workplace Regulations: Demonstrate knowledge of relevant safety regulations and procedures within a manufacturing environment, including the use of Personal Protective Equipment (PPE).
- Lean Manufacturing Principles (optional): Understanding concepts like waste reduction, process improvement, and efficiency optimization can be a significant advantage, especially in modern manufacturing settings.
- Data Collection and Reporting: Accurately recording inspection results, identifying trends, and presenting data to communicate quality metrics. Understanding the use of quality management software can be helpful.
Next Steps
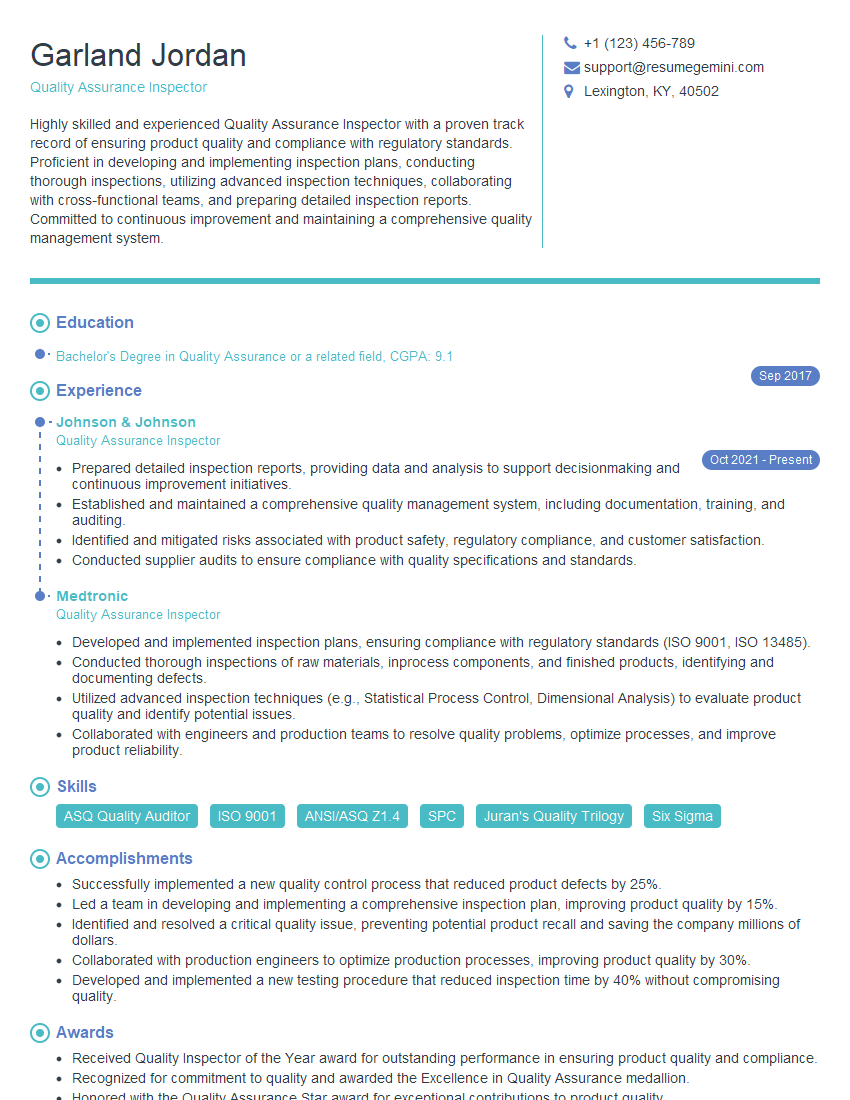
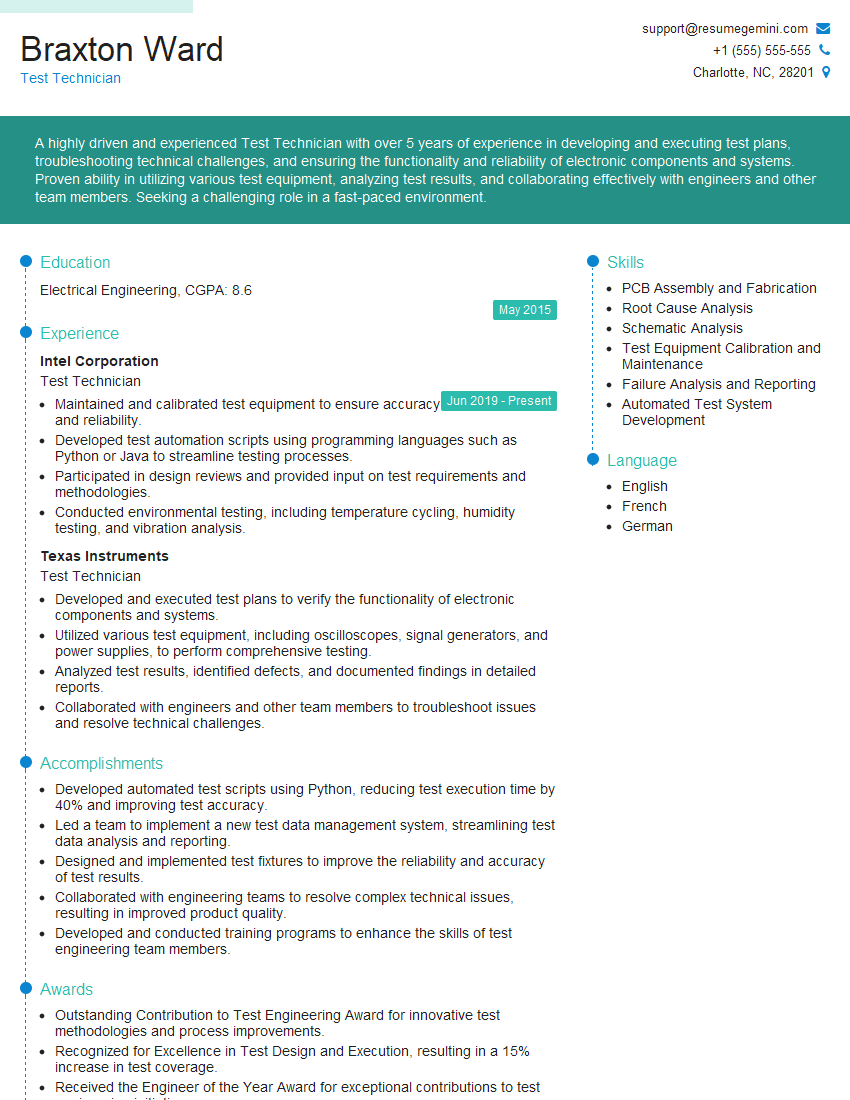
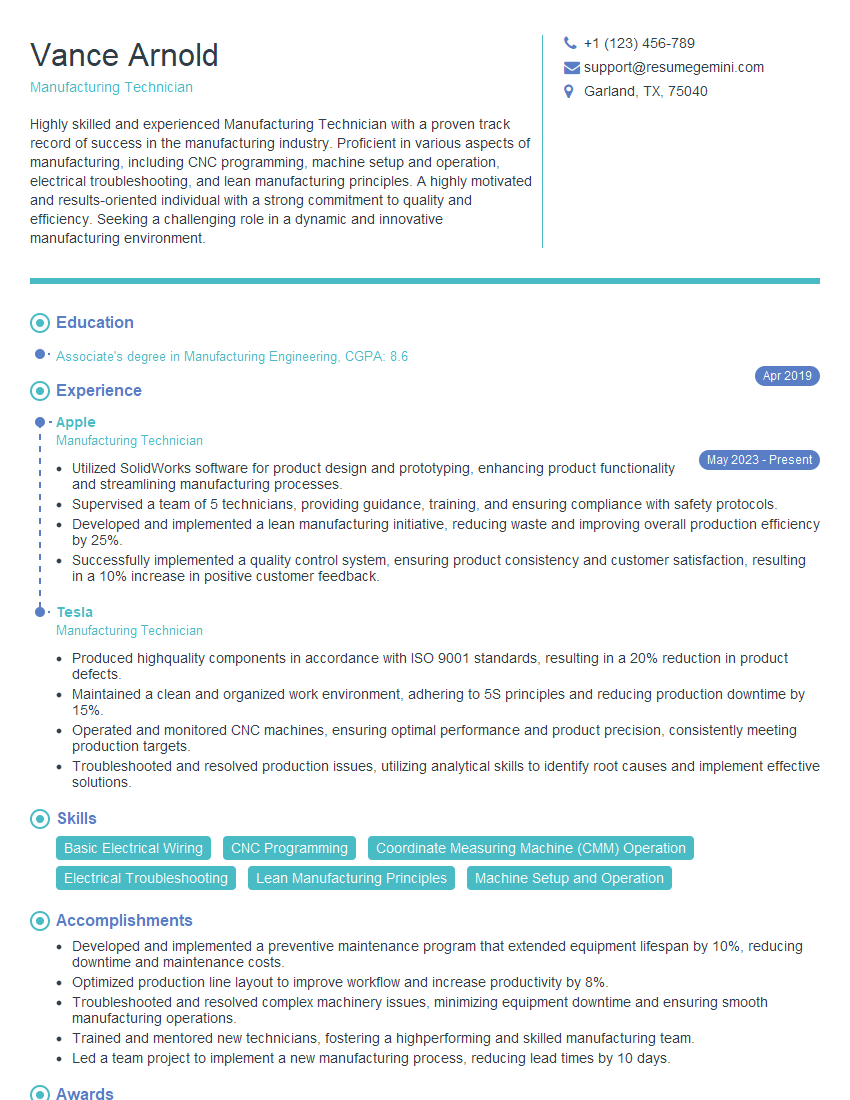
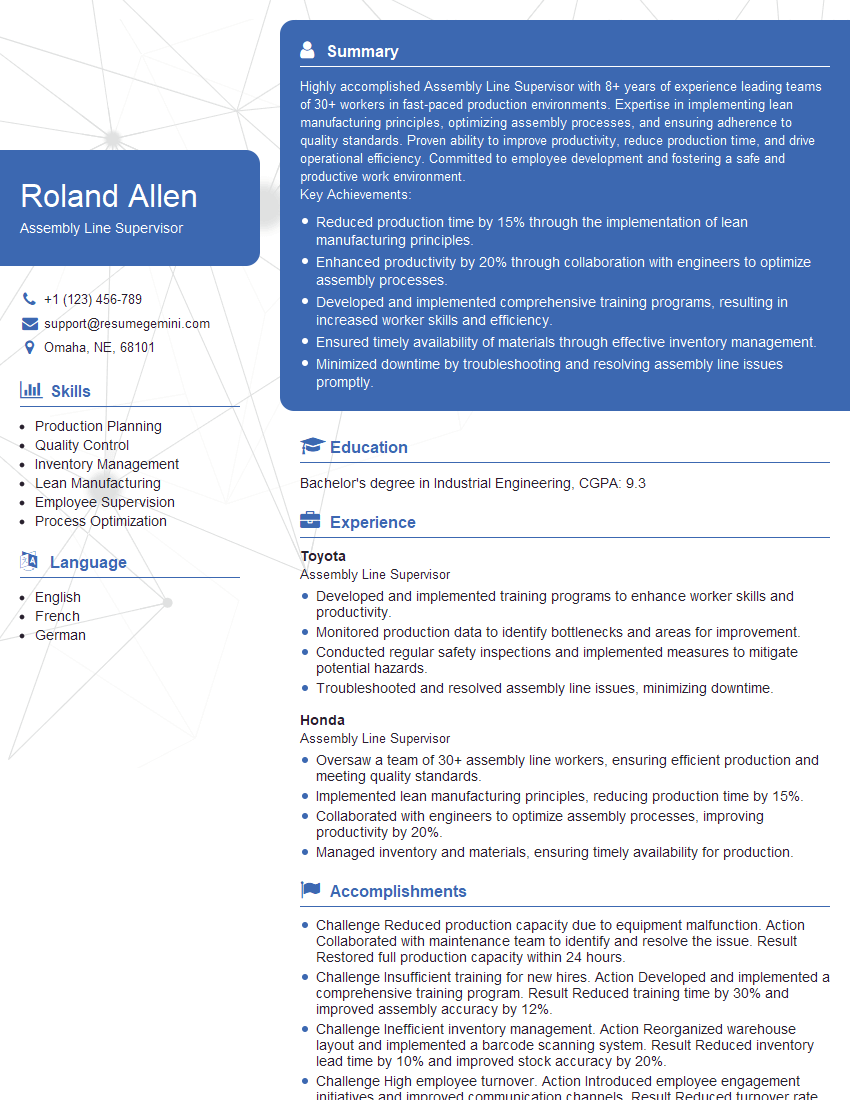
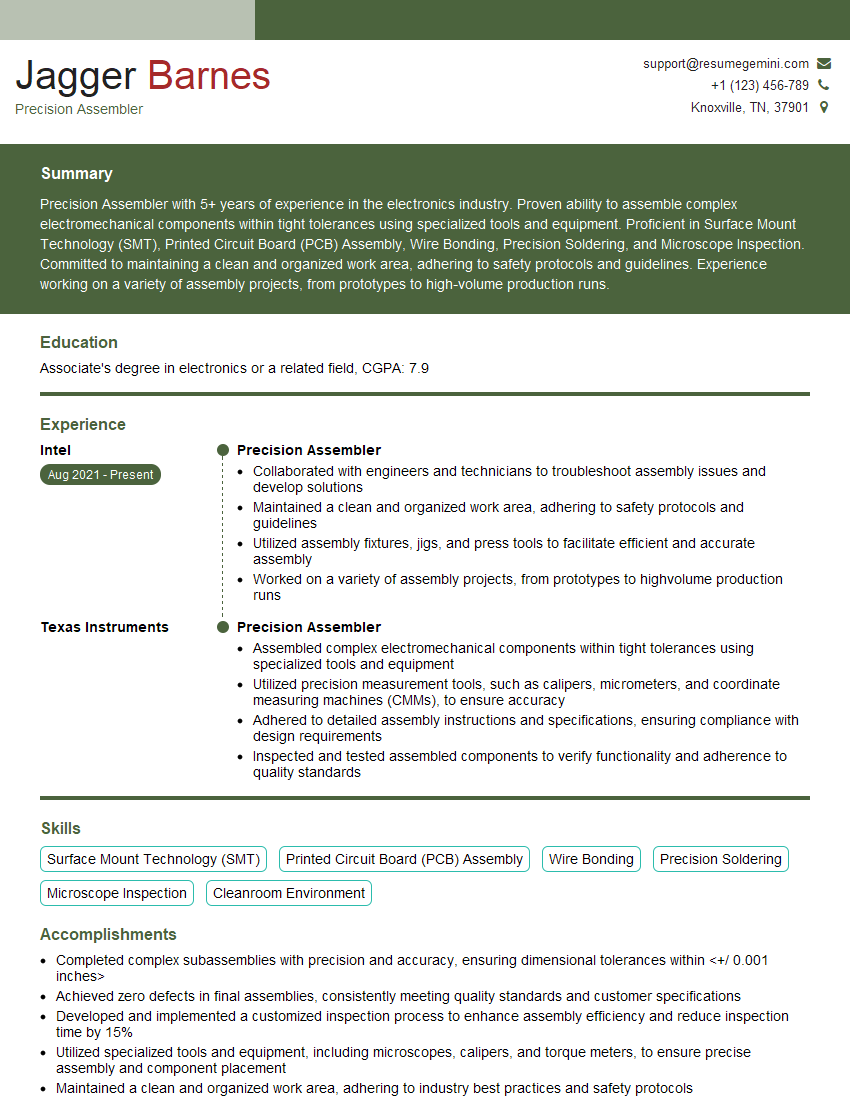
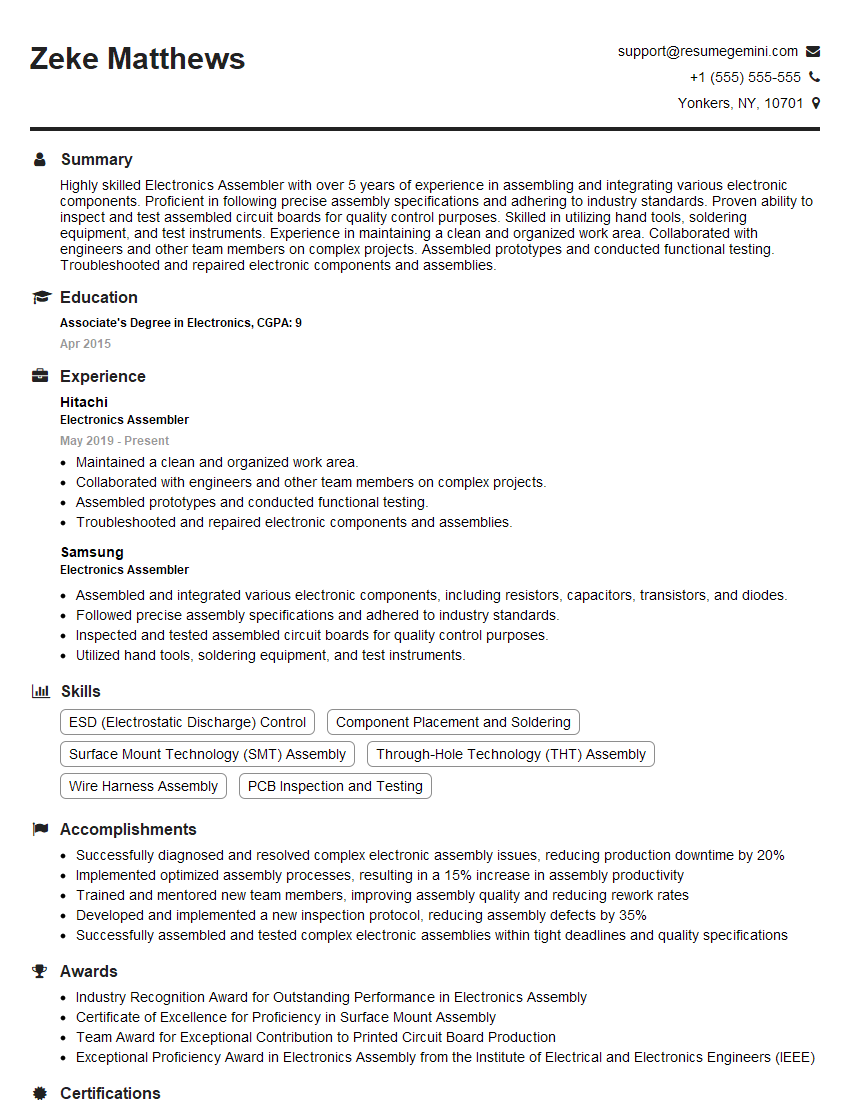
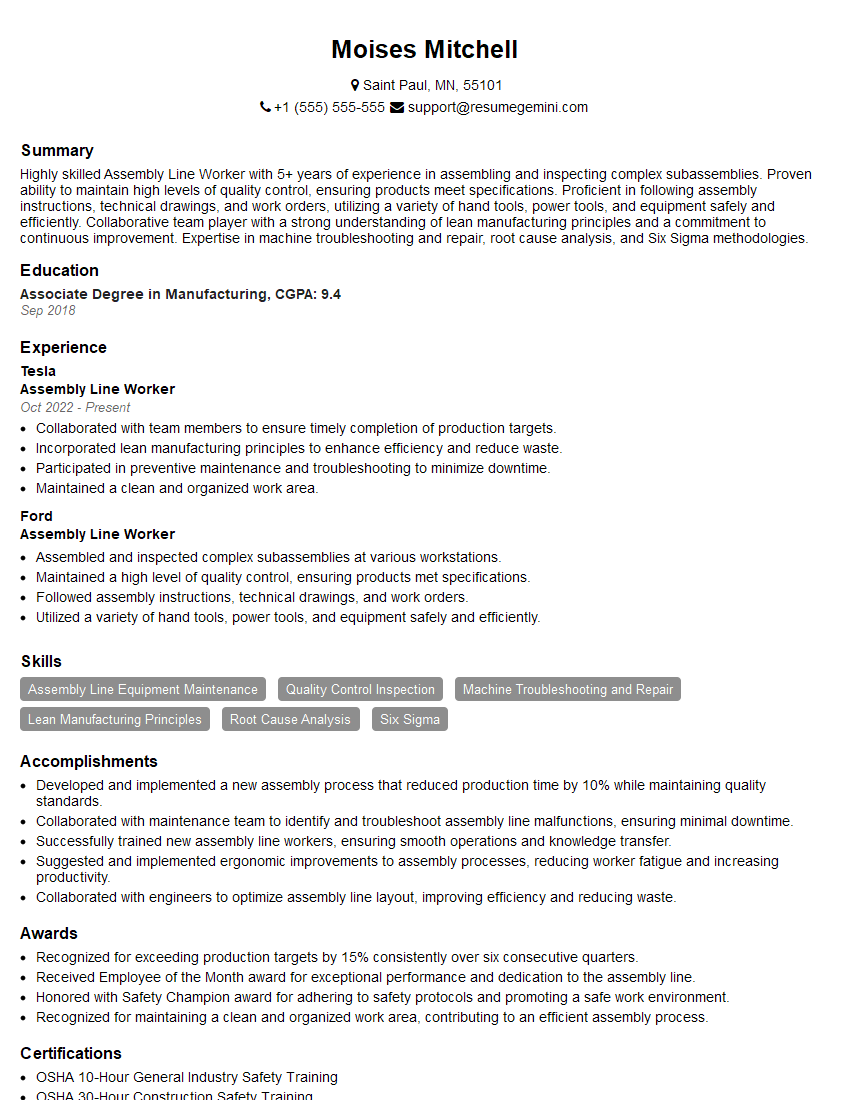
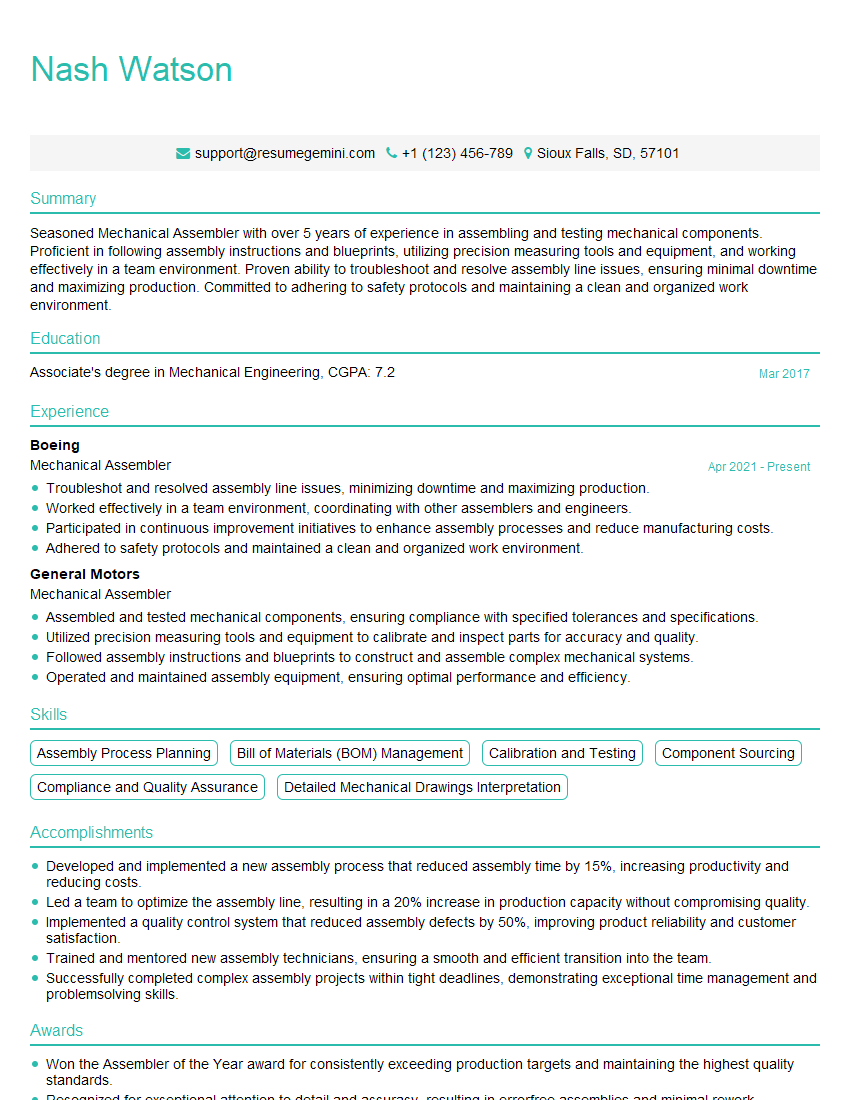
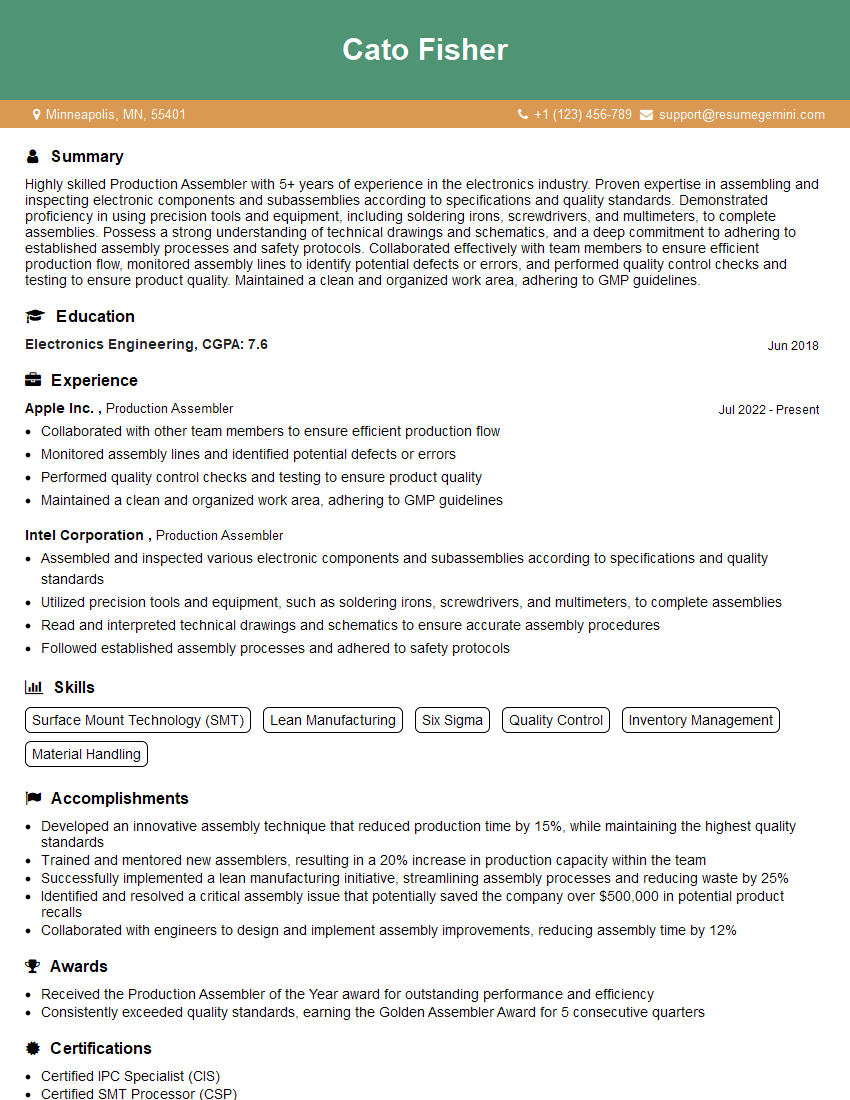
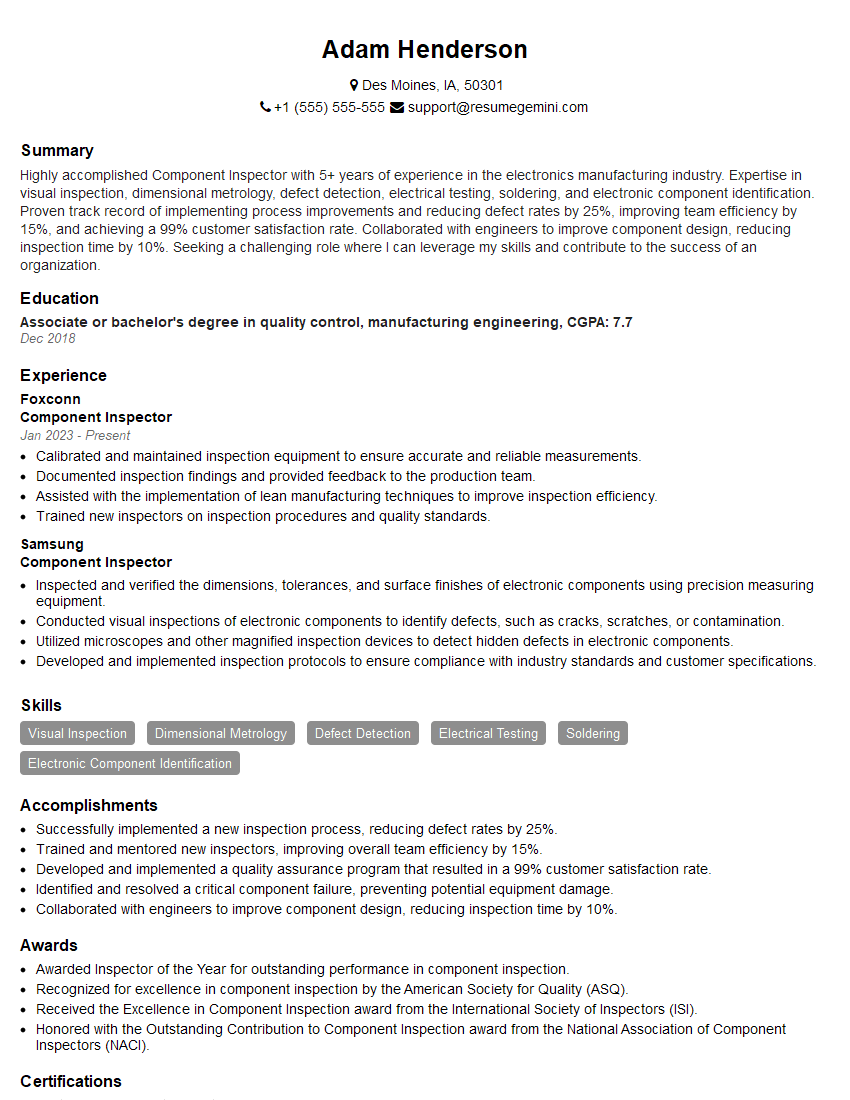
Mastering Component Assembly and Inspection opens doors to a rewarding career in manufacturing, offering opportunities for advancement and specialized skills development. To maximize your job prospects, creating a strong, ATS-friendly resume is essential. ResumeGemini is a trusted resource to help you build a professional resume that highlights your skills and experience effectively. Examples of resumes tailored to Component Assembly and Inspection are available to guide you through the process.
Explore more articles
Users Rating of Our Blogs
Share Your Experience
We value your feedback! Please rate our content and share your thoughts (optional).
What Readers Say About Our Blog
Hi, I’m Jay, we have a few potential clients that are interested in your services, thought you might be a good fit. I’d love to talk about the details, when do you have time to talk?
Best,
Jay
Founder | CEO
