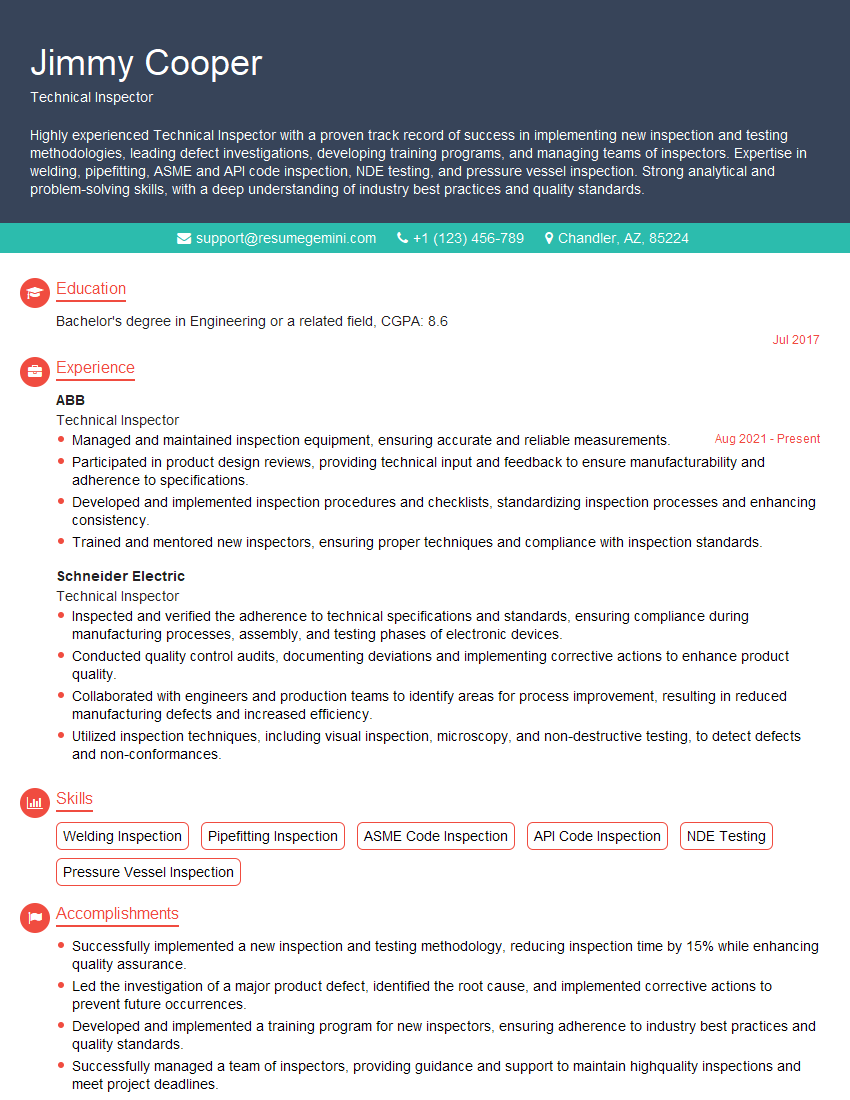
Interviews are opportunities to demonstrate your expertise, and this guide is here to help you shine. Explore the essential Inspection and diagnosis interview questions that employers frequently ask, paired with strategies for crafting responses that set you apart from the competition.
Questions Asked in Inspection and diagnosis Interview
Q 1. Explain the difference between preventative and corrective maintenance.
Preventative maintenance focuses on preventing equipment failure through regular inspections and scheduled servicing. Think of it like getting your car serviced regularly – changing the oil, rotating tires, etc., to avoid major breakdowns down the line. Corrective maintenance, on the other hand, addresses problems after they occur. This is like fixing a flat tire after it’s already happened. It’s reactive rather than proactive.
- Preventative Maintenance Example: Regularly lubricating machinery, conducting visual inspections for wear and tear, and replacing parts before they fail.
- Corrective Maintenance Example: Repairing a broken pump after it malfunctions, replacing a faulty circuit board after a system crash.
The key difference lies in the timing of intervention. Preventative maintenance aims to minimize downtime and extend equipment lifespan, while corrective maintenance deals with immediate issues, often at a higher cost and with greater disruption.
Q 2. Describe your experience with various diagnostic tools and techniques.
Throughout my career, I’ve utilized a wide array of diagnostic tools and techniques, adapting my approach based on the specific equipment and situation. This includes:
- Infrared thermography: Detecting overheating components, a common precursor to failure in electrical and mechanical systems. I’ve used this successfully to pinpoint a failing motor bearing before it caused catastrophic damage.
- Vibration analysis: Identifying imbalances, misalignments, and other mechanical issues. This technique is invaluable for diagnosing problems in rotating machinery like pumps and motors.
- Ultrasonic testing: Detecting internal flaws in materials without damaging the component. This has proven essential in identifying cracks in welds or other hidden defects.
- Oil analysis: Analyzing the condition of lubricating oil to detect contaminants and wear particles indicative of impending failure. This proactive method helped us predict a gear failure in a large industrial gearbox, allowing for timely replacement and preventing a costly shutdown.
- Data Acquisition Systems (DAQ): Using sensors to monitor key performance indicators (KPIs) in real-time, providing early warnings of potential problems. For instance, we implemented a DAQ system on a production line to track vibration, temperature, and pressure, significantly improving our predictive maintenance capabilities.
Beyond these tools, I rely heavily on methodical visual inspections, coupled with my extensive knowledge of equipment operation and failure modes.
Q 3. How do you prioritize multiple inspection tasks with competing deadlines?
Prioritizing inspection tasks with competing deadlines requires a systematic approach. I typically utilize a risk-based prioritization matrix, considering factors such as:
- Criticality of the equipment: Equipment critical to production takes precedence over less critical systems. Imagine a power generator vs. a lighting system in a manufacturing facility.
- Probability of failure: Equipment showing signs of wear or operating outside its normal parameters needs immediate attention. For example, a machine operating above its normal temperature threshold needs immediate inspection.
- Consequences of failure: Equipment failure leading to safety hazards or significant production losses needs immediate action.
- Time sensitivity: Deadlines dictate urgency – some inspections may need to be expedited to meet external contractual obligations.
I use a combination of these criteria to rank inspection tasks, ensuring that the most critical and time-sensitive issues are addressed first. I often employ project management tools to track progress and manage workloads effectively.
Q 4. What are the key indicators of equipment failure?
Identifying impending equipment failure involves observing several key indicators, often subtle at first. These can be broadly categorized into:
- Performance degradation: Reduced output, increased downtime, lower efficiency, or deviations from normal operating parameters.
- Sensory changes: Unusual sounds (e.g., squealing, grinding), vibrations, smells (e.g., burning), or unusual temperature changes.
- Visual indicators: Leaks, cracks, corrosion, excessive wear, and visible damage to components.
- Data anomalies: Deviations from established baselines in key performance indicators (KPIs) monitored through data acquisition systems.
It’s crucial to establish baselines for equipment performance and to monitor these parameters continuously. Deviations from these baselines often serve as the earliest warning signs of potential failure. For example, a gradual increase in vibration frequency in a motor might indicate bearing wear, eventually leading to complete failure if left unaddressed.
Q 5. Explain your process for root cause analysis.
My approach to root cause analysis is systematic and data-driven. I typically follow a structured methodology, such as the ‘5 Whys’ technique, combined with fault tree analysis.
- Gather Data: Collect information on the problem through interviews, data logs, and visual inspections.
- Identify Symptoms: Clearly define the problem and its immediate effects.
- Ask ‘Why’: Repeatedly ask ‘why’ to uncover the underlying causes, peeling back layers of contributing factors. This often reveals the root cause.
- Develop a Fault Tree: Visualize the relationships between contributing factors and the root cause. This helps to identify multiple causes and their interdependencies.
- Verify the Root Cause: Validate the identified root cause by testing assumptions and ensuring it aligns with all available data.
- Develop Corrective Actions: Propose effective solutions to address the root cause and prevent recurrence.
This structured approach helps to avoid focusing on symptoms and instead pinpoints the fundamental issue. For example, if a pump fails, simply replacing the pump doesn’t solve the problem if the cause was excessive vibration due to misalignment. My analysis will target the misalignment as the root cause, preventing future failures.
Q 6. Describe a time you had to troubleshoot a complex technical issue.
During an inspection of a large industrial chiller, we experienced a complete system shutdown. Initial diagnostics pointed to a compressor failure, but after replacing the compressor, the problem persisted. Using infrared thermography, I discovered excessive heat buildup in the electrical control panel. Further investigation revealed a failing capacitor that was intermittently causing power surges. This surge was the root cause of the seemingly random compressor failures. Replacing the capacitor not only resolved the immediate shutdown but prevented further potential damage to the compressor and other sensitive components. This case highlighted the importance of thorough investigation and the power of leveraging multiple diagnostic tools to uncover complex problems.
Q 7. How do you ensure accuracy and reliability in your inspection reports?
Ensuring accuracy and reliability in my inspection reports is paramount. I achieve this by:
- Using calibrated equipment: Regularly calibrating all measuring instruments to maintain accuracy. This includes thermocouples, vibration meters, and other diagnostic equipment.
- Implementing standardized procedures: Following pre-defined checklists and inspection procedures to maintain consistency and avoid missed checks.
- Documenting everything: Thoroughly documenting all findings, including photographs, data logs, and detailed descriptions. Clear photographic documentation is particularly important in many situations.
- Peer review: Submitting reports for review by another experienced inspector to ensure accuracy and completeness.
- Using templates and reporting software: Using pre-designed templates ensures uniformity and completeness of reports.
- Tracking and managing data: Using computerized maintenance management systems (CMMS) to efficiently track inspection results and maintain a comprehensive history of equipment performance.
By adhering to these practices, I ensure my reports are not only reliable and accurate but also provide a consistent and valuable source of information for maintenance and management decisions.
Q 8. What safety protocols do you follow during inspections?
Safety is paramount in any inspection. My approach is built on a layered safety system, starting with a thorough pre-inspection planning phase. This involves identifying potential hazards specific to the inspection site and the equipment being used. For example, if I’m inspecting a high-voltage electrical system, I’ll ensure I have appropriate lockout/tagout procedures in place and verify the system is de-energized before commencing. I always use personal protective equipment (PPE) appropriate for the environment, which might include safety glasses, hard hats, gloves, high-visibility clothing, and hearing protection. During the inspection, I adhere strictly to all site-specific safety rules and regulations. Regular communication with my team and on-site personnel is crucial, allowing for immediate response to any unforeseen safety concerns. Following the inspection, I meticulously document all safety measures taken and any near-miss incidents, utilizing this information to improve future safety protocols.
- Risk Assessment: A comprehensive risk assessment is always performed before any inspection to identify and mitigate potential hazards.
- PPE Usage: Appropriate personal protective equipment is worn at all times.
- Emergency Procedures: Emergency procedures and contact information are readily available and understood by all personnel involved.
Q 9. How familiar are you with relevant industry standards and regulations?
I’m very familiar with a wide range of industry standards and regulations, including but not limited to ASME, API, ASTM, and relevant OSHA guidelines. My experience spans various sectors, and I tailor my approach to meet the specific requirements of each industry. For instance, when inspecting pressure vessels, I meticulously follow ASME Section VIII, Division 1 and 2 codes, ensuring that all welds, materials, and pressure relief devices are in compliance. Similarly, when dealing with pipeline inspections, I adhere strictly to API standards, focusing on corrosion detection, integrity assessment, and leak detection. Staying current with these regulations is an ongoing process. I actively participate in professional development courses and regularly review updates to codes and standards to maintain my expertise and ensure compliance.
Understanding these standards isn’t just about ticking boxes; it’s about understanding the underlying principles of safety and integrity they represent. I can explain the rationale behind specific requirements and why compliance is so crucial, which often helps bridge the gap with clients who may not be as deeply familiar with the regulations themselves.
Q 10. Describe your experience with non-destructive testing (NDT) methods.
My NDT experience is extensive and covers a variety of methods. I’m proficient in using ultrasonic testing (UT) for detecting internal flaws in materials, magnetic particle inspection (MPI) for detecting surface and near-surface cracks in ferromagnetic materials, and liquid penetrant testing (LPT) for identifying surface-breaking defects. I’ve also utilized radiographic testing (RT), employing both film and digital radiography, and eddy current testing (ECT) for detecting subsurface flaws in conductive materials. For example, during an inspection of a bridge, we used UT to assess the integrity of the welds connecting the structural members, ensuring there was no internal cracking. In another project involving a pipeline inspection, we employed both MPI and ECT to identify corrosion and potential weaknesses along the pipeline’s length.
The choice of NDT method depends heavily on the material, the type of flaw anticipated, and the accessibility of the component. I always consider these factors carefully before selecting the most appropriate technique and interpret the results within the context of the specific application.
Q 11. How do you interpret and analyze data from diagnostic tools?
Interpreting data from diagnostic tools requires a combination of technical expertise and critical thinking. It’s not simply about reading numbers; it’s about understanding what those numbers represent in the context of the inspected item and the overall system. For instance, if I’m analyzing data from a vibration analysis tool, I’d look for trends and patterns indicating potential bearing wear, imbalance, or misalignment. I would cross-reference this data with other inspection findings, such as visual observations and temperature measurements, to build a comprehensive picture of the asset’s condition. Similarly, with ultrasonic testing data, I interpret the waveforms and A-scan displays, looking for indications of flaws like cracks, porosity, or inclusions. My process involves careful comparison against baseline data and relevant acceptance criteria defined by industry standards or client specifications. I frequently use software tools to process and visualize the data, which enhances accuracy and efficiency in my analysis.
Q 12. How do you communicate technical information to non-technical audiences?
Communicating technical information to non-technical audiences is a crucial skill. My approach focuses on clear, concise language, avoiding unnecessary jargon. I use analogies and visual aids like diagrams and photos to illustrate complex concepts. For example, instead of saying ‘the weld showed significant attenuation in the ultrasonic testing,’ I might explain it as ‘the ultrasound showed a weak spot in the weld, like a crack in a ceramic mug.’ I also tailor my communication style to the audience’s level of understanding. A presentation to a board of directors will differ significantly from a conversation with a maintenance crew. Active listening and soliciting questions are essential to ensuring the audience comprehends the information and can make informed decisions based on my findings. I always provide a summary of key findings and recommendations in a clear and easily digestible format.
Q 13. What is your experience with various types of inspection equipment?
I have extensive experience with a broad range of inspection equipment, including ultrasonic flaw detectors, magnetic particle testing equipment, liquid penetrant testing kits, radiographic systems (both film and digital), eddy current testing equipment, infrared cameras for thermal imaging, vibration analyzers, and various types of borescopes. I’m comfortable using both handheld and automated inspection tools. My familiarity extends beyond basic operation; I understand the underlying principles of how these tools work, which enables me to troubleshoot issues, optimize settings for specific applications, and interpret data accurately. For example, I am skilled at optimizing ultrasonic testing parameters to enhance defect detection in various materials and geometries. I’m also proficient in using specialized software for data analysis and reporting.
Q 14. Explain your approach to documenting inspection findings.
Detailed and accurate documentation is critical. My approach involves a multi-faceted documentation strategy. Firstly, I use checklists during the inspection to ensure thoroughness and consistency. I then create detailed reports that include all relevant information, such as the date and time of the inspection, the location, the equipment inspected, the inspection methods used, and the findings. Photographs, videos, and schematics are included to support the written report. For quantitative data, I use tables and graphs to present findings clearly. All identified defects are documented with their location, size, and severity, along with recommended actions. The reports are formatted for clarity and readability, and I always provide a summary of key findings and recommendations at the beginning. This ensures that the client can quickly understand the critical issues and make informed decisions. I retain all documentation according to company policy and applicable regulations for future reference and auditing purposes.
Q 15. How do you handle disagreements or conflicting information during an inspection?
Conflicting information is a common challenge in inspections. My approach involves a systematic process of verification and documentation. First, I carefully document all conflicting observations, noting the source and any supporting evidence. Then, I employ several strategies to resolve the discrepancies. This might include cross-referencing data from multiple sources (e.g., comparing sensor readings with visual inspections), consulting relevant standards and codes, or seeking clarification from subject matter experts. If the conflict remains unresolved, I clearly state the discrepancy in my report, outlining the different findings and their potential implications. This ensures transparency and allows for informed decision-making by stakeholders.
For example, during a structural inspection of a bridge, I once encountered conflicting data from a load test and a visual assessment of a particular girder. The load test suggested minimal stress, while the visual inspection showed signs of potential cracking. I documented both, investigated further using ultrasonic testing, and discovered that the cracking was superficial, not compromising structural integrity. The final report clearly detailed both findings and the resolution, demonstrating a thorough and objective approach.
Career Expert Tips:
- Ace those interviews! Prepare effectively by reviewing the Top 50 Most Common Interview Questions on ResumeGemini.
- Navigate your job search with confidence! Explore a wide range of Career Tips on ResumeGemini. Learn about common challenges and recommendations to overcome them.
- Craft the perfect resume! Master the Art of Resume Writing with ResumeGemini’s guide. Showcase your unique qualifications and achievements effectively.
- Don’t miss out on holiday savings! Build your dream resume with ResumeGemini’s ATS optimized templates.
Q 16. Describe a time you identified a potential safety hazard during an inspection.
During an inspection of a manufacturing plant, I discovered a significant safety hazard involving exposed wiring near a high-pressure water line. The wiring was not properly insulated, and its proximity to the water line presented a clear risk of electric shock. This was particularly concerning because the area was frequently accessed by maintenance personnel. I immediately documented the hazard with photographs and detailed descriptions, noting its potential consequences, including electrical shock, fire, or equipment malfunction. I then alerted the plant manager, recommending immediate corrective actions, including proper insulation of the wiring and rerouting to eliminate the proximity hazard. A follow-up inspection confirmed that the hazard had been mitigated.
Q 17. How do you stay current with new technologies and best practices in inspection and diagnosis?
Staying current in the field of inspection and diagnosis is crucial. I actively participate in professional development activities, including attending industry conferences and workshops, reading peer-reviewed journals, and engaging in online continuing education courses. I also maintain memberships in relevant professional organizations, allowing access to the latest standards and best practices. Furthermore, I leverage online resources and industry-specific publications to stay informed about advancements in technologies such as drone inspections, thermal imaging, and advanced data analytics techniques used in predictive maintenance.
For instance, I recently completed a course on the application of AI in defect detection, allowing me to better interpret data from automated inspection systems. This helps me become more efficient and improve accuracy in my assessments.
Q 18. Explain your experience with predictive maintenance techniques.
I have extensive experience applying predictive maintenance techniques to optimize equipment reliability and prevent unexpected failures. This involves using various methods to analyze data from sensors, historical records, and other sources to predict when equipment is likely to fail. My experience includes working with vibration analysis, oil analysis, and thermal imaging to assess the condition of rotating machinery, such as pumps, motors, and compressors. I also utilize software tools to model equipment degradation and predict potential failure points. This allows for proactive maintenance, reducing downtime and optimizing maintenance schedules, thereby maximizing equipment lifespan and minimizing repair costs.
For example, in a power generation facility, I used vibration analysis to identify an imbalance in a turbine before it resulted in a catastrophic failure. This early detection enabled a timely maintenance intervention, avoiding substantial downtime and production losses.
Q 19. What is your approach to managing inspection schedules and reporting?
Managing inspection schedules and reporting requires a structured approach. I utilize a combination of scheduling software and spreadsheets to plan and track inspections. The scheduling takes into account factors like equipment criticality, regulatory requirements, and historical failure rates. I customize the inspection schedule to reflect individual asset needs. Following an inspection, I prepare comprehensive reports that clearly document findings, including any identified deficiencies, recommendations for corrective action, and estimated costs. Reports are tailored to the specific audience (e.g., management, regulatory bodies), using clear and concise language. Digital reporting and data management systems are incorporated whenever possible to improve efficiency and maintain a centralized repository of inspection information.
Q 20. Describe your experience with different types of inspection reports and documentation.
My experience encompasses a range of inspection reports, including visual inspection reports, non-destructive testing (NDT) reports, and condition assessment reports. Visual inspection reports document observations made during a visual examination, while NDT reports detail the results of techniques such as ultrasonic testing, radiographic testing, or magnetic particle inspection. Condition assessment reports provide a holistic overview of an asset’s condition, integrating data from multiple inspection methods. I am proficient in generating reports that comply with relevant standards and regulations, and I can tailor the level of detail and format to the specific needs of each project. All documentation adheres to company and industry standards for clarity, completeness, and traceability. Digital reporting and database systems are used whenever applicable.
Q 21. How do you handle unexpected problems or challenges during an inspection?
Unexpected problems are part of the inspection process. My approach involves a calm, methodical response. First, I assess the situation to understand the nature and scope of the problem. This might involve additional investigations or consultations with colleagues. Then, I determine the immediate actions required to address any safety concerns and mitigate further damage or risk. Next, I adapt the inspection plan accordingly, focusing on the identified problem and ensuring that all relevant aspects are addressed. Lastly, I thoroughly document all unexpected issues, the actions taken, and their impact on the inspection results. Communication with stakeholders is crucial, ensuring everyone is informed of the changes and their potential impact on schedules or budgets.
For example, during a pipeline inspection, I encountered an unexpected blockage requiring specialized equipment for clearance. This required a temporary halt to the planned work, necessitating a re-evaluation of the timeline and communication with the project manager. Proper documentation of the unexpected event and the consequent actions ensures transparency and accountability.
Q 22. How do you determine the severity of a detected defect or malfunction?
Determining the severity of a defect involves a systematic approach considering several factors. It’s not just about the defect itself, but also its potential impact on the system’s overall functionality, safety, and operational costs.
- Safety Risk: Does the defect pose an immediate safety hazard? For example, a crack in a pressure vessel is far more serious than a minor scratch on a casing. We use risk matrices that assess the likelihood and severity of potential consequences.
- Functionality Impact: How significantly does the defect reduce the system’s performance or ability to meet its intended purpose? A malfunctioning sensor might only slightly reduce accuracy, while a broken critical component could cause complete system failure.
- Operational Impact: Will the defect cause downtime, reduce efficiency, or increase maintenance costs? A minor leak might require only periodic monitoring, while a major leak necessitates immediate repair and significant downtime.
- Regulatory Compliance: Does the defect violate any safety regulations or industry standards? Non-compliance can lead to hefty fines and legal issues.
We often use a severity rating system (e.g., 1-5, where 5 is critical) to categorize defects, ensuring that critical issues are addressed immediately while less urgent ones are scheduled appropriately. For example, I once assessed a small leak in a hydraulic system. While not immediately critical, the potential for escalation and eventual system failure led to its classification as a medium-severity issue requiring prompt attention within a defined timeframe.
Q 23. What is your experience with calibration procedures for inspection equipment?
Calibration is paramount to ensuring the accuracy and reliability of inspection equipment. My experience encompasses various calibration methods, from simple visual checks to sophisticated electronic calibrations using traceable standards.
I’m proficient in using various calibration equipment, such as digital multimeters, pressure gauges, and temperature sensors, and I’m familiar with the importance of maintaining detailed calibration records. These records are essential for demonstrating compliance with standards and regulatory requirements, and for troubleshooting calibration issues if they arise. A specific example includes calibrating ultrasonic thickness gauges – a vital part of my work ensuring the integrity of pipelines. Regular calibration, using certified blocks, guarantees accurate measurements, preventing costly errors that could lead to safety hazards or unnecessary replacements.
I follow strict procedures, including pre-calibration checks, calibration using traceable standards, post-calibration checks, and generating calibration certificates. We adhere to ISO 9001 guidelines, which ensure traceability and validity of our calibration processes.
Q 24. How do you ensure the quality and integrity of your inspection processes?
Ensuring quality and integrity in inspection processes involves a multi-faceted approach.
- Standardized Procedures: We use documented, standardized procedures for every inspection type, ensuring consistency and repeatability. These procedures cover equipment preparation, inspection techniques, data recording, and reporting.
- Qualified Personnel: Our inspectors undergo rigorous training and certification to ensure they possess the necessary skills and knowledge. Regular competency assessments confirm their ongoing proficiency.
- Equipment Maintenance and Calibration: As previously mentioned, regular calibration and preventative maintenance of all inspection equipment is critical. This ensures accuracy and reliability of measurements and prevents unexpected equipment failure during inspection.
- Quality Audits: Internal and external quality audits are performed regularly to identify areas for improvement and ensure compliance with standards and regulations. These audits cover the entire inspection process, from planning and execution to data analysis and reporting.
- Data Management: A robust system for managing inspection data is crucial. This includes secure storage, clear labeling, and easy access for review and analysis. This allows us to track trends, identify potential issues early, and continuously improve our processes.
For instance, in a recent project inspecting welds, we implemented a new digital imaging system to record and analyze weld quality. This automated part of the process, combined with strict adherence to our documented procedures, significantly reduced variability and improved the overall consistency and accuracy of our findings.
Q 25. Explain your understanding of different types of failure modes and their causes.
Understanding failure modes is essential for effective inspection and preventative maintenance. Failure modes describe how a component or system can fail, and their causes often stem from a combination of factors.
- Fatigue Failure: Repeated stress cycles can lead to cracks and eventual fracture. This is common in components subjected to vibration or cyclic loading, like aircraft wings or bridge structures. The cause often involves material properties and the level of cyclic stress.
- Creep Failure: Occurs under sustained high temperatures or stresses, causing gradual deformation and ultimate failure. This is a significant concern in high-temperature applications, such as power plants.
- Corrosion Failure: Chemical or electrochemical reactions degrade materials, leading to weakening and eventual failure. Moisture, chemicals, and environmental factors can accelerate corrosion.
- Fracture Failure: Sudden, catastrophic failure due to the propagation of cracks. Brittle materials are particularly prone to this type of failure.
- Wear and Tear: Gradual degradation of material due to friction, abrasion, or erosion. This is common in moving parts such as bearings and gears.
Identifying failure modes involves careful analysis of component design, material selection, operational conditions, and historical failure data. A thorough understanding of these modes allows for better preventative maintenance strategies, design improvements, and more effective inspection methods. For example, in a refinery, we identified a pattern of corrosion failure in a specific type of pipe fitting, leading to a proactive replacement program to avoid future incidents.
Q 26. Describe your experience using Computerized Maintenance Management Systems (CMMS).
I have extensive experience using CMMS (Computerized Maintenance Management Systems), primarily for scheduling inspections, tracking maintenance activities, and managing repair requests. The systems I’ve used include [mention specific CMMS software if comfortable].
These systems are invaluable for optimizing maintenance strategies. They provide a centralized database for storing inspection reports, work orders, equipment history, and spare parts inventory. This allows for improved efficiency in scheduling preventative maintenance, identifying recurring problems, and tracking maintenance costs. Specific examples of my use include generating work orders for repairs identified during inspections, tracking the completion of these work orders, and analyzing historical data to identify potential maintenance improvements.
I’m adept at utilizing CMMS features for reporting and data analysis. I’ve used this data to identify trends in equipment failure, optimize maintenance schedules, and reduce downtime. For example, by analyzing historical data on pump failures, I identified a pattern of failures related to specific operating conditions, leading to a change in the operating procedures that significantly reduced the frequency of failures.
Q 27. How do you prioritize repairs based on urgency and impact?
Prioritizing repairs involves a careful assessment of urgency and impact. I typically use a matrix that considers both factors. Urgency is determined by the immediate risk posed by the defect, while impact assesses the consequences of not addressing the defect immediately.
A simple prioritization scheme could be:
- Critical: Immediate safety hazard or complete system shutdown. Requires immediate action.
- High: Significant reduction in functionality, potential safety hazard, or high operational impact. Requires prompt attention.
- Medium: Minor reduction in functionality or potential for escalation. Can be scheduled for routine maintenance.
- Low: Minor cosmetic defects or issues with minimal impact on operation. Can be deferred.
For instance, I once had to prioritize repairs during a major plant outage. A failing cooling pump was critical (immediate shutdown risk), while a minor leak in a non-critical line was low priority (could be repaired during the next scheduled maintenance). Clearly understanding the risk and impact ensures the most effective allocation of resources and prevents potentially catastrophic failures.
Q 28. Describe your experience with quality control systems and procedures.
My experience with quality control systems revolves around ensuring that our inspection processes are reliable, repeatable, and meet or exceed industry standards. This includes adherence to ISO 9001 standards, which provides a framework for continuous improvement.
Key aspects include:
- Document Control: Maintaining up-to-date, controlled documents covering procedures, work instructions, and quality records. This ensures everyone is working with the latest, approved versions.
- Inspection Planning: Detailed planning of inspections to ensure thorough coverage and efficient resource utilization. Risk assessment plays a crucial role in this process.
- Data Analysis: Analyzing inspection data to identify trends, root causes of defects, and opportunities for process improvement. Statistical Process Control (SPC) charts are helpful for trend analysis.
- Corrective Actions: Establishing a system for addressing non-conformances and implementing corrective actions to prevent recurrence. This includes thorough root cause analysis.
- Audits: Regular internal and external audits to assess compliance with standards and identify areas for improvement. This may include process audits, product audits, and management system audits.
In a past role, I implemented a new quality control system which reduced inspection errors by 15% and improved efficiency by 10%, directly impacting our overall project delivery timelines and cost effectiveness. This was achieved through a combination of improved training, more rigorous calibration processes, and streamlined data reporting.
Key Topics to Learn for Inspection and Diagnosis Interview
- Non-Destructive Testing (NDT) Methods: Understanding various NDT techniques like visual inspection, ultrasonic testing, radiographic testing, magnetic particle inspection, and liquid penetrant testing. Practical application includes explaining the strengths and limitations of each method in different scenarios.
- Fault Diagnosis and Root Cause Analysis: Mastering systematic approaches to identify the root cause of failures, including fault tree analysis and 5 Whys. Practical application involves describing how to diagnose a system malfunction based on collected data and observations.
- Data Analysis and Interpretation: Proficiency in interpreting data from various NDT methods and other diagnostic tools. This includes understanding statistical analysis, data visualization, and trend identification. Practical application: explaining how to present complex data findings clearly and concisely.
- Safety Procedures and Regulations: Deep knowledge of relevant safety regulations and procedures for inspection and diagnosis activities in your specific industry. Practical application: outlining safety protocols for a given inspection task.
- Reporting and Documentation: Ability to create clear, concise, and accurate inspection reports. Practical application: describing the components of a thorough inspection report and how to communicate findings effectively to stakeholders.
- Specific Industry Standards and Codes: Familiarity with relevant industry standards and codes of practice pertinent to your field of expertise. Practical application: explaining how specific standards influence inspection procedures.
- Problem-Solving and Decision-Making: Demonstrating strong problem-solving skills and the ability to make informed decisions based on available data and analysis. Practical application: describing your approach to resolving a challenging diagnostic situation.
Next Steps
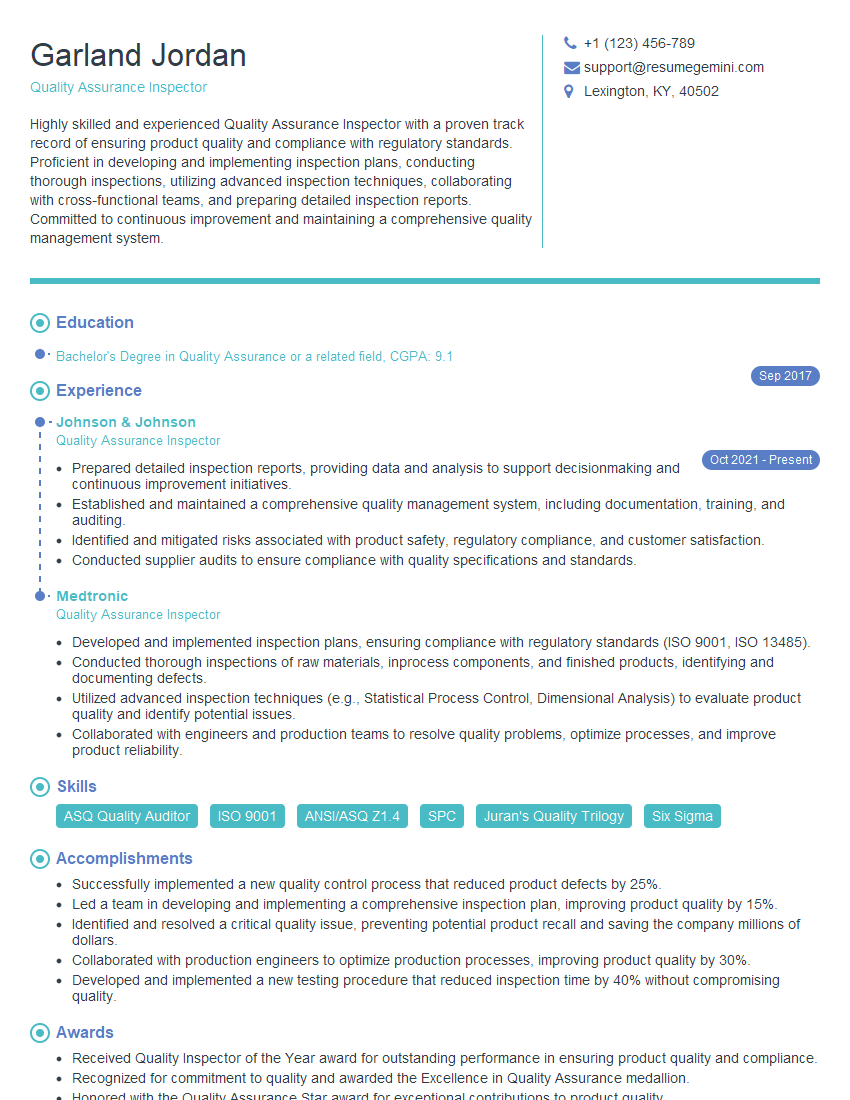
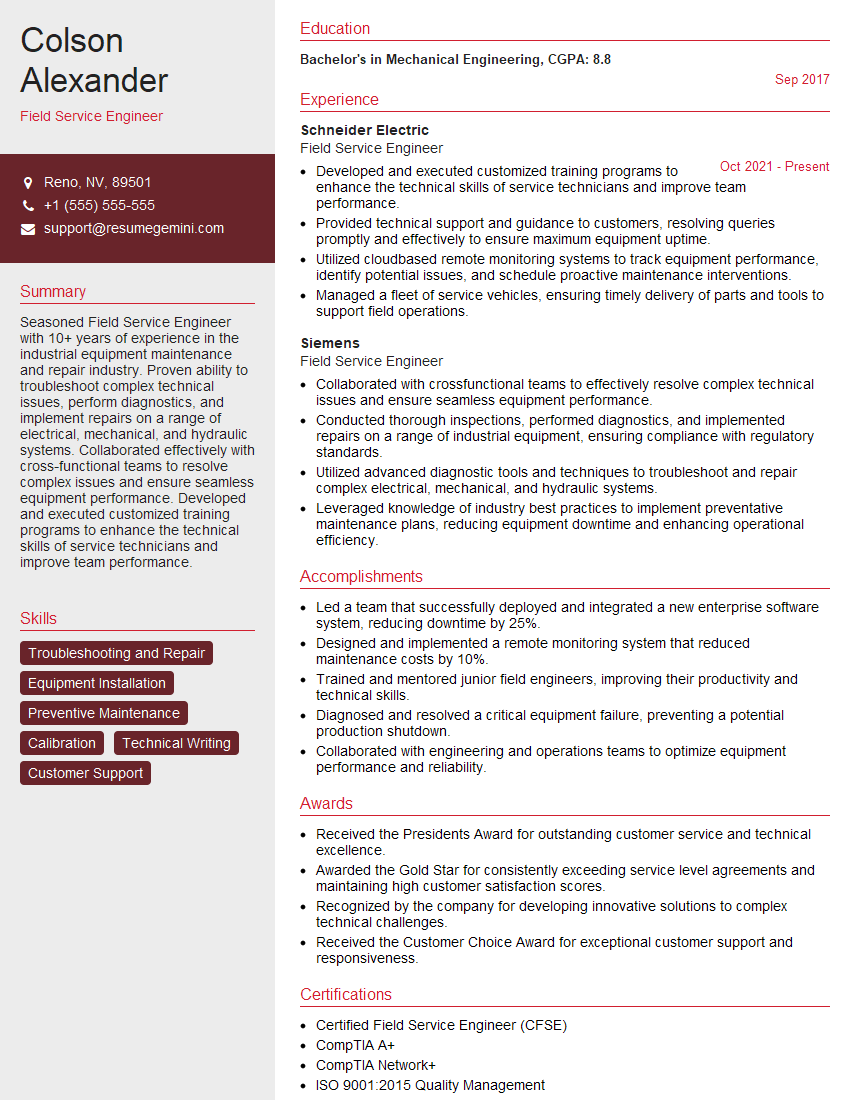
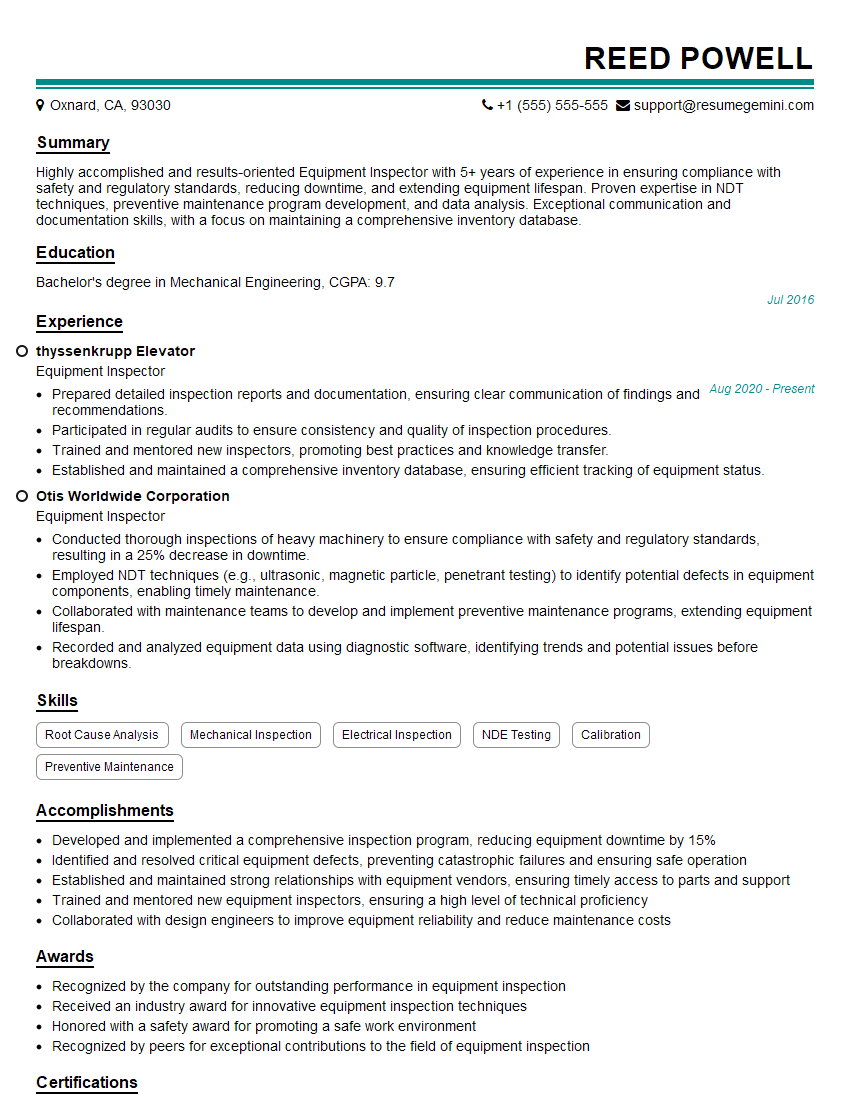
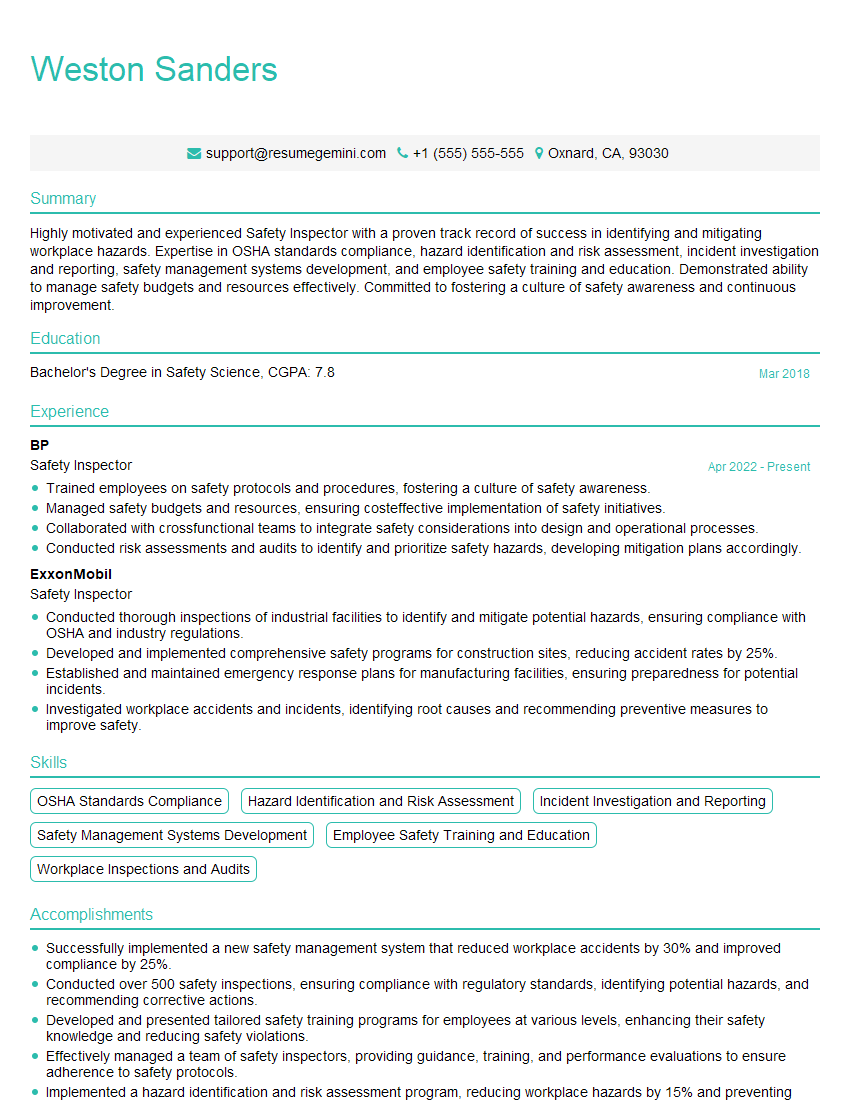
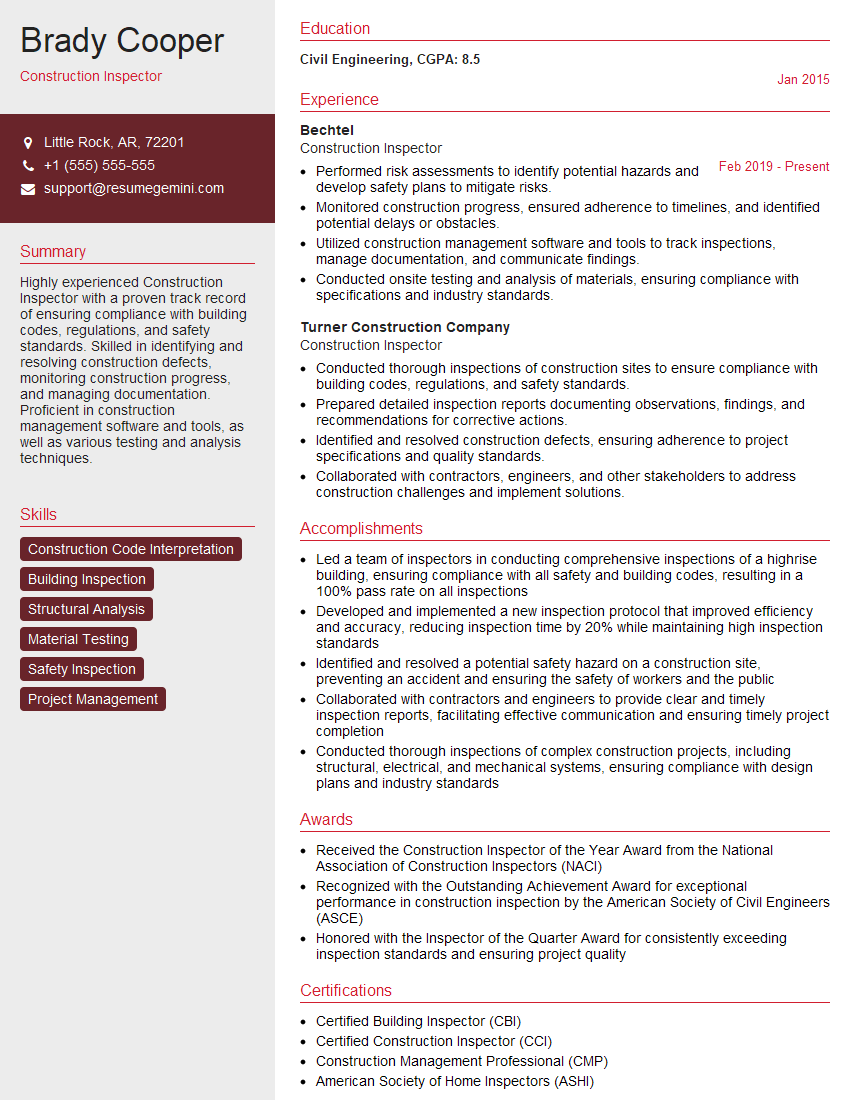
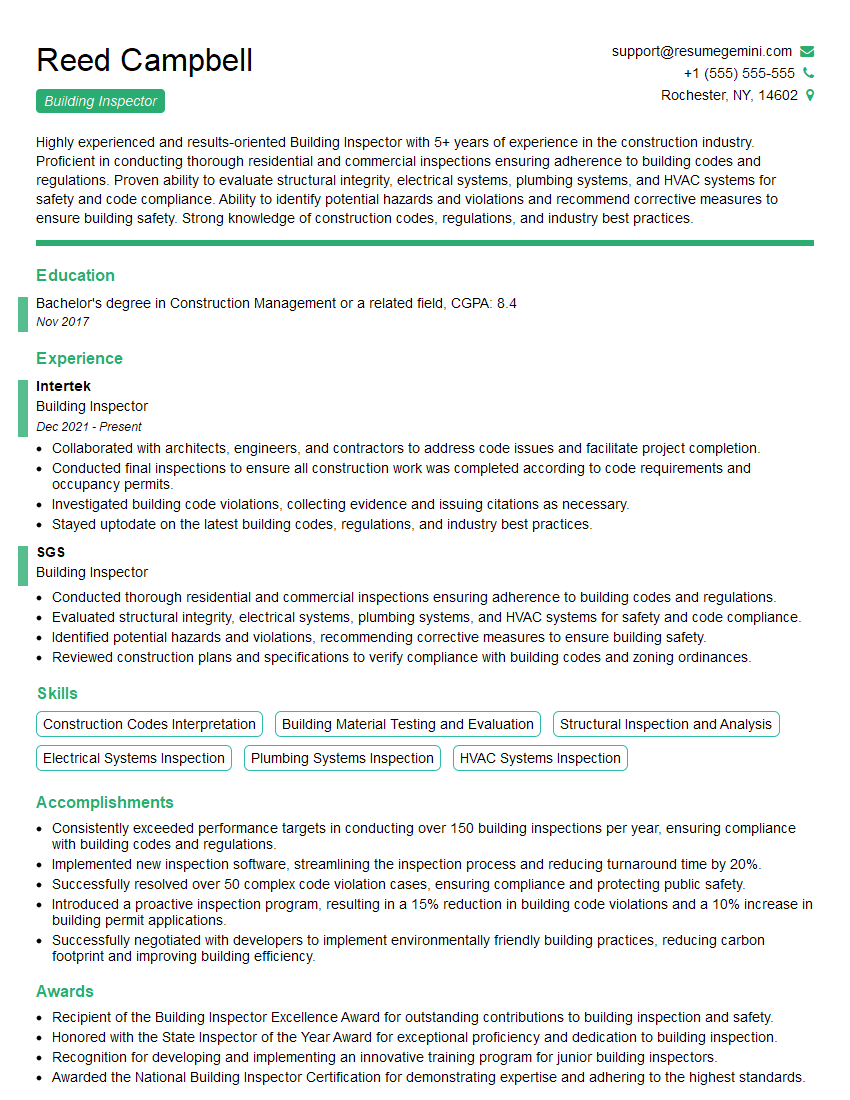
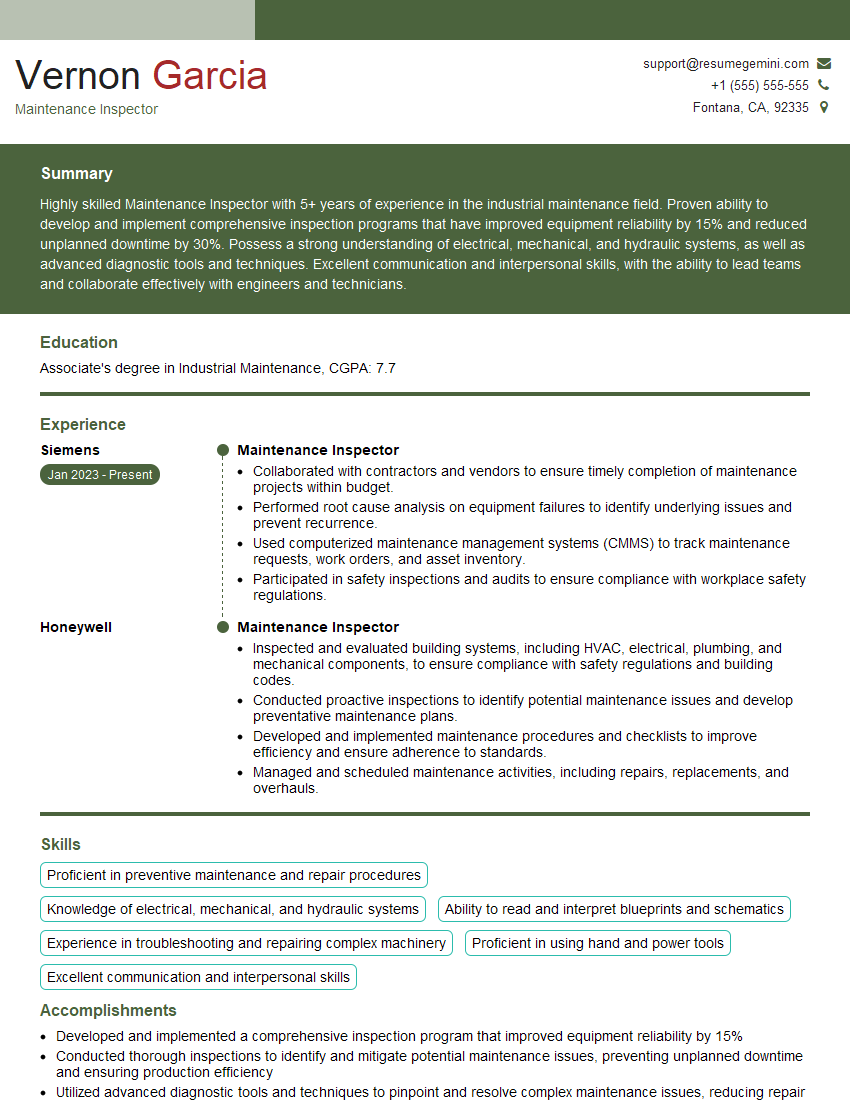
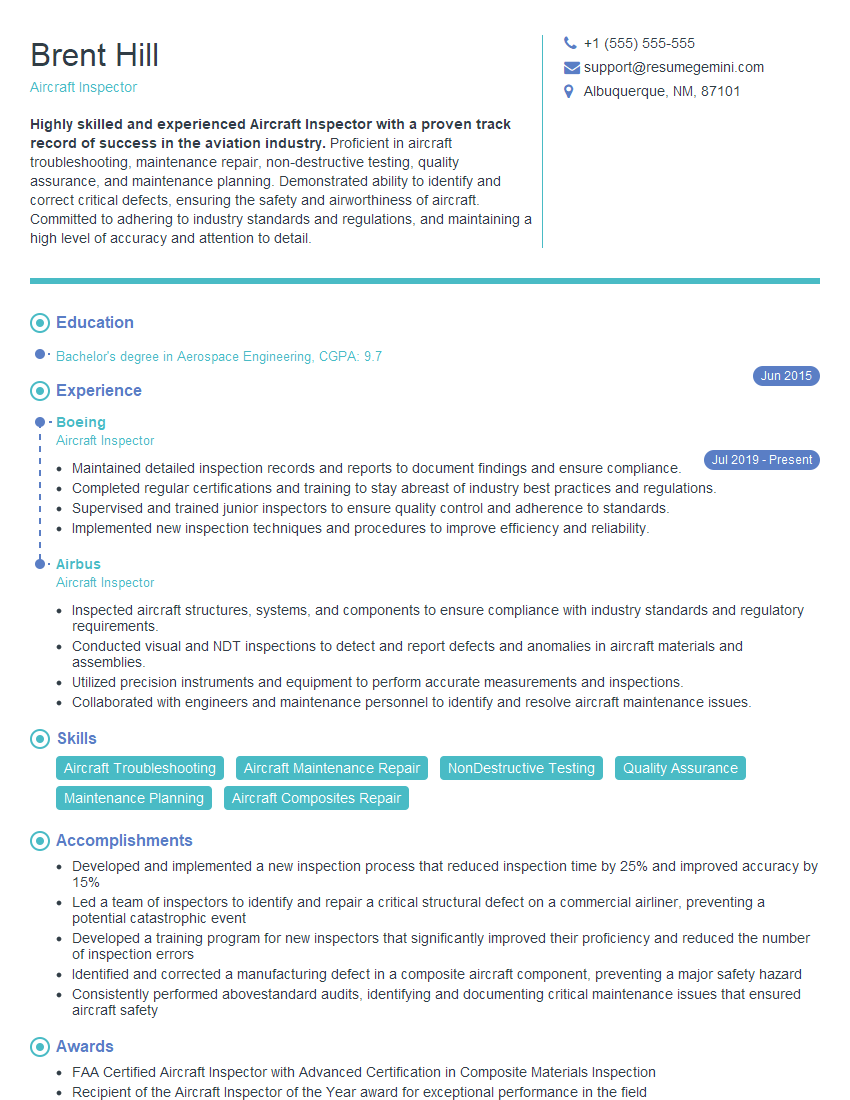
Mastering inspection and diagnosis techniques is crucial for career advancement in many high-demand fields. A strong understanding of these principles opens doors to specialized roles and increased earning potential. To maximize your job prospects, creating an ATS-friendly resume is essential. ResumeGemini is a trusted resource to help you build a professional and effective resume that highlights your skills and experience. Examples of resumes tailored to inspection and diagnosis roles are provided to guide you in creating a compelling application.
Explore more articles
Users Rating of Our Blogs
Share Your Experience
We value your feedback! Please rate our content and share your thoughts (optional).
What Readers Say About Our Blog
Hi, I’m Jay, we have a few potential clients that are interested in your services, thought you might be a good fit. I’d love to talk about the details, when do you have time to talk?
Best,
Jay
Founder | CEO
