Cracking a skill-specific interview, like one for Metalworking Machinery, requires understanding the nuances of the role. In this blog, we present the questions you’re most likely to encounter, along with insights into how to answer them effectively. Let’s ensure you’re ready to make a strong impression.
Questions Asked in Metalworking Machinery Interview
Q 1. Explain the difference between CNC milling and turning.
CNC milling and turning are both subtractive manufacturing processes using computer numerical control (CNC) machines, but they differ significantly in how they remove material.
CNC Milling: In milling, a rotating cutting tool removes material from a workpiece by moving across its surface. Think of it like carving with a motorized chisel. The workpiece is typically stationary, or only moves in specific directions, while the cutting tool performs the primary motion. This allows for the creation of complex shapes, including slots, pockets, and 3D features.
CNC Turning: In turning, a rotating workpiece is shaped by a stationary or slowly moving cutting tool. Imagine a lathe turning a piece of wood into a cylinder. The tool removes material from the rotating workpiece’s surface. This process is best suited for creating cylindrical shapes, such as shafts, pins, and threaded components.
In short: Milling is like carving, removing material from the surface of a largely stationary workpiece, while turning is like spinning a workpiece and shaving material off it.
Q 2. Describe your experience with various cutting tools (e.g., drills, taps, end mills).
My experience with cutting tools encompasses a wide range of applications. I’ve extensively used various drills, taps, and end mills, including:
- Drills: From twist drills for general-purpose hole making to specialized drills like step drills and countersinks, each suited for different materials and hole sizes. I’m experienced in selecting appropriate drill sizes, speeds, and feeds based on the material and desired accuracy.
- Taps: I’ve worked with various tap types – hand taps, machine taps, and spiral point taps – for creating internal threads in different materials. Understanding tap geometry and selecting the right tap for a given application is crucial to avoid breakage and ensure accurate threading.
- End Mills: My experience includes various end mill types, including ball nose, square, and V-shaped end mills. I understand their specific applications, including 2D and 3D profiling, pocketing, and slotting. Selecting the appropriate geometry and cutting parameters is key to achieving surface finish and dimensional accuracy.
I’ve consistently prioritized selecting the correct tool for the job, considering factors such as material hardness, required tolerance, and desired surface finish. This involves carefully analyzing the job requirements and choosing the appropriate tool material and geometry to ensure efficiency and prevent tool failure.
Q 3. How do you select the appropriate cutting speed and feed rate for a specific material?
Selecting the appropriate cutting speed (Vc) and feed rate (f) is critical for efficient machining and tool life. The process involves considering the material being machined and the selected cutting tool.
Cutting Speed (Vc): This refers to the surface speed of the cutting tool. A higher cutting speed generally leads to increased material removal rate but also increases tool wear. It’s typically calculated using the formula: Vc = (π * D * N) / 1000, where D is the tool diameter in mm and N is the rotational speed in rpm.
Feed Rate (f): This is the rate at which the tool advances into the workpiece. A higher feed rate increases material removal rate, but also increases cutting forces and tool wear.
Material Selection: Material properties such as hardness, toughness, and machinability significantly influence cutting speed and feed rate. Harder materials generally require lower cutting speeds and feed rates to prevent tool breakage. Machinability data charts and manufacturer recommendations are used to determine appropriate values for specific material-tool combinations. For example, machining aluminum allows for higher speeds and feeds compared to machining hardened steel.
Tool Selection: The tool material (e.g., carbide, high-speed steel) also plays a role. Carbide tools can generally withstand higher cutting speeds than high-speed steel tools.
Trial and Error (Optimization): While calculations provide a starting point, optimizing cutting parameters often requires trial and error. Monitoring tool wear, surface finish, and dimensional accuracy allows for adjustments to find the optimal balance between productivity and tool life.
Q 4. What are the common causes of tool wear and how do you address them?
Tool wear is an inevitable part of machining, but understanding its causes allows for mitigation strategies. Common causes include:
- Abrasive Wear: This is caused by the abrasive action of the workpiece material on the cutting edge of the tool. It leads to gradual dulling of the tool.
- Adhesive Wear: This occurs when the workpiece material adheres to the cutting tool, creating built-up edge (BUE) and eventually chipping or tearing of the cutting edge.
- Fracture: Excessive cutting forces, impacts, or flaws in the tool material can cause fracture and breakage of the cutting tool.
- Diffusion Wear: High temperatures at the tool-workpiece interface can lead to diffusion of atoms between the tool and workpiece materials, weakening the tool.
Addressing Tool Wear:
- Proper Tool Selection: Choosing the right tool material, geometry, and coating for the application is crucial.
- Optimized Cutting Parameters: Maintaining appropriate cutting speed and feed rate can significantly extend tool life.
- Regular Tool Inspection: Frequent inspection and replacement of worn tools prevents damage to the workpiece and ensures consistent quality.
- Coolant Usage: Appropriate coolant application helps control temperature, lubricate the cutting zone, and improve tool life.
- Proper Workholding: Secure workholding minimizes vibration and prevents tool breakage.
Q 5. Explain the importance of proper workholding techniques.
Proper workholding techniques are paramount for successful machining. They ensure the workpiece is held securely and accurately in place, preventing movement during machining. This prevents:
- Inaccurate machining: Movement of the workpiece can lead to dimensional inaccuracies and poor surface finish.
- Tool breakage: Vibration or collision between the tool and workpiece can damage the tool or workpiece.
- Machine damage: Workpiece movement can damage the machine’s components.
- Operator injury: Loose workpieces can cause injury to the operator.
Effective workholding involves:
- Selecting the appropriate workholding device: This depends on the workpiece’s shape, size, and material. Options include vises, chucks, clamps, fixtures, and magnetic holders.
- Secure clamping: The workpiece must be firmly clamped to prevent any movement during machining. Excessive clamping force should also be avoided to prevent workpiece deformation.
- Accurate alignment: The workpiece must be accurately aligned with the machine’s axes to ensure accurate machining.
- Vibration reduction: Minimizing vibrations through proper workholding is crucial for improving surface finish and dimensional accuracy. This often involves using rigid fixtures and minimizing overhang.
I’ve used a variety of workholding methods throughout my career, always emphasizing safety and precision.
Q 6. Describe your experience with different types of CNC programming languages (e.g., G-code).
My experience with CNC programming languages centers primarily around G-code, the most common language used in CNC machining. I am proficient in writing and interpreting G-code programs for both milling and turning applications. My expertise includes:
- G-code fundamentals: I have a solid understanding of G-code commands for motion control (G00, G01, G02, G03), tool changes (M06), spindle speed control (S), and coolant control (M08, M09).
- Coordinate systems: I’m comfortable working with absolute and incremental coordinate systems and can easily convert between them.
- Program structuring: I can create well-structured G-code programs using subroutines and macros to improve code efficiency and readability. This includes utilizing canned cycles for repetitive operations.
- Toolpath generation: While I utilize CAM software for complex toolpaths, I also have the skill to manually write and edit G-code for simpler operations. I understand the importance of optimizing toolpaths for efficiency and surface finish.
- Error detection and correction: I have experience in debugging G-code programs and identifying and correcting errors. This typically involves using G-code simulators and carefully analyzing code for inconsistencies.
I’ve used G-code to program various CNC machines, creating programs for a wide variety of parts. I am familiar with the nuances of various machine controllers and can adapt my programming style to meet their specific requirements.
Q 7. How do you troubleshoot common CNC machine errors?
Troubleshooting CNC machine errors requires a systematic approach. My strategy involves:
- Safety First: Always ensure the machine is powered down and locked out before any troubleshooting begins.
- Review Alarm Messages: The machine’s control system usually provides alarm messages indicating the source of the problem.
- Check Simple Things First: Begin by checking basic things, such as power supply, coolant flow, and emergency stops. Often, the problem is simpler than it seems.
- Inspect the Workpiece and Tool: Ensure the workpiece is securely held and that the tool is properly installed and not damaged.
- Verify Program: Carefully review the CNC program for errors in G-code syntax, incorrect coordinate values, or incorrect tool selection. Simulation software can be invaluable here.
- Check Machine Sensors: Verify that limit switches, proximity sensors, and other sensors are functioning correctly. A faulty sensor can cause the machine to malfunction.
- Mechanical Inspection: If the problem persists, a more thorough mechanical inspection may be needed. This might involve checking for loose parts, lubrication issues, or mechanical wear and tear.
- Seek Expert Help: If the problem is beyond my expertise, I will consult with more experienced technicians or the machine manufacturer.
Throughout my experience, I’ve encountered various errors such as tool collisions, axis misalignment issues, and program errors. My methodical approach, coupled with a strong understanding of CNC machines, has enabled me to effectively resolve these issues.
Q 8. What safety precautions do you follow when operating metalworking machinery?
Safety is paramount when operating metalworking machinery. My approach is based on a layered safety system, encompassing pre-operational checks, proper personal protective equipment (PPE), and mindful operation. Before starting any machine, I meticulously inspect it for any damage, loose parts, or leaks. This includes checking guards are securely in place, tooling is correctly fitted and sharpened, and all safety interlocks are functioning.
PPE is non-negotiable; this always includes safety glasses or a face shield, hearing protection, and appropriate clothing – no loose jewelry or clothing that could get caught in moving parts. Depending on the specific operation, I might also wear gloves, a respirator, or a welding shield. For example, when working with a lathe, I ensure the chuck is securely fastened, the workpiece is firmly held, and the speed is appropriate for the material and tool being used. I never operate machinery when tired or under the influence of drugs or alcohol. Finally, I always maintain a clean and organized workspace to prevent accidents.
- Pre-operational checks: Inspecting the machine for damage, loose parts, or leaks.
- PPE: Utilizing safety glasses, hearing protection, appropriate clothing, and other safety gear as necessary.
- Safe operating procedures: Following established protocols for each machine, ensuring proper speed, feed rates, and material handling.
- Housekeeping: Maintaining a clean and organized workspace to prevent accidents.
Q 9. Explain the concept of GD&T (Geometric Dimensioning and Tolerancing).
Geometric Dimensioning and Tolerancing (GD&T) is a system for defining and communicating engineering tolerances. Instead of simply stating a single dimension, GD&T uses symbols and notations to specify the acceptable variation in size, form, orientation, location, and runout of features on a part. This provides a more comprehensive and unambiguous definition of part geometry, reducing ambiguity and improving the quality of manufactured parts.
For example, imagine a hole that needs to be precisely located on a plate. A simple drawing might specify the hole’s center coordinates, but it wouldn’t account for potential positional errors. GD&T would use a position symbol with a tolerance zone to define the permissible deviation of the hole’s center from its nominal location. This ensures the hole is where it needs to be, regardless of slight variations in the part’s overall dimensions. A well-defined GD&T specification simplifies manufacturing, reduces rework, and improves assembly fit.
Consider a shaft needing to fit within a housing. Traditional tolerancing might specify diameter tolerances, but GD&T could add specifications for straightness and circularity, ensuring the shaft is not only the correct diameter, but also straight and round, preventing binding or play in the assembly. This precision is especially crucial in aerospace, automotive, and medical device manufacturing where tolerances are incredibly tight.
Q 10. How do you interpret engineering drawings?
Interpreting engineering drawings is fundamental to my work. I systematically break down the drawing into its component parts. I first identify the title block, which provides crucial information such as part name, drawing number, revision level, and the scale. Then, I examine the views – orthographic projections (front, top, side) to visualize the part’s three-dimensional shape. I pay close attention to dimensions, tolerances, and notes, ensuring I understand the relationships between features. I also check for any section views or details that provide clearer representations of specific areas. Symbols like surface finish markings and GD&T notations are carefully examined to fully grasp the design intent. Often, I use a combination of tools like calipers, micrometers, and optical comparators to verify the manufactured part conforms to the drawing’s specifications. For complex assemblies, I may refer to assembly drawings that show how individual parts come together.
For example, a drawing might show a shaft with multiple diameters and keyways. I would carefully note each diameter and its tolerance, the location and size of the keyways, the surface finish requirements, and any specified material. I would then use this information to determine the appropriate machining operations and ensure the finished shaft meets the drawing’s specifications.
Q 11. Describe your experience with various measuring instruments (e.g., calipers, micrometers).
I’m proficient in using a range of precision measuring instruments, including vernier calipers, micrometers, dial indicators, and height gauges. Vernier calipers are used for quick measurements of external and internal dimensions, offering a balance of precision and speed. Micrometers, known for their high precision, are crucial for measuring small dimensions with accuracy down to a thousandth of an inch. Dial indicators are invaluable for checking surface flatness, roundness, and runout. Height gauges provide precise measurements of vertical distances. My experience extends to using optical comparators for more complex measurements and inspections against master templates. I understand the principles of measurement uncertainty and apply appropriate techniques to minimize errors and ensure accurate readings. Knowing when to use which instrument is key – for example, I would use a micrometer for measuring a critical shaft diameter, while a caliper would be sufficient for measuring the overall length of a part.
I regularly calibrate my measuring instruments to ensure accuracy and maintain detailed records of calibration checks. Accuracy is paramount, and my experience helps me understand the limitations of different instruments and the best practices for achieving reliable results.
Q 12. Explain the process of setting up and operating a lathe.
Setting up and operating a lathe involves several key steps. First, I carefully select the appropriate tooling (cutting tools, chucks, and work-holding devices) for the material and the desired operation. The workpiece is then securely mounted in the chuck or between centers, ensuring it’s properly aligned and stable. I program the machine, setting the correct rotational speed and feed rate based on the material and the cutting tool’s geometry. The cutting tool is mounted in the tool post and precisely positioned in relation to the workpiece. I execute a test cut to verify the settings before proceeding with the full operation. Throughout the machining process, I monitor the machine’s operation and the quality of the cut, making adjustments as needed. I always prioritize safe operation, regularly checking the machine’s condition and my own safety precautions.
For example, turning a cylindrical part requires selecting a suitable turning tool, setting the appropriate speed and feed, and carefully controlling the depth of cut. Facing the end of a part requires adjusting the tool position and feed rate to create a flat surface. Threading requires specialized tools and careful adjustment of machine settings to achieve the desired thread profile. Proper lubrication is crucial throughout the machining process, reducing friction and heat buildup.
Q 13. Explain the process of setting up and operating a milling machine.
Setting up and operating a milling machine is a process requiring precision and careful planning. I begin by selecting the appropriate milling cutter and securing it in the machine’s spindle, ensuring the cutter is properly aligned and tightened. Then, the workpiece is secured in a vice or fixture, ensuring it’s rigidly clamped to prevent movement during machining. The machine is programmed, or the manual controls are adjusted, to set the correct feed rate, speed, and depth of cut. The toolpath – the path the cutter will follow – is carefully planned and programmed to achieve the desired shape. A test cut is executed before proceeding to the full machining operation. Throughout the machining process, I continually monitor the machine’s operation and the quality of the cut, making adjustments to optimize the process and ensure the finished part meets the specifications.
For example, milling a flat surface requires selecting a face mill, setting a suitable feed and speed, and ensuring the workpiece is properly clamped. Milling a slot requires selecting an end mill and programming the appropriate toolpath to generate the slot’s geometry. Milling complex three-dimensional shapes requires the use of Computer Numerical Control (CNC) programming and sophisticated tooling. Regularly checking the coolant flow and keeping the machine clean is also vital for efficient and safe operation.
Q 14. Describe your experience with different types of metalworking fluids.
Metalworking fluids, also known as coolants or cutting fluids, play a crucial role in metalworking operations. Their primary functions include lubricating the cutting tool, cooling the workpiece and tool, and flushing away chips. I’ve worked with various types, each with its own properties and applications.
Water-miscible fluids are commonly used, offering a balance of lubrication and cooling. They are relatively inexpensive and easy to use. However, their effectiveness can be affected by temperature and the presence of contaminants. Straight oils, which are generally mineral oils, provide excellent lubrication but may not offer sufficient cooling, making them more suitable for operations that don’t generate excessive heat. Synthetic fluids offer enhanced properties, including improved cooling, lubrication, and longer tool life. They are generally more expensive than water-miscible fluids and straight oils but offer improved performance in certain applications. The choice of fluid depends on factors such as the material being machined, the cutting operation, and the machine’s environmental considerations. The appropriate selection is crucial for optimizing machining performance, tool life, and surface finish.
For example, when machining stainless steel, a synthetic fluid may be preferred due to its superior corrosion resistance. When machining aluminum, a water-miscible fluid with good chip flushing capabilities may be more suitable. Regular monitoring and maintenance of the coolant system is essential to ensure its effectiveness and prevent contamination.
Q 15. How do you ensure the quality of your work?
Ensuring quality in metalworking hinges on a multifaceted approach encompassing meticulous planning, precise execution, and rigorous inspection. It starts with selecting the right materials, ensuring they meet the specified tolerances and properties. Then, programming the machine correctly, with parameters like feed rate, depth of cut, and spindle speed optimized for the specific material and desired outcome, is crucial. For example, machining aluminum requires different settings than steel to avoid issues like tearing or excessive heat buildup.
Throughout the process, regular monitoring is key. I use various gauging methods, including digital calipers and micrometers, to check dimensions against the blueprint. Visual inspection for surface finish, burrs, or other imperfections is equally vital. Statistical Process Control (SPC) charts are employed to track key parameters and identify potential deviations from the norm early on. This allows for timely adjustments, preventing scrap and ensuring consistent quality. Finally, a thorough final inspection, sometimes involving coordinate measuring machines (CMMs) for high-precision work, verifies the finished product meets all specifications before it leaves the shop.
Career Expert Tips:
- Ace those interviews! Prepare effectively by reviewing the Top 50 Most Common Interview Questions on ResumeGemini.
- Navigate your job search with confidence! Explore a wide range of Career Tips on ResumeGemini. Learn about common challenges and recommendations to overcome them.
- Craft the perfect resume! Master the Art of Resume Writing with ResumeGemini’s guide. Showcase your unique qualifications and achievements effectively.
- Don’t miss out on holiday savings! Build your dream resume with ResumeGemini’s ATS optimized templates.
Q 16. How do you maintain and repair metalworking machinery?
Maintaining and repairing metalworking machinery is paramount for safety, productivity, and longevity. My approach is proactive, emphasizing preventative maintenance as much as reactive repairs. This involves a regular schedule of lubrication, cleaning, and inspection of critical components like bearings, belts, and hydraulic systems. I meticulously follow the manufacturer’s recommended maintenance procedures, including specific lubrication types and schedules for each machine. For instance, I ensure the correct grease is used in ball screws to prevent premature wear.
When repairs are necessary, I first diagnose the problem, often using troubleshooting guides, diagnostic tools, or consulting with colleagues or manufacturers. I prioritize safety, always following lock-out/tag-out procedures before attempting any repairs. Common repairs may involve replacing worn parts, adjusting settings, or troubleshooting electrical or hydraulic faults. My experience includes working with various tools – from basic hand tools like wrenches and screwdrivers to specialized equipment like hydraulic presses and alignment tools. Record-keeping is crucial – maintaining detailed logs of maintenance and repairs helps track machine health and predict potential issues.
Q 17. Describe your experience with different types of welding processes.
My welding experience spans several processes, each with its strengths and weaknesses. I’m proficient in Gas Metal Arc Welding (GMAW), commonly known as MIG welding, which is versatile and suitable for various metals. It provides a high deposition rate, making it ideal for larger projects. I also have experience with Gas Tungsten Arc Welding (GTAW), or TIG welding, which produces high-quality welds with excellent penetration and control. It’s perfect for intricate work and thin materials, often requiring more skill and precision than MIG welding.
Shielded Metal Arc Welding (SMAW), or stick welding, is another process I’ve employed. This method is portable and relatively inexpensive, suitable for outdoor work and locations with limited power access. However, it can be slower and less aesthetically pleasing compared to MIG and TIG. I’ve also worked with resistance welding in automated systems for mass production, understanding its applications in joining sheet metals. Choosing the right welding process depends on the material, thickness, joint design, desired quality, and the production environment. I always prioritize safety during welding, using appropriate personal protective equipment (PPE) and following all safety guidelines.
Q 18. Explain the importance of preventative maintenance.
Preventative maintenance is the cornerstone of efficient and reliable metalworking operations. It’s significantly more cost-effective than reactive repairs. Think of it like regular check-ups for your car; addressing minor issues early prevents major breakdowns later. Preventive maintenance reduces downtime by catching potential problems before they disrupt production. For example, regularly lubricating bearings prevents wear, extending their lifespan and avoiding costly replacements.
Furthermore, preventative maintenance enhances safety by identifying and rectifying potential hazards, such as loose connections or worn parts. It leads to consistent product quality as machines are always performing at their optimal efficiency. A well-maintained machine produces parts with consistent dimensions and surface finishes, minimizing scrap and rework. A structured preventative maintenance program, including scheduled inspections, lubrication, and component replacements, is crucial. This program should be tailored to the specific needs of each machine and recorded meticulously for tracking and analysis.
Q 19. How do you handle a machine malfunction during operation?
Handling machine malfunctions requires a calm and systematic approach, prioritizing safety above all else. The first step is to immediately shut down the machine and ensure the area is safe. Never attempt to repair a machine while it’s running. Next, I carefully assess the situation, identifying the nature of the malfunction. I often consult the machine’s manual, operation logs, and any diagnostic tools available.
For example, if a hydraulic leak is detected, I would isolate the system, assess the extent of the damage, and consider whether a temporary repair is possible or if complete system shutdown is needed. If I cannot identify the problem myself, I would seek assistance from experienced colleagues or maintenance personnel. Accurate documentation of the malfunction, repair process, and any consequential downtime is crucial for future analysis and prevention. Once the issue is resolved and the machine is deemed safe, operations can resume.
Q 20. Describe your experience with automated manufacturing systems.
My experience encompasses various automated manufacturing systems, including Computer Numerical Control (CNC) machining centers, robotic welding cells, and automated material handling systems. I’m familiar with programming and operating CNC machines using CAD/CAM software, generating efficient toolpaths to maximize productivity. Working with robotic systems involved understanding their programming logic, integrating them with other automated processes, and ensuring their proper functioning and safety.
I’ve also been involved in troubleshooting automated systems, identifying bottlenecks and optimizing processes for increased efficiency and reduced downtime. For instance, I helped optimize a robotic welding cell by improving the robot’s path planning, reducing cycle time by 15%. My experience includes working with different control systems, PLC programming, and sensor integration within automated manufacturing environments. This experience highlights my ability to manage complex systems, ensuring seamless integration and optimized performance.
Q 21. How do you manage your time effectively in a fast-paced production environment?
Effective time management in a fast-paced production environment is critical. My strategy relies on prioritization, planning, and efficient execution. I begin each day by reviewing the production schedule, identifying tasks with the highest priority and potential bottlenecks. I use tools like Kanban boards or project management software to visualize workflow and track progress. This helps me prioritize tasks based on urgency and importance.
I strive for efficient execution by minimizing downtime, utilizing available resources effectively, and maintaining a clean and organized workspace. Proactive problem-solving prevents delays – addressing small issues quickly prevents them from escalating into larger problems. Finally, I regularly review my performance, identifying areas where I can improve efficiency and time management. This iterative approach, combined with clear communication and collaboration with colleagues, ensures I consistently meet deadlines and deliver high-quality work in a demanding environment.
Q 22. Explain your experience with different materials (e.g., steel, aluminum, titanium).
My experience spans a wide range of metalworking materials, each presenting unique machining challenges and requiring tailored approaches. Steel, for instance, is incredibly versatile but can be difficult to machine depending on its alloying composition and hardness. I’ve worked extensively with various grades, from mild steel requiring basic milling operations to high-strength, low-alloy steels necessitating specialized tooling and cutting parameters to prevent premature tool wear and ensure surface quality. Aluminum, on the other hand, is significantly easier to machine, offering excellent machinability. However, its tendency to work-harden requires careful consideration of cutting speeds and feeds to prevent surface damage. I’ve worked with various aluminum alloys, each exhibiting slightly different characteristics. Finally, titanium is a challenging material due to its high strength and tendency for galling. This necessitates the use of specialized tooling, cutting fluids, and precise machining techniques to achieve the desired tolerances and surface finish. In one project, I successfully optimized machining parameters for a titanium alloy component, reducing production time by 15% and improving surface quality significantly. This involved careful selection of cutting tools, precise control of cutting speeds, and rigorous monitoring of tool wear.
Q 23. How do you ensure compliance with safety regulations?
Safety is paramount in metalworking. My approach to ensuring compliance with regulations is multifaceted. It begins with a thorough understanding of all relevant OSHA (or equivalent international) standards and company-specific safety protocols. This includes regular training on safe operating procedures for all machinery and equipment, proper use of personal protective equipment (PPE) such as safety glasses, hearing protection, and gloves, and the correct handling and disposal of hazardous materials like cutting fluids. Beyond this, I actively participate in safety audits, contributing to the identification and mitigation of potential hazards. I’ve also been instrumental in implementing improved safety practices, such as implementing machine guarding improvements, and introducing new safety training programs. I believe proactive safety measures are key to preventing accidents. For example, I once identified a potential pinch point on a CNC lathe, and proposed a simple guard modification that effectively eliminated the risk.
Q 24. Describe your experience with quality control processes.
Quality control is an integral part of my work, employing a range of techniques to ensure that the finished products meet the required specifications. This starts with incoming material inspection to verify that the raw materials conform to the required standards. Throughout the manufacturing process, rigorous in-process checks are conducted, ensuring dimensions are within tolerance using precision measuring instruments like CMMs (Coordinate Measuring Machines) and calipers. We use statistical process control (SPC) techniques to monitor and control variations in the manufacturing process. I’ve been involved in the implementation and improvement of SPC charts to track key process parameters and identify areas for improvement. Finally, 100% inspection of finished components is often conducted, and when that isn’t feasible, statistical sampling is used, to ensure the high quality of the final product. In one instance, we implemented a new inspection procedure that reduced defects by 20%.
Q 25. How familiar are you with different types of surface finishes?
I am very familiar with a wide range of surface finishes, each chosen based on the functional requirements of the component. These range from rough finishes, suitable for non-critical applications, to highly polished surfaces critical for aesthetic or functional reasons. Common finishes include:
- Turned Finish: Created by lathe operations; relatively smooth but not highly precise.
- Milled Finish: From milling operations; can vary greatly in smoothness depending on the tool and cutting parameters.
- Ground Finish: Achieved through grinding; very smooth and precise, offering excellent dimensional accuracy.
- Honed Finish: A highly precise finishing process producing a mirror-like surface, often used for hydraulic components.
- Polished Finish: A surface treatment achieving a high level of smoothness and reflectivity, important for aesthetic or corrosion resistance.
Q 26. What is your experience with lean manufacturing principles?
I possess a strong understanding and practical experience in applying lean manufacturing principles to optimize production processes. This includes techniques like 5S (Sort, Set in Order, Shine, Standardize, Sustain) to improve workplace organization and efficiency. I’ve been involved in implementing Kaizen events to identify and eliminate waste in various stages of the manufacturing process. This includes reducing setup times, optimizing material flow, minimizing inventory, and improving overall efficiency. For example, in a previous role, we implemented a Kanban system to manage material flow, reducing lead times by 30%. Furthermore, I’m familiar with value stream mapping to visualize the entire production process and identify areas for improvement, and I am experienced with using tools such as Six Sigma methodology to reduce defects and improve process capability.
Q 27. Describe your problem-solving skills in a manufacturing context.
My problem-solving skills are rooted in a systematic approach, combining technical knowledge with a practical, hands-on methodology. When faced with a manufacturing challenge, I start by clearly defining the problem and its impact. I then gather data through root cause analysis techniques such as the 5 Whys to identify the underlying causes. This often involves collaborating with other team members to gain diverse perspectives and gather comprehensive information. After identifying the root causes, I develop and evaluate potential solutions, considering factors like cost, feasibility, and impact on other processes. I then implement the chosen solution, closely monitoring its effectiveness and making adjustments as needed. For instance, when facing consistently high rejection rates on a specific part, I used data analysis to identify a tool wear issue as the root cause. By modifying the machining parameters and implementing a more rigorous tool monitoring system, I reduced rejection rates by 75%.
Q 28. How do you stay updated on new technologies in metalworking?
Staying updated in the rapidly evolving field of metalworking technology is crucial. I achieve this through multiple avenues: I regularly attend industry conferences and trade shows to learn about the latest advancements in machining technologies, materials, and software. I subscribe to industry journals and publications, keeping abreast of research and new developments. I actively participate in online forums and communities where engineers share knowledge and discuss current trends. I also actively seek out training opportunities to enhance my skills on new technologies and software. For example, I recently completed a course on advanced CNC programming techniques, significantly improving my ability to optimize machining processes. This proactive approach to continuous learning ensures I’m always at the forefront of innovation in metalworking.
Key Topics to Learn for Your Metalworking Machinery Interview
- CNC Machining: Understand various CNC machining processes (milling, turning, drilling), G-code programming basics, and machine setup procedures. Consider practical applications like part tolerances and surface finishes.
- Traditional Machining: Familiarize yourself with lathe and milling machine operation, tooling selection, and common machining techniques. Think about troubleshooting scenarios like tool wear and chatter.
- Materials Science: Gain knowledge of different metal alloys (steel, aluminum, titanium), their properties (strength, machinability), and how these properties influence machining processes. Explore case studies on material selection for specific applications.
- Safety Procedures and Regulations: Review relevant safety protocols for operating metalworking machinery, including lockout/tagout procedures, personal protective equipment (PPE), and machine guarding. Think about real-world scenarios involving safety breaches and mitigation.
- Quality Control and Measurement: Understand quality control methods for machined parts (e.g., dimensional inspection, surface roughness testing). Explore problem-solving approaches for discrepancies in part dimensions or surface finish.
- Maintenance and Troubleshooting: Familiarize yourself with preventative maintenance procedures for metalworking machinery, common malfunctions, and troubleshooting techniques. Consider real-world examples and how to diagnose and resolve issues effectively.
- CAD/CAM Software: Develop a basic understanding of CAD (Computer-Aided Design) and CAM (Computer-Aided Manufacturing) software and their role in the metalworking process. Explore how these tools are used for part design and CNC programming.
Next Steps
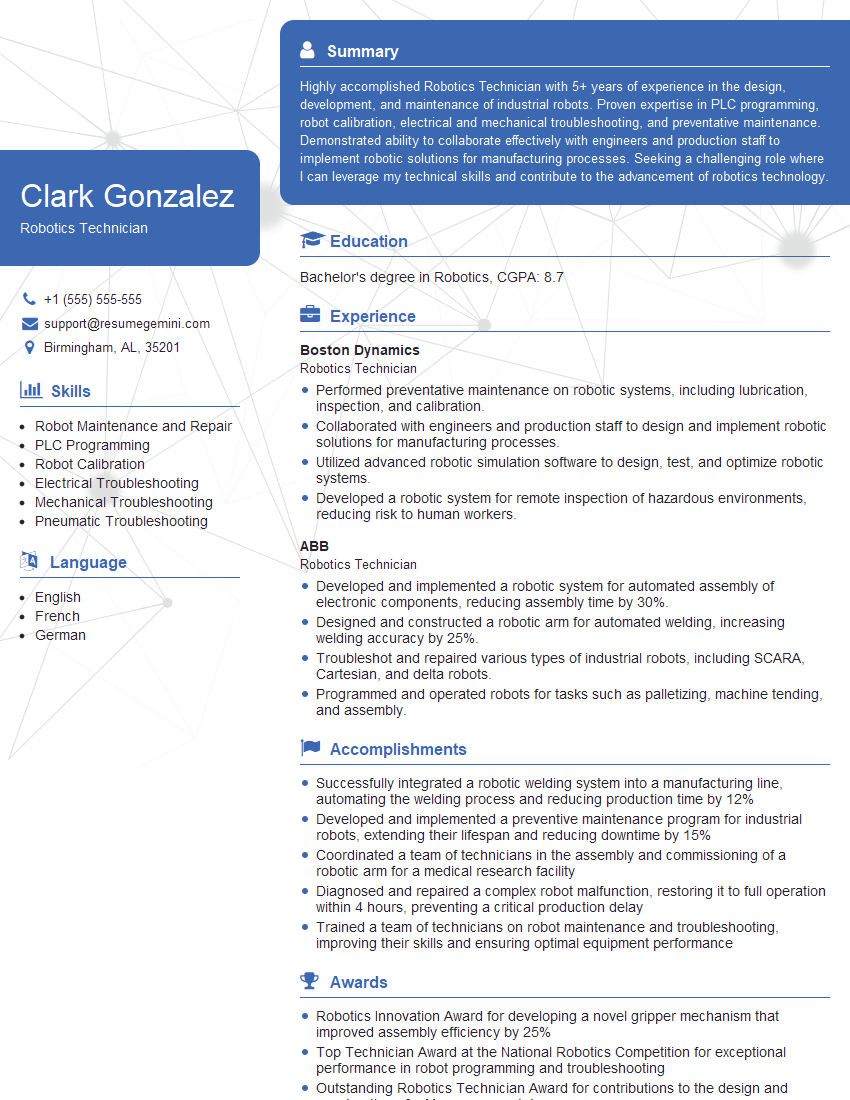
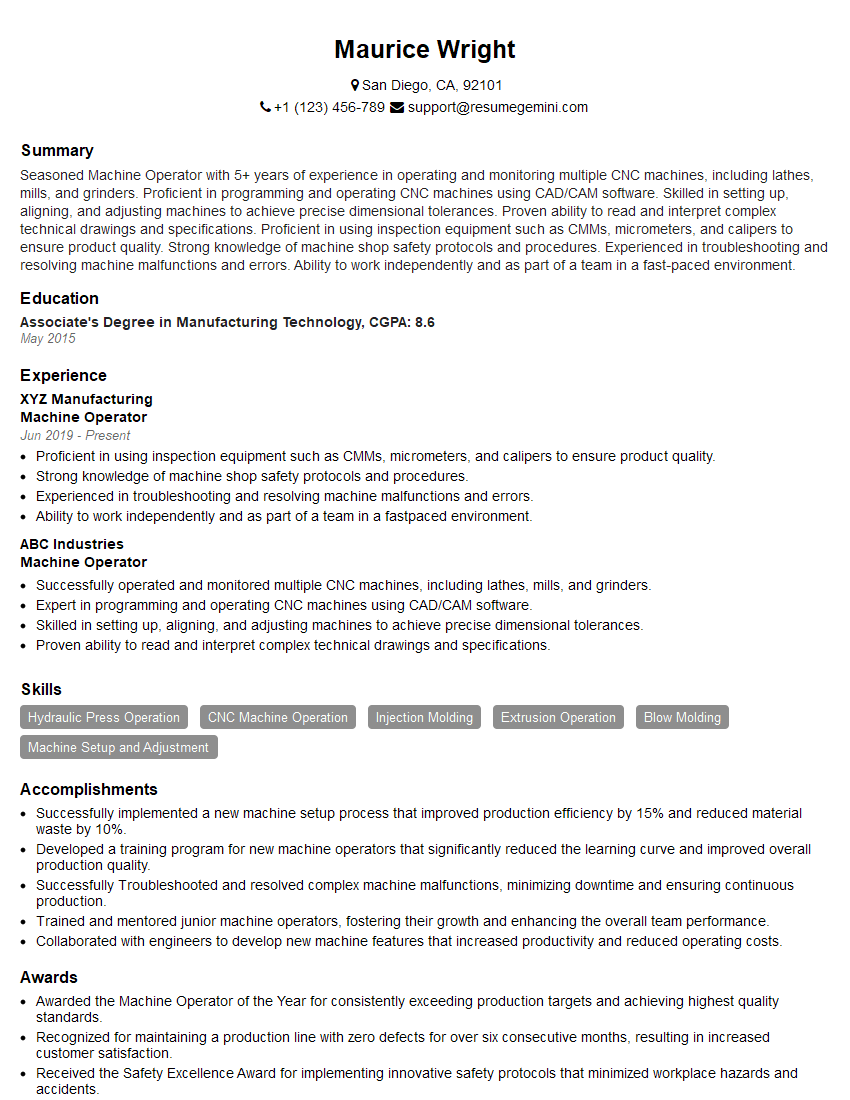
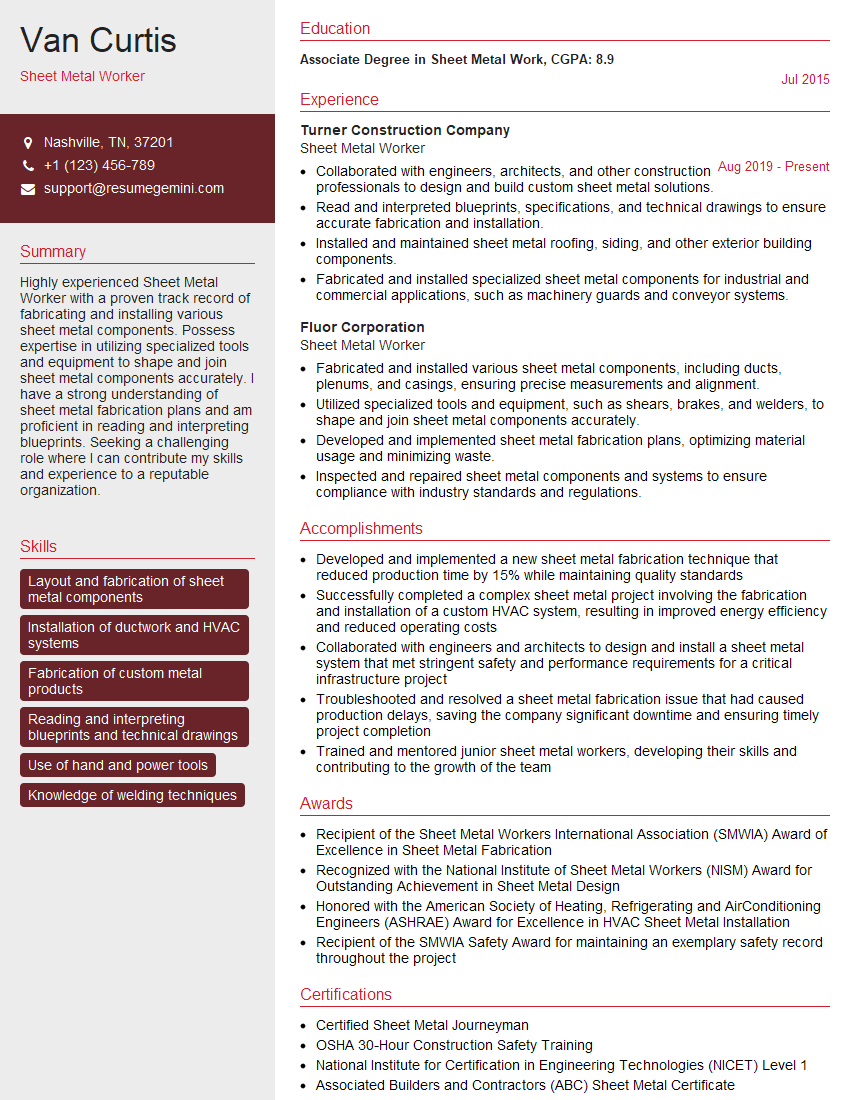
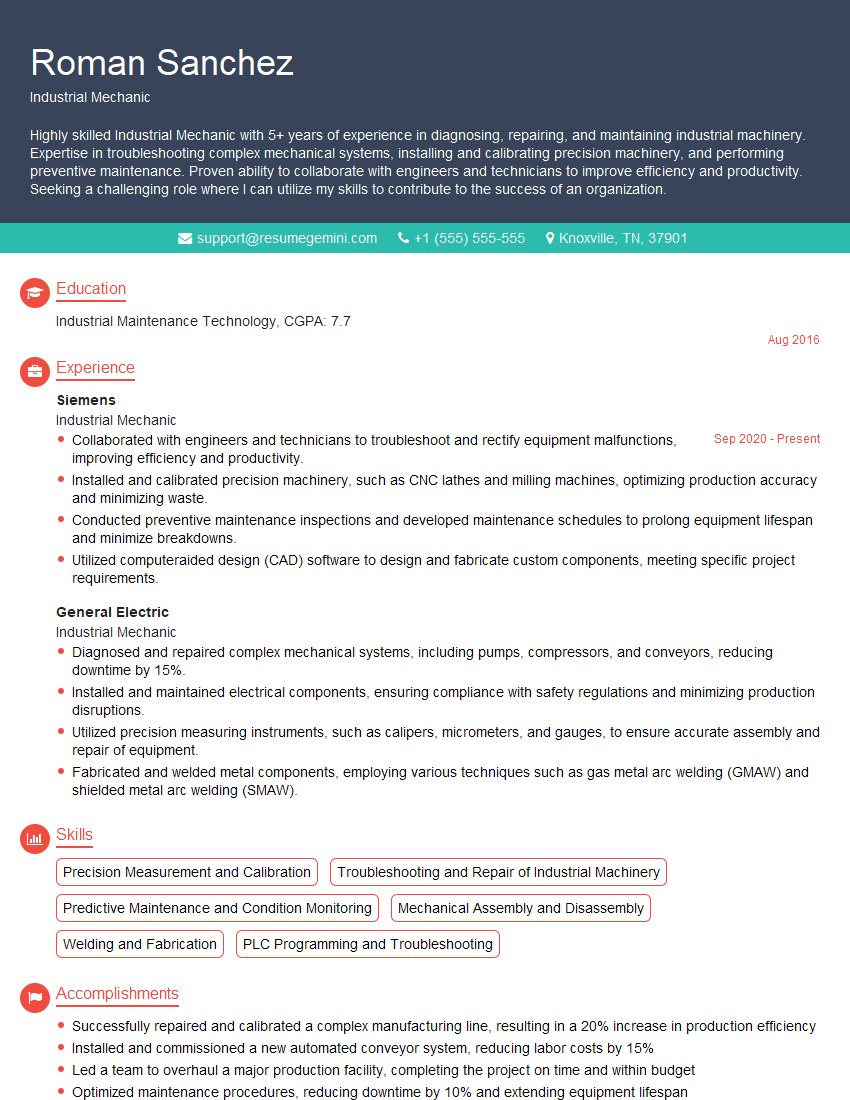
Mastering Metalworking Machinery opens doors to exciting career opportunities in manufacturing and engineering. To stand out, create a compelling, ATS-friendly resume that highlights your skills and experience. ResumeGemini is a trusted resource to help you build a professional resume that grabs the attention of recruiters. They offer examples of resumes tailored specifically to the Metalworking Machinery field to help you get started. Invest in your future – create a resume that showcases your expertise and helps you land your dream job.
Explore more articles
Users Rating of Our Blogs
Share Your Experience
We value your feedback! Please rate our content and share your thoughts (optional).
What Readers Say About Our Blog
I Redesigned Spongebob Squarepants and his main characters of my artwork.
https://www.deviantart.com/reimaginesponge/art/Redesigned-Spongebob-characters-1223583608
IT gave me an insight and words to use and be able to think of examples
Hi, I’m Jay, we have a few potential clients that are interested in your services, thought you might be a good fit. I’d love to talk about the details, when do you have time to talk?
Best,
Jay
Founder | CEO
