Preparation is the key to success in any interview. In this post, we’ll explore crucial Pneumatic Brake System Troubleshooting interview questions and equip you with strategies to craft impactful answers. Whether you’re a beginner or a pro, these tips will elevate your preparation.
Questions Asked in Pneumatic Brake System Troubleshooting Interview
Q 1. Explain the function of a pneumatic brake system.
A pneumatic brake system uses compressed air to apply braking force to a vehicle. Think of it like this: instead of relying solely on hydraulic pressure (like in your car’s brakes), it uses air pressure to activate the brakes. This system is commonly found in heavy-duty vehicles like trucks and buses because it provides reliable stopping power even under heavy loads. The system converts energy from the engine to compressed air which then applies the brake force.
Q 2. Describe the components of a typical pneumatic brake system.
A typical pneumatic brake system comprises several key components working together. Imagine it as a chain where each link is crucial:
- Air Compressor: Compresses atmospheric air to create the necessary pressure.
- Air Dryer: Removes moisture and contaminants from the compressed air to prevent freezing and corrosion.
- Air Tanks: Store compressed air to provide a reservoir for braking and to manage pressure fluctuations.
- Pressure Governor: Regulates the air pressure within the system, maintaining it at a safe and effective level.
- Relay Valve (or Service Brake Valve): Controls the flow of compressed air to the brake chambers.
- Brake Chambers: Diaphragm-equipped devices that convert air pressure into mechanical force to activate the brake shoes or discs.
- Parking Brake System: A separate system typically using springs or air pressure to engage the parking brakes, independent of the service brakes.
- Safety Valves: Prevent excessive pressure buildup, acting as a safety mechanism.
- Warning Indicators: Indicate low air pressure, leaks, or other system malfunctions.
Q 3. How does an air compressor work in a pneumatic brake system?
The air compressor is the heart of the pneumatic brake system. It’s essentially a pump that sucks in atmospheric air and compresses it to a significantly higher pressure. Most commonly, these compressors use pistons or rotary vanes to achieve this. The compressed air is then stored in the air tanks. Think of a bicycle pump – it takes effort to compress the air, but that compressed air can then be used to do work, in this case, braking. The exact mechanism depends on the compressor type but all aim to generate a large volume of air at a specified pressure.
Q 4. What is the role of the air dryer in a pneumatic brake system?
The air dryer is a critical component that removes moisture and contaminants from the compressed air. Water in the system can freeze in cold temperatures, leading to brake failure. Oil and other contaminants can also damage components. The air dryer typically employs a refrigeration or adsorption method to dry the air. Imagine trying to inflate a tire with a wet, dirty pump – it wouldn’t work efficiently, and it would damage the tire. Similarly, a dry air system ensures long-term reliability and optimal performance.
Q 5. Explain the function of the pressure governor.
The pressure governor maintains the air pressure within the system at a predetermined level. It’s like a thermostat for your compressed air. It senses the air pressure in the tanks and regulates the output of the air compressor to keep it within the desired range. If the pressure drops below a certain point, it signals the compressor to work harder. If the pressure gets too high, it shuts off the compressor, preventing over-pressurization and potential system damage. This ensures consistent braking performance across a variety of conditions.
Q 6. Describe the function of the relay valve.
The relay valve, also known as a service brake valve, is a crucial control valve that directs compressed air to the brake chambers. It receives signals from the driver’s brake pedal and distributes the air pressure to activate the brakes. Think of it as a sophisticated on/off switch and pressure regulator combined – the more you press the brake pedal, the more air it releases to the brake chambers, resulting in stronger braking force. It also ensures that the air is released in a controlled manner when you release the brake pedal.
Q 7. How does an anti-lock braking system (ABS) work in conjunction with a pneumatic brake system?
An Anti-lock Braking System (ABS) works in conjunction with a pneumatic brake system to prevent wheel lock-up during braking. While the pneumatic system provides the braking force, the ABS monitors wheel speed sensors. If a wheel is about to lock, the ABS rapidly modulates the air pressure to that specific wheel, preventing skidding and maintaining steering control. Imagine driving on an icy patch; ABS prevents your wheels from locking, allowing you to maintain steering control and avoiding a potentially dangerous skid. It enhances safety and control during emergency braking situations.
Q 8. Explain the concept of brake chamber operation.
A brake chamber is the heart of a pneumatic braking system. Think of it as a small, powerful air cylinder. When air pressure enters the chamber, a diaphragm inside expands, pushing a rod that activates the brake shoes or discs. The higher the air pressure, the stronger the braking force. It’s a simple yet effective mechanism: compressed air translates directly into braking power.
Imagine a balloon inflating; the air inside pushes against the balloon’s walls. Similarly, compressed air entering the brake chamber pushes against the diaphragm, creating mechanical force to apply the brakes. The release of air pressure allows the diaphragm to return to its original position, releasing the brakes.
Different types of brake chambers exist, each designed for specific applications and vehicle types. Some are designed for lighter-duty applications, while others are robust enough for heavy-duty trucks and trailers.
Q 9. Describe the purpose of slack adjusters.
Slack adjusters are crucial components ensuring the brakes engage effectively. Over time, brake shoes or linings wear down, creating slack in the brake linkage. Without slack adjusters, this slack would result in delayed brake application or reduced braking efficiency. The slack adjuster automatically takes up this slack, maintaining the proper brake shoe-to-drum or pad-to-rotor clearance. Think of it as a self-adjusting mechanism that keeps your brakes operating at peak performance.
Imagine a bicycle brake cable: As the brake pads wear, the cable needs to be adjusted tighter to maintain effective braking. Slack adjusters perform this function automatically in pneumatic systems. They typically use a ratchet mechanism or a screw mechanism to take up the slack.
Regular inspection and maintenance of slack adjusters are essential for brake safety. A malfunctioning slack adjuster can lead to reduced braking power or even brake failure.
Q 10. How do you diagnose a low air pressure warning?
A low air pressure warning indicates a problem in the air supply or a leak somewhere in the system. The first step is to identify the current air pressure using the gauge. If the pressure is low, several things could be causing it.
- Check the air compressor: Is it running and producing air? Listen for unusual noises or observe if the compressor is cycling on and off more frequently than normal.
- Inspect the air tank: Ensure that it’s not leaking air. Look for signs of rust, damage, or moisture.
- Look for leaks: Systematically check all air lines, connections, and brake chambers for leaks using soapy water. Bubbles indicate a leak. Pay close attention to the connections, as these are often the source of leaks.
- Examine the safety valves: Make sure the safety valves are functioning correctly and not leaking.
- Check the air dryer: A clogged or malfunctioning air dryer can affect air pressure.
Addressing the identified issue is crucial for safe operation. A low air pressure condition should never be ignored.
Q 11. How would you troubleshoot a brake leak?
Troubleshooting a brake leak involves a systematic approach. The first step is to locate the leak using soapy water, as mentioned before. Bubbles will pinpoint the leak’s location.
Once located:
- Minor leaks in lines: Small leaks in air lines might be repaired with a specialized air line repair kit or by replacing the damaged section of the line.
- Leaks at connections: These often require tightening the connection or replacing damaged fittings. Make sure all connections are secure and free of debris.
- Leaks in brake chambers: Leaking brake chambers usually need to be replaced. They are generally not repairable.
- Leaks in the air tank: Leaks in the air tank are serious and typically require tank repair or replacement.
Safety is paramount when dealing with brake systems. Never attempt a repair if you lack the necessary skills or tools. Consult a qualified mechanic if you’re unsure about any aspect of the repair.
Q 12. What are the common causes of brake fade?
Brake fade is a reduction in braking effectiveness, usually caused by overheating. Several factors contribute to brake fade:
- Overheating of brake components: Prolonged or heavy braking generates heat. If the heat exceeds the brake components’ ability to dissipate it, brake fade occurs.
- Moisture in the brake system: Moisture can significantly reduce braking effectiveness and contribute to fade.
- Brake lining wear: Worn brake linings or pads offer reduced friction, leading to less braking power and potentially fade.
- Contamination of the brake surfaces: Oil, grease, or other contaminants on the brake surfaces reduce friction, contributing to fade.
Preventing brake fade involves avoiding prolonged braking, ensuring proper ventilation, regularly inspecting brake linings, and maintaining a clean brake system. Proper brake maintenance and driving habits are crucial in minimizing the risk of brake fade.
Q 13. How do you test the functionality of a brake valve?
Testing a brake valve involves verifying its ability to control air flow to the brake chambers. This typically involves using an air pressure gauge and visually inspecting the valve’s operation.
The test procedure might involve:
- Applying air pressure: Observe the gauge to ensure the valve correctly builds and holds pressure.
- Activating the valve: Observe the air pressure gauge to verify the pressure drops when the valve is released.
- Checking for leaks: Inspect the valve for any signs of air leaks while it is in both the applied and released positions.
- Inspecting the valve’s internal components (if possible): This usually requires disassembling the valve and checking for internal damage or wear. This step should be performed only by trained technicians.
If the valve fails to meet the expected performance criteria, replacement is often necessary.
Q 14. Describe the procedure for bleeding air brakes.
Bleeding air brakes involves removing any trapped air from the brake lines and chambers. Trapped air can significantly reduce braking effectiveness. This procedure is usually done using a bleeder valve located on each brake chamber or wheel cylinder.
The typical procedure is as follows:
- Ensure the air system is fully charged: Begin with the air tanks fully charged to maintain sufficient air pressure.
- Loosen the bleeder valve: Open the bleeder valve slightly, allowing any trapped air to escape.
- Apply air pressure: Maintain air pressure in the system to help push the air out.
- Tighten the bleeder valve: Once you see a continuous stream of air free of bubbles, tighten the bleeder valve.
- Repeat for each brake: Repeat this procedure for each brake chamber until all air is removed.
Always consult the vehicle’s service manual for the correct bleeding procedure. It’s also crucial to verify that the air pressure remains stable after bleeding.
Q 15. Explain how to inspect air brake lines and fittings for damage.
Inspecting air brake lines and fittings requires a meticulous approach to ensure safety and functionality. Start by visually examining all lines for signs of damage such as cracks, kinks, rust, or chafing against other components. Pay close attention to areas where lines bend or connect to fittings. Look for leaks by carefully listening for hissing sounds while the system is pressurized; soapy water can help visualize small leaks.
For fittings, check for corrosion, loose connections, or damage to the threads. Use a wrench to gently tighten any loose fittings, but avoid over-tightening, which can damage them. If you find any signs of significant damage, the line or fitting must be replaced immediately. Remember, compromised lines or fittings can lead to brake failure.
Example: Imagine you’re inspecting a trailer’s air lines. You notice a section of the line near the rear axle shows signs of significant rubbing. This requires immediate replacement. A small leak near a valve might only need tightening, but a large crack requires replacement of the whole section of line.
Career Expert Tips:
- Ace those interviews! Prepare effectively by reviewing the Top 50 Most Common Interview Questions on ResumeGemini.
- Navigate your job search with confidence! Explore a wide range of Career Tips on ResumeGemini. Learn about common challenges and recommendations to overcome them.
- Craft the perfect resume! Master the Art of Resume Writing with ResumeGemini’s guide. Showcase your unique qualifications and achievements effectively.
- Don’t miss out on holiday savings! Build your dream resume with ResumeGemini’s ATS optimized templates.
Q 16. What are the safety precautions when working on air brake systems?
Safety is paramount when working on air brake systems. Always begin by de-pressurizing the system completely to prevent unexpected activation. Use appropriate safety glasses and gloves to protect against potential injuries from sharp edges or pressurized air. Never work under a vehicle supported only by a jack; use jack stands for adequate support. Ensure proper ventilation as some components may contain hazardous materials.
Before beginning any repair, familiarize yourself with the vehicle’s specific air brake system layout. Consult the vehicle’s service manual and follow manufacturer’s recommendations. If you are unsure about any aspect of the repair, consult a qualified technician. Always remember that malfunctioning air brakes can lead to severe accidents, therefore cautious and professional approach is needed at all times.
Q 17. How do you interpret diagnostic trouble codes (DTCs) related to air brakes?
Interpreting diagnostic trouble codes (DTCs) related to air brakes involves understanding the specific code and its meaning within the context of the vehicle’s system. DTCs are usually displayed through a diagnostic tool connected to the vehicle’s electronic control module (ECM). These codes provide clues about the location and nature of the problem. For example, a code indicating low air pressure might point to a leak in the system, a faulty compressor, or a problem with the air dryer.
Each manufacturer uses its own DTC system, so having access to a relevant diagnostic manual or electronic database for that specific vehicle make and model is important. These resources will usually provide a description of each code and guide troubleshooting steps. You can not just rely on the code; you must also consider the vehicle’s symptoms and conduct a thorough visual inspection to validate the findings.
Example: A code indicating a malfunctioning pressure switch might suggest a simple switch replacement, whereas a code associated with low air pressure could signify a much more extensive and complex problem requiring further investigation.
Q 18. Explain the difference between single and dual-line air brake systems.
Single-line air brake systems use a single air line to supply air pressure to the brake chambers. This means a single failure in the system could completely disable the brakes. Dual-line air brake systems, on the other hand, use two independent air lines. If one line fails, the other can still provide braking power, albeit reduced.
The dual-line system is inherently safer. Think of it like having a backup braking system. Single-line systems are simpler and generally less expensive, but the safety advantage of the dual-line system often makes it the preferred choice for heavy-duty vehicles.
Q 19. What are the benefits and drawbacks of different types of brake chambers?
Several types of brake chambers exist, each with its own advantages and disadvantages. Diaphragm chambers are the most common type, offering a good balance of cost, performance, and reliability. They are relatively simple and easy to maintain. S-cam chambers use a cam mechanism to actuate the brakes, providing a more forceful braking action, often used in heavy-duty applications. Slack adjusters, though not strictly chambers, are vital in maintaining proper brake shoe-to-drum clearance, preventing dragging and ensuring optimal braking effectiveness.
Advantages and disadvantages vary: Diaphragm chambers are more prone to leakage over time than S-cam chambers, but are less expensive to replace. S-cam chambers are more robust but more complex and costly to repair. The choice of chamber depends on the specific vehicle application and performance requirements.
Q 20. How do you diagnose a problem with an electric-pneumatic brake system?
Diagnosing problems with an electric-pneumatic brake system requires a systematic approach, combining knowledge of both electrical and pneumatic systems. Start by checking the electrical components such as wiring, relays, and sensors for continuity, proper voltage and grounding. Use a multimeter to test for any shorts, opens, or low voltage. Then, check the pneumatic components, including the air lines, pressure switches, valves, and brake chambers, for leaks or malfunctions. Diagnostic tools can often retrieve DTCs specific to the electric-pneumatic system’s control units.
Example: If the brakes apply inconsistently, you might suspect a faulty brake pressure sensor, which you’d then test using a multimeter to check for proper signal output. A low air pressure issue could indicate a problem within the air compressor or leaks in the pneumatic part of the system. A systematic check of both electrical and pneumatic aspects is required for thorough diagnosis.
Q 21. What is the importance of regular maintenance for pneumatic brake systems?
Regular maintenance of pneumatic brake systems is crucial for safety and reliability. It prevents catastrophic failures and keeps the vehicle in compliance with safety regulations. Regular maintenance should include: inspecting air lines and fittings for leaks and damage, checking air pressure gauges, lubricating moving parts, testing the function of all components, replacing worn or damaged parts, and ensuring proper slack adjuster operation. The frequency of maintenance varies depending on usage and vehicle type, but it is usually recommended at specified intervals outlined in the vehicle’s manual.
Neglecting regular maintenance can lead to gradual wear, leaks, and component failures, ultimately resulting in brake failure, accidents, and expensive repairs. Regular checks are a small investment to ensure safety and prevent costly consequences in the long term.
Q 22. Explain the procedure for adjusting brake shoes.
Adjusting brake shoes involves ensuring proper clearance between the shoes and the brake drum to achieve effective braking without dragging. This process varies depending on the specific brake system design, but generally involves these steps:
- Safety First: Secure the vehicle, engage the parking brake, and chock the wheels. Never work under a vehicle supported only by a jack.
- Access the Brake Assembly: Remove the wheel and tire to expose the brake drum and shoes.
- Inspect the Brake Shoes: Check for wear, damage, or contamination. Replace worn or damaged shoes.
- Adjusting the Shoes: Most systems have an adjuster mechanism (usually a star wheel or self-adjusting mechanism). Use a tool or your fingers to carefully turn the adjuster, increasing or decreasing the distance between the shoes and drum.
- Check Clearance: Rotate the brake drum by hand. There should be a slight drag, but the drum should rotate freely. Too much drag indicates the shoes are too tight; too little indicates they’re too loose. Adjust until the desired clearance is achieved.
- Reassemble: Replace the wheel and tire.
- Test Brakes: Test the brakes carefully, ensuring they engage properly and release smoothly. If there’s an issue, recheck the adjustment. Don’t forget to check for any leaks during the process.
Example: In a typical drum brake system with a star wheel adjuster, turning the wheel clockwise increases brake shoe pressure, tightening the brakes, and turning it counterclockwise loosens them.
Q 23. Describe the proper methods for using a pressure gauge for air brake diagnostics.
A pressure gauge is crucial for diagnosing air brake problems. It allows you to accurately measure air pressure at various points in the system, helping pinpoint leaks, restrictions, or malfunctions. Here’s how to use it effectively:
- Safety First: Always ensure the system is depressurized before connecting the gauge. Never connect or disconnect a pressure gauge while the system is under pressure.
- Connect the Gauge: Use appropriate fittings and connectors compatible with the system’s air pressure ports. A typical fitting is a quick connect or a threaded fitting.
- Check System Pressure: Start by checking the main reservoir pressure with the engine off. This establishes a baseline.
- Isolate Components: After checking the main tank, use shutoff valves (if equipped) to isolate different parts of the system (e.g., front and rear brakes). Take pressure readings at each point.
- Look for Pressure Drops: If you observe a significant pressure drop in an isolated section, it indicates a leak within that component or its associated lines.
- Check for Pressure Buildup: If the pressure won’t build up even after the compressor is running, you could have a problem with your air compressor itself or an issue with a valve that’s not allowing air to reach certain parts of the system.
- Consult Specifications: Always refer to the vehicle’s specifications for the correct pressure ranges. Each system operates within its optimal pressure limits.
Example: A pressure gauge showing a significant drop in pressure after isolating the front brake lines suggests a leak in those lines, wheel cylinders, or calipers.
Q 24. How do you determine the cause of a parking brake failure?
Parking brake failure can have various causes. Troubleshooting involves a systematic approach:
- Check the Parking Brake Cable: Inspect the cable for fraying, breakage, or stretching. A broken or stretched cable will prevent the brakes from engaging properly.
- Examine the Brake Shoes or Calipers: Assess the condition of the shoes or calipers. Worn or seized components can lead to failure.
- Check the Linkage: Inspect the parking brake linkage for damage, corrosion, or binding. A loose or jammed linkage will prevent the brakes from functioning correctly.
- Evaluate the Parking Brake Actuator (if applicable): For vehicles with power-assisted parking brakes, check the actuator for proper operation. A malfunctioning actuator is a common cause of failure.
- Inspect the Parking Brake Switch: Ensure the switch functions correctly and sends the appropriate signals to the control system.
Example: If the parking brake lever moves freely without engaging the brakes, the cable or linkage is likely the issue.
Q 25. What safety measures must be followed when working with compressed air?
Working with compressed air requires stringent safety precautions because it’s under high pressure and can cause serious injury. Always:
- Use Proper Eye and Hearing Protection: Compressed air can cause significant eye and hearing damage. Always wear safety glasses or goggles and hearing protection.
- Never Point at Yourself or Others: A burst of compressed air can cause serious injury. Always point the nozzle away from yourself and other people.
- Check for Leaks Regularly: Inspect hoses and connections for leaks frequently. Leaks can be dangerous and reduce system effectiveness.
- Use Appropriate Tools and Equipment: Employ tools and equipment rated for the system’s pressure. Avoid using damaged or faulty equipment.
- Follow Safe Disconnection Procedures: Always depressurize the system before disconnecting any components.
- Be Aware of Cold Temperatures: Compressed air can get extremely cold during expansion. Avoid prolonged contact with the air stream.
- Proper Ventilation: Ensure good ventilation in the work area to prevent build-up of potentially hazardous fumes or gases.
- Training and Awareness: Ensure all personnel involved are properly trained on safe compressed air handling procedures.
Example: Before connecting a pressure gauge, ensure the system is completely depressurized to prevent accidental injury from a sudden release of compressed air.
Q 26. How would you troubleshoot a situation where the brakes are dragging?
Brake dragging indicates that the brakes are not releasing fully, resulting in increased wear and reduced fuel economy. Here’s how to troubleshoot:
- Check Brake Adjustment: Ensure the brake shoes or pads have the correct clearance with the drums or rotors. Improper adjustment is a common cause of dragging.
- Examine Brake Lines and Hoses: Inspect for leaks, kinks, or blockages in the brake lines or hoses. Restricted lines can prevent proper release.
- Check Wheel Cylinders or Calipers: These components can seize or stick, preventing proper release. Inspect for corrosion, damage, or leaks.
- Inspect the Brake Master Cylinder: A faulty master cylinder might fail to fully release brake pressure.
- Assess the Air Pressure System: In air brake systems, low air pressure, leaky valves, or a malfunctioning pressure regulator can cause dragging. A gauge is important here.
- Check the Parking Brake: Ensure the parking brake is fully released. A partially engaged parking brake can cause dragging.
Example: If you hear a scraping sound from the wheels while driving, and the brakes feel unusually stiff, this indicates possible dragging, and you need to immediately check the adjustment and the brake components.
Q 27. What is the role of the air pressure warning system?
The air pressure warning system is critical for safety. It alerts the driver to low air pressure or other malfunctions in the pneumatic brake system. This prevents potential brake failures, preventing accidents.
The system usually consists of:
- Low Pressure Switches: These switches monitor air pressure in the main reservoir(s). If pressure drops below a safe level, they activate a warning light or alarm.
- Warning Indicators: These lights (usually red) are located on the dashboard to alert the driver visually.
- Audible Alarms (Sometimes): Some systems include a loud audible alarm in addition to the visual warning.
The warning system is crucial because it provides an immediate alert when something is wrong with the brake system, giving the driver time to take action. Without it, you may not notice a significant brake failure until it’s too late.
Q 28. Describe the signs of a failing air compressor.
A failing air compressor will show several warning signs:
- Slow or No Pressure Buildup: The most obvious sign is the slow build-up of air pressure in the main reservoir(s), or a complete inability to build up pressure. Check with your gauge.
- Excessive Noise or Vibration: A failing compressor will often produce unusual noises like squealing, knocking, or whining, or excessive vibration, indicating internal wear.
- Excessive Heat: Feel the compressor during operation. Excessive heat indicates internal friction or a lack of lubrication. Note: Some heat is normal, but excessive heat is a warning sign.
- Leaks of Oil or Air: Check for leaks around the compressor seals and connections. These could be caused by worn-out seals or damaged components.
- Low Air Pressure Warning Light: The low air pressure warning light comes on frequently and stays on, indicating insufficient air pressure for safe operation.
Example: If the compressor runs continuously without building up sufficient pressure, it indicates a serious problem and should be inspected or replaced immediately. Ignoring this can lead to a brake failure.
Key Topics to Learn for Pneumatic Brake System Troubleshooting Interview
- Air Compressor Systems: Understanding compressor operation, maintenance, and troubleshooting common issues like low air pressure and leaks. Practical application: Diagnosing and repairing a faulty compressor on a heavy-duty vehicle.
- Air Pressure Regulators and Valves: Function, types, and troubleshooting techniques for pressure regulators, valves (including service, relay, and shut-off valves), and pressure switches. Practical application: Identifying and replacing a malfunctioning pressure regulator causing inconsistent braking performance.
- Air Lines and Fittings: Identifying leaks, diagnosing damage to air lines, and understanding the importance of proper fitting and sealing techniques. Practical application: Locating and repairing air leaks using specialized leak detection equipment.
- Brake Chambers and Diaphragms: Understanding the mechanics of brake chamber operation, diagnosing diaphragm failure, and performing necessary repairs or replacements. Practical application: Troubleshooting a brake that is not releasing properly due to a faulty brake chamber.
- ABS (Anti-lock Braking System) Fundamentals: Basic understanding of how ABS functions within the pneumatic brake system and common failure points. Practical application: Recognizing symptoms of ABS malfunction and initiating appropriate diagnostic procedures.
- Safety Procedures and Regulations: Adhering to safety protocols during troubleshooting and repair, understanding relevant industry regulations and standards. Practical application: Safe and efficient handling of high-pressure air systems and components.
- Diagnostic Tools and Techniques: Familiarity with pressure gauges, leak detectors, and other diagnostic tools used in troubleshooting pneumatic brake systems. Practical application: Using diagnostic tools to accurately identify the root cause of a brake system malfunction.
Next Steps
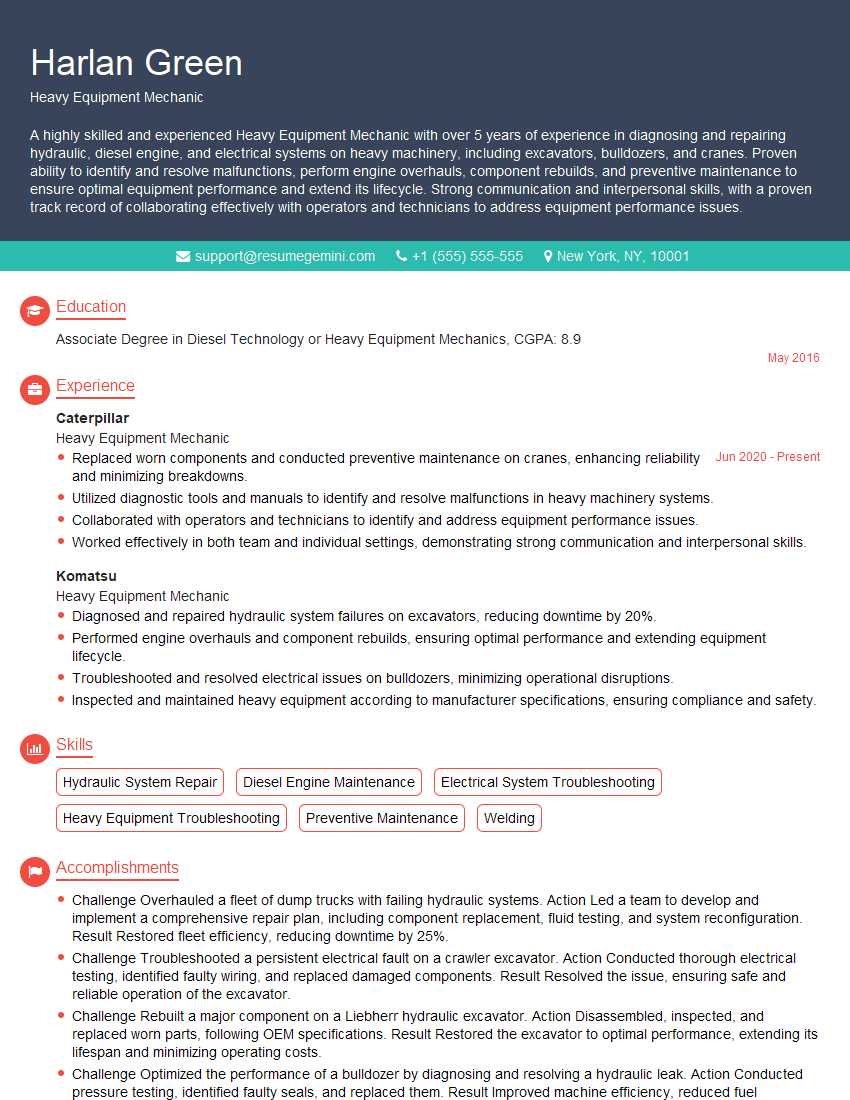
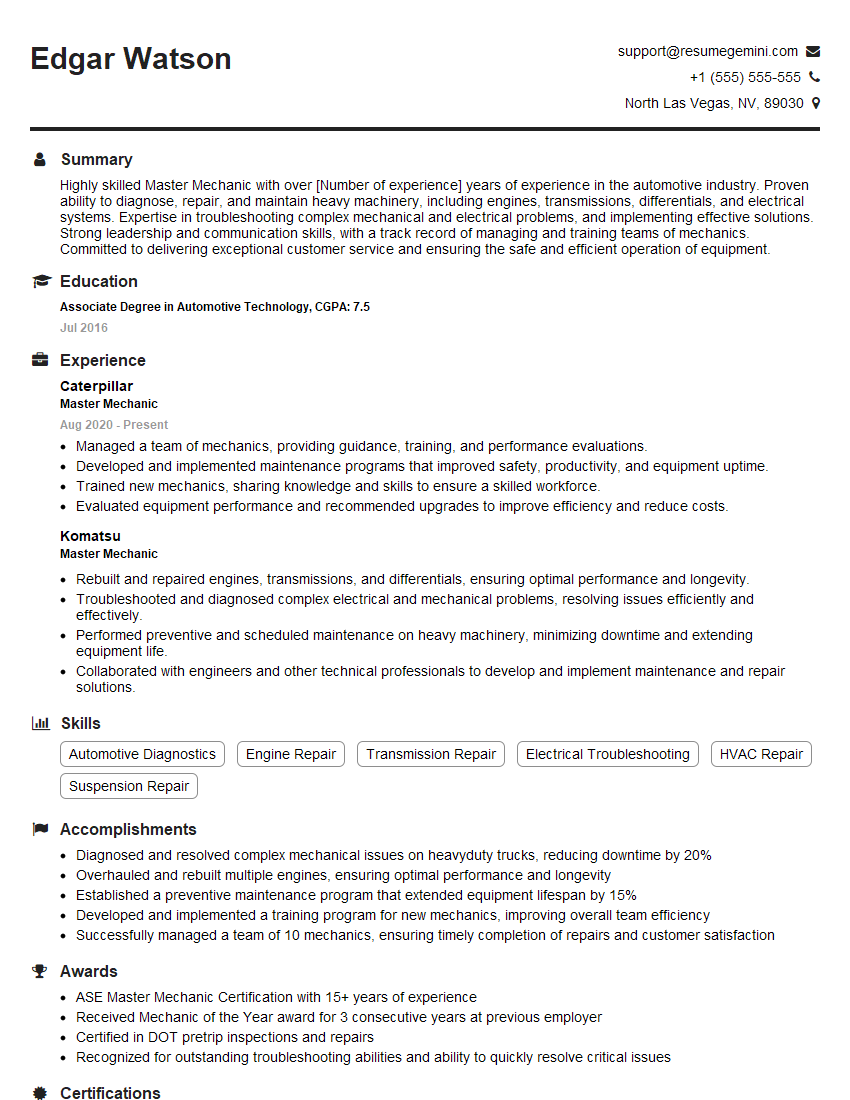
Mastering Pneumatic Brake System Troubleshooting is crucial for career advancement in the transportation and heavy equipment industries. A strong understanding of these systems demonstrates valuable problem-solving skills and a commitment to safety. To enhance your job prospects, create a compelling and ATS-friendly resume that highlights your skills and experience. ResumeGemini is a trusted resource to help you build a professional and effective resume. Examples of resumes tailored to Pneumatic Brake System Troubleshooting are available to provide inspiration and guidance. Take the next step in your career journey today!
Explore more articles
Users Rating of Our Blogs
Share Your Experience
We value your feedback! Please rate our content and share your thoughts (optional).
What Readers Say About Our Blog
Hi, I’m Jay, we have a few potential clients that are interested in your services, thought you might be a good fit. I’d love to talk about the details, when do you have time to talk?
Best,
Jay
Founder | CEO
