The thought of an interview can be nerve-wracking, but the right preparation can make all the difference. Explore this comprehensive guide to Press and Bindery Operations interview questions and gain the confidence you need to showcase your abilities and secure the role.
Questions Asked in Press and Bindery Operations Interview
Q 1. Describe your experience with different types of binding (e.g., perfect binding, saddle stitch, wire-o).
My experience encompasses a wide range of binding methods, each suited to different project needs. Perfect binding, commonly used for books and magazines, involves gluing a block of pages together along the spine and then applying a cover. I’m proficient in adjusting the glue application for various paper thicknesses and ensuring a strong, even bond. Saddle stitch, ideal for smaller booklets and brochures, uses wire staples to fasten pages through the fold. Precision is crucial here to avoid misalignment and staple marks showing through the pages. Finally, Wire-O binding, also known as spiral binding, uses double-loop wire to create a durable, lay-flat binding often seen in calendars and notebooks. This requires precise alignment and consistent wire insertion to maintain a professional finish. I’ve worked extensively with all three, consistently delivering high-quality results tailored to the specific project requirements.
- Perfect Binding Example: Successfully bound a 300-page hardcover textbook, requiring careful attention to spine thickness and glue application to prevent cover lift.
- Saddle Stitch Example: Bound a 20-page brochure, achieving perfectly centered staples and minimizing any visible marks on the printed surface.
- Wire-O Binding Example: Created a professional-looking calendar using Wire-O binding, ensuring precise alignment of the holes and consistent wire tension.
Q 2. What are the common issues encountered in operating a perfect binding machine?
Perfect binding, while efficient, presents several potential issues. Incorrect glue application is a frequent problem, leading to insufficient adhesion (pages falling out) or excessive glue (messy spine, cover lift). Spine preparation is also critical; unevenly cut or folded pages can cause binding inconsistencies. Poor cover alignment is another concern, resulting in an unprofessional look. Finally, machine malfunctions, like problems with the gluing mechanism or the three-knife trimmer, can lead to production delays and imperfect binding. Troubleshooting these requires careful inspection of the machine, adjustment of settings, and in some cases, calling in a technician for repairs.
For example, I once dealt with a situation where pages kept falling out of a perfectly bound book. After carefully checking the glue application and finding it insufficient, we adjusted the glue flow and the temperature, solving the problem. Another time, a jammed three-knife trimmer was quickly addressed by removing the obstruction and readjusting the blade settings, minimizing downtime.
Q 3. Explain the process of setting up a sheetfed press for a specific job.
Setting up a sheetfed press involves a meticulous process to ensure accurate color reproduction and efficient production. It begins with carefully reviewing the job specifications (paper type, ink colors, print quantities, etc.). Next, I load the specified paper stock into the feeder, ensuring it’s correctly aligned and free from any defects. The press settings, such as ink density, impression strength, and sheet size, are then adjusted according to the job requirements, often using pre-programmed settings based on past experiences with similar jobs or test prints. Color calibration is critical; I use color bars and spectrophotometers to ensure accurate color matching throughout the run. Finally, a test print is run and inspected to confirm the accuracy of the settings before starting the full print run. It’s similar to preparing a fine recipe – every ingredient and step matters.
For instance, recently I set up a press for a four-color brochure. I meticulously calibrated the ink densities for CMYK using a spectrophotometer and made minor adjustments based on test prints until we achieved the desired color accuracy. Any issues were flagged and fixed before starting the full run, guaranteeing excellent color consistency.
Q 4. How do you ensure color consistency across a large print run?
Maintaining color consistency across a large print run requires a multi-faceted approach. First, color calibration is paramount. I use spectrophotometers and color management software to ensure accurate color profiles are established and consistently applied throughout the run. Regular ink keying and ink density checks are also crucial to identify and correct any variations. Consistent paper stock is vital; variations in paper quality can impact ink absorption and overall color appearance. Regular maintenance of the press is also key to prevent variations in pressure and ink delivery. Finally, monitoring the printing process by regularly reviewing print samples is crucial to catch any deviations early on.
For example, during a lengthy print job of 10,000 brochures, we used a color control strip on each sheet and regularly monitored for any deviation. This proactive monitoring allowed us to promptly adjust settings, preventing costly reprints and ensuring a consistent product.
Q 5. What are your troubleshooting skills when dealing with jammed machines?
My troubleshooting approach is systematic and prioritizes safety. First, I follow established safety protocols, ensuring the machine is powered off and locked out before initiating any repairs. I then visually inspect the jammed area, carefully identifying the cause of the jam. Common causes include paper misfeeds, incorrectly loaded paper, or debris within the machine. Based on the identified cause, I then take the necessary steps, whether it’s clearing the jam, readjusting paper feeders, or removing obstructions. Documentation is crucial; I always note the issue, the corrective action, and the outcome to prevent future recurrence. If I cannot resolve the issue independently, I escalate it to the relevant technician.
I recall an instance where a large paper jam halted a crucial job. After carefully shutting down and accessing the jammed area, I found that a misaligned paper stack was the culprit. By realigning the paper, the jam was quickly resolved, minimizing downtime.
Q 6. What safety precautions do you take when operating press and bindery equipment?
Safety is paramount in press and bindery operations. I always adhere to strict safety protocols, including wearing appropriate personal protective equipment (PPE) such as safety glasses, gloves, and hearing protection. Before operating any machinery, I perform a thorough inspection to ensure it’s in good working condition and free from any hazards. Lockout/tagout procedures are strictly followed during maintenance or repairs. I’m trained in emergency procedures, including how to handle paper jams, machine malfunctions, and minor injuries. Moreover, maintaining a clean and organized workspace helps prevent accidents. Regular safety training keeps me updated on the latest safety procedures and best practices.
For example, before starting a large print job, I always inspect the machinery and ensure that the safety guards are in place and functioning correctly. This prevents accidental injuries and ensures a safe work environment. Also, I always encourage my team to take necessary precautions and report any safety concerns.
Q 7. Explain your understanding of different paper types and their suitability for various printing and binding methods.
Understanding paper types and their suitability for printing and binding is critical. Different papers offer varying properties – weight, texture, finish, and absorbency – that impact print quality and binding performance. Coated papers offer a smooth surface ideal for high-resolution images but can be challenging for some binding methods. Uncoated papers, with their textured surface, are better suited for certain binding types but might not offer the same vibrancy. Specialty papers, like recycled or textured papers, introduce additional considerations regarding print quality and binding compatibility. The paper’s weight also greatly impacts the choice of binding; heavier papers necessitate sturdier binding methods. For example, a heavier paper stock will be unsuitable for saddle stitching but may be better suited for perfect binding. Considering the paper’s properties ensures the final product meets both aesthetic and functional requirements.
For instance, when printing a high-resolution photo book, I would opt for a heavy coated paper, perfect bound to ensure a high-quality finish and durability. However, for a simple brochure, uncoated paper suitable for saddle stitching would be cost-effective and perfectly adequate.
Q 8. How do you manage and maintain inventory of printing supplies and materials?
Managing printing supply inventory requires a robust system combining meticulous tracking with proactive forecasting. I typically utilize a combination of digital inventory management software and physical stock checks. The software allows me to track minimum stock levels, reorder points, and consumption rates for each item, from paper stock (coated, uncoated, various weights) to inks, cleaning solutions, and binding materials. Regular physical inventory audits ensure accuracy and identify discrepancies. This involves comparing physical counts against software records, investigating any differences, and updating the system accordingly. For instance, if a particular type of paper shows unexpectedly low stock, we investigate potential reasons (increased demand, unforeseen usage, etc.) to adjust our ordering strategies and prevent future shortages. This proactive approach minimizes downtime due to supply shortages and prevents production delays.
Q 9. Describe your experience with pre-press processes like imposition and color proofing.
Pre-press processes are crucial for ensuring a smooth and efficient print run. My experience with imposition involves arranging pages of a document to optimize printing on sheets, minimizing waste and ensuring correct page order. I’m proficient with imposition software, creating layouts for different sheet sizes and print configurations. I consider factors like imposition marks (crop marks, color bars) and imposition method (e.g., 2-up, 4-up, 8-up) based on project specifics and printing method. For color proofing, I have extensive experience with both soft proofing (on-screen review using calibrated monitors) and hard proofing (physical proofs printed on the target press or using a proofing system like a digital press or a high-quality inkjet printer). Hard proofing is especially important for critical projects, ensuring that the colors match client expectations before the full run begins. I always create and review proofs carefully, meticulously comparing them against the digital files and paying close attention to color consistency and accuracy.
Q 10. How do you ensure the quality of the final printed product?
Quality control is paramount in print production. My approach begins with meticulous pre-press checks, ensuring accurate files and color profiles. During the printing process, I perform regular press checks, monitoring color consistency, registration, and ink density. This often involves using color targets and density gauges. Post-press quality checks are equally important. I visually inspect every sheet, carefully looking for defects like misprints, smudges, and inconsistencies. Then, I perform random sampling of the finished product for further checks, including binding quality, folding accuracy, and the overall aesthetics. Any identified issues are immediately reported and addressed, potentially involving press adjustments or re-runs to ensure the highest quality standards are met. In case of complex products, I might deploy quality control checklists to ensure complete and consistent inspection across the production run.
Q 11. What is your experience with different finishing techniques such as die-cutting, embossing, and foiling?
I’m highly experienced in various finishing techniques, enhancing the visual appeal and functionality of printed materials. Die-cutting allows for creating custom shapes and intricate designs, which I’ve utilized for packaging, invitations, and promotional materials. Embossing adds a tactile element, creating raised or indented images and text, enhancing the luxurious feel of items like business cards and high-end brochures. Foiling involves applying metallic or pigmented foil to the paper surface, adding a shiny, professional look. I have practical experience operating and maintaining the equipment required for these finishing techniques, understanding the importance of proper setup, material selection, and machine maintenance for consistent quality. For example, ensuring proper die alignment during die-cutting is crucial for producing clean and accurate cuts; selecting appropriate foil and pressure settings is vital for consistent foiling results.
Q 12. How familiar are you with different types of printing presses (offset, digital, etc.)?
My experience encompasses various printing press technologies. I am highly proficient with offset presses, understanding the nuances of platemaking, ink management, and press operation. I’m also familiar with digital printing, leveraging its advantages for short-run, personalized projects, particularly for high-quality work on smaller runs where digital is cost effective. I understand the differences between these technologies, choosing the most suitable method depending on project requirements, print volume, budget, and turnaround time. For example, for high-volume projects needing consistent color reproduction, offset printing is usually the preferred method; for personalized items or short runs, digital printing offers a faster and more cost-effective solution. In addition, I have some knowledge in other printing technologies like large format printers and screen printing depending upon the client’s needs.
Q 13. Explain your experience with workflow management in a print production environment.
Efficient workflow management is crucial in a print production environment. My approach typically involves using a combination of project management software and established internal processes. I utilize software to track job progress, manage deadlines, and assign tasks to team members. A well-defined workflow ensures that each stage—from pre-press to post-press—is completed on time and to the required standards. This includes establishing clear communication channels, ensuring timely feedback, and employing regular progress meetings. For instance, I might use a Kanban board to visualize job stages and track progress, providing a clear overview of work in progress and bottlenecks. In addition, I’ve implemented standardized operating procedures and quality check points to make the workflow smoother and ensure consistency.
Q 14. How do you handle job deadlines and prioritize tasks effectively?
Handling job deadlines and prioritizing tasks involves a structured approach. I start by analyzing each job’s complexity, required resources, and deadline. I then prioritize jobs based on urgency and importance, employing techniques like the Eisenhower Matrix (urgent/important). This helps identify critical tasks that need immediate attention. Clear communication with clients is vital, providing realistic timelines and managing expectations. Proactive identification of potential delays, coupled with effective problem-solving, is key to ensuring timely delivery. For example, if a particular material is on back-order, I would immediately inform the client and explore alternative solutions (substitution or adjusting the schedule), keeping them updated throughout the process. Effective time management, delegation of tasks, and monitoring workflow progress are all elements which are essential for meeting deadlines successfully.
Q 15. Describe your experience with different types of folding machines and their applications.
My experience encompasses a wide range of folding machines, from simple single-fold machines to complex, high-speed machines capable of intricate multi-fold patterns. I’m proficient with various types, including:
- Tri-fold machines: These are commonly used for brochures and leaflets, creating a professional three-panel format. I’ve extensively used these for marketing materials, ensuring precise folds every time.
- Letter fold machines: Ideal for creating standard letter-sized folds, perfect for business correspondence and direct mail campaigns. I’ve optimized their settings to handle various paper weights and thicknesses, maintaining high-quality output.
- Parallel fold machines: These are excellent for large-scale projects requiring consistent parallel folds, often used in newspaper production or large-format brochures. My experience includes troubleshooting jams and optimizing speed for maximum efficiency on these machines.
- Roll-fold machines: These machines create a series of parallel folds resulting in a zig-zag pattern, frequently used for maps and posters. I’ve worked with different roll-fold configurations to accommodate a wide range of sizes and materials.
Selecting the right folding machine depends on the project’s requirements – the number of folds, the paper type and size, and the overall volume. My expertise allows me to make informed decisions based on these factors to ensure optimal efficiency and quality.
Career Expert Tips:
- Ace those interviews! Prepare effectively by reviewing the Top 50 Most Common Interview Questions on ResumeGemini.
- Navigate your job search with confidence! Explore a wide range of Career Tips on ResumeGemini. Learn about common challenges and recommendations to overcome them.
- Craft the perfect resume! Master the Art of Resume Writing with ResumeGemini’s guide. Showcase your unique qualifications and achievements effectively.
- Don’t miss out on holiday savings! Build your dream resume with ResumeGemini’s ATS optimized templates.
Q 16. What are the key factors to consider when choosing the appropriate binding method for a specific project?
Choosing the right binding method is crucial for the longevity and presentation of a printed piece. Several key factors influence this decision:
- Budget: Spiral binding is cost-effective for low-page-count documents, while perfect binding is more expensive but suitable for larger projects.
- Number of pages: Saddle stitch binding is suitable for smaller booklets, while perfect binding is best for larger ones. Wire-o binding is very popular for notebooks.
- Paper type and weight: Heavier paper stocks might require stronger binding methods like case binding. Thinner papers work well with simpler techniques.
- Aesthetic requirements: The visual appeal of the final product is important. Perfect binding offers a clean, professional look for books, while spiral binding is more utilitarian.
- Project purpose and intended use: A high-end coffee table book needs a premium binding (case binding) while a simple student workbook may only need saddle stitching.
For example, I wouldn’t use saddle stitch binding for a 200-page novel; perfect binding would be far more suitable. Considering all these factors ensures that the final product is both functional and aesthetically pleasing.
Q 17. How do you calculate the cost of a print job, considering materials and labor?
Calculating the cost of a print job is a multifaceted process. It involves a careful assessment of both direct and indirect costs:
- Material Costs: This includes the cost of paper (taking into account weight, size, and quantity), ink, and any other consumables used in the process. Accurate pricing requires access to current supplier pricing and accounting for waste.
- Labor Costs: This involves calculating the time required for each stage of production – printing, folding, binding, cutting, etc. We need to consider the hourly rate of each employee and factor in machine downtime.
- Overhead Costs: These encompass indirect costs such as rent, utilities, machine maintenance, and administrative expenses. These are often calculated as a percentage of the direct costs.
- Profit Margin: A percentage is added to cover business expenses and ensure profitability. This factor must be carefully considered and varies depending on the market conditions and competition.
For example, let’s say the materials cost $100, labor costs $50, and overhead is 20% of the material and labor costs ($30), then the total cost is $180. Adding a 15% profit margin brings the final price to approximately $207. Precise calculations require detailed tracking of all expenses and time invested in each project.
Q 18. What is your experience with using a digital cutting system?
I have extensive experience operating digital cutting systems, specifically those utilizing CAD (Computer-Aided Design) software. My expertise includes:
- Software Proficiency: I’m proficient in using design software to create cutting paths, ensuring precise and efficient cuts. This minimizes material waste and maximizes productivity.
- Machine Operation: I understand the intricacies of different digital cutting systems, including calibration, blade maintenance, and troubleshooting. This ensures optimal machine performance and output quality.
- Material Handling: I’m adept at handling various materials, including paper, cardstock, and other substrates, optimizing settings for each material’s properties to prevent damage or miscuts.
- Safety Procedures: I strictly adhere to all safety protocols, including wearing appropriate personal protective equipment, to minimize the risk of accidents. Safety is always my top priority.
For example, I recently used a digital cutting system to cut intricate shapes for a complex packaging project. The precision of the digital cutter ensured consistency and saved us time compared to manual cutting.
Q 19. How do you maintain the cleanliness and organization of your work area?
Maintaining a clean and organized workspace is paramount for efficiency and safety. My approach involves:
- Regular Cleaning: I perform regular cleanups throughout the workday, removing debris, and disposing of waste properly. This prevents build-up and potential machine malfunctions.
- Organized Storage: All materials, tools, and supplies are stored in designated locations, making it easy to find what’s needed and preventing clutter. This also avoids accidental damage to materials.
- 5S Methodology: I often utilize the 5S methodology (Sort, Set in Order, Shine, Standardize, Sustain) to organize my workspace, ensuring a consistently clean and efficient environment.
- Preventive Maintenance: I regularly inspect and clean equipment to prevent malfunctions and ensure longevity. This proactive approach minimizes downtime and maximizes productivity.
A clean and organized workspace isn’t just about aesthetics; it’s crucial for safety, efficiency, and reducing errors.
Q 20. Describe your problem-solving skills when facing unexpected issues during production.
Problem-solving is a critical skill in press and bindery operations. My approach involves a systematic process:
- Identify the Problem: First, precisely define the issue. What’s gone wrong? Is it a machine malfunction, a material issue, or a process error?
- Gather Information: Collect all relevant data. What are the symptoms? When did the problem start? What changes were made recently?
- Analyze the Problem: Systematically analyze the gathered information to identify potential causes. Is it a mechanical issue? Is the paper causing problems? Is it a software error?
- Develop Solutions: Brainstorm possible solutions based on the analysis. Consider the feasibility and impact of each potential solution.
- Implement and Test: Implement the chosen solution and carefully test its effectiveness. Document the results.
- Evaluate and Improve: Evaluate the outcome and identify areas for improvement in the future. This prevents the issue from recurring.
For instance, during a recent job, we experienced repeated paper jams in a high-speed folder. By systematically analyzing the problem, we identified worn rollers as the cause and replaced them, resolving the issue.
Q 21. How familiar are you with different types of finishing software?
I have a working knowledge of several finishing software packages, including:
- Adobe Acrobat: For pre-flighting files, creating PDFs for print, and adding finishing instructions. I use this for verifying bleed and ensuring color consistency.
- Esko Automation Engine: Used for automating processes and creating prepress files. This allows for streamlined workflow and reduces errors.
- Other RIP Software: Depending on the specific printer or finishing system, I’m proficient in using various RIP (Raster Image Processor) software for color management and print optimization.
My understanding of these software programs extends beyond basic operation; I can troubleshoot errors and optimize settings to ensure high-quality output. This includes color profiles and ensuring accurate imposition for optimal printing and finishing.
Q 22. Describe your experience with quality control checks throughout the printing and binding process.
Quality control in print and bindery is paramount. It’s a multi-stage process, starting even before the printing begins. We meticulously check the pre-press files for accuracy – correct fonts, color profiles, image resolution, and bleed settings. This is often done using software like Adobe Acrobat and preflighting tools.
- During printing: Regular checks are performed throughout the run to ensure consistent color, registration (alignment of colors), and ink density. We use densitometers and colorimeters for precise measurements, comparing them to the approved proofs. If discrepancies arise, we immediately adjust the press settings to rectify the problem.
- Post-printing inspection: Once the printing is complete, a thorough inspection is conducted to identify any defects like smudging, scratches, or misprints. This often involves a visual inspection along with using magnification tools to spot minor flaws.
- Binding quality control: During binding, we check for accurate folding, stitching, trimming, and cover attachment. For perfect binding, we check the spine’s integrity, ensuring the pages lie flat and the glue is adequately applied. For saddle stitch, we ensure the staples are properly secured. We also examine the finished product’s overall quality, looking for anything out of place.
- Final inspection: A final quality check is performed before the job is released to the client. This often includes a spot check of several pieces from the finished stack, ensuring consistency throughout the entire run.
Think of it like baking a cake: you wouldn’t just throw ingredients together and hope for the best. Each step, from measuring ingredients to checking the oven temperature to assessing the finished product, is crucial for the final result. Quality control in printing is similar – it’s a series of checks at each stage to ensure the final product meets the highest standards.
Q 23. What is your experience with working with different types of inks?
My experience encompasses a wide range of inks, including:
- Pantone Matching System (PMS) inks: These are spot colors, providing specific, consistent hues crucial for branding and corporate identity. I’m adept at mixing and managing these to achieve precise color matches.
- Process inks (CMYK): These are the four standard colors (Cyan, Magenta, Yellow, and Black) used in most printing processes. Understanding color separation and how these colors interact is essential for achieving accurate reproduction of images and photographs. I have experience fine-tuning these to reach specific color targets.
- UV inks: These inks cure instantly upon exposure to ultraviolet light, providing a durable, scratch-resistant finish, often used for packaging and outdoor signage. I’m familiar with the specific handling and press requirements for these inks.
- Water-based inks: Eco-friendly and suitable for various applications, these inks require specific printing techniques and paper choices to ensure proper adhesion and drying. I have extensive experience working with these, understanding their limitations and optimal applications.
Choosing the right ink for the job depends heavily on the substrate (paper type), the desired print quality, and the final application of the product. For instance, UV inks are ideal for durable packaging, while water-based inks might be preferred for eco-conscious projects. My understanding of these nuances allows me to recommend the optimal ink solution for each client’s needs.
Q 24. How do you ensure the accuracy of the final product against the provided specifications?
Ensuring accuracy against specifications is achieved through a rigorous comparison process throughout the entire workflow.
- Proofs and Approvals: We start by creating accurate digital and/or physical proofs, often using high-resolution digital proofs that closely mimic the final product. These proofs are sent to the client for approval before any printing commences. This helps catch any errors early on. Any client-requested revisions are carefully documented and implemented.
- Color Management: Precise color management is essential. We use color profiles, spectrophotometers, and densitometers to measure and control color accurately throughout the printing process. This ensures the final product matches the approved proofs consistently.
- Dimensional Accuracy: Dimensions are carefully checked at every stage. We use measuring instruments to ensure the final product’s dimensions (including trim size, bleed, margins, etc.) align with the client’s specifications. This involves verifying dimensions during imposition (arranging pages for printing) and after trimming.
- Inspection and Quality Control Checklists: Throughout each stage of the printing and binding process, we follow detailed checklists and perform regular inspections to identify any discrepancies. This process ensures that we catch potential errors before they lead to major issues.
If discrepancies arise, we investigate the root cause, using appropriate corrective actions to maintain consistency. Documentation of all these steps is maintained for traceability and accountability.
Q 25. Describe your experience working with clients and managing their expectations.
Client management involves clear communication, proactive updates, and a commitment to exceeding expectations. I build rapport with clients by actively listening to their needs, providing honest and transparent communication regarding timelines, budgets, and potential challenges. For example, if a specific paper stock is unavailable, I proactively suggest suitable alternatives, explaining the pros and cons of each option.
- Project Kickoff Meetings: Initial meetings are crucial to establishing clear expectations and addressing any uncertainties about the project. We review the specifications thoroughly and answer client questions.
- Regular Updates: I provide regular updates on the project’s progress, highlighting any milestones achieved and addressing any potential issues promptly.
- Addressing Concerns: I’m always available to answer client queries and address their concerns. If a problem arises, I offer transparent solutions, explaining the process and outlining possible solutions together.
- Post-Project Feedback: Post-project feedback is valuable for improving future processes. I actively seek feedback from clients, understanding their satisfaction level and incorporating their suggestions for future improvements.
Essentially, I strive to be a collaborative partner, ensuring the client’s vision is realized with the highest quality and professionalism.
Q 26. How do you adapt to changing job requirements and priorities?
Adaptability is key in this industry. Changes in job requirements are common, and I’ve honed my ability to respond effectively by:
- Prioritization: When faced with multiple priorities, I employ time-management strategies, prioritizing tasks based on urgency and impact. This involves clearly identifying the critical path for a given project.
- Communication: Open communication with the team and the client is essential. If changes are required, I communicate the implications clearly and promptly. This ensures everyone is aligned on the revised plan.
- Problem-Solving: I approach changes as opportunities to find efficient and effective solutions. This involves analyzing the impact of the change and proposing suitable adjustments to the workflow or scheduling.
- Flexibility: I’m comfortable working with different software, machinery, and workflows, enabling me to easily adapt to new requirements or technologies.
For example, if a client suddenly requests a change in the paper stock midway through the project, I immediately assess the impact on the timeline and budget, communicate this to the client, and explore the best options for implementation, minimizing any delays or additional costs.
Q 27. What are your preferred methods for communicating effectively within a team?
Effective team communication relies on clear, concise, and timely exchange of information. My preferred methods include:
- Daily Stand-up Meetings: Short, focused meetings at the start of the day provide updates on individual progress, identify roadblocks, and ensure everyone is aligned on priorities.
- Regular Team Meetings: More in-depth meetings address strategic issues, project planning, and quality control processes. These provide an avenue for collaborative problem-solving.
- Email and Instant Messaging: For quick updates, clarifications, and sharing of documents, I use email and instant messaging tools efficiently.
- Active Listening and Feedback: I value open communication, where team members feel comfortable sharing ideas, concerns, and feedback. Active listening is crucial to prevent miscommunications and resolve potential conflicts proactively.
Maintaining a positive and collaborative environment is crucial for effective teamwork. I foster this by encouraging open communication and actively participating in team discussions.
Q 28. Describe a time you had to resolve a challenging technical issue during a print job.
During a large-scale brochure printing job, we encountered a significant color variation between the proof and the first few printed sheets. The color was noticeably off, jeopardizing the entire print run. We initially suspected an issue with the ink but after thorough checks of the ink, press settings, and substrates ruled that out.
After systematic troubleshooting, we discovered the problem stemmed from the color profile being incorrectly embedded in the pre-press files. This was a subtle error but had a significant impact on the final output.
- Step 1: Isolation: We isolated the problem by carefully analyzing the color discrepancies against the approved proofs using densitometry and colorimetric measurements. We meticulously cross-referenced our pre-press settings with the press calibration settings.
- Step 2: Root Cause Analysis: We realized that despite multiple proof checks, the incorrect color profile had inadvertently been used.
- Step 3: Solution Implementation: We corrected the color profile in the pre-press files and re-ran the color calibration on the printing press. We carefully monitored the color output during a test run to verify the accuracy.
- Step 4: Monitoring and Prevention: Following the resolution, we implemented stricter quality control measures and added another step in our pre-press workflow to specifically check the embedded color profiles.
This experience highlighted the importance of meticulous attention to detail throughout the entire printing process. The successful resolution showcased my problem-solving skills, technical expertise, and ability to implement corrective actions effectively under pressure. The added prevention measures ensured that a similar issue didn’t arise in subsequent projects.
Key Topics to Learn for Press and Bindery Operations Interview
- Press Operation Fundamentals: Understanding different printing presses (offset, digital, etc.), color management, pre-press preparation, and quality control procedures.
- Practical Application: Troubleshooting common press malfunctions, adjusting settings for optimal print quality, and maintaining press efficiency through preventative maintenance.
- Bindery Processes: Familiarize yourself with various binding methods (e.g., saddle stitch, perfect binding, wire-o), finishing techniques (e.g., cutting, folding, laminating), and understanding their applications for different projects.
- Quality Control and Assurance: Implementing quality control checks throughout the printing and binding process, identifying and resolving defects, and understanding industry standards for quality assurance.
- Safety Procedures and Regulations: Understanding and adhering to safety protocols within the press and bindery environment, including machine operation, material handling, and waste disposal.
- Production Planning and Scheduling: Understanding workflow management, job scheduling, and optimizing production timelines to meet deadlines and client expectations.
- Material Handling and Inventory Management: Efficiently handling paper stock, inks, and other materials, maintaining inventory levels, and minimizing waste.
- Troubleshooting and Problem Solving: Developing strategies for identifying and resolving technical issues, optimizing processes, and improving overall efficiency.
- Industry-Specific Software and Technology: Familiarity with relevant software used in pre-press, press operation, and bindery processes (specific software names should be researched based on common industry use).
Next Steps
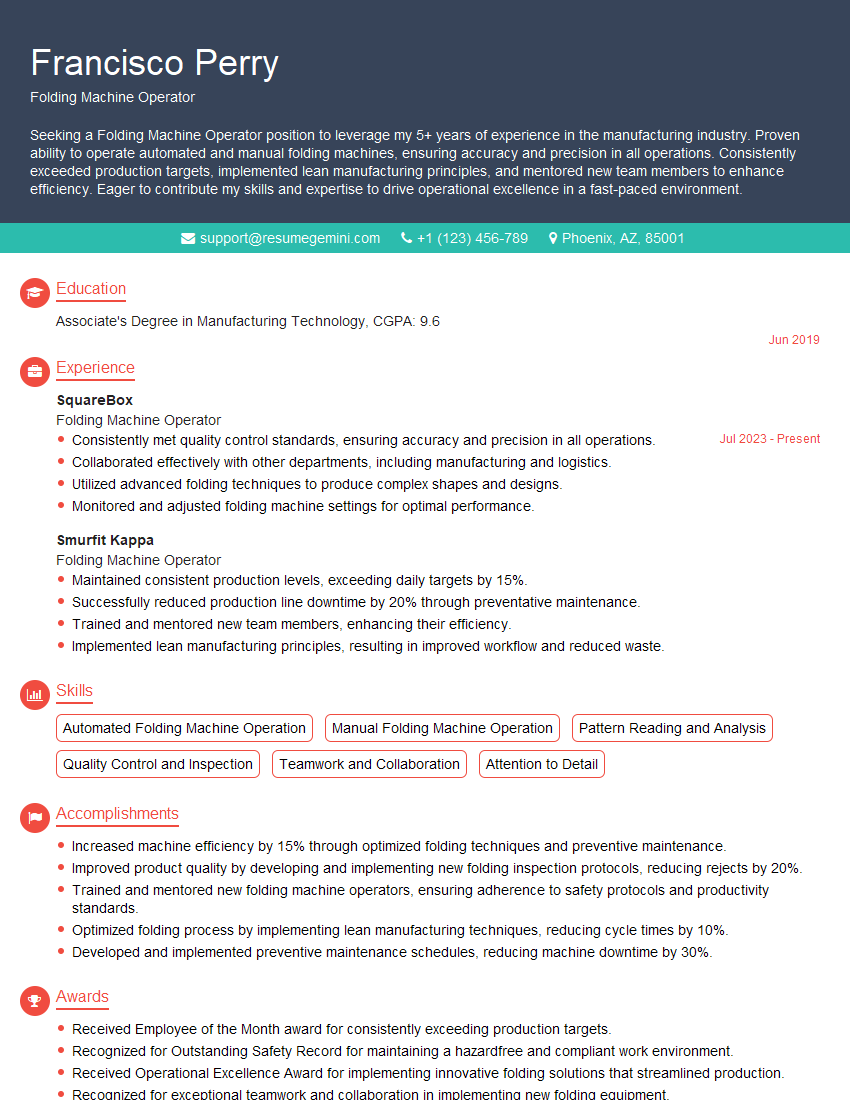
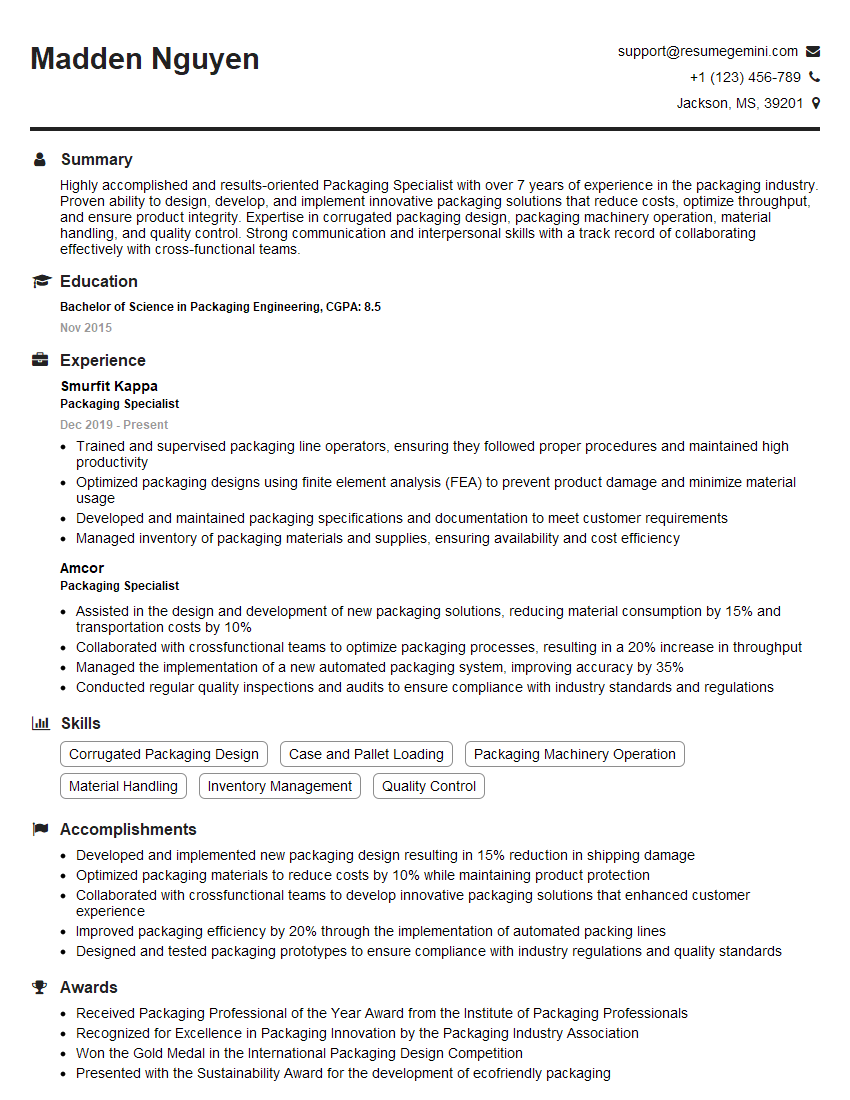
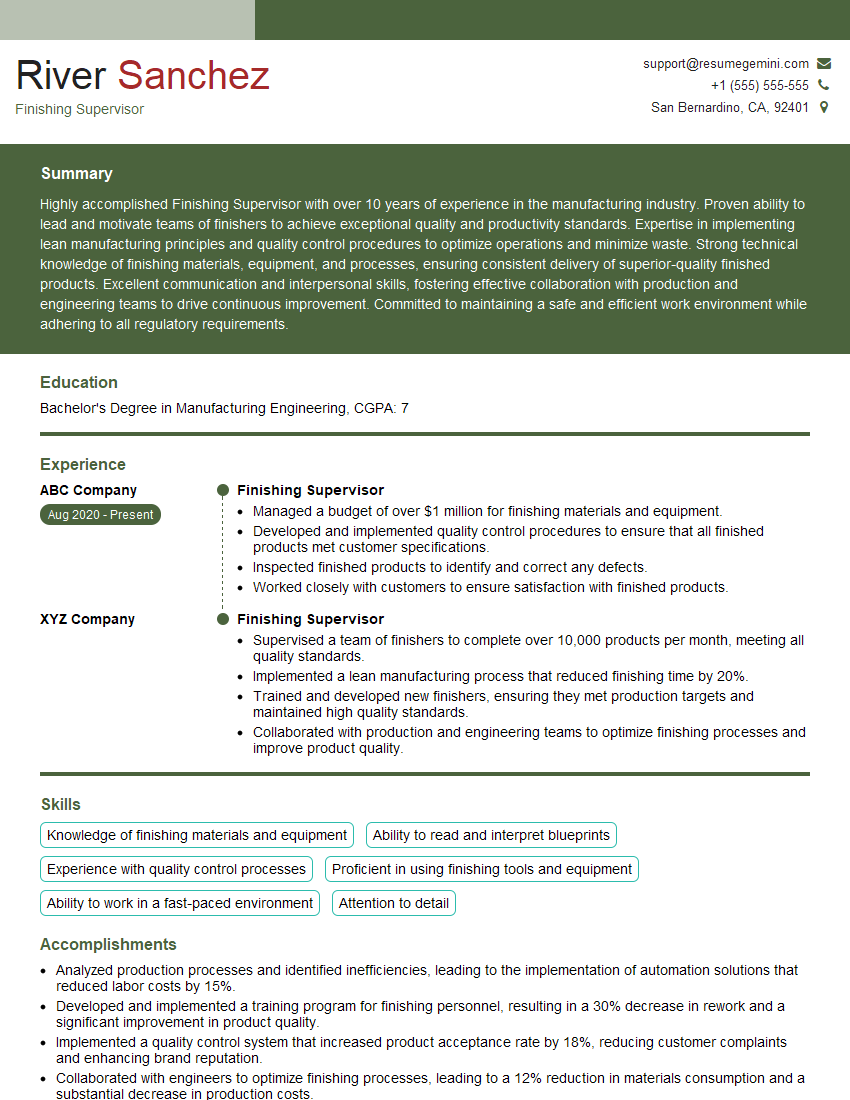
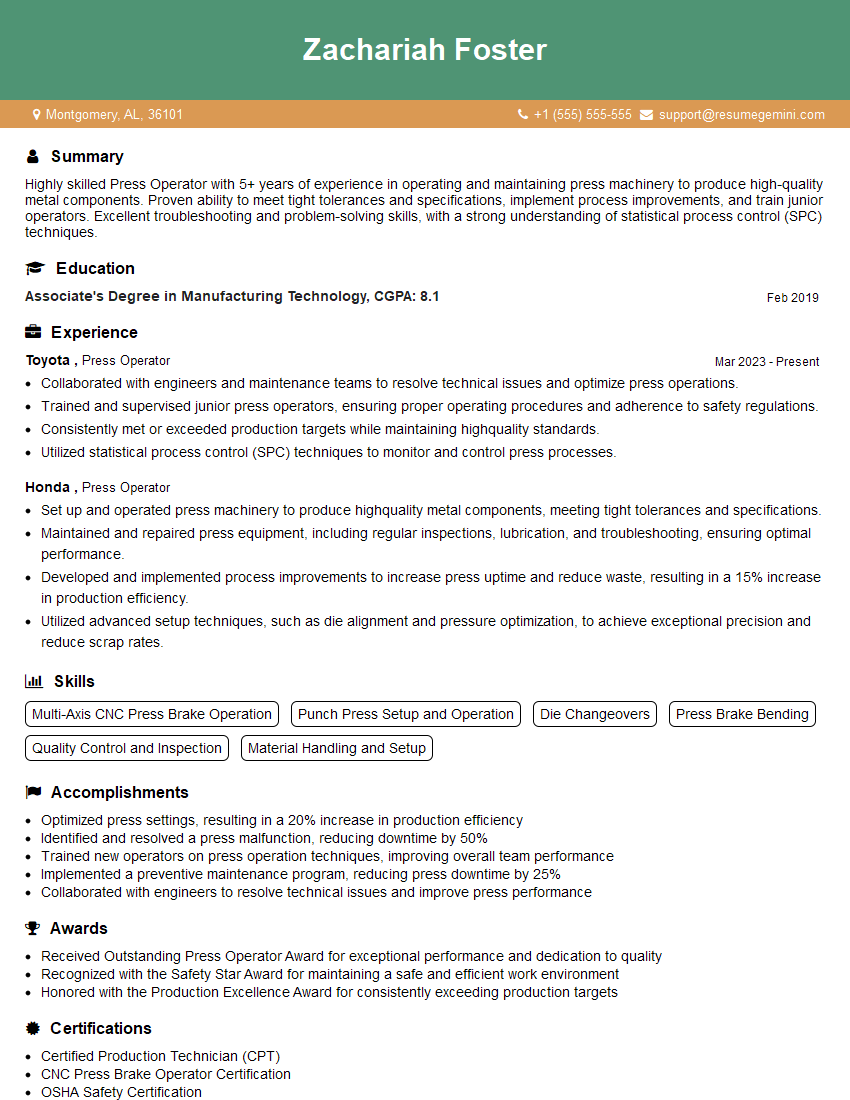
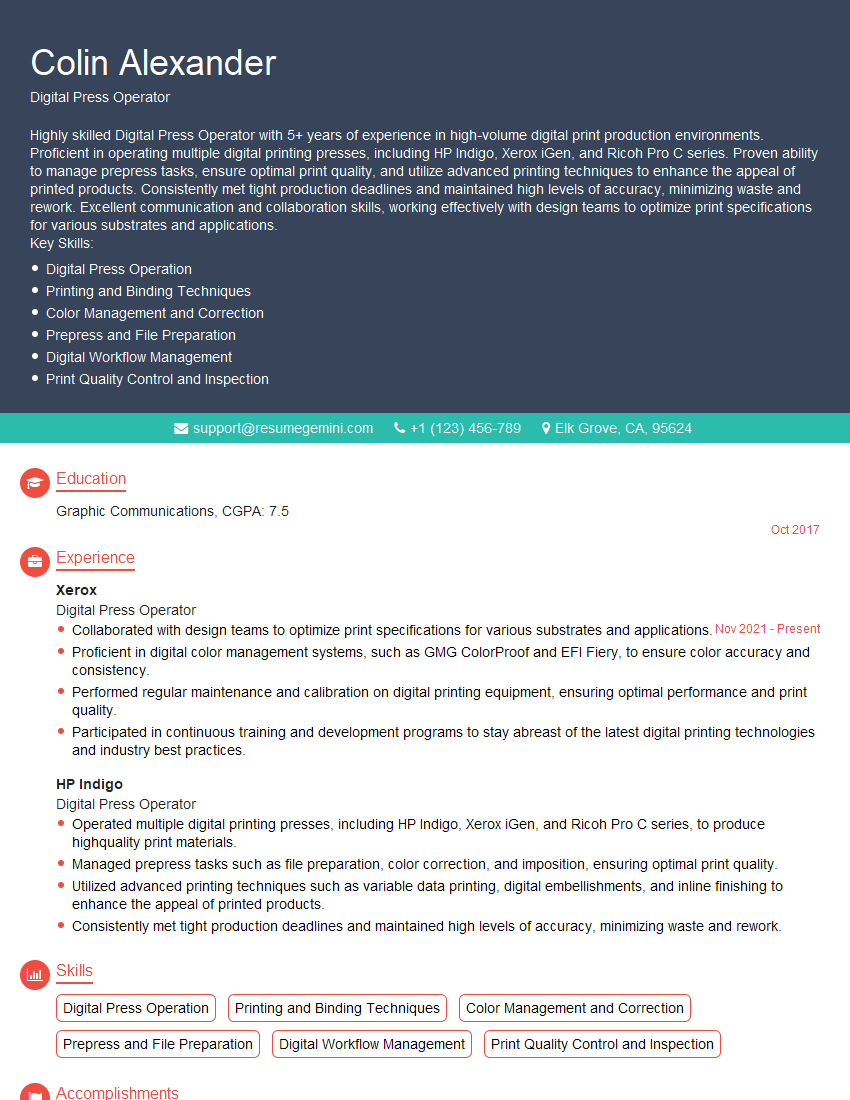
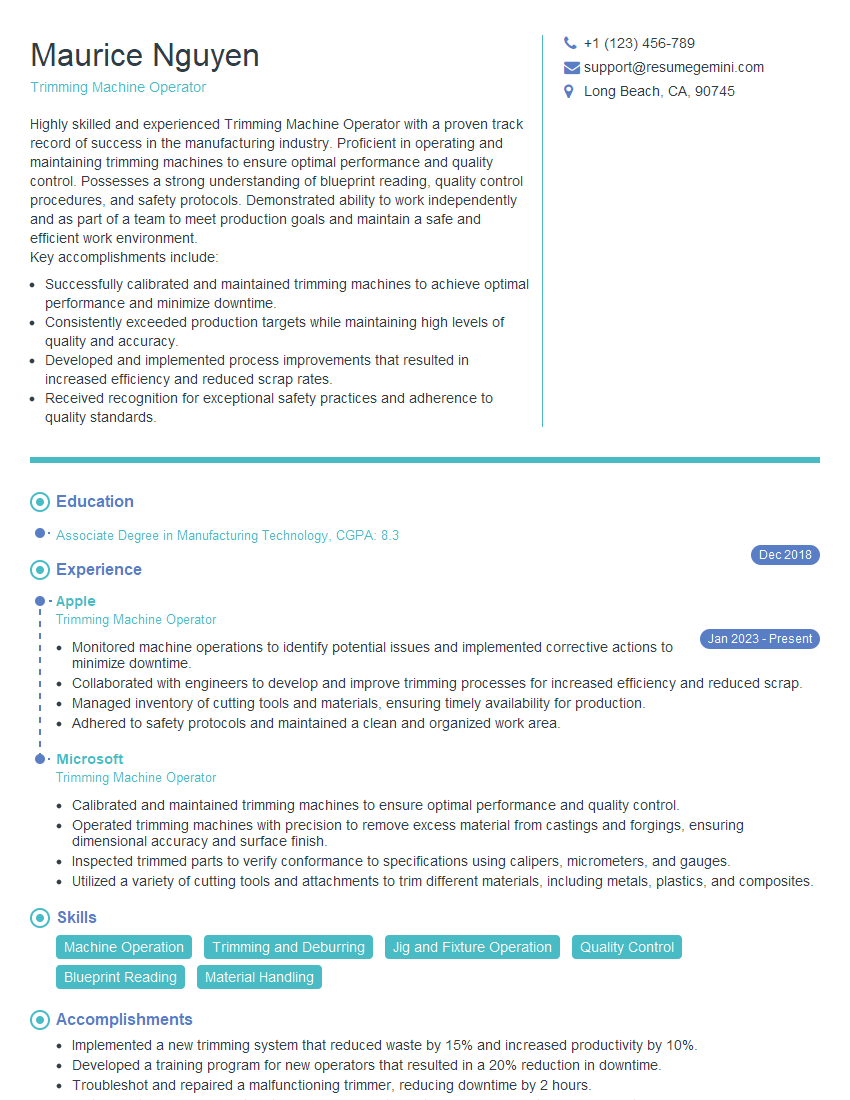
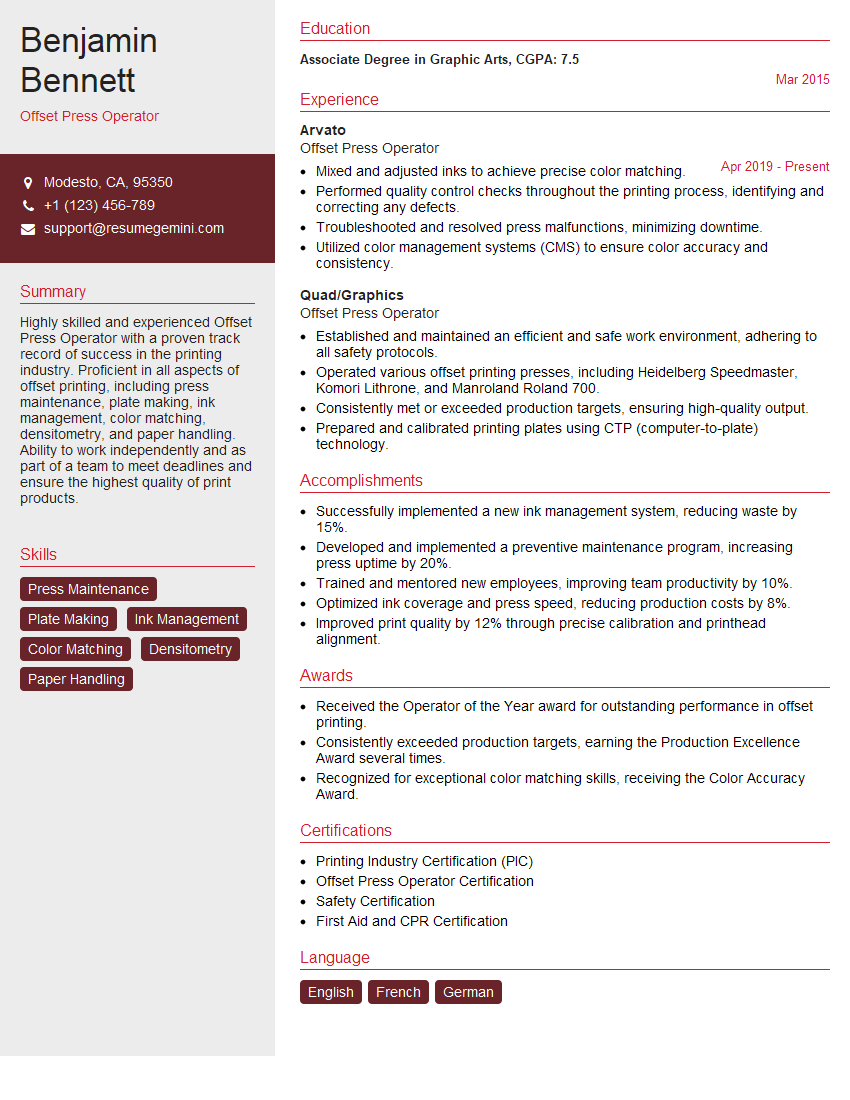
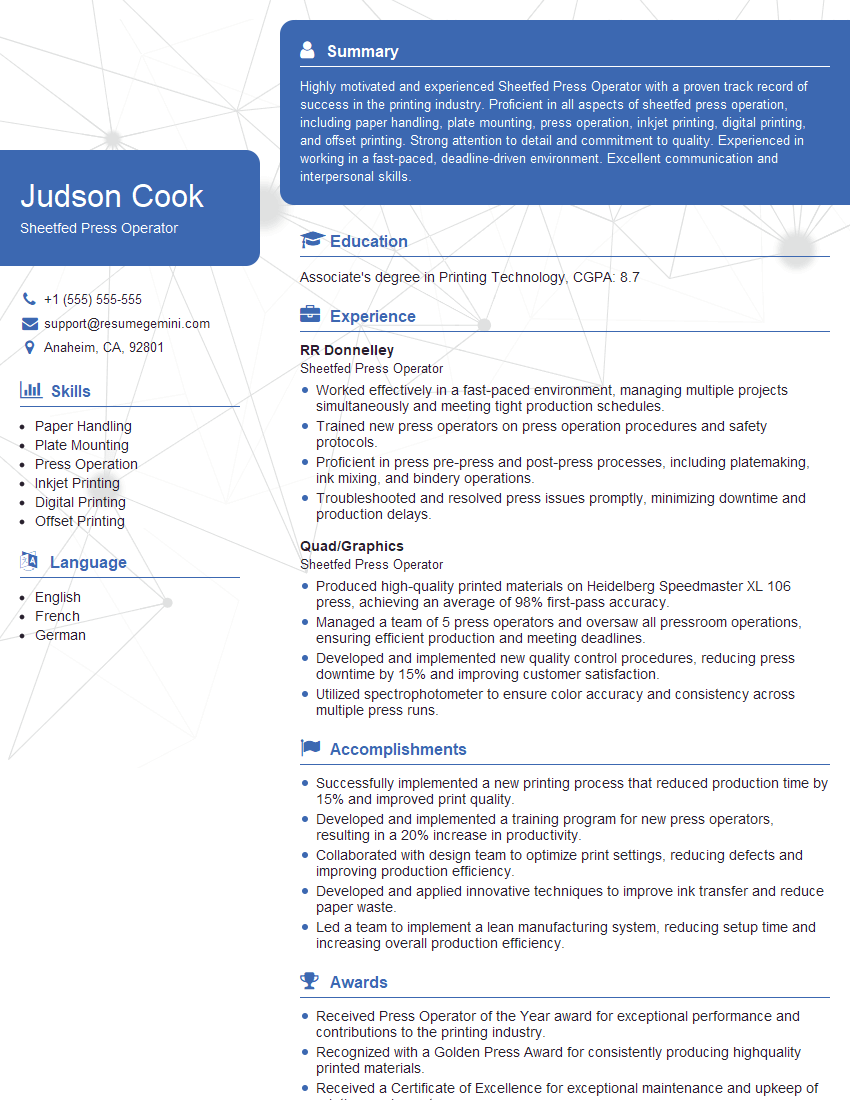
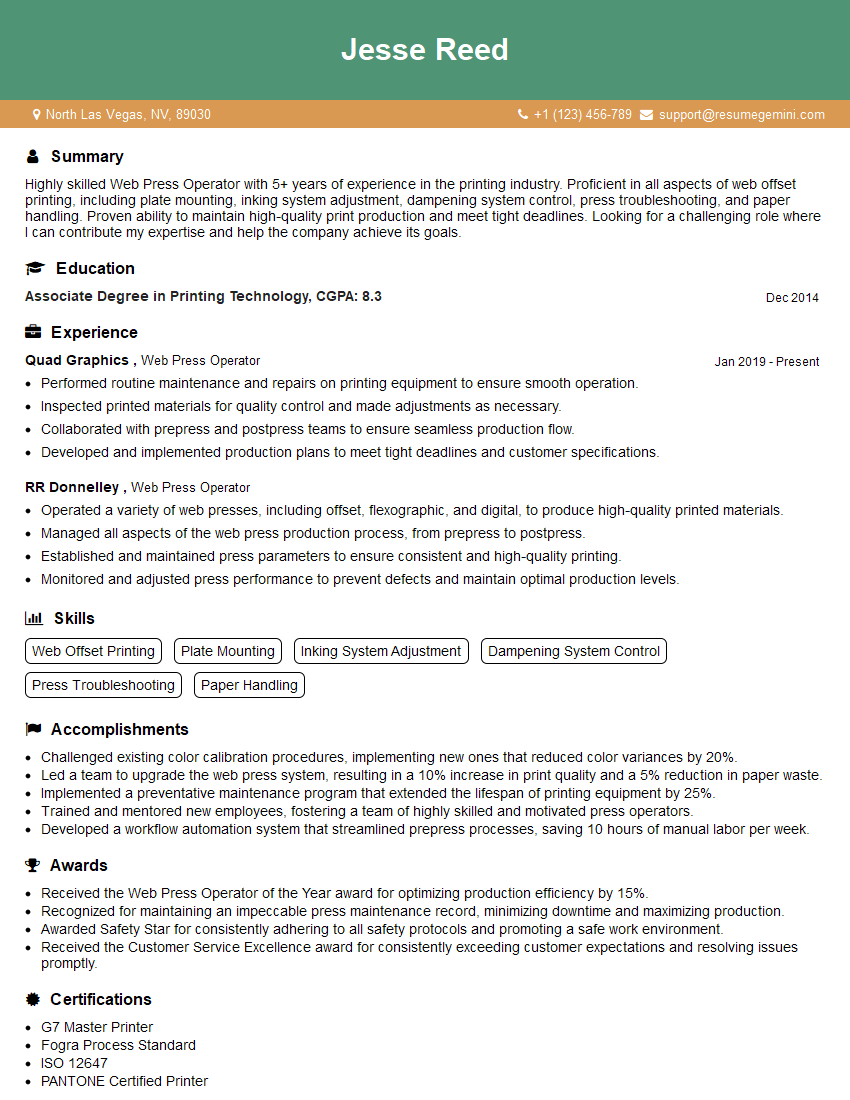
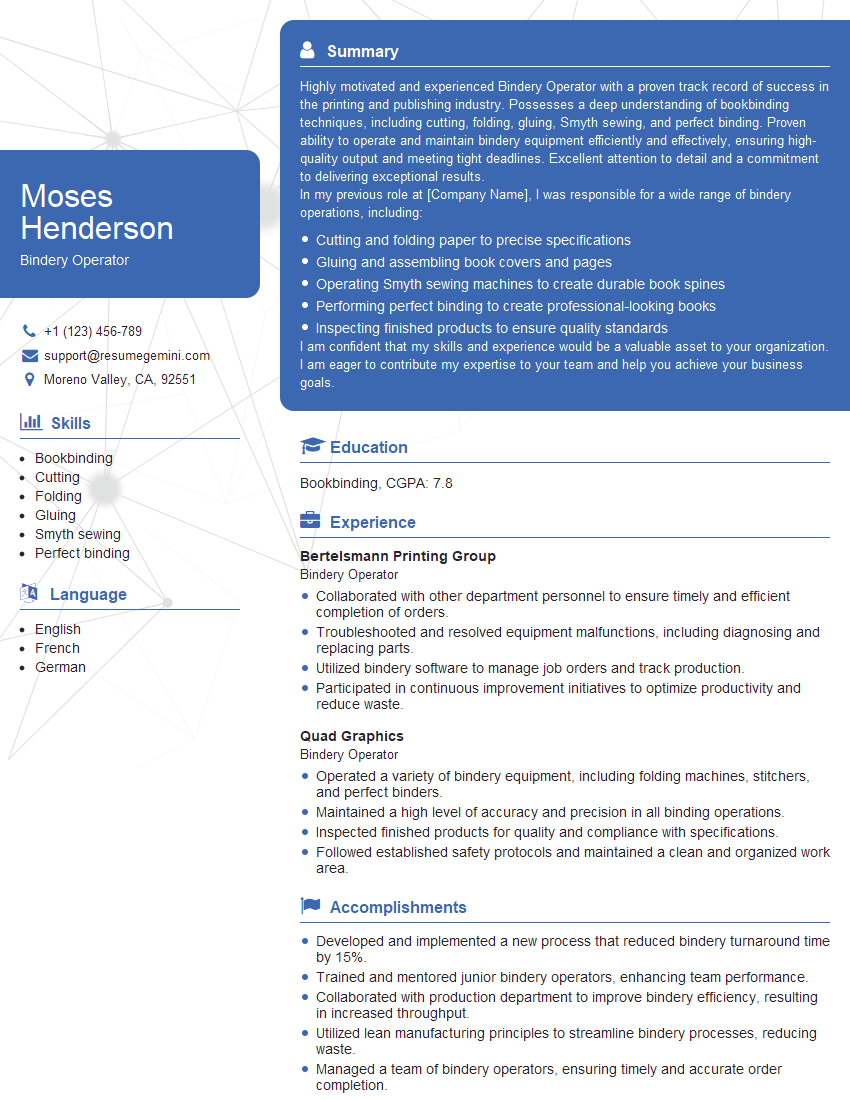
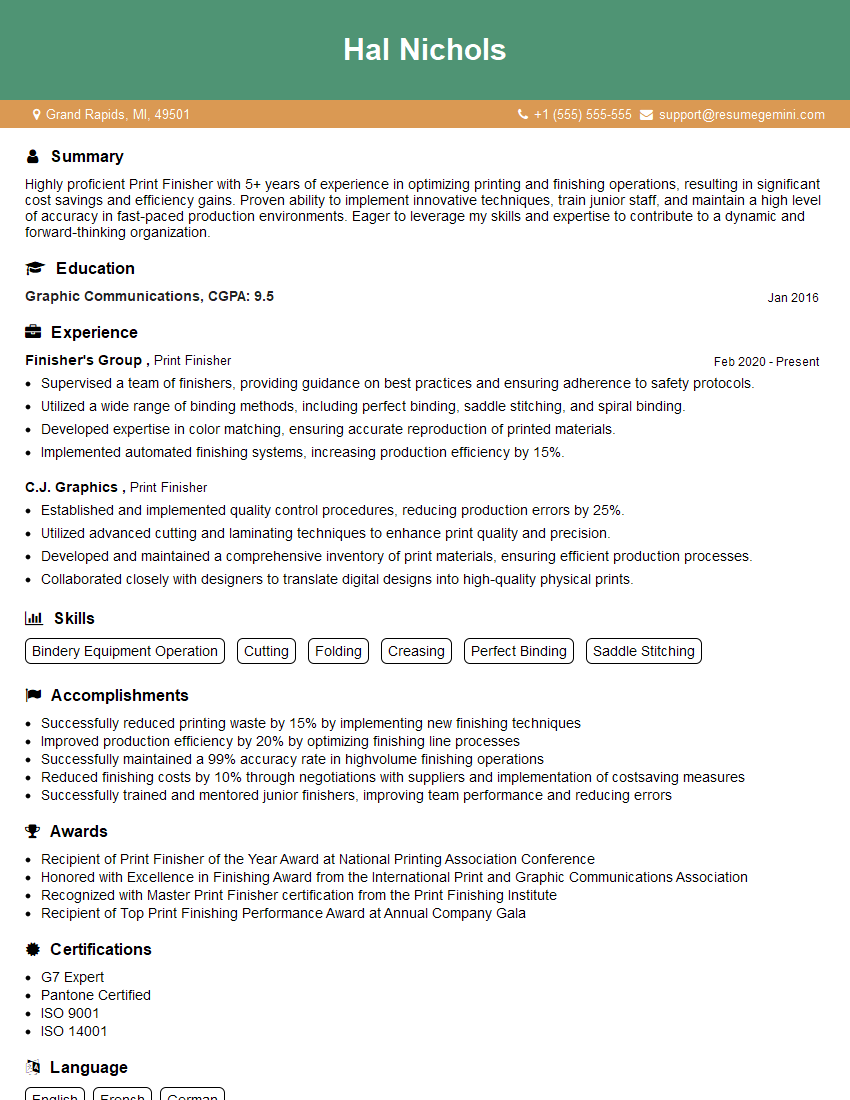
Mastering Press and Bindery Operations opens doors to a rewarding career with excellent growth potential. Advancement opportunities often involve supervisory roles, specialized training, or transitioning into management positions. To maximize your job prospects, crafting a strong, ATS-friendly resume is crucial. ResumeGemini is a trusted resource to help you build a professional and impactful resume that highlights your skills and experience. Examples of resumes tailored to Press and Bindery Operations are available to guide you through the process. Invest the time in building a compelling resume – it’s your first impression on potential employers.
Explore more articles
Users Rating of Our Blogs
Share Your Experience
We value your feedback! Please rate our content and share your thoughts (optional).
What Readers Say About Our Blog
Hi, I’m Jay, we have a few potential clients that are interested in your services, thought you might be a good fit. I’d love to talk about the details, when do you have time to talk?
Best,
Jay
Founder | CEO


