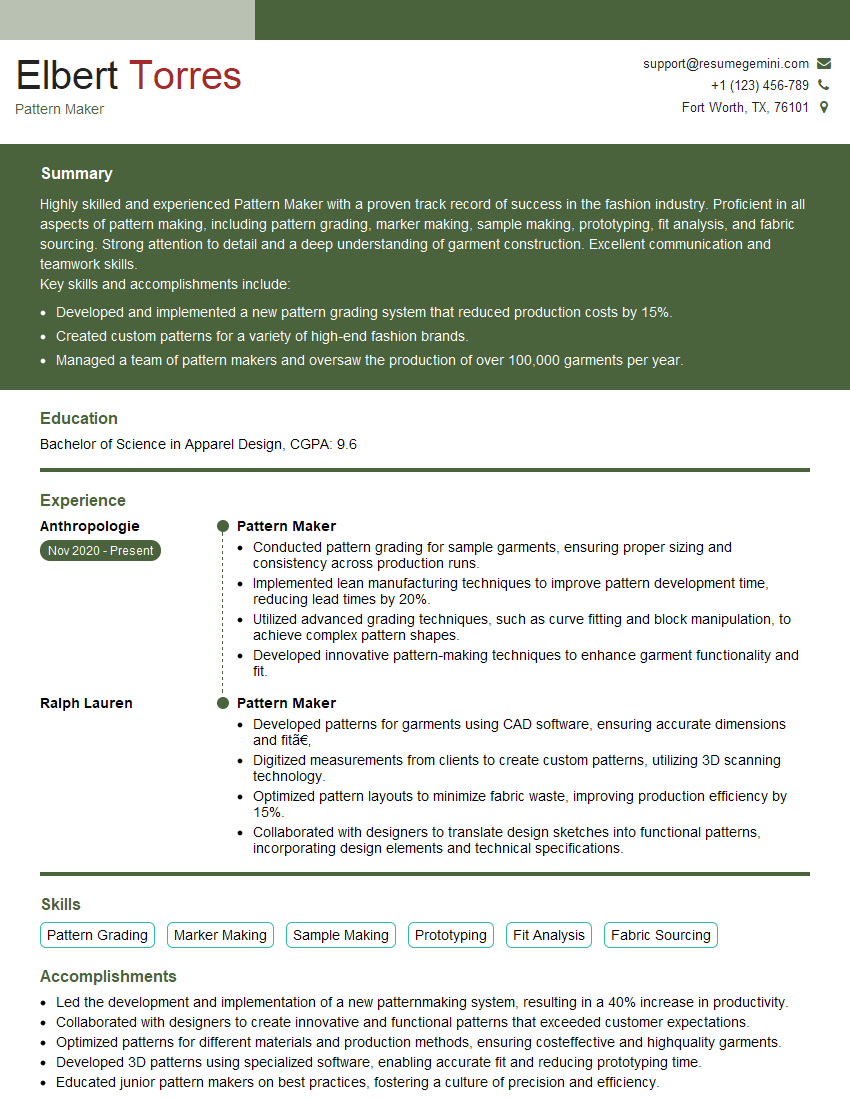
The thought of an interview can be nerve-wracking, but the right preparation can make all the difference. Explore this comprehensive guide to Sewing and Garment Construction interview questions and gain the confidence you need to showcase your abilities and secure the role.
Questions Asked in Sewing and Garment Construction Interview
Q 1. What are the different types of sewing machine needles and when would you use each?
Sewing machine needles come in a variety of types, each designed for a specific fabric type and sewing task. Choosing the right needle is crucial for achieving clean, even stitches and preventing damage to your fabric or machine.
- Universal Needles: These are the most common type, suitable for a wide range of woven fabrics like cotton, linen, and some lightweight knits. Think of them as your all-purpose workhorses.
- Ballpoint Needles: Designed for knit fabrics, these needles have a rounded tip that glides between the loops of the knit fabric instead of piercing them, preventing skipped stitches and fabric runs. Imagine gently parting the knit fabric rather than forcing a way through.
- Sharp Needles: Ideal for sewing woven fabrics like denim, canvas, or other heavy-weight materials. The sharp point easily penetrates thick layers. These are your power tools for tough jobs.
- Jeans Needles: These are extra-strong needles with a reinforced shaft, perfect for sewing very heavy fabrics like denim, canvas, or leather. They can handle the stress and thickness without breaking.
- Embroidery Needles: Designed for embroidery, these needles have a longer eye and a slightly sharper point for better control and stitch quality. They are perfect for bringing your creative vision to life.
- Stretch Needles: These needles have a special configuration to reduce friction, preventing skipped stitches and fabric stretching, making them perfect for stretchy knits.
For example, I wouldn’t use a universal needle on a delicate silk charmeuse; a sharp needle would likely cause snags. Instead, I’d opt for a microtex needle, designed for fine fabrics, to ensure a pristine finish.
Q 2. Explain the process of creating a professional-quality seam finish.
A professional-quality seam finish is essential for durability and a clean, polished look. It prevents fraying and adds a touch of elegance to the garment. There are several methods, and the best choice depends on the fabric and the garment’s intended use.
- Serging/Overlocking: This involves using a serger (or an overlock stitch on a sewing machine) to create a neat, finished edge that prevents fraying. It’s fast and efficient, especially for knits and stretchy fabrics. Think of it as creating a little protective barrier around the seam edges.
- Zigzag Stitch: A simple zigzag stitch can effectively prevent fraying on most fabrics. The width and length of the stitch should be adjusted depending on the fabric type. It’s a quick and easy option for less visible seams or when a serger isn’t available.
- Pinking Shears: Using pinking shears creates a serrated edge which prevents fraying to some extent, particularly on stable fabrics. This method is suitable for less-stress areas or quick, less-visible finishes.
- French Seam: A classic and elegant finish for lighter weight fabrics, a French seam encloses all raw edges, producing a clean and durable finish. It’s perfect for fine garments.
- Hong Kong Finish: A very neat, professional finish where bias binding is used to encase all raw edges. It requires more time but gives a polished, high-quality finish for sophisticated apparel.
For instance, I’d choose a serged finish for a cotton jersey t-shirt for its speed and durability, while a French seam would be perfect for a silk blouse to maintain a refined look.
Q 3. Describe your experience with different fabric types and their appropriate sewing techniques.
My experience encompasses a wide range of fabric types, each requiring specific sewing techniques. Understanding the properties of each fabric is crucial for successful garment construction.
- Woven Fabrics (Cotton, Linen, Silk, Wool): These fabrics have warp and weft threads woven together. They generally hold their shape well and can withstand more stress, allowing for a wider range of seam finishes. Stitches should be adjusted to suit the fabric’s weight and structure.
- Knit Fabrics (Jersey, Rib Knit, Double Knit): Knit fabrics are made of interlocking loops of yarn. They are stretchy and require special care to avoid stretching or distorting the fabric during sewing. Ballpoint needles and a stretch stitch are crucial.
- Leather and Suede: These require specialized needles and often need a walking foot to prevent slippage. Stitches should be shorter and stronger for durability.
- Fleece: This pile fabric requires sharp needles to pierce the fibres but can stretch, so a ballpoint needle might be used to prevent snagging. A slightly longer stitch may also be used.
- Lace and delicate fabrics: These need a gentle touch. A very fine needle and a small stitch size is necessary to avoid damage and create a clean finish.
For example, while I might use a strong stitch and a universal needle for a heavy linen garment, I would carefully select a ballpoint needle and a smaller, more flexible stitch for a stretch jersey top.
Q 4. How do you identify and correct common sewing machine malfunctions?
Troubleshooting sewing machine malfunctions requires a systematic approach. I start by identifying the problem and then systematically check potential causes.
- Skipped Stitches: This could be due to a bent or dull needle, incorrect thread tension, improper needle threading, or a damaged bobbin. I would inspect the needle, check the thread tension, re-thread the machine, and examine the bobbin for damage.
- Broken Needles: Often caused by hitting pins, forcing the fabric, or using the wrong needle for the fabric. Always ensure pins are removed, use appropriate needles, and avoid forcing the fabric through.
- Thread Jamming: Could be from incorrect threading, a full bobbin, or lint build-up. I’d thoroughly check the threading, empty the bobbin, and clean the machine.
- Uneven Stitches: Possible causes include inconsistent thread tension, improper needle position, or a dirty machine. I’d adjust the tension dial, ensure the needle is properly aligned, and clean the machine.
- Machine Not Starting: Check the power cord, power supply, and the foot pedal’s connection.
For instance, if I’m experiencing skipped stitches, I’d first replace the needle with a new one and check the thread tension before moving onto more complex solutions. A methodical approach helps pinpoint the issue quickly.
Q 5. What are the key steps in pattern making and grading?
Pattern making and grading are fundamental steps in garment construction. They involve creating a master pattern and then adjusting it to different sizes.
- Pattern Making: This involves creating a two-dimensional template that accurately represents the three-dimensional form of the garment. It typically starts with taking accurate measurements, drafting a basic block (a foundation pattern), and then modifying it to achieve the desired style. Techniques can include draping, flat pattern making, or using slopers.
- Grading: Once a master pattern is created, grading involves systematically increasing or decreasing its dimensions to create patterns for different sizes. This involves expanding or reducing the pattern pieces proportionally, while maintaining the design’s proportions and balance.
For example, a basic bodice block can be graded to create patterns for sizes XS, S, M, L, etc. Grading ensures that the design remains consistent across different sizes, preserving the original style and fit.
Q 6. Explain your experience with different pattern-making techniques (e.g., draping, flat pattern making).
I’m proficient in both draping and flat pattern making, choosing the technique based on the garment’s design and desired fit.
- Draping: This three-dimensional method involves manipulating fabric on a dress form to create the garment’s shape. It’s particularly useful for creating unique, fitted styles and exploring innovative designs. It allows for immediate visualization of the design on a 3D form.
- Flat Pattern Making: This two-dimensional method uses mathematical calculations and drafting techniques to create patterns on paper. It’s more precise and repeatable, ideal for producing consistent patterns for production. It’s precise and can be modified easily to adjust fit and style.
I’d use draping to create a flowing evening gown, where the drape and fluidity of the fabric are paramount. Flat pattern making would be ideal for a tailored business suit, where precision and consistent sizing across multiple garments are essential.
Q 7. How do you ensure accurate measurements and fitting during garment construction?
Accurate measurements and proper fitting are crucial for creating well-fitting garments. This process involves a combination of techniques.
- Accurate Measurements: Taking precise body measurements is the first step. This requires using a flexible tape measure, proper posture, and consistent measurement techniques. Multiple measurements should be taken to ensure accuracy.
- Muslin Mock-up: Creating a mock-up (a test garment) from inexpensive muslin fabric is a critical step. This allows you to check the fit before cutting into the final fabric. Adjustments can then be made before the main garment is sewn, saving time and fabric.
- Fit Adjustments: Based on the muslin mock-up, adjustments are made to the pattern. Common adjustments include ease adjustments (adding extra fabric for comfort), shoulder adjustments, waist adjustments, and length adjustments.
- Grading and adjustments: Pattern grading is done to create multiple sizes from one pattern. Adjustments to the graded pattern are made as per the specific measurements of individual clients.
For example, I might discover through the muslin fitting that the shoulder seams need to be lowered or that the bust needs more ease. These adjustments are then marked directly on the muslin and transferred to the pattern before cutting the final fabric.
Q 8. Describe your experience with industrial sewing machines.
My experience with industrial sewing machines spans over 10 years, encompassing various models from brands like Juki, Singer, and Durkopp Adler. I’m proficient in operating high-speed, heavy-duty machines for diverse fabrics, from lightweight silks to heavy-weight denim. This includes mastering the nuances of each machine, such as adjusting stitch length, tension, and feed dogs for optimal results. I’ve worked extensively with machines featuring different stitch types, including straight stitch, zigzag stitch, blind stitch, and overlock stitches, each requiring precise adjustments based on the project needs. I understand preventative maintenance, troubleshooting common issues like needle breakage or skipped stitches, and making minor repairs. For instance, during one production run of denim jackets, I identified a recurring issue of needle deflection causing inconsistent stitching. By adjusting the presser foot pressure and needle alignment, I resolved the problem, significantly increasing production efficiency and quality.
Q 9. What are the common quality control checks during garment production?
Quality control in garment production is a multi-stage process, crucial for delivering a high-quality final product. It starts with the initial fabric inspection for defects like flaws, inconsistencies, or discoloration. Next, during the cutting phase, accuracy and proper alignment are checked. Throughout the sewing process, we perform regular checks at each workstation. This includes examining stitch quality, seam strength, and ensuring alignment of pattern pieces. After the sewing stage, a comprehensive inspection occurs, often involving a team focusing on specific aspects, such as checking for proper finishing, correct placement of trims and labels, and consistent sizing. Finally, a final inspection often takes place before packaging, encompassing a complete review of the garment to ensure it adheres to quality standards. We use checklists and detailed documentation for each check, facilitating speedy issue identification and solutions. A common example is detecting a missed topstitching line; immediate correction at that stage prevents further delays.
Q 10. How do you manage time effectively in a fast-paced production environment?
In a fast-paced production environment, efficient time management is paramount. I utilize several strategies, including prioritizing tasks based on deadlines and complexity. I break down large tasks into smaller, manageable steps and utilize time-blocking techniques to allocate specific time slots to particular activities. Effective planning, including anticipating potential bottlenecks and adjusting the workflow accordingly, also enhances efficiency. For instance, if a particular sewing operation is consistently slower than others, we might re-allocate resources or re-evaluate the assembly sequence to maximize the workflow. Teamwork and communication are also essential; open communication about challenges and task status keeps everyone informed and prevents unexpected delays. We maintain detailed production schedules, updated in real-time, allowing for proactive problem-solving and adjustments. Finally, maintaining a clean and organized workspace significantly boosts efficiency by minimizing wasted time searching for materials or tools.
Q 11. Explain your understanding of different sewing machine presser feet and their functions.
Different presser feet are specialized tools that significantly impact sewing quality and efficiency. The general-purpose foot is the most common, suitable for straight stitching and most basic sewing projects. The zipper foot has a narrow profile that allows the needle to stitch close to the zipper coil. The buttonhole foot creates consistent buttonholes. A roller foot prevents puckering on slippery or delicate fabrics by smoothly gliding over the surface. Then there’s the blind stitch foot, which creates virtually invisible hems, and the cording foot assists in stitching cords or embellishments. The walking foot feeds both the top and bottom fabric layers evenly, preventing slippage, especially on thick or multi-layered materials. Understanding these specialized feet and their applications is crucial for producing high-quality garments efficiently. For example, using a walking foot when sewing denim significantly reduces fabric slippage and ensures consistent stitch quality.
Q 12. How do you handle fabric wrinkles and puckering during sewing?
Fabric wrinkles and puckering are common challenges during sewing, often resulting from improper fabric handling, incorrect tension, or inconsistent feeding. To prevent these issues, I start by ensuring the fabric is pre-treated appropriately – washed and pressed to remove wrinkles. Using the correct needle and thread size is vital, as an inappropriate combination can lead to puckering. Proper tension adjustment is critical; too much tension will cause puckering, while too little can lead to loose stitches. Using techniques like careful pinning, especially on curved seams, helps to keep the fabric taut. Employing a walking foot, especially on thicker fabrics, can prevent slippage and improve feeding consistency. Seam pressing during construction is essential for minimizing puckering. Lastly, understanding the fabric’s inherent characteristics is critical; certain fabrics are more prone to wrinkling than others, necessitating adjustments in techniques.
Q 13. Describe your experience with different types of seams (e.g., French seams, flat felled seams).
I have extensive experience with various seam types, each chosen depending on the garment’s requirements and the desired aesthetic. A French seam, where the raw edges are entirely enclosed, is ideal for sheer fabrics or when a clean finish is paramount. A flat-felled seam, common in sturdy garments like jeans, is highly durable due to the layers of fabric enclosing the raw edges. Serged seams offer a neat, stretchy finish, suitable for knit fabrics. Overlocked seams are similarly used for finishing raw edges in knit fabrics, providing a more robust edge than a simple zigzag stitch. Selecting the appropriate seam type impacts both the garment’s durability and overall appearance. For example, a French seam would be highly unsuitable for a pair of work trousers due to its lower durability, whereas a flat-felled seam would be inappropriate for a delicate silk blouse. The choice hinges on a careful assessment of both functional and aesthetic needs.
Q 14. How do you interpret technical specifications and sewing instructions?
Interpreting technical specifications and sewing instructions accurately is fundamental. I begin by carefully reviewing the technical drawing, noting dimensions, details of pattern pieces, and assembly instructions. The construction steps are meticulously analyzed, understanding the sequence of operations and the required techniques. I also pay close attention to fabric requirements, seam allowances, and the details of any special features like pockets or closures. If any ambiguities exist, I seek clarification from the designer or pattern maker. I maintain detailed notes during the process, ensuring each step is followed precisely, aiding in tracking progress and identifying potential problems early. For example, a technical drawing might specify a specific type of stitch for a particular seam; deviating from this specification could impact the garment’s durability or overall quality. Accurate interpretation and precise execution of instructions are essential for successful garment construction.
Q 15. How familiar are you with CAD software for pattern making and design?
I’m highly proficient in using CAD software for pattern making and design. My experience spans several industry-standard programs, including Pattern Design Systems (PDS) and Optitex. I’m comfortable creating and manipulating patterns, grading sizes, and generating marker layouts for optimal fabric utilization. For instance, using PDS, I recently optimized a marker for a complex jacket pattern, reducing fabric waste by 15% compared to a manually-created marker. This translates directly to cost savings for production.
Beyond the core functionalities, I’m adept at utilizing the advanced features such as automated grading, 3D pattern visualization, and virtual fitting tools. These features allow for more precise pattern adjustments and reduce the need for costly physical prototypes. My skills enable me to quickly adapt to new software updates and incorporate innovative design elements into my work.
Career Expert Tips:
- Ace those interviews! Prepare effectively by reviewing the Top 50 Most Common Interview Questions on ResumeGemini.
- Navigate your job search with confidence! Explore a wide range of Career Tips on ResumeGemini. Learn about common challenges and recommendations to overcome them.
- Craft the perfect resume! Master the Art of Resume Writing with ResumeGemini’s guide. Showcase your unique qualifications and achievements effectively.
- Don’t miss out on holiday savings! Build your dream resume with ResumeGemini’s ATS optimized templates.
Q 16. Describe your experience with different types of interfacing and their applications.
Interfacing is crucial for garment construction; it provides support, structure, and shape. My experience encompasses a wide range of interfacing types, each suited for specific applications.
- Fusible Interfacing: This type bonds to fabric with heat and pressure, offering a quick and efficient method for stiffening collars, cuffs, and other areas needing structure. I frequently use this for shirt collars and structured bags. The choice of weight is critical—too heavy and the garment feels stiff, too light and it offers insufficient support.
- Non-Fusible Interfacing: This type is sewn into the garment, offering greater flexibility and often a softer hand. I’d use this for areas where a softer feel is desired, like a delicate blouse collar or lapel.
- Woven Interfacing: Usually cotton or linen, this provides excellent support and stability, especially for tailored garments. It’s ideal for structured jackets and blazers, where crisp lines are paramount.
- Knit Interfacing: This is the perfect choice for knit garments, providing stretch and support without compromising the fabric’s drape. I often use this in knit dresses or tops where added structure is needed without making the garment stiff or restricting movement.
Choosing the right interfacing depends on fabric weight, garment style, and desired outcome. Incorrect selection can lead to puckering, distortion, or inadequate support. My expertise lies in selecting the optimal interfacing based on the project’s unique requirements.
Q 17. What are your strategies for troubleshooting fitting issues?
Troubleshooting fitting issues requires a systematic approach. I begin by carefully analyzing the garment on the body, noting areas of tightness, looseness, or distortion. It’s crucial to distinguish between design intent and actual fitting problems.
My strategies include:
- Accurate Measurements: Ensuring accurate measurements taken on the client is the cornerstone of a well-fitting garment. Any discrepancy at this stage can lead to fitting problems down the line.
- Ease: Understanding the garment’s ease (the difference between the body measurements and the garment measurements) is key to a comfortable fit.
- Muslin Mock-ups: Creating a muslin mock-up before cutting into the final fabric is essential for identifying and resolving fitting issues early in the process. This allows for adjustments to be made without wasting expensive fabric.
- Grading and Adjustments: I carefully grade patterns to ensure correct proportions across different sizes. Adjustments are usually made in specific areas like shoulder slope, bust, waist, and hip.
- Alterations Techniques: I use various techniques, such as taking in or letting out seams, adjusting darts, and shifting seams to correct specific fitting issues.
For example, if a garment is too tight across the bust, I might adjust the dart placement, widen the bust area, or add a seam to provide more room. Through a combination of systematic analysis and tailored adjustments, I ensure a well-fitting final garment.
Q 18. How do you maintain your sewing equipment?
Regular maintenance of sewing equipment is vital for optimal performance and longevity. My routine includes:
- Cleaning: I regularly clean my machines, removing lint and dust from the bobbin area, feed dogs, and presser foot. A clean machine functions more efficiently and prevents potential jams.
- Lubrication: I lubricate moving parts according to the manufacturer’s instructions, ensuring smooth operation and preventing wear and tear.
- Needle Changes: I change needles frequently, especially when working with different fabric types. A bent or dull needle can cause skipped stitches and damage the fabric.
- Tension Adjustment: I regularly check and adjust the machine’s tension to ensure even stitching. Incorrect tension can lead to loose or tight stitches.
- Inspection: I periodically inspect all my equipment for any signs of damage or malfunction, addressing any issues promptly.
These preventative measures ensure my sewing machines function at their best, minimizing downtime and producing high-quality garments.
Q 19. What experience do you have with different types of closures (e.g., zippers, buttons, snaps)?
I have extensive experience with a variety of closures, understanding both their functional and aesthetic roles in garment construction.
- Zippers: I’m proficient in installing various zipper types, including invisible zippers, center-front zippers, and lapped zippers, adapting the technique to the garment’s design and fabric. I understand the importance of selecting the appropriate zipper weight and type for each garment. For example, a delicate invisible zipper would be suitable for a fine silk dress, while a heavier, more robust zipper is better suited for a denim jacket.
- Buttons: Beyond simply attaching buttons, I have expertise in buttonhole creation, employing different techniques for various button types and fabric thicknesses. Hand-sewing buttons provides a tailored finish, while machine-made buttonholes ensure precision and uniformity.
- Snaps: I can efficiently and neatly install both metal and plastic snaps, understanding their application in different garments. Snaps are often used in less visible areas or on children’s wear for ease of use.
- Hooks and Eyes: These are often used on tailored garments for a professional and invisible closure. I’m familiar with different types and application techniques.
- Other Closures: My experience extends to less common closures, including toggles, buckles, and drawstrings, which are often essential for certain garment styles.
My ability to expertly install different closures contributes to the overall quality and functionality of my garments.
Q 20. Explain your experience with various stitching techniques (e.g., straight stitch, zigzag stitch, blindstitch).
My proficiency in various stitching techniques is crucial for producing high-quality garments. I understand the strengths and limitations of each technique and select them appropriately based on fabric type and garment design.
- Straight Stitch: This is the workhorse stitch used for most seams. I use it for construction, topstitching, and seaming different fabrics together. The stitch length and tension are adjusted depending on the fabric weight and type.
- Zigzag Stitch: Used for finishing raw edges to prevent fraying, this stitch is also invaluable when working with stretchy fabrics to provide flexibility. I often use a narrow zigzag for neat seam finishes, or a wider zigzag for decorative purposes.
- Blindstitch: This nearly invisible stitch is ideal for hems, especially on delicate fabrics where a visible stitch would be undesirable. It creates a professional and clean finish.
- Overlock/Serger Stitch: For finishing raw edges and creating professional-looking seams on knits or lightweight fabrics, I efficiently use an overlock machine to prevent fraying and create a neat, durable finish.
- Other Techniques: My repertoire includes other techniques such as topstitching, decorative stitches, and hand stitching, enabling me to enhance garment aesthetics and durability.
The proper selection and execution of stitch types significantly impact the quality, durability, and visual appeal of a garment.
Q 21. Describe your experience with different types of fabrics (e.g., knit, woven, silk).
My experience with various fabrics is extensive. I understand the unique properties of each fabric type and adapt my techniques accordingly to achieve the best results.
- Woven Fabrics: These fabrics, such as cotton, linen, silk, and wool, are constructed by weaving yarns together. I’m experienced in working with their diverse textures, drape, and weights, adapting my cutting and sewing techniques to achieve the desired garment structure. For example, a crisp cotton shirting requires precise cutting and careful pressing to maintain its structure, whereas a flowing silk charmeuse requires gentle handling to avoid damage.
- Knit Fabrics: These fabrics, like jersey, interlock, and rib knit, are made by looping yarns together. Their stretch and drape require specialized techniques to avoid distortion. Using a serger for seam finishing is often necessary to prevent fraying.
- Silk Fabrics: These luxurious fabrics present unique challenges. I understand the need for sharp needles and specialized press cloths to prevent sheen distortion or damage to the delicate fibres. I carefully consider the grain and drape during cutting and sewing.
- Other Fabrics: My experience extends to various other fabric types, including leather, suede, denim, and synthetic fabrics such as polyester and rayon. Each requires specific needle types, stitch settings, and pressing techniques to achieve a high-quality finished product.
Working with various fabrics has honed my skills in adapting to different materials and creating garments tailored to the specific properties of each fabric type.
Q 22. How familiar are you with different cutting techniques (e.g., hand cutting, electric cutting)?
My experience encompasses a wide range of cutting techniques, from traditional hand cutting to the use of advanced electric cutting machines. Hand cutting allows for precise control and is invaluable when working with delicate fabrics or intricate patterns. It requires a sharp blade, a steady hand, and a keen eye for detail. I’m proficient in using various types of shears, including pinking shears for preventing fraying and rotary cutters for quick, accurate cuts on larger pieces. Electric cutting, on the other hand, is ideal for high-volume production. I’m experienced with automated cutting systems that significantly increase efficiency and precision, especially when dealing with multiple layers of fabric. These systems use computer-aided design (CAD) software to generate precise cutting patterns, minimizing waste and ensuring consistency across garments. I understand the nuances of each method and choose the most appropriate one depending on the project’s scale, fabric type, and desired precision. For example, hand cutting might be preferred for a bespoke couture gown, while electric cutting would be far more efficient for mass production of a simple t-shirt.
Q 23. What is your experience with quality assurance in garment manufacturing?
Quality assurance is paramount in garment manufacturing. My experience includes comprehensive quality checks at every stage of the production process, from initial pattern making and fabric selection to the final inspection of finished garments. I’m meticulous in ensuring consistent stitching, accurate seam allowances, and the proper placement of embellishments. I’m familiar with various quality control methods, including visual inspection, dimensional checks using measuring tools, and stress testing to assess durability. I also understand the importance of adhering to industry standards and meeting customer specifications. In a previous role, I implemented a new quality control system that reduced defects by 15% by focusing on preventative measures, like better training for seamstresses and stricter fabric inspection protocols. I believe in a proactive approach to quality, where potential issues are identified and addressed before they become major problems. This prevents costly rework and ensures customer satisfaction.
Q 24. How do you handle production deadlines and prioritize tasks?
Managing production deadlines and prioritizing tasks efficiently is crucial in the fast-paced garment industry. I employ a combination of project management techniques, including creating detailed timelines, breaking down large projects into smaller, manageable tasks, and utilizing project management software. I assess the complexity and urgency of each task, prioritizing those with the closest deadlines or highest impact. I’m adept at identifying potential bottlenecks and proactively addressing them to prevent delays. For instance, if a particular fabric is delayed in delivery, I’ll adjust the schedule and possibly substitute with an alternative fabric, keeping the client informed throughout the process. Effective communication with my team is essential. Regular progress meetings ensure everyone is on the same page and allows us to address any unforeseen challenges promptly. Ultimately, my goal is to deliver high-quality garments on time and within budget.
Q 25. Describe a situation where you had to solve a sewing or pattern-making problem.
During a recent project involving a complex draping technique on a silk gown, I encountered a problem with the drape consistently falling unevenly. The initial pattern, while technically correct, didn’t account for the specific drape of the silk fabric. I systematically tackled this problem by first analyzing the fabric’s behavior and its interaction with gravity. I then adjusted the pattern piece by piece, using muslin mock-ups to test different adjustments. This involved small, incremental changes to the pattern, meticulously documenting each alteration and its effect. Through a process of trial and error, careful observation, and understanding the inherent properties of the fabric, I finally achieved the desired even drape. This problem highlighted the importance of considering the fabric’s properties in pattern making and the iterative nature of the design process. It was a valuable learning experience that strengthened my problem-solving skills.
Q 26. How do you stay up-to-date with the latest trends and technologies in the sewing and garment construction industry?
Staying current in this dynamic industry requires continuous learning. I regularly subscribe to trade publications, attend industry conferences and workshops, and actively participate in online forums and communities. I also closely follow influential designers and brands to stay abreast of the latest trends in fabric, style, and construction techniques. Furthermore, I’m exploring the application of new technologies, such as 3D printing and digital pattern-making software, to enhance efficiency and innovation in my work. This ongoing learning ensures that my skills and knowledge remain relevant and competitive.
Q 27. What are your salary expectations?
My salary expectations are in line with the industry standards for a professional with my experience and skill set. I am open to discussing a competitive compensation package based on the specific responsibilities and benefits offered.
Q 28. Do you have any questions for me?
Yes, I do have a few questions. I’d be interested in learning more about the company’s current projects, the team I would be working with, and the opportunities for professional development within the company.
Key Topics to Learn for Sewing and Garment Construction Interview
- Pattern Making & Draping: Understanding the principles of pattern creation, from drafting basic blocks to manipulating patterns for various styles. Practical application: Explain your experience adapting patterns for different body types or fabric weights.
- Fabric Selection & Properties: Knowledge of various fabrics (knits, wovens, etc.), their characteristics (drape, stretch, weight), and appropriate sewing techniques. Practical application: Discuss your experience choosing fabrics for specific garments and projects, considering factors like drape, durability, and cost.
- Sewing Machine Operation & Maintenance: Proficiency in operating industrial and domestic sewing machines, including troubleshooting and basic maintenance. Practical application: Describe your experience with different types of sewing machines and any repairs or maintenance you’ve performed.
- Construction Techniques: Mastering various garment construction methods, such as setting in sleeves, attaching collars, constructing darts, and finishing techniques (hems, seams, etc.). Practical application: Detail your expertise in different seam finishes and their impact on garment durability and aesthetics.
- Garment Fitting & Alterations: Skills in fitting garments to ensure a proper fit and making necessary alterations. Practical application: Explain your experience troubleshooting fit issues and adjusting patterns or garments to achieve the desired fit.
- Industry Standards & Best Practices: Understanding industry-standard practices for quality control, efficiency, and safety. Practical application: Describe your adherence to safety protocols and your approach to maintaining consistent quality in garment production.
- Computer-Aided Design (CAD) Software (if applicable): Proficiency in using CAD software for pattern making or design. Practical application: Showcase your experience using specific CAD software and its impact on your workflow.
Next Steps
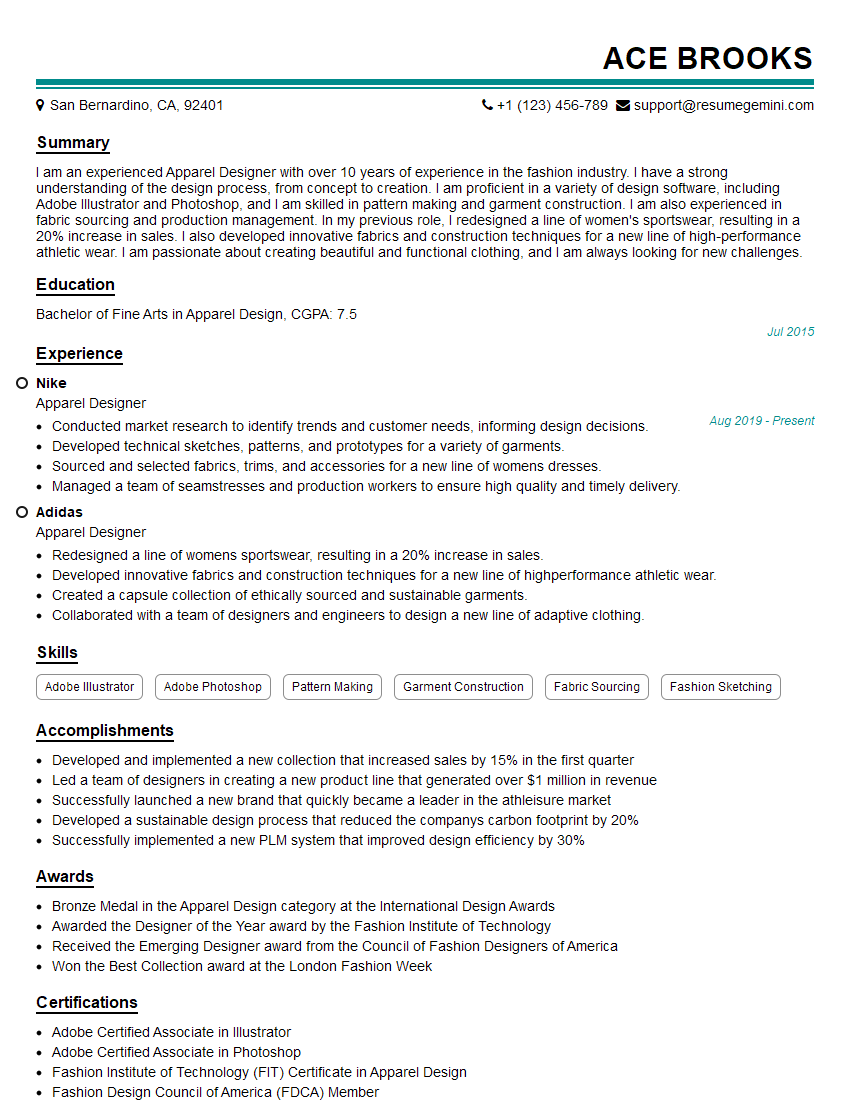
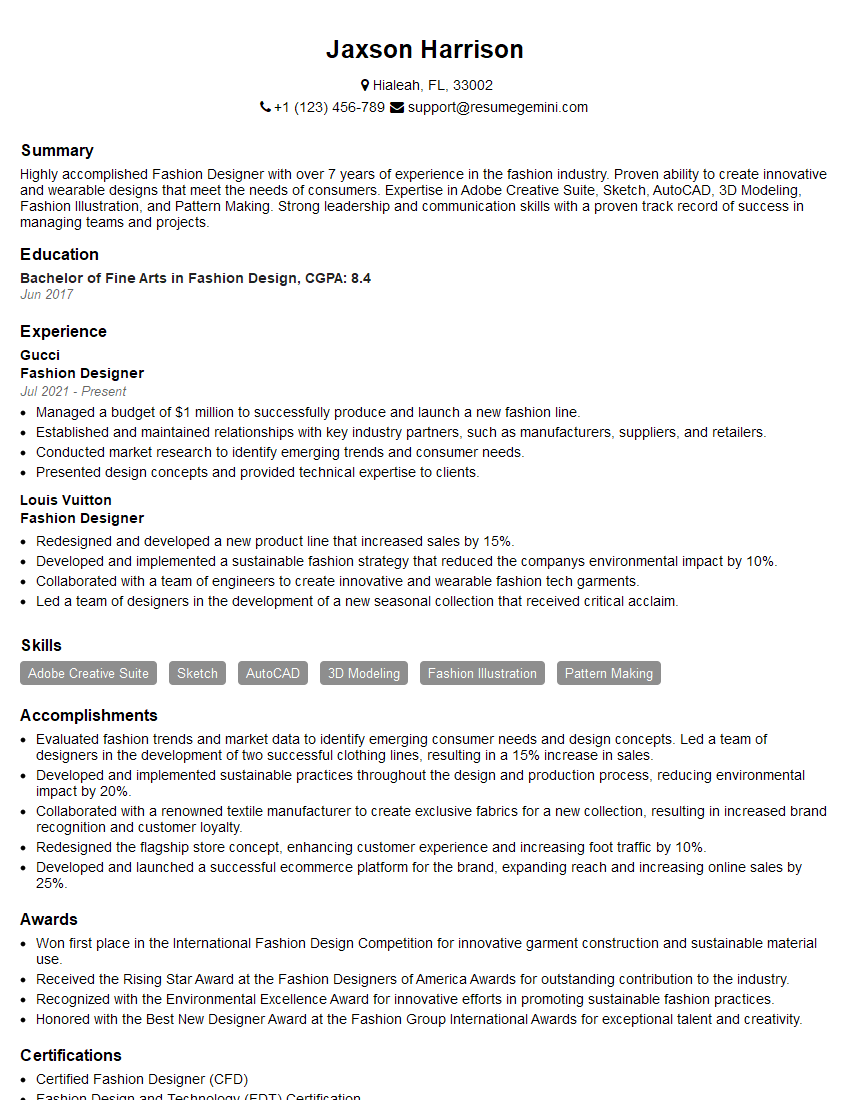
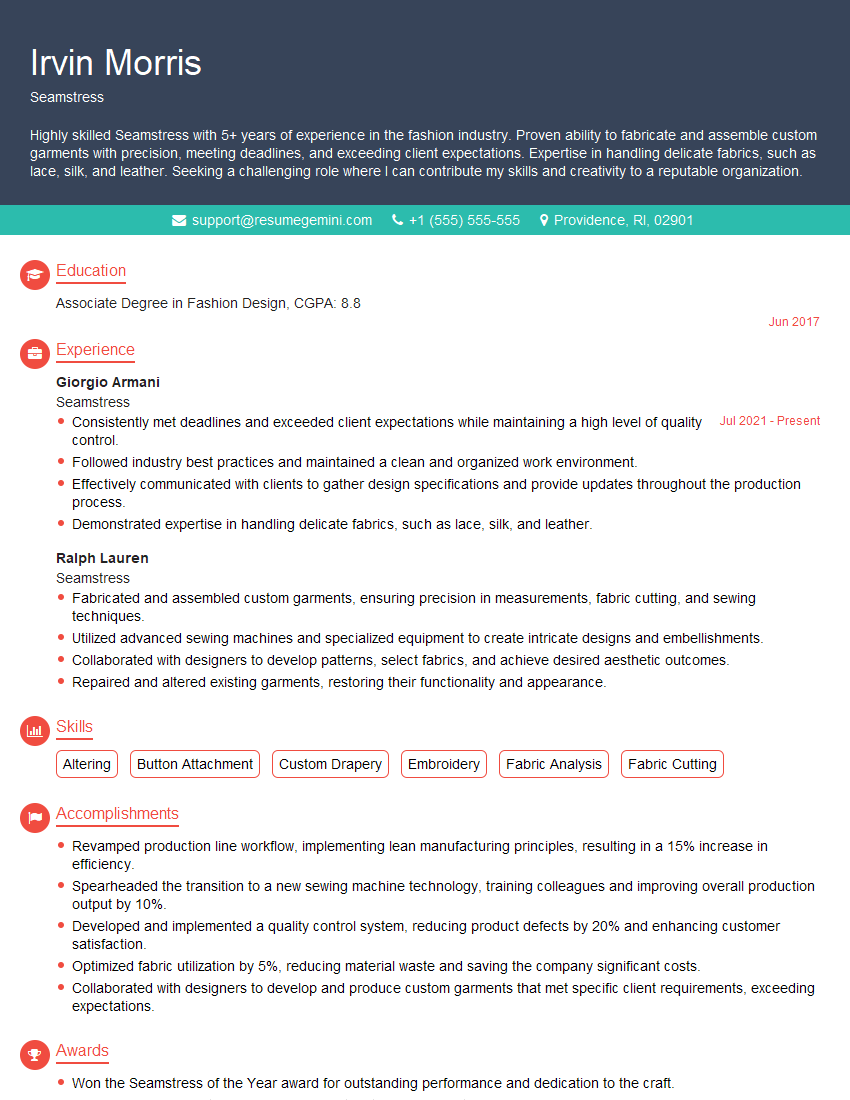
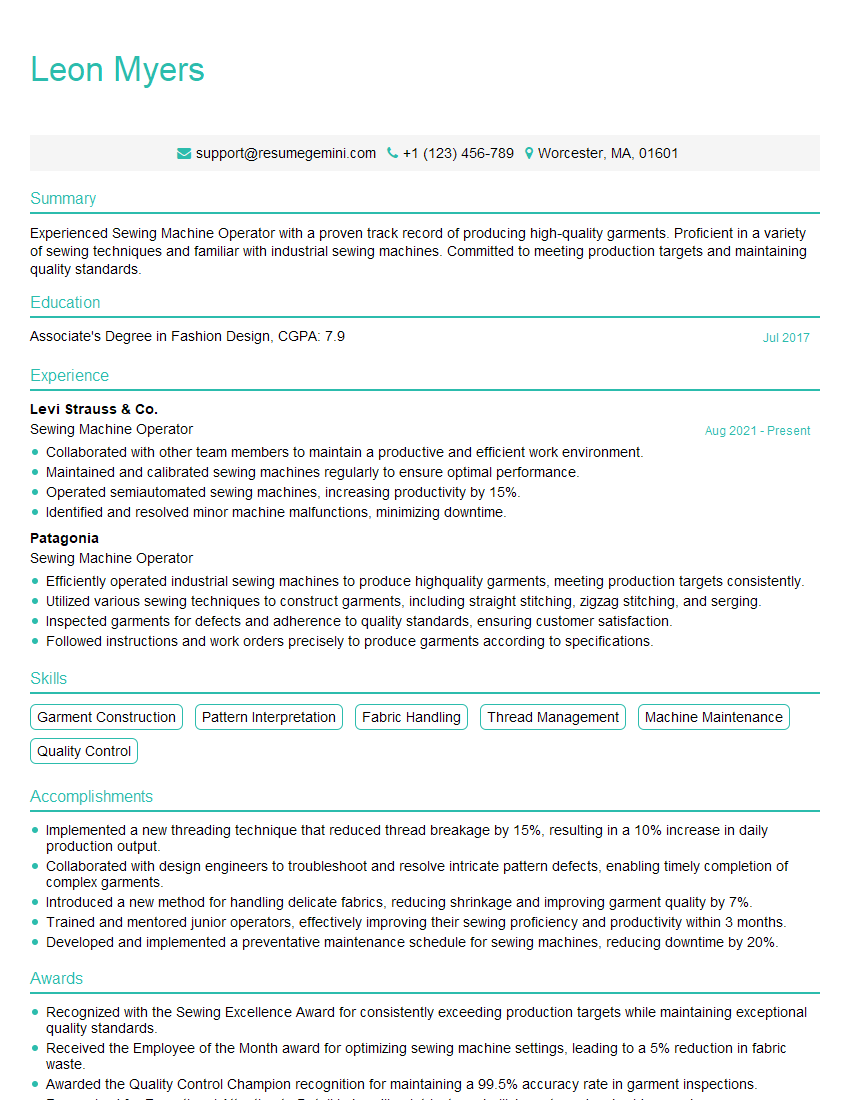
Mastering Sewing and Garment Construction opens doors to exciting career opportunities in fashion, design, and manufacturing. To increase your chances of landing your dream job, a well-crafted resume is crucial. An ATS-friendly resume ensures your application gets noticed by recruiters and hiring managers. We highly recommend using ResumeGemini to build a professional and effective resume that showcases your skills and experience. ResumeGemini provides examples of resumes tailored to Sewing and Garment Construction, helping you present yourself in the best possible light. Take the next step toward your successful career today!
Explore more articles
Users Rating of Our Blogs
Share Your Experience
We value your feedback! Please rate our content and share your thoughts (optional).
What Readers Say About Our Blog
Hi, I’m Jay, we have a few potential clients that are interested in your services, thought you might be a good fit. I’d love to talk about the details, when do you have time to talk?
Best,
Jay
Founder | CEO
