Are you ready to stand out in your next interview? Understanding and preparing for Use coordinate measuring machines (CMMs) interview questions is a game-changer. In this blog, we’ve compiled key questions and expert advice to help you showcase your skills with confidence and precision. Let’s get started on your journey to acing the interview.
Questions Asked in Use coordinate measuring machines (CMMs) Interview
Q 1. Explain the different types of CMMs (e.g., bridge, gantry, horizontal arm).
Coordinate Measuring Machines (CMMs) come in various configurations, each suited for different applications and part sizes. The three primary types are:
- Bridge CMMs: These are the most common type. Imagine a bridge structure spanning over the workpiece. A probe moves along the bridge’s horizontal and vertical axes, and a third axis moves along a beam running perpendicular to the bridge. They are versatile and suitable for a wide range of parts. Think of them like a giant, highly precise robotic arm.
- Gantry CMMs: These are larger and more robust than bridge CMMs, ideal for inspecting large parts like car bodies or aircraft components. Instead of a bridge, they have a gantry structure that moves along two axes. This configuration provides more space and allows for the measurement of larger and heavier objects. The scale is significantly greater than a bridge type machine.
- Horizontal Arm CMMs: These have a rotating arm that extends horizontally from a fixed base. They are particularly useful for inspecting parts with complex geometries or difficult-to-access areas, offering exceptional dexterity. Imagine a robotic arm with articulated joints, allowing it to reach around and into the nooks and crannies of intricate parts.
The choice of CMM type depends on the size and complexity of the parts being inspected, as well as the required accuracy and throughput.
Q 2. Describe the process of probing a part on a CMM.
Probing a part on a CMM is a precise process involving carefully positioning the probe to contact specific points on the part. The process typically involves these steps:
- Part Setup: The part is securely fixtured on the CMM’s table, ensuring its stability and repeatability during the measurement process. This is crucial; any movement of the part will directly impact the accuracy of the results.
- Probe Selection: The appropriate probe is selected based on the part’s geometry and material. Different probes have various shapes and stiffness.
- Program Creation/Selection: A CMM program instructs the machine on which points to measure, the order of measurement, and the probing strategy. This is either created using dedicated CMM software or a pre-existing program is loaded.
- Probe Calibration: Before measurement, the probe is calibrated to ensure accuracy. This calibration process determines the probe’s physical characteristics and establishes its relationship to the CMM’s coordinate system.
- Measurement Execution: The CMM executes the program, moving the probe to the designated points. The probe then makes contact with the part, and the CMM records the coordinates of each contact point. Operators watch for any collisions or errors that could affect the reading.
- Data Analysis: Once the measurement is complete, the CMM software analyzes the data, generating a report that shows deviations from the CAD model (if one exists).
The entire process demands precision, attention to detail, and a strong understanding of both the part’s design and the CMM’s capabilities. Any error at any stage could lead to inaccurate results, highlighting the importance of robust programming and procedural practices.
Q 3. What are the different types of probes used in CMMs?
CMMs utilize a variety of probes, each designed for specific applications and part characteristics:
- Touch Trigger Probes: These are the most common type. They use a small force to detect contact with the part’s surface. They are ideal for measuring relatively smooth surfaces and are characterized by their ability to handle varying geometries without damaging parts.
- Scanning Probes: These continuously measure the part’s surface as the probe moves along it. They are much faster than touch trigger probes and provide significantly more detailed surface data. This type is useful for intricate surface mapping or feature extraction.
- Optical Probes: These utilize non-contact optical sensors to measure the part’s surface. They are ideal for measuring delicate or fragile parts and help avoid marking the part’s surface. However, they are more sensitive to environmental factors like light levels.
- Laser Probes: Offering non-contact measurement, laser probes are utilized for very high accuracy in dimensional metrology and can even measure parts with challenging surface finishes. Their speed, precision, and non-contact nature make them suitable for various applications.
The selection of a probe depends on factors such as surface finish, material properties, measurement speed requirements, and the desired level of detail.
Q 4. How do you ensure the accuracy of a CMM?
Ensuring CMM accuracy is paramount. It’s an ongoing process that requires several steps:
- Regular Calibration: CMMs must be calibrated regularly using certified artifacts (standards) to verify their accuracy. Calibration involves precise measurement of these standards and comparison with their known values. This helps verify or adjust the machine’s internal parameters to ensure the consistency of readings.
- Environmental Control: The environment where the CMM is located significantly impacts its accuracy. Temperature, humidity, and air pressure fluctuations must be minimized to maintain stability. Consider temperature-controlled rooms for precision work.
- Proper Maintenance: Regular maintenance, including cleaning, lubrication, and periodic checks of the mechanical components, is crucial for maintaining the CMM’s precision. This prevents premature wear and tear and ensures long-term accuracy.
- Operator Training: Skilled and trained operators are essential. Their expertise minimizes errors during part fixturing, probe selection, and program execution. Well-trained operators are the key to minimizing human-introduced errors.
- Artifact Verification: Periodically verifying the calibration artifacts themselves will provide additional assurance of the long-term calibration’s accuracy.
A well-maintained and properly calibrated CMM, operated by a trained technician, will consistently deliver accurate and reliable measurements.
Q 5. Explain the concept of geometric dimensioning and tolerancing (GD&T).
Geometric Dimensioning and Tolerancing (GD&T) is a symbolic language used on engineering drawings to define the size, form, orientation, location, and runout of features on parts. It provides precise tolerances that go beyond simple plus/minus tolerances, specifying permissible variations in a part’s geometry.
For example, a simple tolerance of ±0.1mm on a diameter doesn’t specify how the deviation is distributed. GD&T, however, allows you to specify whether the deviation is acceptable as long as it remains within a defined zone.
Instead of relying only on numerical tolerances, GD&T uses symbols and zones to indicate the acceptable range of variation for a particular feature. This approach provides a clearer and more unambiguous definition of the acceptable limits of a design, leading to fewer errors in manufacturing and inspection.
Imagine a shaft needing to fit into a hole. Simple plus/minus tolerances might allow individual variations in both hole and shaft dimensions. However, using GD&T, you can define a zone into which the shaft axis must fall relative to the hole, allowing for better predictability of the fit.
Q 6. How do you interpret a CMM inspection report?
A CMM inspection report typically includes the following information:
- Part Identification: Unique identifiers for the part being inspected.
- Date and Time of Inspection: Important for traceability and record keeping.
- CMM Identification: Identification of the specific CMM used for the inspection.
- Measurement Data: The raw measurement data, which may include the coordinates of measured points, deviations from nominal values, and other relevant measurements.
- Graphical Representations: Often includes graphical representations (e.g., deviation plots, 3D models) to visualize the measured results.
- Statistical Analysis: Summary statistics, such as mean, standard deviation, and range, to summarize the measurement data.
- Pass/Fail Status: Whether the inspected part meets the specified tolerances.
- Deviations from Specification: A detailed summary of any deviations from the specified design or CAD model.
- Operator Signature/Approval: Verification of the inspection process’ integrity.
Interpreting the report requires a good understanding of GD&T and the part’s design. A thorough review ensures that any deviations from specifications are identified and their implications are understood.
Q 7. What software packages are you familiar with for CMM programming?
I’m proficient in several CMM programming software packages, including:
- PC-DMIS: A widely used software known for its comprehensive features and robust capabilities, excelling in complex part inspection and reporting.
- CALYPSO: Renowned for its intuitive interface and powerful tools. It excels in handling large datasets and complex geometries.
- Open CMM: A software package providing flexibility and customization options.
- PolyWorks: Known for its versatile functionalities, including reverse engineering capabilities, this software is especially useful for complex geometries or when working with scan data.
My experience encompasses various programming techniques, including the creation of measurement routines, the use of different probing strategies, and the generation of comprehensive inspection reports. I am also adept at troubleshooting and resolving issues that may arise during the programming or execution of CMM programs.
Q 8. Describe your experience with CMM programming languages (e.g., PCDMIS, CALYPSO).
My experience spans several CMM programming languages, most extensively PCDMIS and CALYPSO. PCDMIS, known for its robust feature recognition and macro capabilities, is my go-to for complex parts requiring intricate measurement routines. I’ve used it to create programs for everything from simple dimensional checks to highly automated inspection processes involving complex GD&T analysis. For example, I developed a PCDMIS program to automate the inspection of a turbine blade, drastically reducing inspection time and improving consistency. CALYPSO, on the other hand, excels in its user-friendly interface and intuitive programming environment, making it ideal for rapid prototyping and simpler part inspections. I frequently use CALYPSO for quick checks of smaller components or when training new personnel due to its ease of learning. My expertise extends beyond simply writing programs; I’m proficient in optimizing programs for efficiency, minimizing cycle times, and ensuring data integrity.
Q 9. How do you handle measurement uncertainties and errors in CMM inspection?
Handling measurement uncertainties and errors is crucial for accurate CMM inspection. It’s a multi-faceted approach. Firstly, understanding the sources of error is key – these include probe tip radius compensation, machine thermal drift, and part fixturing errors. We mitigate these using several strategies. Calibration is paramount, ensuring the CMM is functioning within its specified tolerances. We employ statistical process control (SPC) techniques to monitor measurement variability and identify trends. For example, control charts help us detect systematic errors early on. We also use multiple measurements and statistical analysis to improve the precision of our results. Proper part fixturing is critical to minimize setup errors and repeatability issues; a poorly fixtured part can lead to significant inaccuracies. Finally, we meticulously document all measurement procedures and error analyses to ensure traceability and transparency.
Q 10. Explain the process of setting up and aligning a CMM.
Setting up and aligning a CMM is a meticulous process that directly impacts measurement accuracy. It typically starts with a thorough cleaning of the machine’s surfaces and probe. Then, we use a calibrated artifact, often a sphere or gauge block, to perform a probe calibration. This establishes the probe’s physical characteristics and helps compensate for its radius in subsequent measurements. Next comes machine alignment, often involving a laser interferometer or similar precision equipment. This verifies the geometric accuracy of the machine’s axes and ensures they’re perpendicular and parallel within the required tolerances. Alignment procedures are specific to the CMM’s make and model; some involve adjusting internal mechanisms, while others rely on software compensation. Finally, we’ll perform a system check, often using a certified standard part, to verify the complete setup before starting actual measurements. This entire process is meticulously documented and forms the foundation of a trustworthy inspection process.
Q 11. What are the common sources of error in CMM measurements?
Several factors can contribute to errors in CMM measurements. Thermal effects are significant; temperature fluctuations can cause expansion or contraction of the machine and the part, leading to inaccuracies. Probe deformation and tip wear can also alter measurement results. Machine vibration, from external sources or even internal machine components, introduces instability and errors. Part fixturing errors, resulting from improper clamping or support, can distort the part and lead to incorrect measurements. Software errors in programming or data processing can cause inaccuracies. And lastly, operator errors, such as incorrect probe positioning or data entry mistakes, are also frequent sources of error. Addressing these errors requires a combination of preventative measures – regular calibration, proper environmental control, and well-defined procedures – and error compensation strategies implemented within the measurement software.
Q 12. How do you perform a CMM calibration?
CMM calibration is a crucial part of ensuring measurement accuracy. It’s typically performed according to a specific protocol, often dictated by industry standards or internal quality control procedures. Calibration involves using certified artifacts – gauge blocks, spheres, and other precisely manufactured items – to verify the accuracy of the CMM’s axes, probe, and overall system. The process involves meticulously measuring these artifacts using the CMM and comparing the results to their certified values. Any deviations are analyzed to identify potential sources of error. Calibration may involve adjusting internal components or applying software compensation to correct for identified errors. Calibration certificates document the results, providing traceability and verifying the CMM’s performance within established tolerances. The frequency of calibration depends on factors like usage intensity and environmental conditions, but it’s typically performed regularly to maintain confidence in the CMM’s accuracy. A common example involves using a calibrated artifact to determine positional accuracy along each axis.
Q 13. How do you troubleshoot common CMM problems?
Troubleshooting CMM problems involves systematic investigation. It starts with understanding the symptom: Is it an accuracy issue, a repeatability problem, a software malfunction, or a mechanical failure? Common issues include probe crashes, which often require a probe replacement and potentially a system check; software glitches, often resolvable through a reboot or software update; and mechanical issues, like axis drift or misalignment. My troubleshooting approach involves checking the obvious first – are the probes properly installed and calibrated? Is the machine properly aligned? Are there any environmental factors like temperature fluctuations affecting the measurement? If these basic checks don’t reveal the problem, I’ll consult the CMM’s service manual and system logs to identify potential error codes. I also leverage my experience with the specific CMM model to quickly pinpoint the most likely cause. Finally, I might involve the manufacturer’s support team for complex problems beyond my immediate expertise. Thorough documentation is maintained throughout the troubleshooting process to resolve the issue and prevent its recurrence.
Q 14. Describe your experience with different types of CMM sensors (e.g., touch trigger, scanning).
My experience encompasses various CMM sensors. Touch trigger probes are my workhorse for point-to-point measurements, offering high accuracy for simple geometries. I’ve used them extensively for first article inspections, ensuring that newly manufactured parts conform to the design specifications. Scanning probes offer increased efficiency for complex parts with intricate curves and surfaces. The speed of data acquisition compared to touch-trigger probes is a significant advantage. I’ve used scanning probes for rapid prototyping and quality control of injection-molded plastic parts, significantly reducing inspection times. I’m also familiar with laser scanners, which provide non-contact measurement suitable for fragile parts or those with difficult-to-access areas. For example, these were invaluable when inspecting delicate turbine blades. Understanding the capabilities and limitations of each sensor type is vital; choosing the right sensor for the specific application ensures efficiency and accuracy.
Q 15. How do you manage and organize CMM measurement data?
Managing CMM data effectively is crucial for maintaining accurate records and facilitating efficient analysis. I typically employ a multi-pronged approach. First, a robust naming convention is implemented for each measurement file, incorporating crucial information like part number, date, operator ID, and revision. This ensures easy retrieval and identification. Second, all data is stored in a centralized, secure database, often integrated with our manufacturing execution system (MES). This allows for easy data tracking, version control, and seamless integration with other quality control systems. Third, we utilize a dedicated CMM software suite with reporting features that allow for generating detailed reports, charts, and graphs, summarizing key measurement results and deviations from specifications. For example, we might track the overall dimensional accuracy of a batch of parts over time to identify any trends in manufacturing processes. This organized approach enables efficient data retrieval, analysis, and long-term trend monitoring.
Career Expert Tips:
- Ace those interviews! Prepare effectively by reviewing the Top 50 Most Common Interview Questions on ResumeGemini.
- Navigate your job search with confidence! Explore a wide range of Career Tips on ResumeGemini. Learn about common challenges and recommendations to overcome them.
- Craft the perfect resume! Master the Art of Resume Writing with ResumeGemini’s guide. Showcase your unique qualifications and achievements effectively.
- Don’t miss out on holiday savings! Build your dream resume with ResumeGemini’s ATS optimized templates.
Q 16. What are your preferred methods for data analysis from CMM inspections?
My preferred methods for analyzing CMM data involve a combination of statistical techniques and visual inspection. I heavily rely on statistical process control (SPC) charts, specifically control charts like X-bar and R charts, to monitor process stability and identify potential sources of variation. For example, if the X-bar chart shows a consistent drift in the mean dimension of a particular feature, it suggests a potential problem in the manufacturing process that needs investigation. We also use histograms and scatter plots to visualize data distributions and identify potential correlations between different measurements. Beyond basic statistical analysis, the CMM software often provides automated GD&T (Geometric Dimensioning and Tolerancing) analysis, which flags any deviations from specified tolerances and provides clear reports on the overall conformance of the part. Visual inspection of point clouds and deviation maps generated by the CMM software helps me identify localized issues or patterns that statistical analysis might miss.
Q 17. Explain the importance of proper fixturing in CMM measurements.
Proper fixturing is absolutely paramount for accurate and repeatable CMM measurements. Think of it like this: If you try to measure something wobbly or unstable, your results will be inconsistent and unreliable. A well-designed fixture provides a stable and repeatable reference point for the part, minimizing any movement or deformation during measurement. A good fixture should: securely hold the part in the desired orientation, provide access to all critical features, minimize distortion, and be easily repeatable. A poorly designed fixture can lead to inaccurate measurements, incorrect assessments of part conformity, and potentially, costly rework or scrap. For instance, if a fixture doesn’t properly constrain a flexible part, it can lead to significant measurement errors in dimensions and surface properties. We use various fixturing methods, ranging from simple three-point supports for smaller parts to complex, multi-point fixtures that involve clamping or magnetic holding for larger, more complex parts. In each case, careful consideration is given to part geometry, material properties, and measurement requirements.
Q 18. How do you determine the appropriate sampling plan for CMM inspection?
Determining the appropriate sampling plan for CMM inspection requires a careful assessment of several factors: the criticality of the part, the process capability, the cost of inspection, and the acceptable risk level. We typically use statistical sampling plans based on standards such as ANSI/ASQ Z1.4 or MIL-STD-105E. These standards provide tables that specify the sample size needed to achieve a desired level of confidence in the inspection results. The process starts by defining the Acceptance Quality Limit (AQL), which represents the maximum percentage of defective items that is still considered acceptable. Then, we select the appropriate sampling plan based on the lot size and the AQL. For example, if we are inspecting a high-criticality part with tight tolerances, we’ll use a smaller sampling plan with a smaller acceptance number. However, if the part is less critical and tolerances are looser, a larger sampling plan might suffice, saving on inspection time and cost. The chosen sampling plan is always documented and reviewed periodically to ensure its continued relevance and effectiveness.
Q 19. Describe your experience with statistical process control (SPC) in relation to CMM data.
Statistical Process Control (SPC) is integral to our CMM inspection process. We continuously monitor key CMM measurement parameters using control charts. This allows us to identify trends, shifts, or patterns that might indicate process instability or potential defects before they lead to significant quality issues. For example, we might track the average diameter of a hole across multiple parts and batches using an X-bar and R chart. If the data points fall outside the control limits, it suggests a problem that needs immediate attention – maybe a worn tool, inconsistent material properties, or a problem in the manufacturing process. By analyzing SPC charts, we can quickly identify and address issues, preventing defects from reaching the customer. We also use capability analysis to assess the overall capability of our manufacturing processes relative to the part specifications. This information helps us to make informed decisions about process improvement initiatives and to set realistic goals for quality.
Q 20. How do you handle non-conforming parts identified during CMM inspection?
When non-conforming parts are identified through CMM inspection, a documented procedure is followed to ensure proper handling and resolution. First, the non-conformance is documented with detailed information about the part, the specific defects found, and the CMM measurement data. This detailed record is critical for traceability and investigation. Next, the root cause of the non-conformance is identified through a thorough investigation. This investigation might involve checking the manufacturing process, inspecting the tooling, examining raw materials, or reviewing operator procedures. Depending on the severity and root cause, various actions are taken, which could include rework, scrap, or process adjustments. We maintain a database of non-conforming parts to track trends and prevent recurrence. Once the root cause is addressed, a corrective action plan (CAPA) is implemented to prevent similar issues in the future. The effectiveness of the CAPA is then verified through subsequent CMM inspections.
Q 21. Explain the difference between contact and non-contact CMM measurement techniques.
The key difference between contact and non-contact CMM measurement techniques lies in how they acquire data. Contact CMMs, like the traditional probe-based systems, use physical contact with the part’s surface to acquire point coordinates. They provide very high accuracy but can be susceptible to damage to delicate parts and may have challenges measuring complex, hard-to-reach geometries. Non-contact CMMs, on the other hand, use optical or laser scanning methods to capture surface data without physical contact. Examples include laser scanners, white light scanners, and structured light scanners. Non-contact methods are faster and generally gentler on the part, allowing for the measurement of fragile or complex parts. However, surface finish and reflectivity can affect the accuracy and reliability of non-contact measurements. The choice between contact and non-contact methods depends on the specific application, part geometry, material, and desired accuracy.
Q 22. What is your experience with CMM reporting and documentation?
CMM reporting and documentation are crucial for ensuring traceability, quality control, and regulatory compliance. My experience encompasses generating comprehensive reports detailing measurement results, including deviations from specifications, statistical analysis (e.g., Cp, Cpk), and graphical representations of the data. I’m proficient in using various CMM software packages to create these reports, customizing them to meet specific client or project requirements. For example, I’ve developed reports that include dimensional analysis, surface finish assessments, and GD&T (Geometric Dimensioning and Tolerancing) compliance checks. These reports are meticulously documented, including details about the part, the CMM used, the measurement program, the operator, and the date and time of the inspection. This ensures complete auditability and allows for easy identification and resolution of any discrepancies.
I’m also experienced in creating customized reports with detailed explanations for non-technical stakeholders, ensuring clear communication of findings and actionable recommendations. Furthermore, I understand the importance of data security and utilize appropriate protocols to protect sensitive information. For instance, in one project, we implemented a secure server to store CMM reports, accessible only to authorized personnel.
Q 23. Describe your experience with using CMMs in a manufacturing environment.
My experience in a manufacturing environment spans diverse applications, from incoming inspection of raw materials to final inspection of finished products. I’ve used CMMs to verify dimensional accuracy, detect defects, and ensure adherence to design specifications across various industries, including aerospace, automotive, and medical device manufacturing. I’ve worked with both manual and CNC CMMs, adapting my techniques based on the complexity of the part and the required level of precision. For example, I’ve used a manual CMM to check the fit of small, intricate components, requiring careful probe placement and dexterity. In contrast, I’ve used a CNC CMM for high-volume inspection of larger parts, leveraging its speed and automation capabilities to increase efficiency.
I’m proficient in programming CMMs using various software packages, developing measurement routines that are efficient, reliable, and accurate. This includes creating complex routines for intricate geometries, incorporating GD&T principles, and utilizing advanced measurement techniques such as scanning and surface roughness analysis. I’ve consistently helped to improve manufacturing processes by identifying root causes of dimensional inconsistencies and proposing corrective actions based on CMM data analysis.
Q 24. How do you ensure the safety of yourself and others while operating a CMM?
Safety is paramount when operating a CMM. Before each use, I perform a thorough pre-operational check, ensuring that the machine is in proper working order and the workspace is free from obstructions. This includes verifying the probe’s functionality, checking the machine’s leveling, and ensuring the proper functioning of safety features such as emergency stops and safety interlocks. I always follow established safety procedures, including wearing appropriate personal protective equipment (PPE) such as safety glasses and closed-toe shoes.
I am meticulous about maintaining a clean and organized workspace, preventing accidental trips or falls. I carefully handle the parts being inspected to avoid dropping them or damaging the CMM’s sensitive components. I also undergo regular safety training, ensuring I’m up-to-date on the latest safety protocols and emergency procedures. When working with multiple team members, I always communicate clearly and coordinate actions to ensure everyone’s safety. For instance, I’ve helped train new operators on safe CMM operation, emphasizing safe handling of probes, careful part loading, and the importance of emergency procedures.
Q 25. Explain the importance of regular maintenance and cleaning of a CMM.
Regular maintenance and cleaning are essential for ensuring the accuracy, reliability, and longevity of a CMM. Neglecting these aspects can lead to inaccurate measurements, downtime, and costly repairs. My routine maintenance includes daily cleaning of the machine’s surfaces, probes, and worktable to remove debris and prevent contamination. I regularly inspect the probe for wear and tear, replacing it as necessary to maintain accuracy. I also lubricate moving parts as recommended by the manufacturer. This preventive maintenance minimizes the risks of unexpected breakdowns and maximizes the CMM’s operational life.
Beyond daily cleaning, I perform scheduled maintenance based on the manufacturer’s recommendations, including calibration checks, air filter replacements, and more detailed inspections of the machine’s mechanical and electrical systems. These checks are documented meticulously, with calibration certificates and maintenance logs maintained for traceability. For example, I’ve successfully resolved a recurring measurement error by identifying and addressing a minor misalignment detected during routine maintenance, preventing potential costly rework down the line.
Q 26. How do you stay up-to-date with the latest advancements in CMM technology?
Staying up-to-date with the latest advancements in CMM technology is crucial for maintaining my skills and ensuring I use the most efficient and accurate techniques. I achieve this through several methods: attending industry conferences and workshops, participating in professional development courses, and actively reading industry publications and journals. I also seek opportunities to learn about new software and hardware developments from manufacturers and vendors. Online learning platforms and webinars are another valuable resource.
In addition, I actively participate in professional organizations related to metrology, allowing me to network with peers and learn about the latest trends and best practices. For instance, attending a recent conference on advanced CMM technologies introduced me to a new scanning technique that significantly improved measurement efficiency for complex surfaces. Continuous learning ensures that my expertise remains current and relevant in the rapidly evolving field of CMM technology.
Q 27. Describe your experience working with different types of materials on a CMM.
My experience encompasses working with a wide range of materials on a CMM, including metals (aluminum, steel, titanium), plastics (polymers, composites), ceramics, and rubber. Each material presents its own set of challenges and requires specific techniques to achieve accurate measurements. For instance, soft materials require careful probe selection to prevent damage, while highly reflective materials necessitate using specialized techniques to minimize measurement errors. I adapt my measurement strategies based on the material’s characteristics, ensuring appropriate probe selection, touch-trigger settings, and scanning parameters.
For example, when inspecting a delicate plastic part, I might use a lighter touch probe and reduce the scanning speed to avoid damaging the surface. Conversely, when working with a hard metal, I might choose a more robust probe and increase the scanning speed. Understanding material properties and their impact on CMM measurement is essential for achieving accurate and reliable results, minimizing the risk of material deformation or damage to the probe.
Q 28. How do you handle complex geometries during CMM inspection?
Inspecting complex geometries requires a strategic approach combining advanced CMM capabilities and expert knowledge. The first step is a thorough understanding of the part’s design and specifications, including GD&T annotations. This understanding informs the selection of appropriate measurement strategies and the development of a precise measurement program. The program may utilize multiple probing techniques, including touch-trigger probing for precise point measurements and scanning for capturing surface data.
For complex shapes, I often leverage the CMM’s scanning capabilities to create a 3D point cloud of the part’s surface. This point cloud allows for comprehensive surface analysis, including the detection of deviations from the CAD model. I then use specialized software to perform complex calculations and create detailed reports. When dealing with features that are difficult to access, I often utilize specialized probes or fixtures. For example, I’ve used a articulating probe to reach into narrow cavities or blind holes, overcoming the limitations of standard probes. A methodical and well-planned approach is crucial to ensure accurate and efficient inspection of complex geometries.
Key Topics to Learn for Use coordinate measuring machines (CMMs) Interview
- Fundamentals of CMM Operation: Understanding different CMM types (e.g., bridge, gantry, articulated arm), probe systems, and basic measurement principles.
- Coordinate Systems and Transformations: Mastering the concept of coordinate systems (machine, workpiece, part), and understanding coordinate transformations and their impact on measurement accuracy.
- Data Acquisition and Analysis: Proficiency in using CMM software to acquire measurement data, and understanding various data analysis techniques for interpreting results.
- Geometric Dimensioning and Tolerancing (GD&T): Solid understanding of GD&T principles and their application in CMM programming and inspection. Ability to interpret and verify GD&T callouts on engineering drawings.
- Statistical Process Control (SPC): Familiarity with SPC techniques to analyze measurement data, identify trends, and assess process capability.
- Calibration and Maintenance: Knowledge of CMM calibration procedures, preventive maintenance practices, and troubleshooting common issues.
- Practical Applications: Understanding how CMMs are used in various manufacturing processes, including quality control, reverse engineering, and first article inspection.
- Problem-Solving and Troubleshooting: Ability to diagnose and resolve measurement errors, and effectively communicate findings to engineers and technicians.
- Programming and Software Proficiency: Demonstrate familiarity with common CMM software packages and the ability to write effective measurement programs.
- Safety Procedures: Understanding and adherence to safety protocols when operating and maintaining CMM equipment.
Next Steps
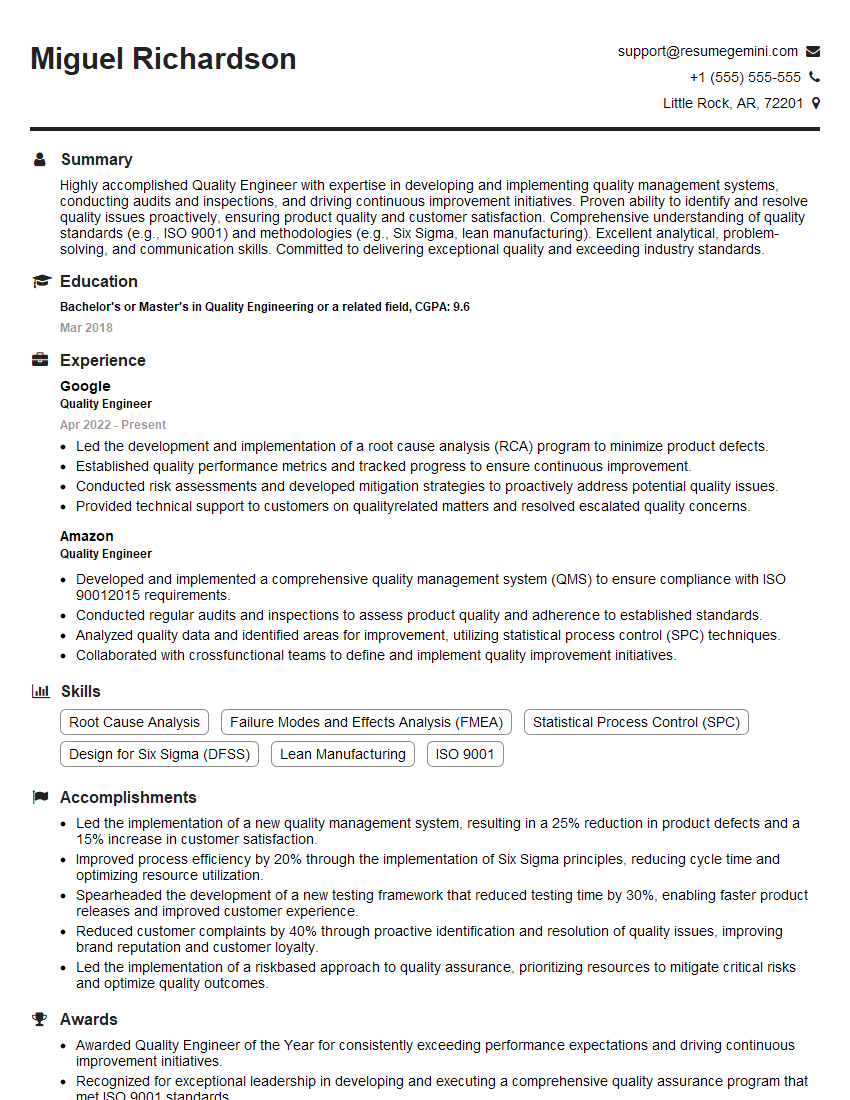
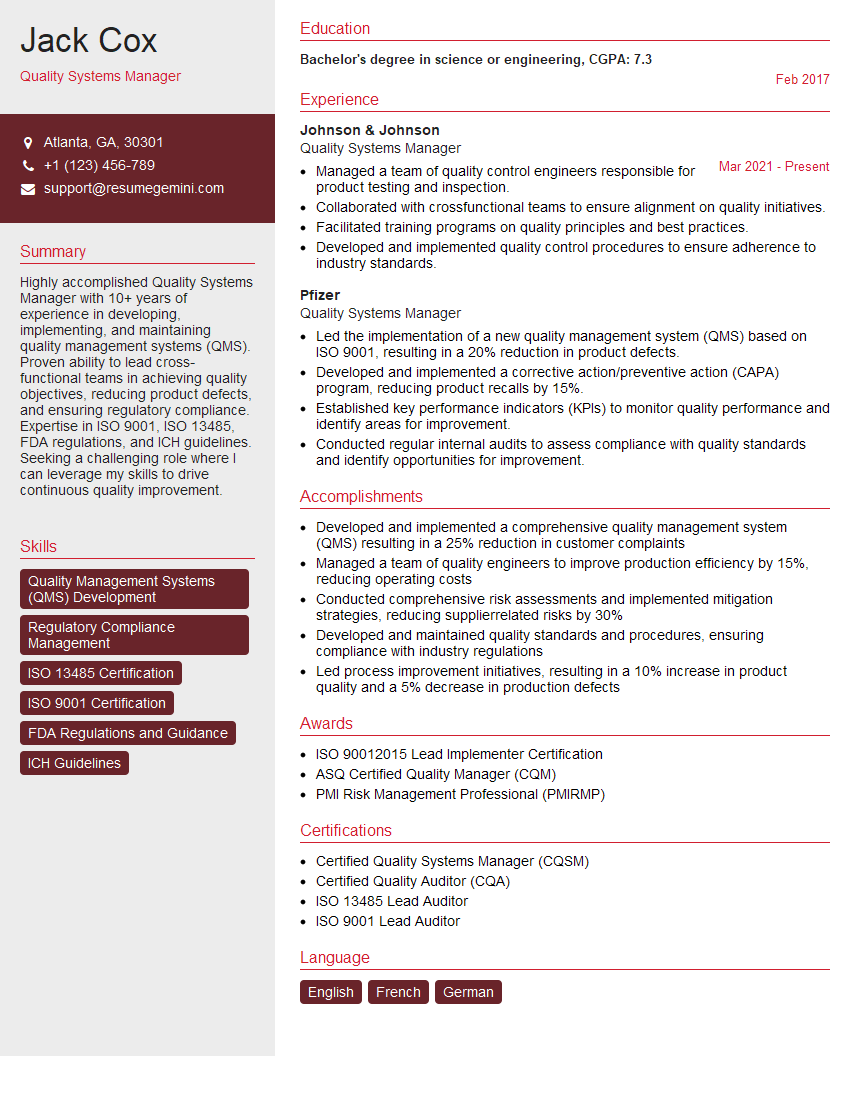
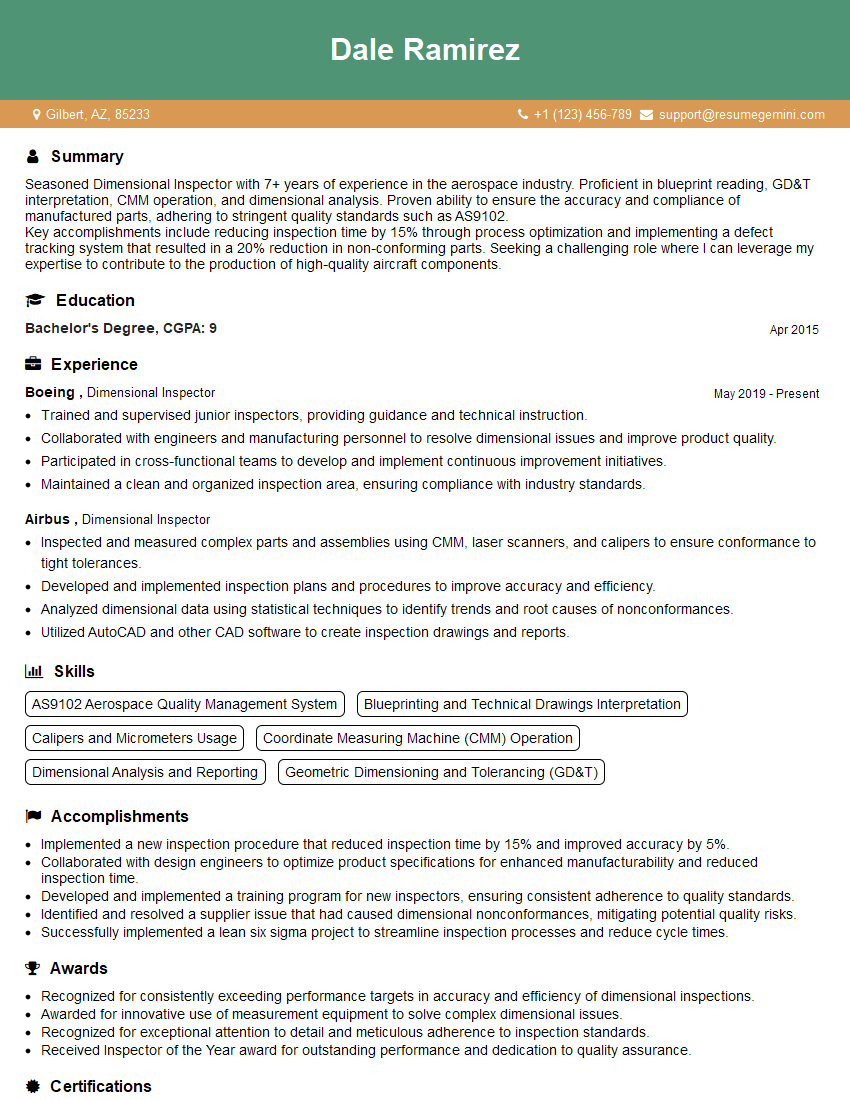
Mastering the use of coordinate measuring machines (CMMs) opens doors to exciting career opportunities in quality control, manufacturing engineering, and metrology. A strong understanding of CMM principles and applications is highly sought after by employers. To maximize your job prospects, crafting an ATS-friendly resume is crucial. ResumeGemini can be a trusted resource to help you build a professional and effective resume that showcases your skills and experience. Examples of resumes tailored to CMM expertise are provided to guide you.
Explore more articles
Users Rating of Our Blogs
Share Your Experience
We value your feedback! Please rate our content and share your thoughts (optional).
What Readers Say About Our Blog
Hi, I’m Jay, we have a few potential clients that are interested in your services, thought you might be a good fit. I’d love to talk about the details, when do you have time to talk?
Best,
Jay
Founder | CEO

