Cracking a skill-specific interview, like one for Use manual and power tools, requires understanding the nuances of the role. In this blog, we present the questions you’re most likely to encounter, along with insights into how to answer them effectively. Let’s ensure you’re ready to make a strong impression.
Questions Asked in Use manual and power tools Interview
Q 1. Describe your experience with various hand saws (e.g., crosscut, rip, coping saws).
My experience with hand saws spans various types, each suited for specific tasks. The crosscut saw, with its fine teeth, excels at cutting across the grain of wood, creating clean, perpendicular cuts. I’ve used this extensively for framing and joinery, appreciating its precision for detailed work. Conversely, the rip saw, featuring larger, more widely spaced teeth, efficiently cuts with the grain, ideal for ripping lumber to specific widths. I’ve relied on this for quickly breaking down larger boards. Finally, the coping saw, with its narrow blade and adjustable frame, allows for intricate curved cuts. I’ve used this for detailed work on moldings and decorative elements, appreciating its maneuverability in tight spaces.
For example, when building a birdhouse, I’d use a crosscut saw for the main body cuts, a rip saw to prepare the side pieces to width, and a coping saw to create the curved roofline. The choice of saw depends entirely on the type of cut and the material being worked.
Q 2. Explain the safety precautions when using a circular saw.
Safety is paramount when using a circular saw. Before even switching it on, I always ensure the blade is sharp and properly installed. A dull blade requires more force, increasing the risk of kickback. I carefully inspect the workpiece for nails, screws, or other embedded objects that could damage the blade or cause it to bind. I never use a circular saw without appropriate eye protection – safety glasses or a face shield. Hearing protection is equally important to reduce the risk of noise-induced hearing loss.
Proper stance and grip are crucial. I maintain a firm grip on the saw, keeping my body to the side of the cutting line to avoid injury if the blade binds or kicks back. Furthermore, I always use a push stick for narrow cuts to keep my fingers clear of the blade. Finally, I always disconnect the saw from the power source before making any adjustments or clearing the area after a cut.
Q 3. How do you select the appropriate drill bit for a specific material?
Selecting the right drill bit is critical for clean, accurate drilling and to avoid damaging the material. The material’s hardness and the diameter of the hole determine the bit’s type and size. For wood, I’d typically choose a twist drill bit, selecting a diameter slightly smaller than the desired hole size to account for the wood’s tendency to slightly swell. For metal, I’d opt for a high-speed steel (HSS) drill bit, using cutting oil to lubricate the bit and prevent overheating. For harder materials like masonry, I’d use a masonry bit designed for that purpose.
For instance, drilling through hardwood for a dowel joint requires a slightly smaller twist bit than drilling through softwood. Drilling a pilot hole in metal before tapping a thread ensures a clean, straight thread. The selection always involves considering the material’s properties and the desired outcome.
Q 4. What are the different types of screwdrivers and their applications?
Screwdrivers come in various types, each designed for specific screw heads. The most common are Phillips and slotted (flathead) screwdrivers. Phillips heads have a cross-shaped recess, offering greater torque and preventing cam-out (slippage), making them suitable for most applications. Slotted heads, with their single straight slot, are simpler but can be prone to cam-out, making them less preferred for high-torque applications. Torx screwdrivers have a star-shaped recess, delivering even greater torque and minimizing cam-out. They are often found in automotive and electronic applications.
Specialized screwdrivers exist for other screw types, including Pozidriv (similar to Phillips but with extra slots for improved cam-out resistance) and Hex (hexagonal recess). The choice depends on the screw head type and the desired level of precision and control. Choosing the correct screwdriver size and type ensures that the screw is driven accurately, preventing damage to the screw head or the material.
Q 5. Explain the proper technique for using a hammer.
Using a hammer correctly involves more than just swinging it hard. A proper grip is essential – holding the hammer near the end for more power or closer to the head for finer control. The swing should be a smooth, controlled arc originating from the shoulder, not just the arm. This minimizes wasted energy and ensures accuracy. The hammer head should strike the nail squarely to prevent bending. For increased control, particularly when driving small nails, I often use a slight tapping motion rather than a full swing.
When working on delicate materials, I might use a softer-faced hammer to avoid marring the surface. Likewise, when working on hardwoods, I’ll often drive a pilot hole to prevent splitting. Precision and controlled force are key to using a hammer effectively and safely.
Q 6. How do you measure and cut wood accurately?
Accurate measuring and cutting wood begins with proper tools and technique. I use a measuring tape to take precise measurements, double-checking to avoid errors. For marking, a sharp pencil or marking knife is essential for creating clear, visible lines. A combination square is invaluable for ensuring perfectly square cuts. For straight cuts, a handsaw or miter saw is used, ensuring the blade is aligned correctly with the marked line before cutting.
When cutting, I always allow for the width of the saw blade to avoid cutting short of the mark. For curved cuts, a coping saw or jigsaw is used, taking care to follow the marked line closely. Precision is key – a poorly cut piece can ruin a whole project. Double-checking measurements and being deliberate in the cutting process are crucial for accuracy.
Q 7. Describe your experience with various power drills (e.g., hammer drill, impact driver).
My experience with power drills includes various types, each optimized for specific applications. The standard power drill is versatile, used for drilling holes in a wide range of materials. A hammer drill is indispensable for masonry, utilizing a hammering action to facilitate drilling through hard, brittle materials. I frequently use a hammer drill for mounting anchors in concrete or brick. An impact driver, on the other hand, excels in driving screws, especially larger, longer screws, with its high torque and percussive action. This is invaluable for assembling large structures or furniture where many screws need to be driven.
For instance, when framing a wall, I’d use an impact driver for the numerous screws securing the studs and plates. When installing shelving brackets into concrete, a hammer drill is the ideal tool. The choice depends heavily on the material being worked and the nature of the task. Safety precautions, such as using the right drill bits and appropriate safety gear (including eye and hearing protection), are of utmost importance when using any power drill.
Q 8. How do you maintain and clean your power tools?
Maintaining power tools is crucial for safety and longevity. It’s a multi-step process focusing on cleanliness and proper storage.
- Cleaning: After each use, I always wipe down the tool with a clean cloth, removing sawdust, debris, or any adhesive residue. For tougher messes, I might use a compressed air canister to blow out dust from vents and crevices. Never use water or harsh solvents on electric tools, as this can damage internal components.
- Lubrication: Many power tools require regular lubrication of moving parts. I consult the user manual for specific recommendations, usually lubricating parts like gears, bearings, and chucks with appropriate lubricants.
- Inspection: Before and after each use, I visually inspect for damage – cracks in the casing, worn cords, loose parts, or signs of overheating. Any issue requires immediate attention or professional repair.
- Storage: Proper storage is vital. I store my tools in a dry, secure place, away from extreme temperatures and humidity, preferably in a locked toolbox or cabinet. This protects them from damage and theft.
For example, my circular saw gets a thorough cleaning after every cut, including removing any embedded material from the blade. I also regularly check the blade for sharpness and any signs of damage. A dull blade is dangerous and inefficient.
Q 9. What safety measures do you take when working at heights?
Working at heights demands stringent safety protocols. My approach prioritizes prevention and preparedness.
- Proper Equipment: I always use appropriate fall protection equipment, including a safety harness, properly anchored ropes, and a reliable anchor point. I inspect all equipment meticulously before each use, checking for wear and tear.
- Scaffolding/Ladders: If using scaffolding, I ensure it’s properly erected and stable, with appropriate safety measures in place. When using ladders, I follow the three-point contact rule (always maintaining three points of contact with the ladder). I never overreach and ensure the ladder is placed on a stable, level surface.
- Spotter: If possible, I always have a spotter when working at heights. A second pair of eyes can significantly reduce the risk of accidents.
- Weather Conditions: I never work at heights in adverse weather conditions – strong winds, rain, or ice can dramatically increase the risk of falls.
- Training and Certification: I believe in continuous learning and keeping my safety certifications updated. This ensures my skills and knowledge remain current and safe.
Think of it like climbing a mountain; preparation and the right gear are paramount. Neglecting safety measures at heights is not just reckless, it’s potentially fatal.
Q 10. Describe your experience using a reciprocating saw.
I have extensive experience using reciprocating saws, commonly called sawsall. They’re versatile tools ideal for demolition and cutting various materials.
- Material Selection: I choose the correct blade based on the material I’m cutting – wood, metal, or plastic each requires a specialized blade. A wrong blade choice reduces efficiency and can damage the saw.
- Blade Installation: I always ensure the blade is securely installed and tightened before using the saw. A loose blade can lead to serious injuries.
- Cutting Technique: I maintain a firm grip on the saw, controlling its movement smoothly and steadily. Avoid forcing the saw; let the blade do the work. I use a clamp or support to stabilize the material when cutting, especially larger pieces.
- Safety Precautions: I always wear appropriate safety gear: safety glasses, hearing protection, and work gloves. I ensure the area is clear of obstructions before starting to cut.
For instance, I recently used a reciprocating saw to remove a section of rotted wood from a window frame. Using the correct blade and a slow, steady cutting action, I was able to cleanly remove the damaged section without damaging the surrounding wood.
Q 11. How do you troubleshoot common problems with power tools?
Troubleshooting power tools involves a systematic approach to identify and resolve issues.
- Identify the Problem: Start by clearly defining the problem. Is the tool not powering on, running erratically, or producing poor results?
- Check Power Source: Ensure the power cord is properly connected and the outlet is functioning correctly. Test the outlet with another device.
- Inspect the Tool: Visually inspect the tool for any obvious damage, such as loose connections, frayed cords, or damaged components.
- Check for Obstructions: Remove any sawdust, debris, or obstructions that might be hindering the tool’s operation.
- Blade/Bit Inspection: If it’s a cutting tool, ensure the blade or bit is sharp, properly installed, and suitable for the material being worked.
- Consult the Manual: Always refer to the tool’s manual for troubleshooting guides and specific solutions.
- Seek Professional Help: If you can’t resolve the issue, seek help from a qualified technician.
For example, if a drill stops working, I first check the power supply. If the power is fine, I check for obstructions and inspect the chuck to ensure the bit is firmly secured. If these checks fail, the manual becomes my next resource.
Q 12. What are the different types of wrenches and their applications?
Wrenches are fundamental tools for tightening and loosening nuts and bolts. Different types are designed for specific applications.
- Open-End Wrench: Has an open jaw on both ends, allowing access to fasteners from multiple angles. However, it can slip if not properly positioned.
- Box-End Wrench: Completely encloses the fastener, providing a stronger grip and less chance of slippage. However, it can be less versatile due to its design.
- Combination Wrench: Combines an open end and a box end on opposite sides of the head, offering flexibility.
- Adjustable Wrench (Crescent Wrench): Has an adjustable jaw, allowing it to fit a range of fastener sizes. It’s less precise than fixed-size wrenches and can damage the fastener if over-tightened.
- Socket Wrench: Uses sockets of various sizes, offering good grip and leverage. It’s often used with a ratchet handle or wrench for efficiency.
- Torque Wrench: Precisely measures and controls the amount of torque applied to fasteners, ensuring they’re tightened to the manufacturer’s specifications. Critical for preventing damage and ensuring safety.
For instance, when assembling furniture, I might use a combination wrench for its versatility, while for critical automotive repairs, a torque wrench is essential to prevent over-tightening.
Q 13. Explain the difference between a level and a plumb bob.
Levels and plumb bobs are both used to establish vertical and horizontal alignments, but they differ in their methods and applications.
- Level: A level uses a sealed vial containing a liquid and an air bubble to indicate whether a surface is horizontal or vertical. It’s quick and easy to use for setting up shelving, hanging pictures, or laying flooring.
- Plumb Bob: A plumb bob is a weighted object suspended on a string that indicates a perfectly vertical line. It’s useful for establishing true verticality, especially over longer distances and for tasks like setting foundations or checking wall alignment.
Think of it this way: a level tells you if something is level, while a plumb bob tells you if something is perfectly vertical. You might use a level to ensure a shelf is horizontal but a plumb bob to check that a wall is perfectly plumb (vertical).
Q 14. How do you read a tape measure accurately?
Accurately reading a tape measure requires attention to detail and understanding its markings.
- Identify the Units: Check if the tape measure uses inches or centimeters. Most common tape measures use inches with fractional markings (1/16, 1/8, 1/4, 1/2).
- Hook Position: The hook at the end is designed to compensate for the thickness of the hook itself. Ensure the hook is always firmly against the reference point (beginning of measurement).
- Read the Markings: Count the inches and then the fractional markings carefully. Practice will increase your speed and accuracy. Remember that each inch is divided into smaller increments (fractions).
- Alignment: Align the tape measure along the surface you’re measuring. Try to keep it parallel to the object for precise results.
For example, if I need to cut a piece of wood that is 12 and 3/8 inches, I place the end of the tape measure on the starting point, extend it to 12 inches, then carefully count three additional 1/8 inch markings to ensure I have precisely 12 and 3/8 inches.
Q 15. Describe your experience using a jigsaw.
The jigsaw is a versatile power tool I’ve used extensively for intricate cuts in various materials, primarily wood. My experience encompasses everything from simple straight cuts to complex curves and bevels. I’m proficient in selecting the correct blade for the material and the desired cut – a fine-tooth blade for delicate work in thinner wood, a coarser blade for thicker stock, and even specialized blades for metal or plastic. I understand the importance of adjusting the speed and the blade angle to achieve precise and clean cuts, minimizing tear-out and ensuring a smooth finish. For example, when cutting intricate curves in plywood for a custom shelf, I used a fine-tooth blade at a lower speed, ensuring a clean, controlled cut that didn’t chip the surface.
Beyond basic operation, I understand how to use various jigs and attachments to enhance the tool’s capabilities. This allows me to create even more complex cuts and shapes efficiently and accurately.
Career Expert Tips:
- Ace those interviews! Prepare effectively by reviewing the Top 50 Most Common Interview Questions on ResumeGemini.
- Navigate your job search with confidence! Explore a wide range of Career Tips on ResumeGemini. Learn about common challenges and recommendations to overcome them.
- Craft the perfect resume! Master the Art of Resume Writing with ResumeGemini’s guide. Showcase your unique qualifications and achievements effectively.
- Don’t miss out on holiday savings! Build your dream resume with ResumeGemini’s ATS optimized templates.
Q 16. How do you handle different types of wood?
Handling different types of wood requires understanding their properties and adjusting techniques accordingly. Hardwoods like oak or maple are denser and require sharper blades and potentially a slower cutting speed to prevent blade breakage or burning. Softer woods like pine or balsa are easier to cut, but can be prone to tear-out if the blade isn’t properly positioned or if the speed is too high. I adjust the blade type and speed accordingly, and sometimes utilize a backer board to support the wood and prevent tear-out, especially on delicate or thin pieces. For instance, when working with a particularly dense piece of cherry wood, I chose a high-quality, sharp blade and reduced the cutting speed to maintain a clean cut and prevent burning.
Q 17. What are the safety regulations concerning the use of power tools?
Safety is paramount when using power tools. The fundamental rules include always wearing appropriate safety equipment: safety glasses, hearing protection, and a dust mask. Loose clothing and jewelry should be avoided. Before operating any tool, I carefully inspect it for damage and ensure all guards are in place and functioning correctly. The work area should be well-lit and free of clutter to prevent tripping hazards. Never force the tool; let it do the work. Always disconnect the power tool before making adjustments or changing blades. Proper grounding is essential for preventing electric shock, and I always ensure the tool is properly grounded before use. Furthermore, I understand the importance of maintaining the tools properly and regularly inspecting them for wear and tear. Ignoring these procedures can lead to injury or equipment malfunction.
Q 18. Explain your experience with various types of sandpaper and their uses.
Sandpaper grits range from coarse to fine, each serving a different purpose. Coarse grits (e.g., 40-80 grit) are used for initial shaping and removing significant material quickly. Medium grits (e.g., 100-180 grit) smooth out imperfections left by coarser grits. Fine grits (e.g., 220-400 grit) create a very smooth surface, suitable for finishing. Extra-fine grits (e.g., 600 grit and above) are used for polishing and achieving a high-gloss finish. The selection depends entirely on the desired outcome and the material being sanded. For example, when building a wooden toy, I’d start with 80 grit to shape the wood, move to 120 grit for smoothing, and finish with 220 grit for a smooth, safe surface. In contrast, when preparing a piece for painting, I would use a finer grit to ensure a smooth surface for better paint adhesion.
Q 19. Describe your experience with using a router.
The router is a powerful tool for shaping wood and other materials. My experience includes using various bits for different applications such as edge profiling, creating grooves, and making decorative cuts. I’m familiar with the various speeds and feed rates required for different materials and bits. Safety is crucial when using a router, requiring the use of a router table or a router base with appropriate guides and fences to maintain control and prevent kickback. I always ensure the material is securely clamped and use push sticks to feed the wood through the router, keeping my hands clear of the spinning bit. For example, when creating a decorative edge profile on a tabletop, I used a router table with a jig to ensure consistent and precise results.
Q 20. How do you ensure the safety of others while using power tools?
Ensuring the safety of others when using power tools is just as important as protecting myself. This involves setting up a safe work zone, keeping the area clear of obstructions, and warning others before starting the tool. I never let anyone approach the tool while it’s in operation. After completing the task, I immediately power down the tool and ensure it’s safely stored out of reach of unauthorized individuals, especially children. Clear communication and adherence to safety protocols are key to a safe working environment for everyone involved.
Q 21. What are the different types of pliers and their applications?
Pliers come in many varieties, each designed for a specific task. Needle-nose pliers are ideal for reaching tight spaces and gripping small objects. Slip-joint pliers offer adjustable jaw size for versatility. Lineman’s pliers are heavy-duty and used for gripping and cutting wires. Locking pliers, such as Vise-Grips, provide a strong, secure grip that can be adjusted and locked in place. Each type has specific applications. For instance, I’d use needle-nose pliers for delicate wiring work, slip-joint pliers for general gripping tasks, and locking pliers for holding a workpiece securely while working on it.
Q 22. Explain the use of a chisel and mallet.
A chisel and mallet are a classic hand tool pairing used for shaping and removing material. The chisel, with its sharp, beveled edge, acts as a cutting tool, while the mallet provides the force for the cut. Think of it like a controlled miniature demolition – the chisel directs the force, and the mallet delivers it.
For example, you might use a chisel and mallet to:
- Carve intricate details in wood.
- Remove excess material from a workpiece.
- Create mortise and tenon joints in woodworking projects.
- Chip away at masonry or concrete (using specialized chisels).
The technique involves positioning the chisel precisely at the cut line, then striking the chisel’s head firmly with the mallet. Control is key – short, controlled strikes are generally better than one powerful blow, preventing the chisel from slipping or breaking.
Q 23. Describe your experience using a grinder.
I have extensive experience using various grinders, including angle grinders, bench grinders, and die grinders. I’m comfortable with different grinding wheels and their applications, such as cutting metal, grinding welds smooth, sharpening tools, and removing rust. Safety is paramount – I always wear appropriate personal protective equipment (PPE), including safety glasses, hearing protection, and a dust mask where necessary.
For instance, I recently used an angle grinder with a cutting disc to trim excess metal from a steel framework during a construction project. I carefully marked the cut lines, used a steady hand to maintain control, and regularly checked the disc for wear and tear. On another occasion, I used a bench grinder to sharpen a set of woodworking chisels, ensuring that they remained sharp and safe to use. My experience allows me to select the appropriate grinder and wheel for the task at hand and to recognize potential hazards.
Q 24. How do you maintain and store your tools properly?
Proper tool maintenance and storage are crucial for safety and longevity. My process begins with cleaning each tool after use. This involves removing any debris or residue, such as sawdust, metal shavings, or concrete dust. For power tools, I always disconnect them from the power source before cleaning.
I then lubricate tools with appropriate lubricants (e.g., oil for moving parts, WD-40 for rust prevention). Sharp tools are safer tools, so I regularly sharpen blades, chisels, and other cutting tools, using appropriate sharpening equipment. Finally, I store tools in a clean, dry, and organized manner, preferably in a tool chest or cabinet, to protect them from damage and prevent accidents.
Sharp tools are safer tools. Dull tools require more force to use, increasing the risk of injury. This is why regular sharpening is part of my tool maintenance routine.
Q 25. What are some common safety hazards associated with power tools?
Power tools present several safety hazards, including:
- Kickback: This occurs when a rotating blade or bit grabs the material, causing the tool to violently recoil. Kickback can result in serious injury.
- Pinch points: These are areas where rotating parts can catch clothing or skin, leading to severe injuries.
- Flying debris: Grinding, cutting, or drilling operations often generate flying debris that can cause eye injuries or other damage.
- Electrical hazards: Power tools can cause electric shock if the cords are damaged or if the tools are used in wet conditions.
- Noise-induced hearing loss: Many power tools generate high levels of noise, resulting in permanent hearing damage if proper hearing protection isn’t used.
I mitigate these risks by always using appropriate safety equipment, such as eye protection, hearing protection, gloves, and appropriate clothing. I regularly inspect tools for damage and ensure they’re properly maintained.
Q 26. How do you prevent injuries when using hand tools?
Preventing injuries with hand tools requires a focus on proper technique and awareness. Always use the right tool for the job and ensure that the tool is in good condition – sharp, clean, and free of damage.
- Maintain a firm grip: Avoid using excessive force, as this can lead to slips and injuries.
- Use the tool correctly: Follow the instructions and use appropriate techniques for each tool.
- Keep work area clear: Remove any obstructions that could cause you to trip or lose your balance.
- Wear appropriate clothing: Avoid loose clothing or jewelry that could get caught in moving parts.
- Use safety glasses: Protect your eyes from flying debris.
For example, when using a hammer, I always keep my fingers clear of the striking path. With a saw, I ensure the blade is sharp and use a push-pull motion to maintain control.
Q 27. Describe a time you had to troubleshoot a malfunctioning power tool.
During a recent project, my circular saw started making a strange grinding noise and the blade began to wobble. I immediately turned off the saw and unplugged it. Following my troubleshooting process, I:
- Inspected the blade: I checked for damage such as cracks or bends. The blade was visibly damaged and was the source of the problem.
- Checked the arbor: I examined the arbor (the shaft that holds the blade) for any signs of damage or wear. It appeared fine.
- Replaced the blade: I replaced the damaged blade with a new, correctly sized one. I double-checked that it was securely fastened.
- Tested the saw: I tested the saw, and it worked perfectly.
This experience reinforced the importance of regular tool inspection and prompt troubleshooting. A seemingly minor issue like a damaged blade could have easily led to a more serious incident or injury if ignored.
Q 28. Explain your process for selecting the right tool for a specific job.
Selecting the right tool is critical for efficiency and safety. My process involves considering several factors:
- The material: What type of material am I working with (wood, metal, plastic, etc.)?
- The task: What am I trying to achieve (cutting, shaping, drilling, etc.)?
- The required precision: How much accuracy is needed?
- The scale of the job: Is it a small or large project?
For example, if I need to cut a precise, intricate design in wood, I’d choose a fine-toothed handsaw or a jigsaw, rather than a circular saw. If I need to remove a large amount of concrete, I’d use a demolition hammer instead of a smaller chisel. Always considering the potential hazards associated with each tool and selecting the safest and most appropriate option is crucial for both efficiency and safety.
Key Topics to Learn for Use of Manual and Power Tools Interview
- Safety Procedures and Regulations: Understanding and applying relevant safety protocols for various tools, including proper PPE (Personal Protective Equipment) usage and emergency procedures.
- Tool Selection and Maintenance: Knowing which tools are appropriate for specific tasks, understanding their limitations, and performing basic maintenance like cleaning and sharpening.
- Manual Tool Proficiency: Demonstrating practical experience with hand saws, hammers, screwdrivers, measuring tapes, levels, and other common manual tools. This includes understanding their proper use and techniques for achieving accurate results.
- Power Tool Operation: Safe and effective operation of drills, saws (circular, reciprocating, jigsaw), sanders, routers, and other power tools. This includes understanding speed settings, blade/bit selection, and safety mechanisms.
- Material Knowledge: Familiarity with different materials (wood, metal, plastic) and their properties, and how these properties affect tool selection and usage.
- Project Planning and Execution: Ability to read blueprints or sketches, plan a project involving the use of tools, and execute the plan efficiently and safely.
- Troubleshooting and Problem-Solving: Identifying and resolving common problems encountered during tool use, such as jammed tools, inaccurate cuts, or equipment malfunctions.
- Understanding Tool Limitations: Recognizing when a tool is not suitable for a particular task and suggesting alternatives.
Next Steps
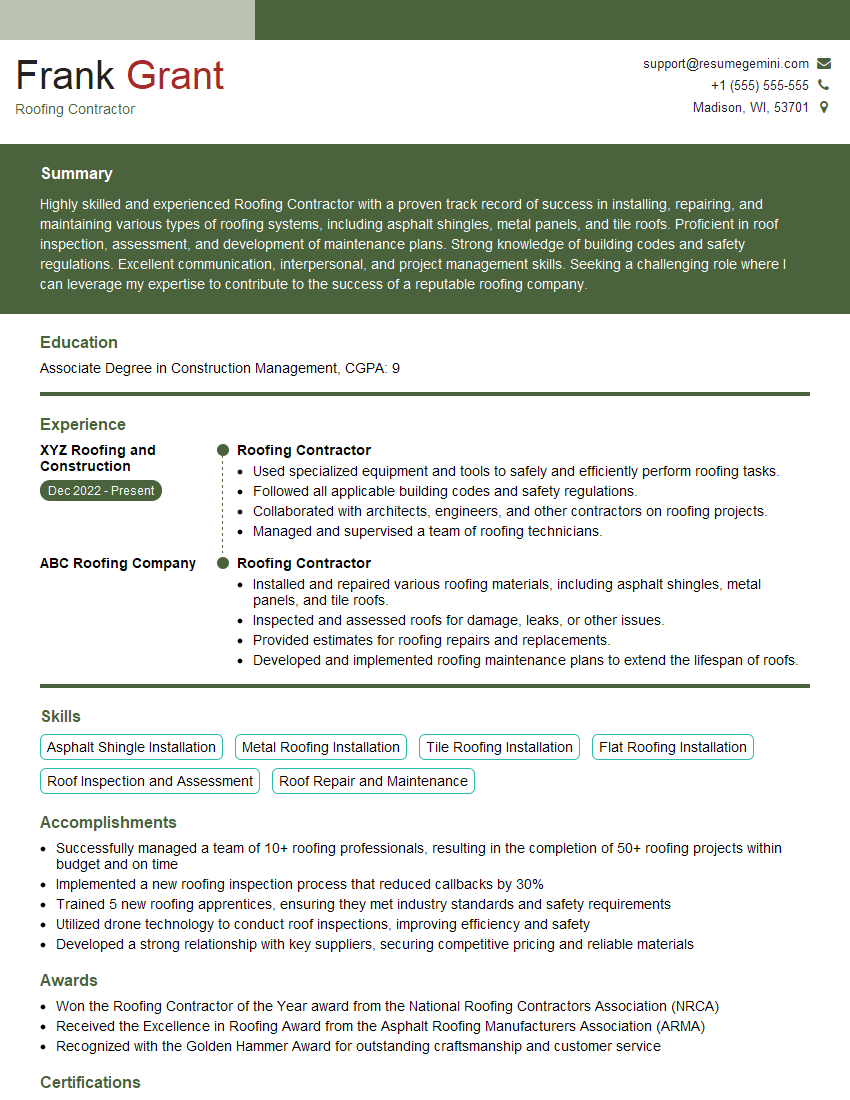
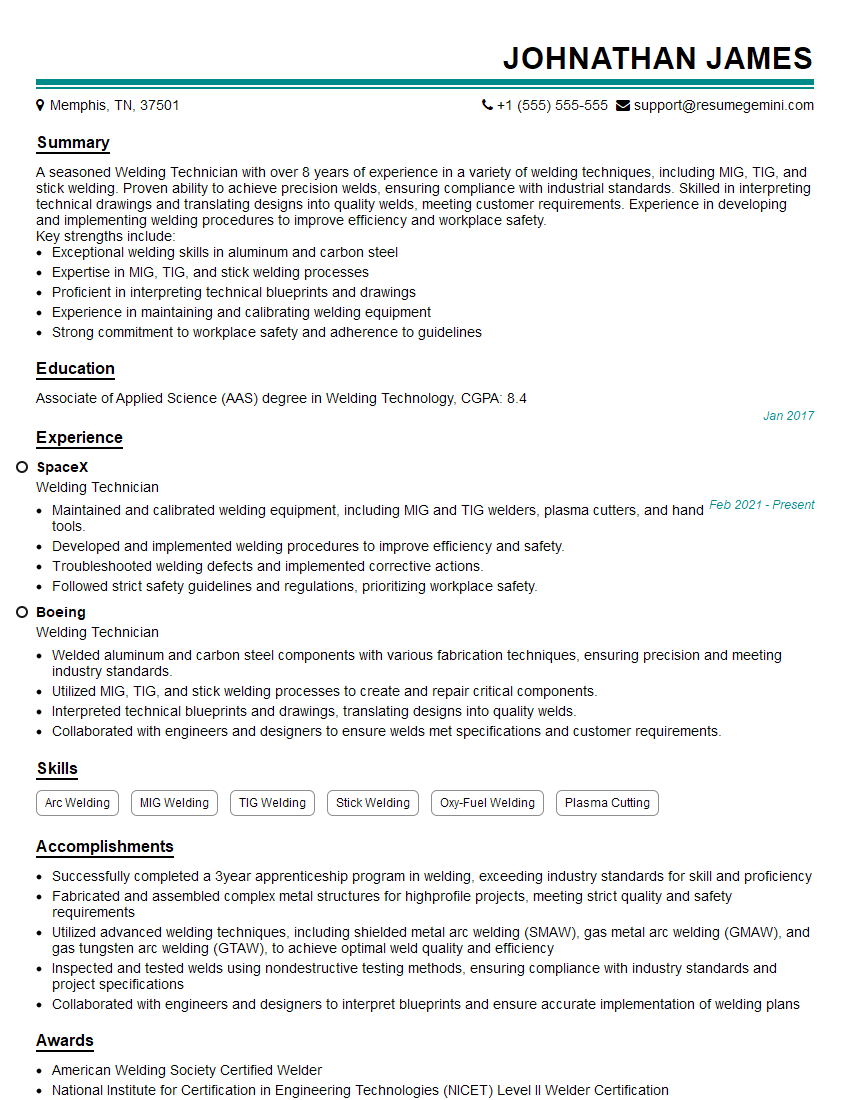
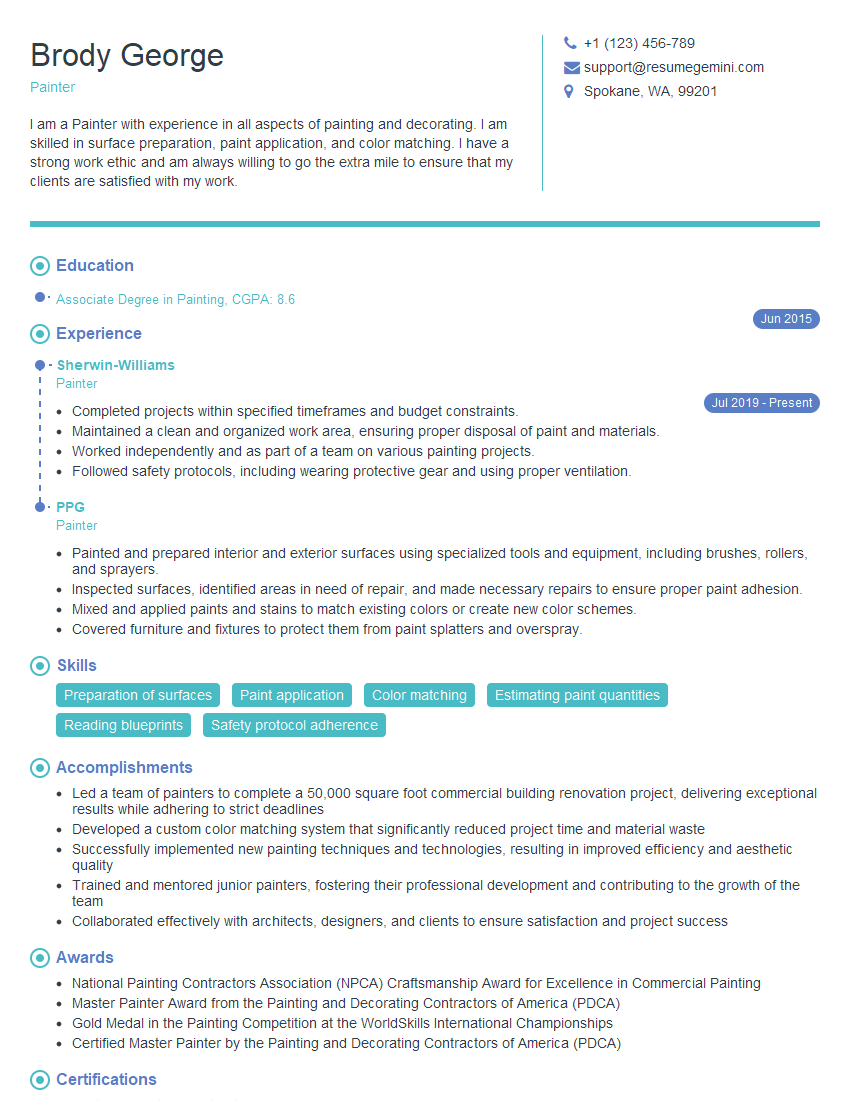
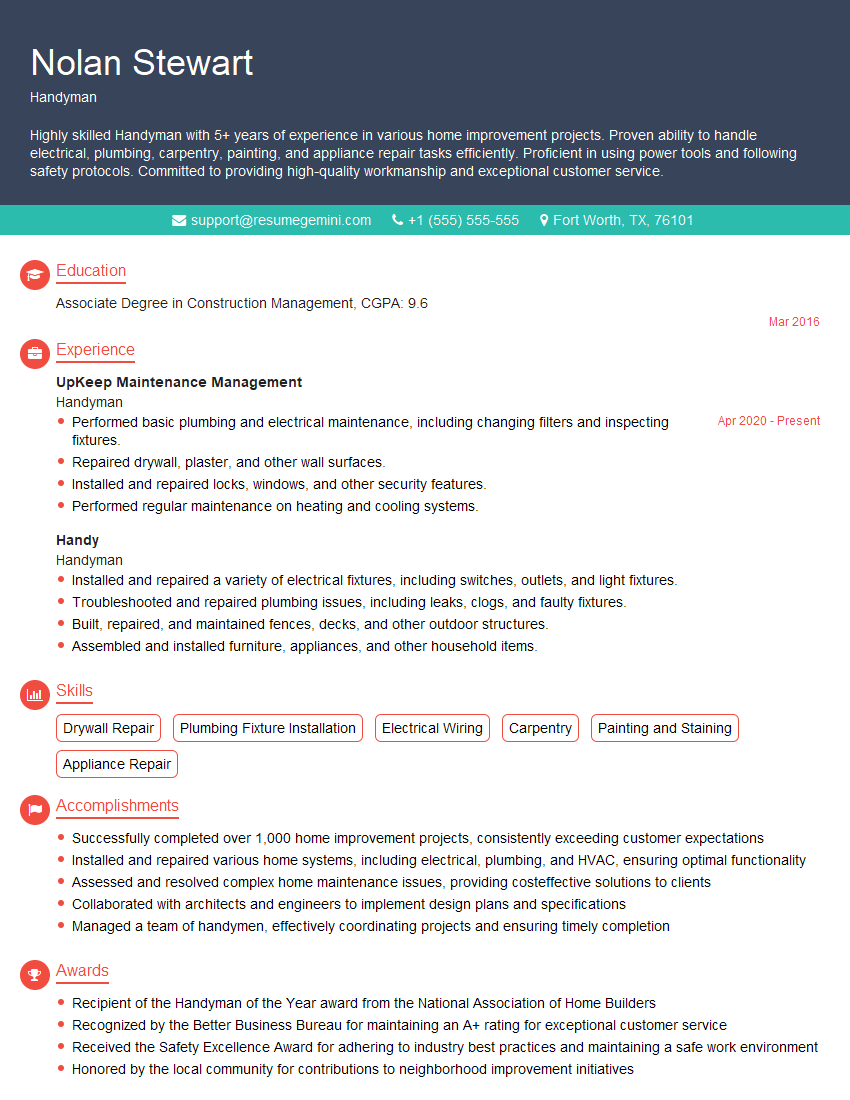
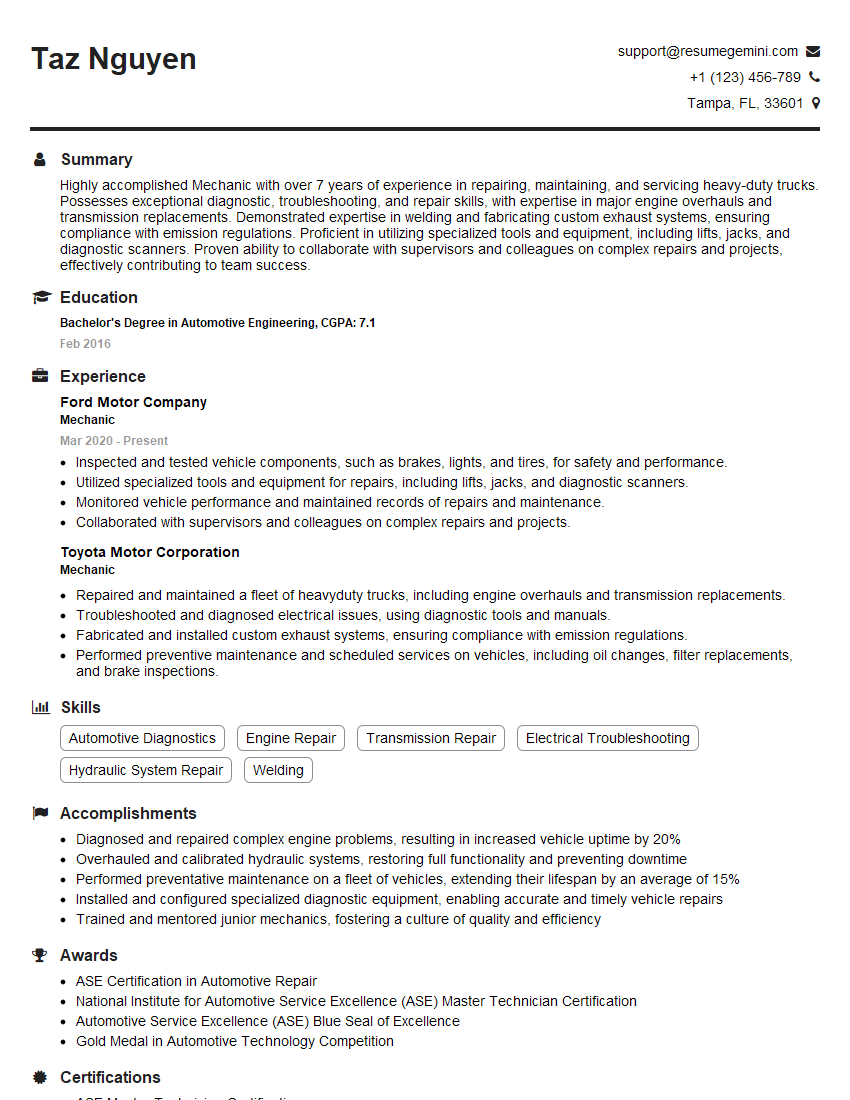
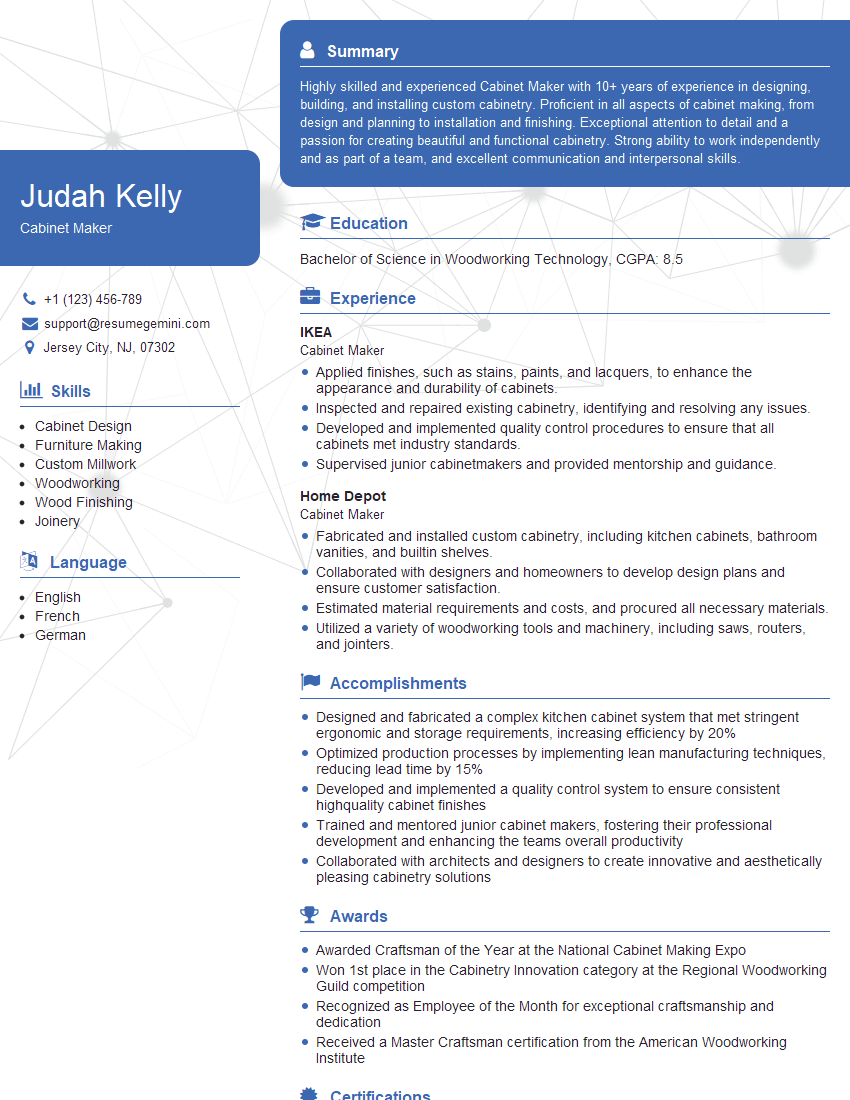
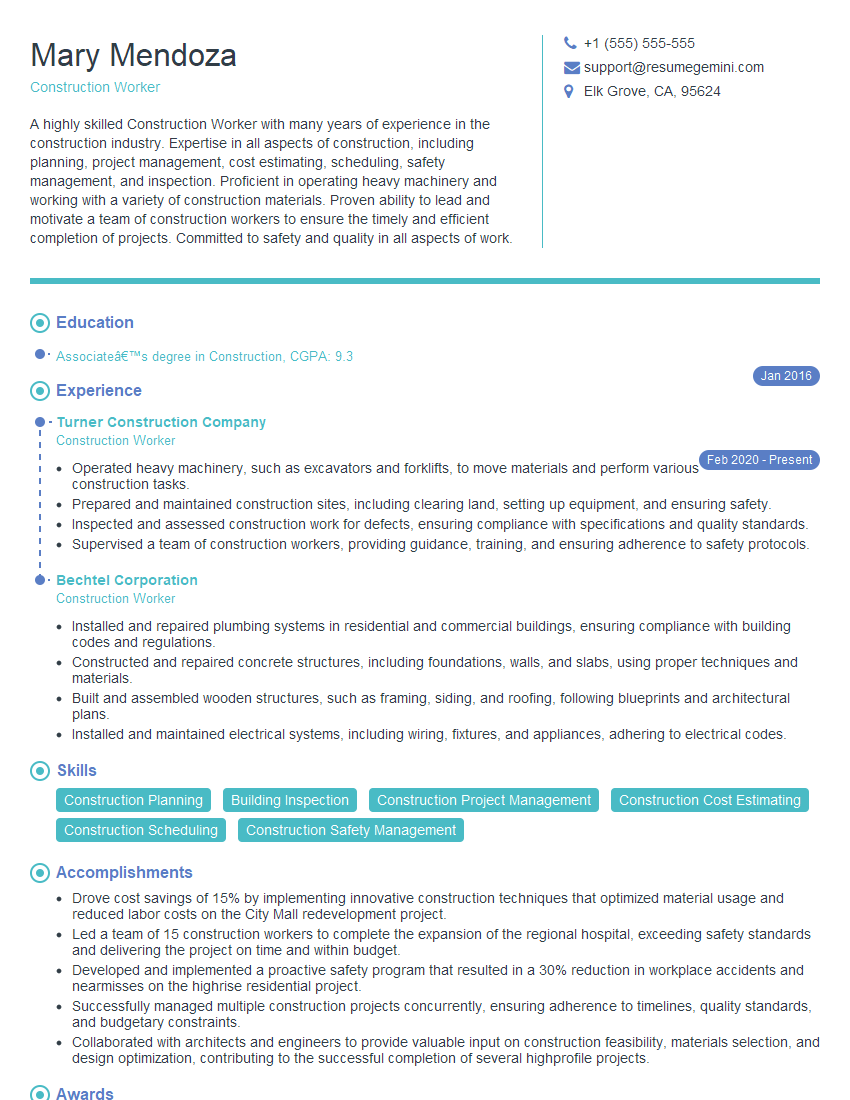
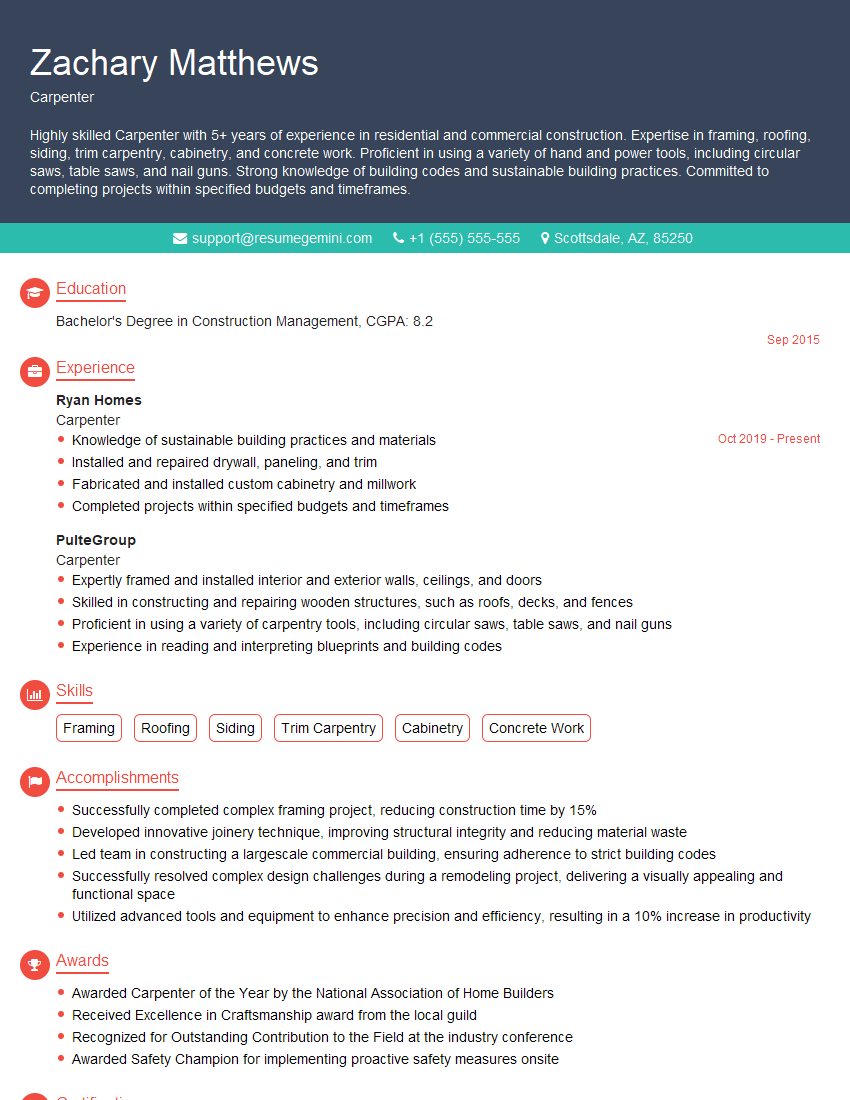
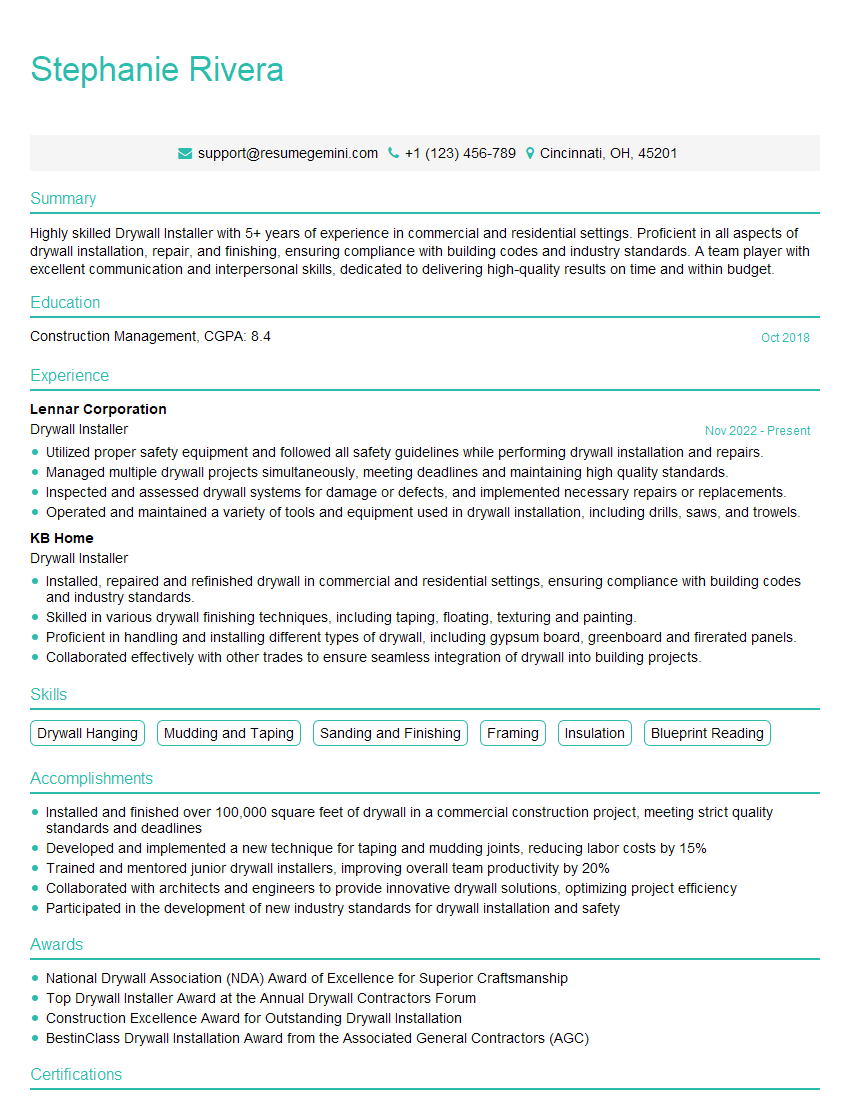
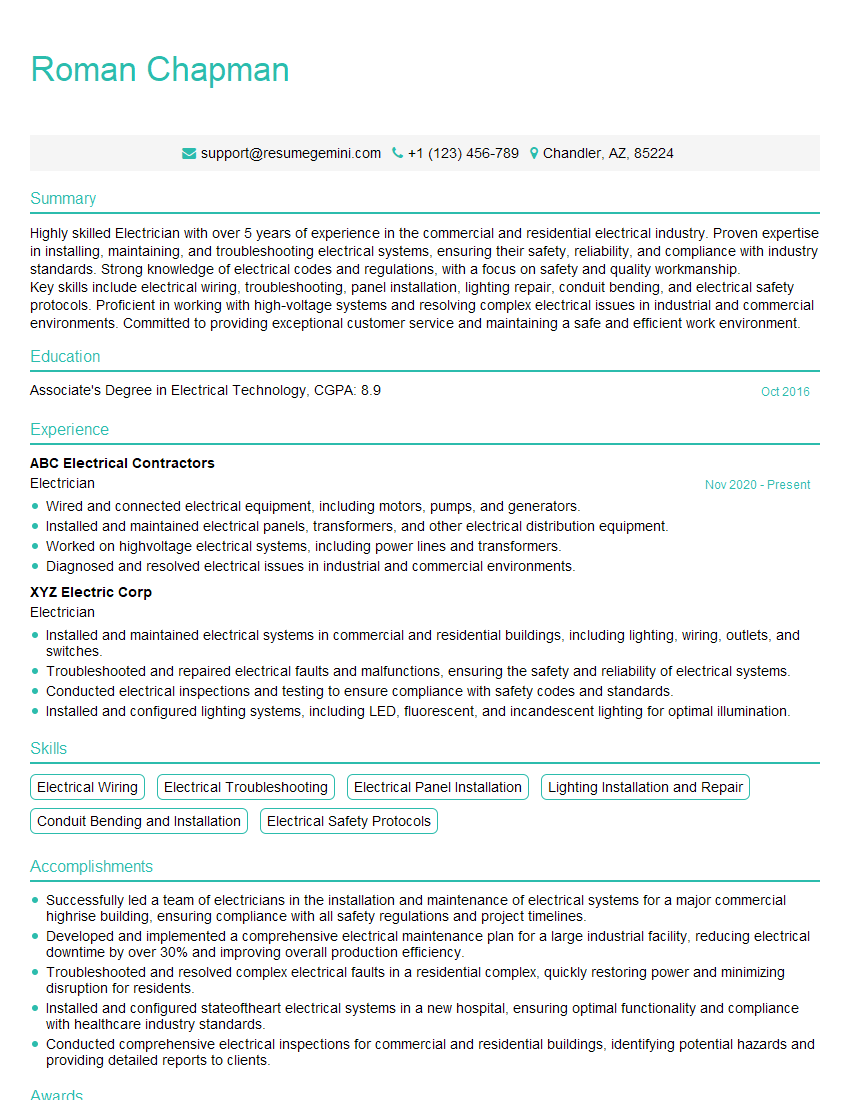
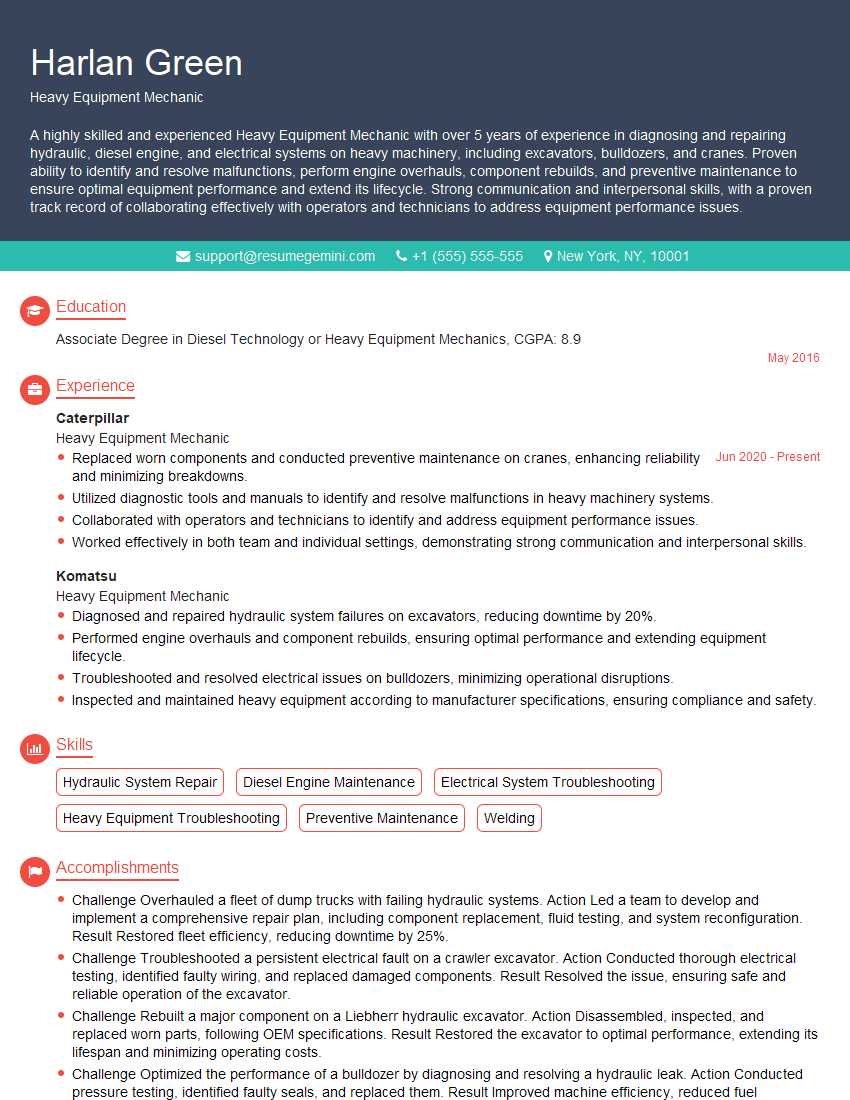
Mastering the use of manual and power tools is crucial for career advancement in numerous skilled trades. A strong understanding of these skills showcases your practical abilities and commitment to safety, making you a highly desirable candidate. To maximize your job prospects, create an ATS-friendly resume that highlights your expertise. ResumeGemini is a trusted resource to help you build a professional and effective resume that showcases your skills effectively. Examples of resumes tailored to the use of manual and power tools are available to help you get started.
Explore more articles
Users Rating of Our Blogs
Share Your Experience
We value your feedback! Please rate our content and share your thoughts (optional).
What Readers Say About Our Blog
Hi, I’m Jay, we have a few potential clients that are interested in your services, thought you might be a good fit. I’d love to talk about the details, when do you have time to talk?
Best,
Jay
Founder | CEO
